Dan_Lockwood
-
Posts
44 -
Joined
-
Last visited
-
Days Won
4
Dan_Lockwood's Achievements
")


-
Coleman UT400 shift issues , grinding .
Dan_Lockwood replied to Bryan g's topic in Coleman UTV SxS Forum
If you take the two nylon bushings out of the lever, you DO NOT need to remove the rubber seal and bezel. The lever just slides off the shaft quite easily. I was one of the first to do this modification. AND FOR ME, it's been the FIX! I plowed two days ago for over two hours and never once did it jump out of either forward or reverse. If the cable system has been really abused, and the unit has been jumping out a LOT, this may not fix the issue. It's very possible that you might have internal issues that only new parts can fix. But be rest assured, that if you do not do the 3/4" extension on the lever AND replace new parts internally, you will be right back jumping out of gear all over again. Most anyone can take the lever off and take it somewhere to be extended. Even realigning the cable bracket after the lever has been extended, is quite easy to do. Good luck! I'm VERY happy with my little UT400. I cannot believe how much snow this thing can push with the 60" wide blade. Because of my driveway size and shape, getting out every few minutes to change the angle pin, was not an option. I bought the hydraulic power angle upgrade and installed that. It's not the fastest to change angles, but it beats getting out to do it. I also upgraded to the fabric vinyl enclosure. In 10 degree weather with some wind, I can plow in tennis shoes and not have to wear gloves. Have not installed an auxiliary heater... Yet.:) Dan Lockwood, Clare MI. -
Coleman UT400 shift issues , grinding .
Dan_Lockwood replied to Bryan g's topic in Coleman UTV SxS Forum
My guess is that after so many years of gear popouts, that new internal parts are going to be needed. These are a dog/gear type setup and the lugs/dogs tend to wear off and round up a bit. This will allow them to jump out of gear. Good luck with the UTV-400. Dan -
Front Right Tire Camber Adjustment
Dan_Lockwood replied to Dan_Lockwood's topic in Coleman UTV SxS Forum
Don't worry too much about the steering wheel alignment, for now that is. Do your toe in adjustment and while the outer tie rod end jam nuts are loose, you can take the six steering wheel cover off with a 4mm Allen wrench. Loosen the nut holding the steering wheel on and unthread it so it's flush with the end of the steering shaft. Use your knees or have someone lift up hard on the steering wheel while you hammer the nut/shaft to break it loose. I use two hammers. One ball peen hammer on the end of the nut /shaft and use the second one to hit the first one. A couple good whacks and the steering wheel will come loose. Then unthread the nut and pull off the steering wheel and realign the shaft splines and the steering wheel to make it straight again. You may have to readjust your tie rods a bit to get true center on the steering wheel. I adjusted my toe IN to about 3/16" on each side. Also, you'll have to release the two inner tie rod boot cover outer clamps so the tie rods can turn without winding up the rubber boots. Don't forget to reclamp the boots. I said a lot of words, but it's really quite simple. Good luck, Dan -
Coleman UT400 shift issues , grinding .
Dan_Lockwood replied to Bryan g's topic in Coleman UTV SxS Forum
I found out quickly that the bushing was a 2-piece plastic bushing. With the inside bushing out of the shifter, you can rotate the lever to the side and it will all come out without having to remove the bezel. Once all apart and cleaned up, all the pieces were loose and lubricated for reassembly. Like I said, you should bend down the cable bracket mount just a bit to re-align the cable end with the lever. I used a large Cresent wrench to bend the bracket without any problem. Good luck with your revision! Dan -
Brake Light - Coleman Outfitter UT400
Dan_Lockwood replied to Rainman's topic in Coleman UTV SxS Forum
You probably have a bad ground in the rear. You may be able to add a jumper "ground" from the inside of the lamp assembly and see if that helps the dimming issue. If so, make a new permanent ground and that should take care of the issue. Good luck, Dan -
You're robbing Peter to pay Paul with the adjustments. You CANNOT adjust more throw into the cable. All you can do is give more F, or more R. You cannot get both with a cable adjustment. Someone actually cut the slot for the shift lever longer and then modified the detents and that seemed to help him, but the downright simplest solution is to remove the lever assembly and have it lengthen 3/4". And yes, every time it jumps out of gear, the very corners of the gear dogs are rounding off just a bit at a time. Before too long, the gears will be worn enough that they will need to be replaced. A fix sooner than later, is the key here. Good luck, Dan
-
Coleman UT400 shift issues , grinding .
Dan_Lockwood replied to Bryan g's topic in Coleman UTV SxS Forum
When you do the 3/4" extension, you will have to "bend" the cable mounting bracket just a bit to regain the correct alignment of the cable with the newly extended shift lever. Rather than doing the plate and drilling etc,, I would opt for taking the lever to a fab shop and ask that they add 3/4" into the lever as I did. This should not cost much and will be better than bolting it together. But bolting it all up "may" be a permanent solution. -
Thanks for the reply. My thought would be that the cable is intact. BUT... if it were to have "slipped", it would be loose at either end of the shift stroke. The "shift problem" is usually quite consistent in feel and position of the cable ends. When I had my cable off under the bonnet, I did a push/pull test and the cable "seemed" tight without end play etc. Having the extra throw from the modified shifter lever is not going to hurt anything and in most cases will probably fix the shifter popping out of gear or going not all the way into gear. Just my $0.02 worth of info. Dan
-
Coleman Outfitter 550 Adjusting Toe in
Dan_Lockwood replied to Dale Stansbery's topic in Coleman UTV SxS Forum
Keep in mind that when driving down the road, you cannot have one wheel more/less toed in/out than the other. Because of the nature of the steering system, your tires will self-center to have equal toe in/out while driving straight, not necessarily steering wheel straight though. Doing statics adjustments can be subjective. Is the steering wheel really aligned dead center??? So, you set your toe in to whatever you want and then test drive the SxS. If while going straight the steering wheel is not straight, adjust one tie rod in and the other out until the steering wheel is straight. Just my opinion and how I have done it for years. I'll admit that SxS tires are very hard to get a good side wall alignment as the treads tend to overlap the sidewalls quite a bit. You could jack up each front tire and spin the tire and at the same time use a nail or something sharp to score a line around the tread of the tire. Do this on both front tires. Now you can measure the distance between the two scribed lines to get your toe measurements. I use a carpenter's square on the concrete and align with the scribe line. This allows you to measure at the horizontal centerline of the wheel/tire for a true reading. Also keep in mind, these SxS's have very poorly designed control arms. I have a UT400 that the right front tire obviously leaned in at the top compared to the left side wheel/tire. After putting it up on the hoist, I determined that the lower or upper control arms on the right side were off, OR, the attachment mounts on the frame were not correct. Either way, there's NO camber adjustment on these, nor many of the other main stream brands that I can find. I ultimately had to cut the lower control arm and shorten it about 3/16" to get an equal camber angle to the left side. My front right tire showed quite obvious inside tread tire wear. I'm now happy with the results. But with that being said, how do we really know that the rear tires are pointing straight forward??? Sorry for rambling... Dan -
Coleman 2021 ut 400 will not shift Into reverse.
Dan_Lockwood replied to Roger Bennett's topic in Coleman UTV SxS Forum
Here's the link to my original post, SHIFT LINKAGE MODIFICATIONS Hope this helps you out. Dan -
Coleman 2021 ut 400 will not shift Into reverse.
Dan_Lockwood replied to Roger Bennett's topic in Coleman UTV SxS Forum
I can see how that would help, but in the lever there is a machined/cut cam slot that the detent ball rides on. If you "over stroke" the shift lever, you are now trying to raise the detent back out. I get why you did this, but in my case, having the same issues, I elected to do the shift lever extension of 3/4". I posted the thread prior and pictures of what I did. With the approximate 3/4" longer lever, you get the added throw in both directions and still stay well withing the detent ball alignment. Even if you cannot do the welding yourself, remove the shift arm and take it to be lengthened. Reinstall it and you should be good to go, of course with the proper shift cable adjustment. This DOES NOT eliminate any internal issues you might have in the shifter assembly at the transmission. "MOST" of us only have the "too short of travel" issue and the longer shift are does take care of that without any modifications to the hole in the dash or bezel for the shifter. I think a couple people here have had internal problems and of course the shifter cable travel will NOT help. The detents on the shifter still allow for proper movement and the F/N/R light works as it should. Good luck with your fix and hope it remains a fix for you. I know mine has a good solid fix as I've plowed this winter with it several times and pushed some big drifts with it. Before I did the shifter extension, it would jump out of reverse most of the time I needed to give it a bit of throttle. The second snow storm I had the fix done and the remainder of the winter and even now, no issues. Again, good luck and a few pictures of your modifications might help others here. Thanks for posting, Dan -
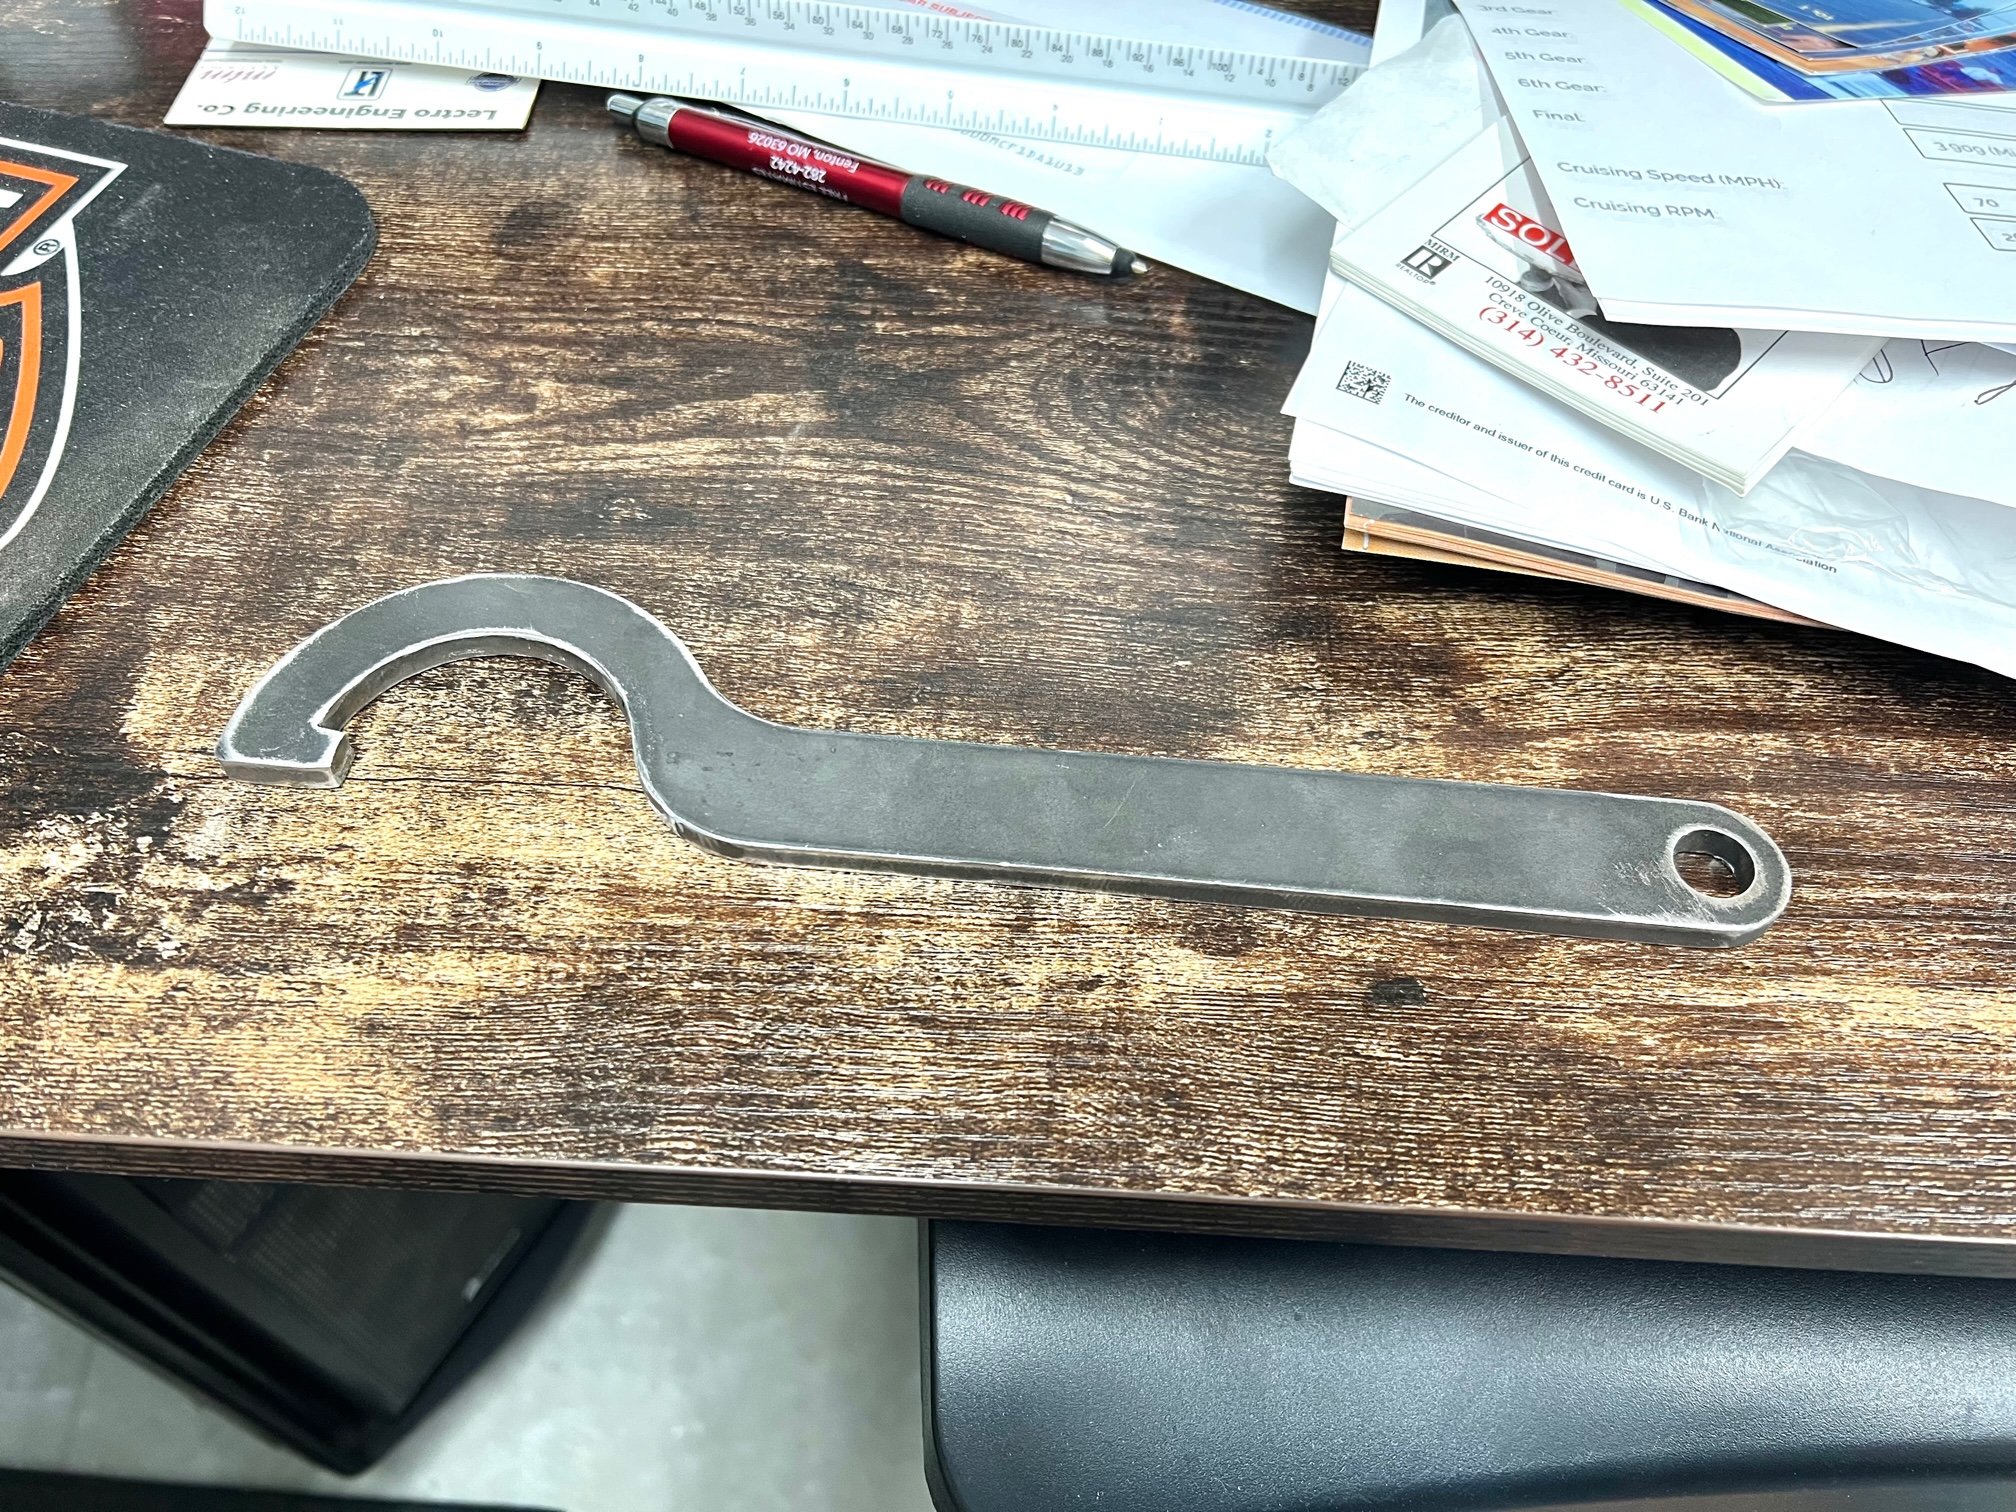
Thanks. I found plenty of spanners, just didn't know what size or how the measure them. So, for me, making one was the easiest as I could just use my digital calipers to measure exactly what I needed to make. Other than thinking 1/8" would work, the size was good. Dan
-
Sorry you're having your shift issue, especially on such a low mileage one. My fix you showed in the picture above, did "fix" my issue. But as someone else said just recently, he had to totally tear down the engine/transmission and replace some parts. I'm guessing that you don't have worn out parts, but maybe a bent part inside the shift area. Even with the additional length to the stroke of the cable, as shown above, mine still on occasion has to be nudged into gear with a tap on the throttle to get things moving inside in the shifter/gears to align. But in general, I've had no further popping out of gear as I had before I lengthened the shifter lever. Maybe you have "some" warranty available as you have such a low hour/mile UT400. Don't know if warranty is transferable from owner to owner though. Good luck with your problem. Dan
-
Thanks Charles I'm the fourth owner and this is a '21 UT400. Things go missing very quickly when things change hands. I called around and most places would not let me bring in a shock to trial fit, so I drew one up in AutoCAD and just cut it out on my CNC plasma table. I made one out of 1/8" at first, and it worked for the front shocks, but the rear shocks are much heavier in the springs. I bent the heck out of the 1/8" one, so I tweaked the back a bit around the shock and made this one out of 1/4" plate. I still had to use a cheater pipe on the spanner handle, but they finally turned to the lowest settings. Thanks for the replay! Dan

-
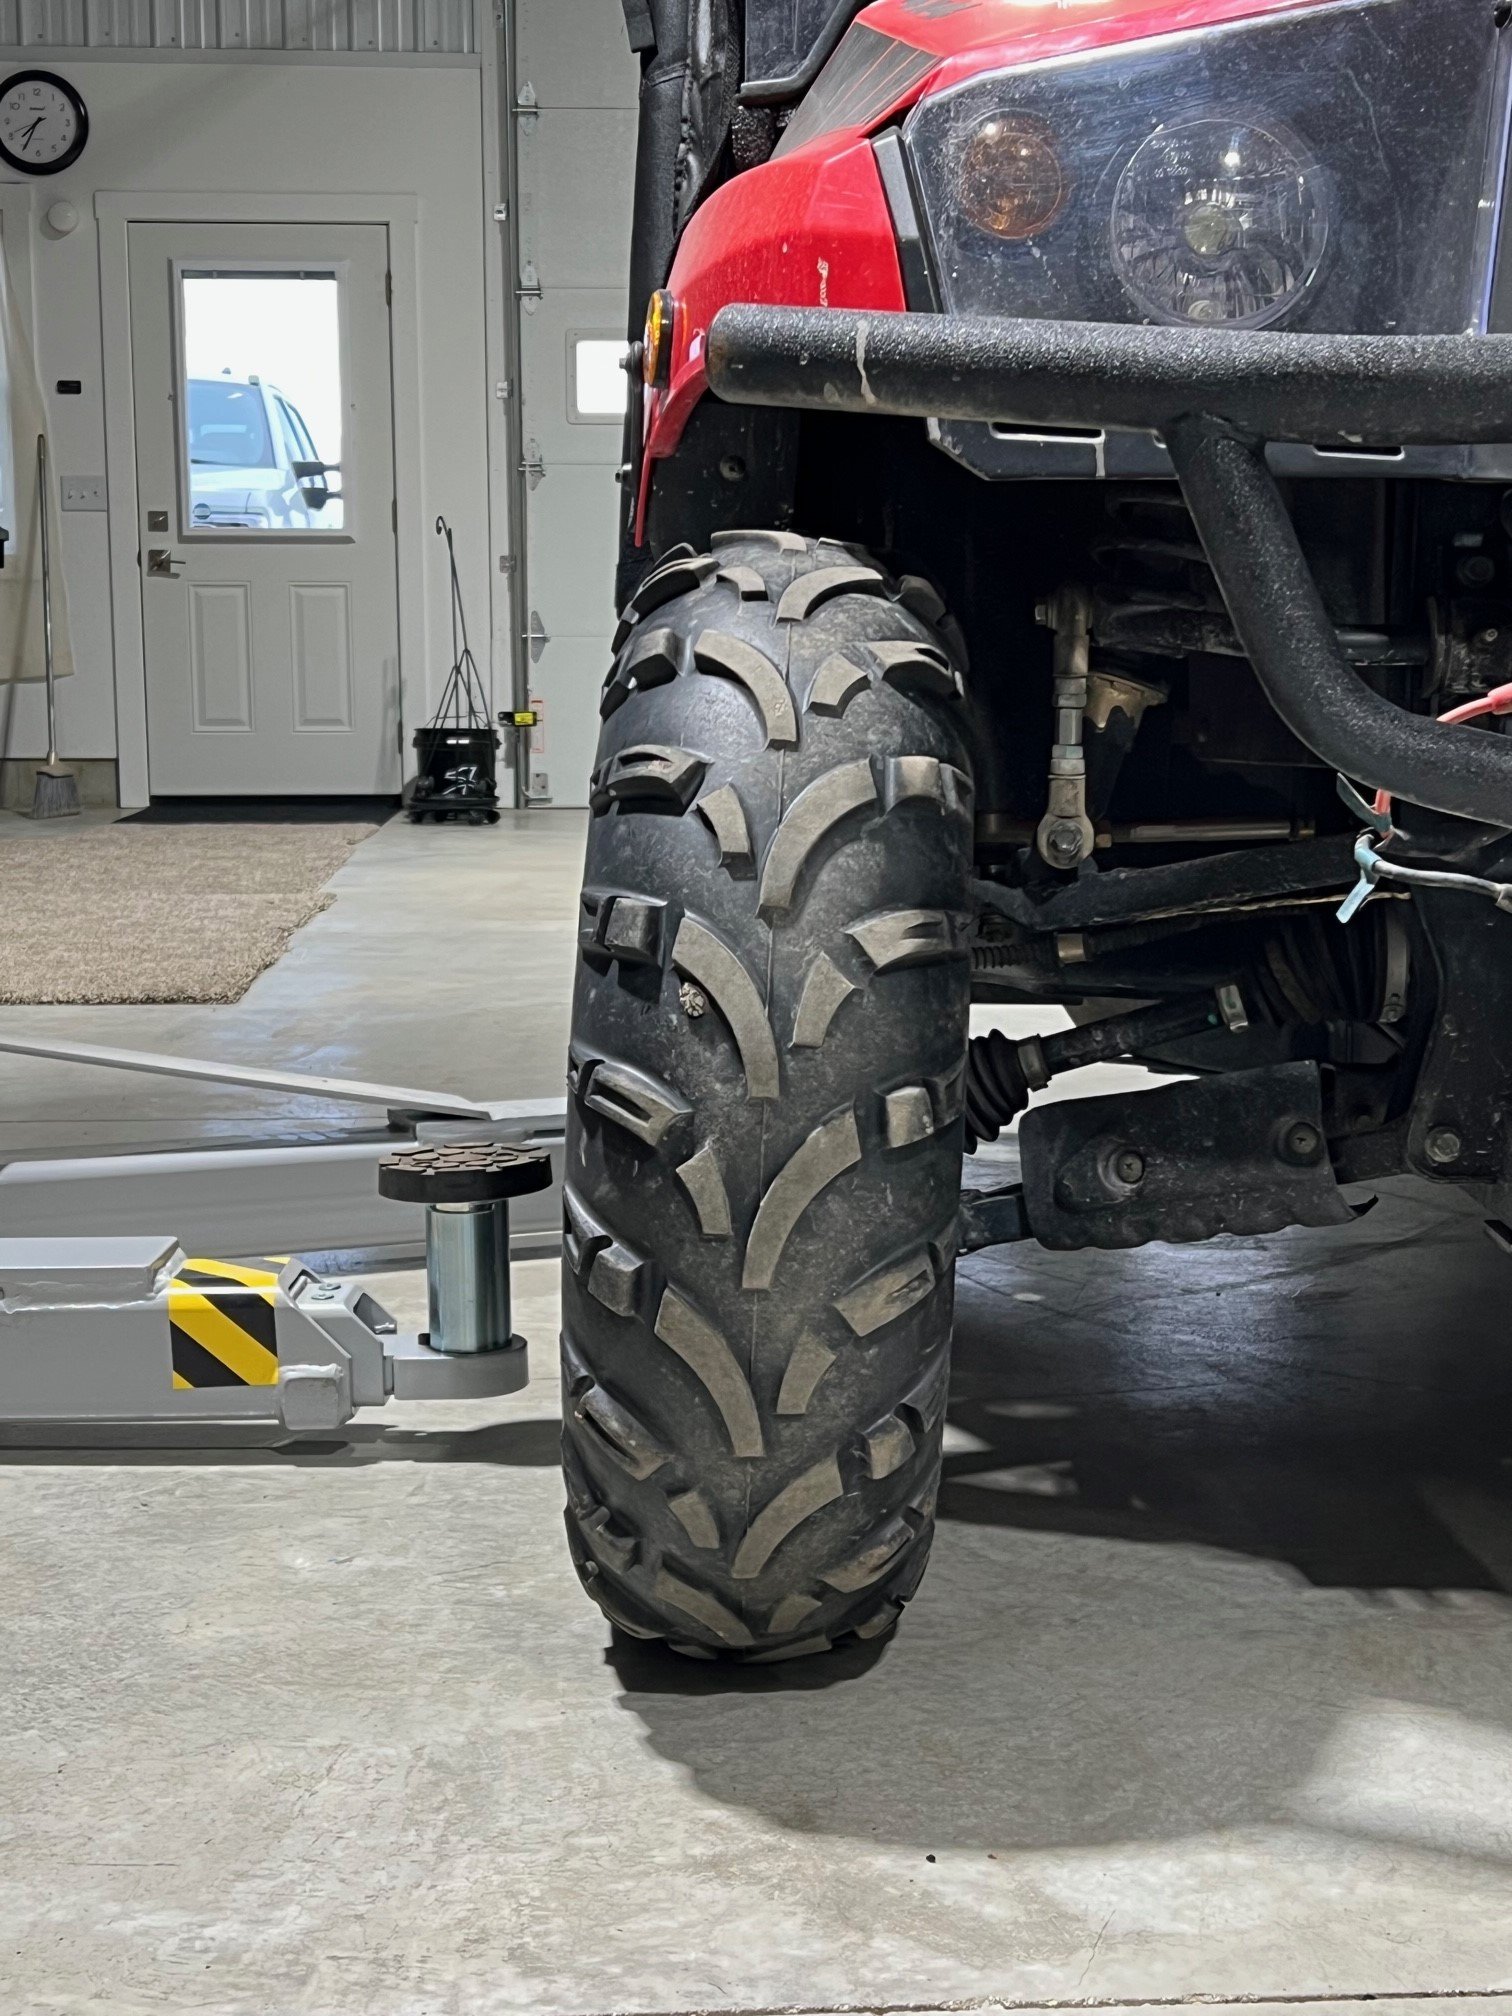
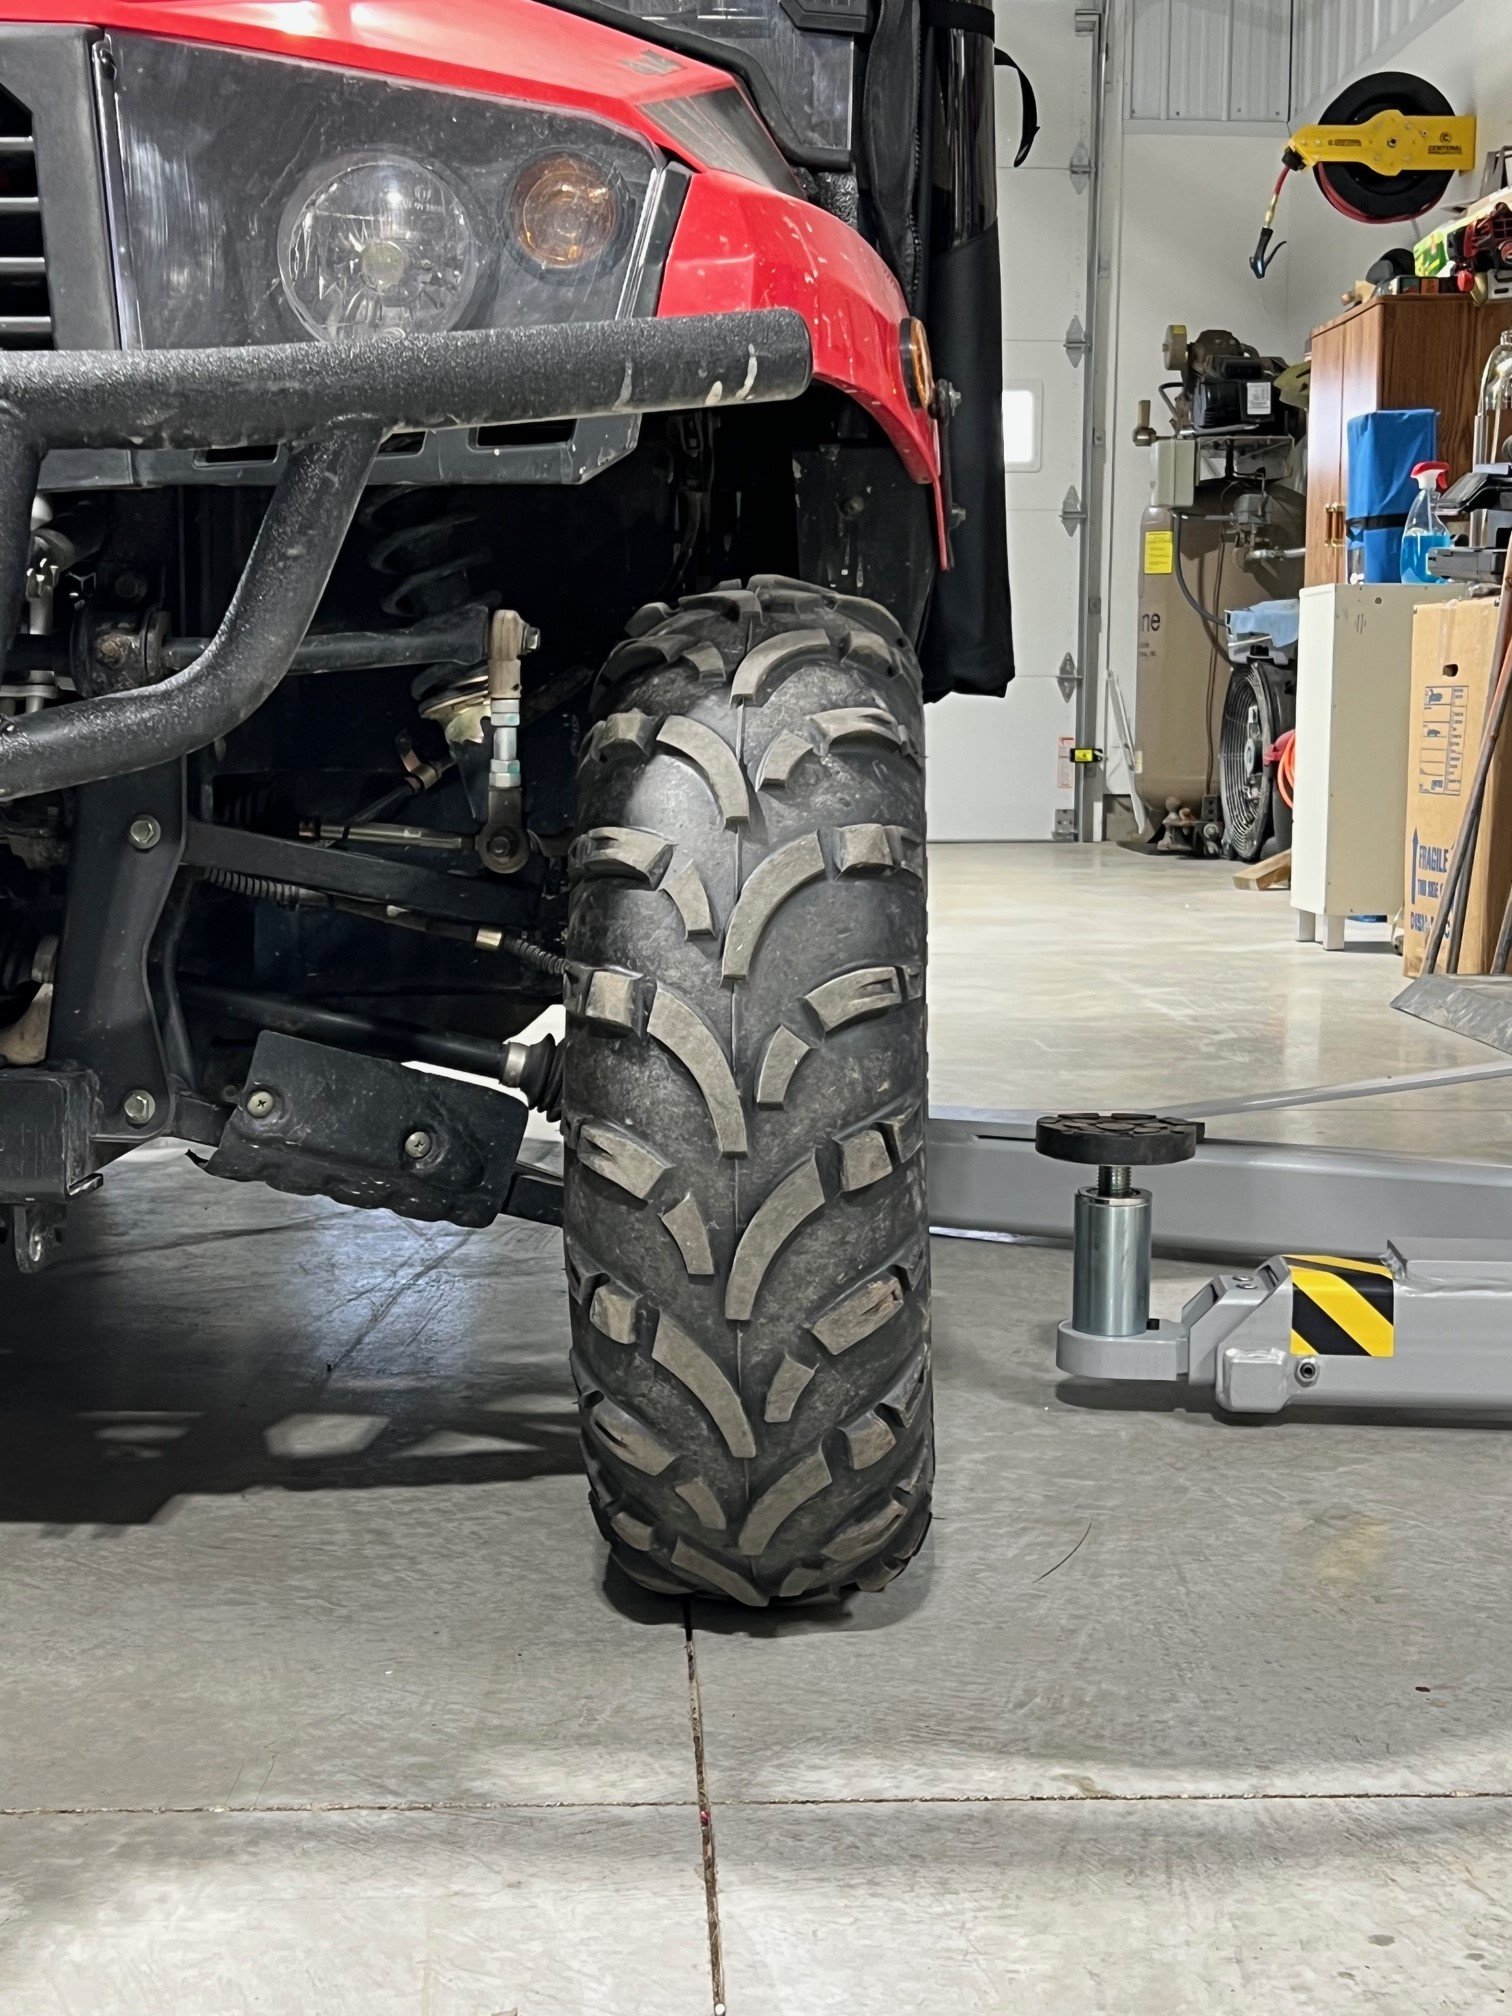
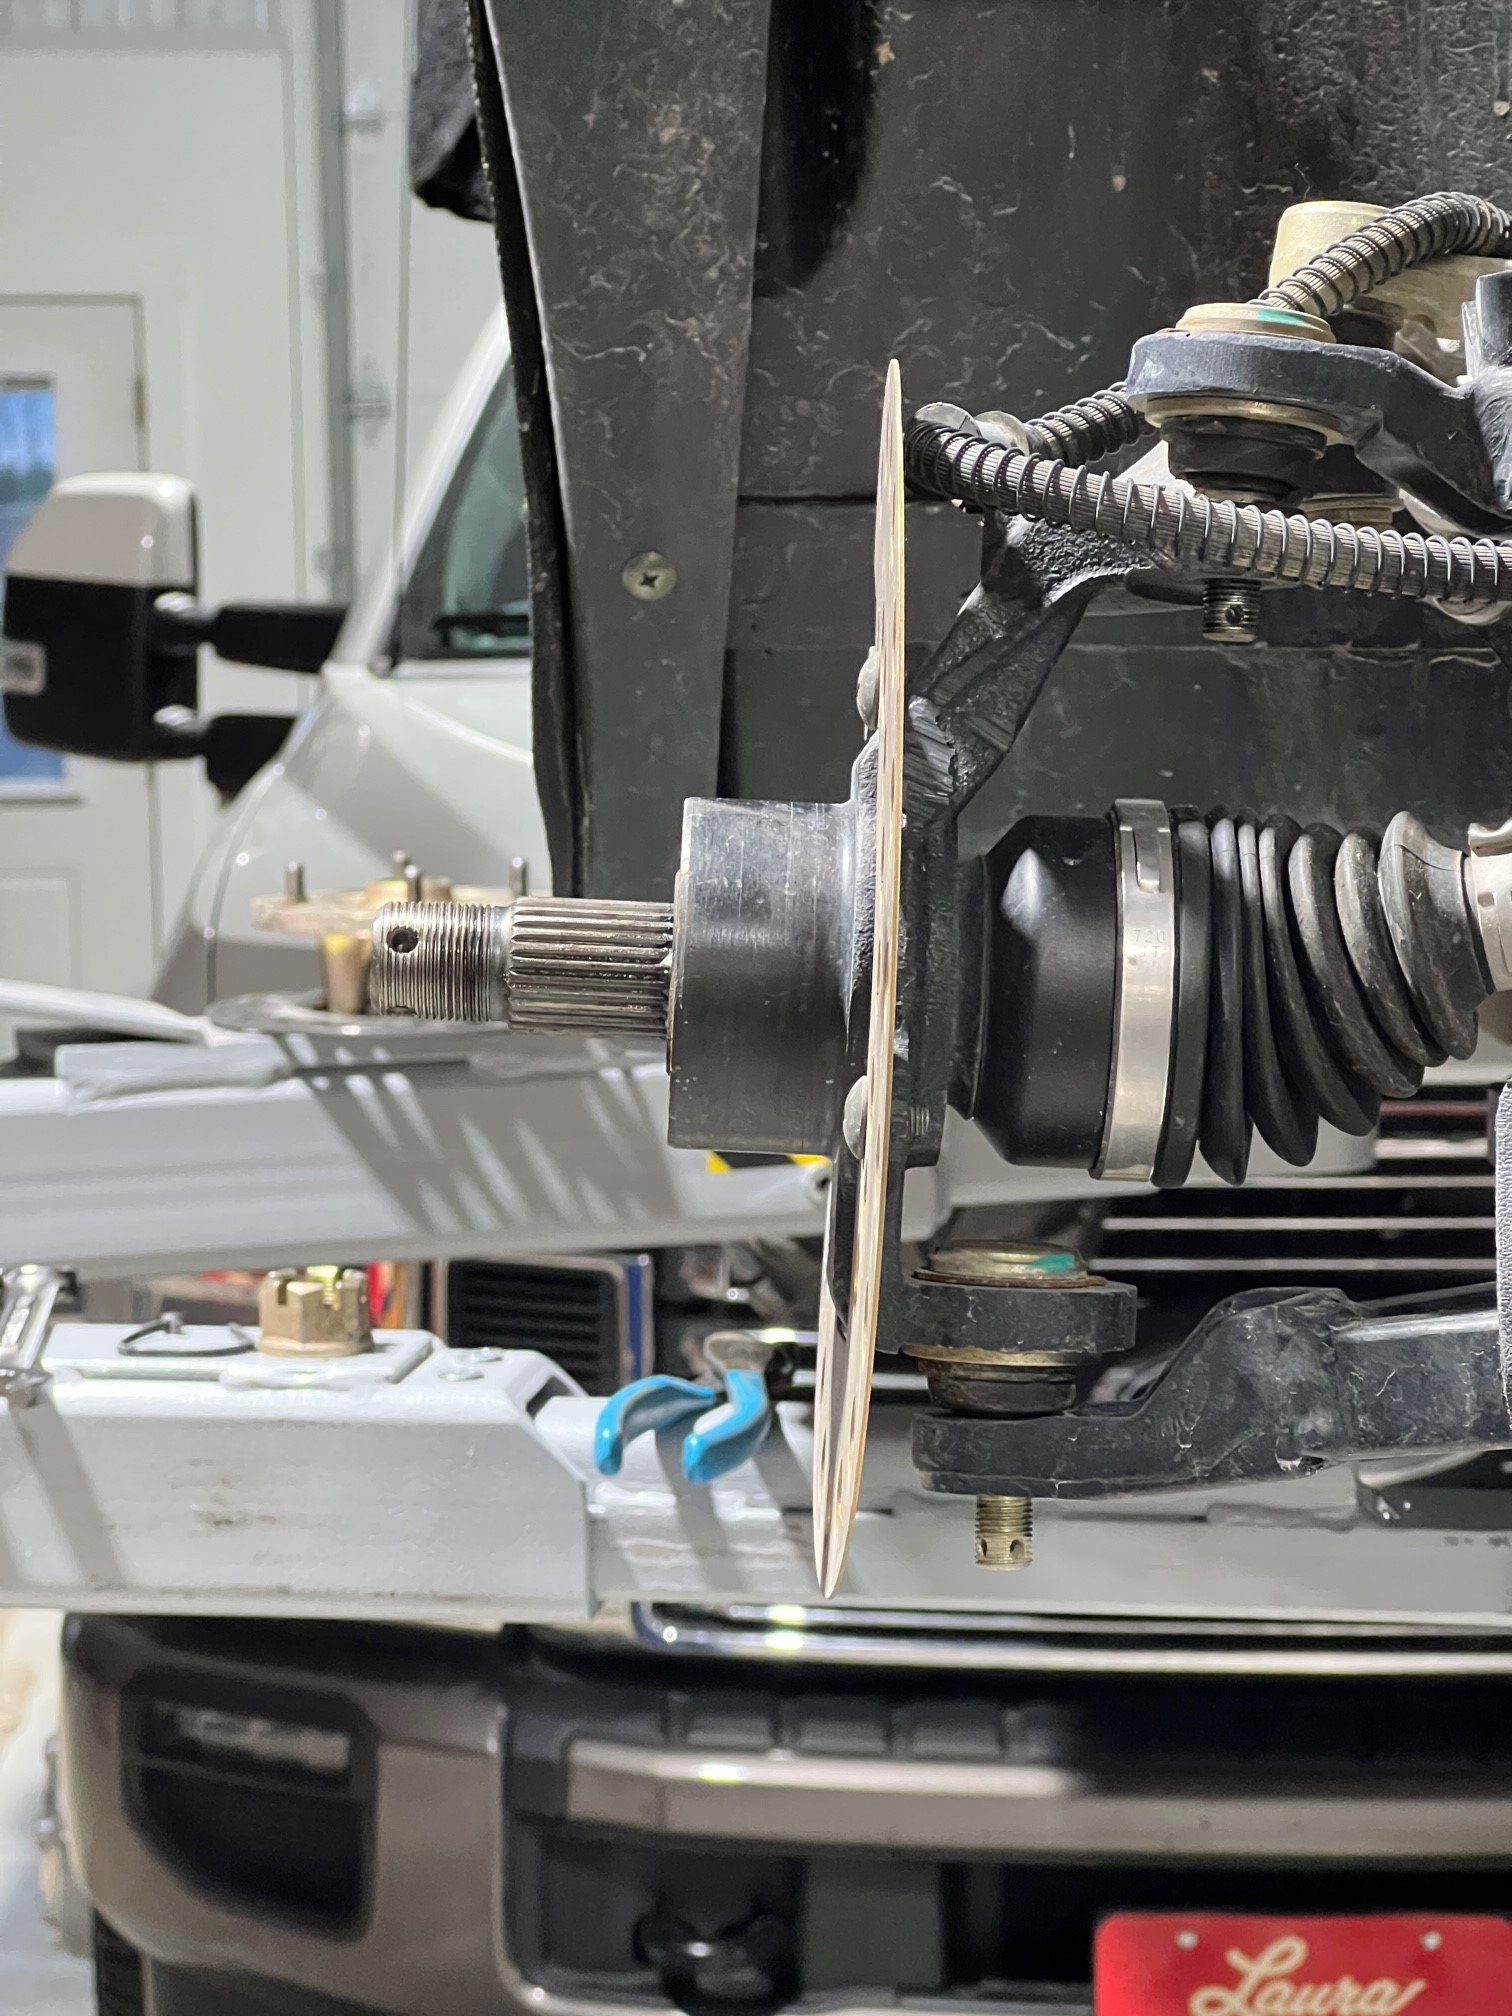
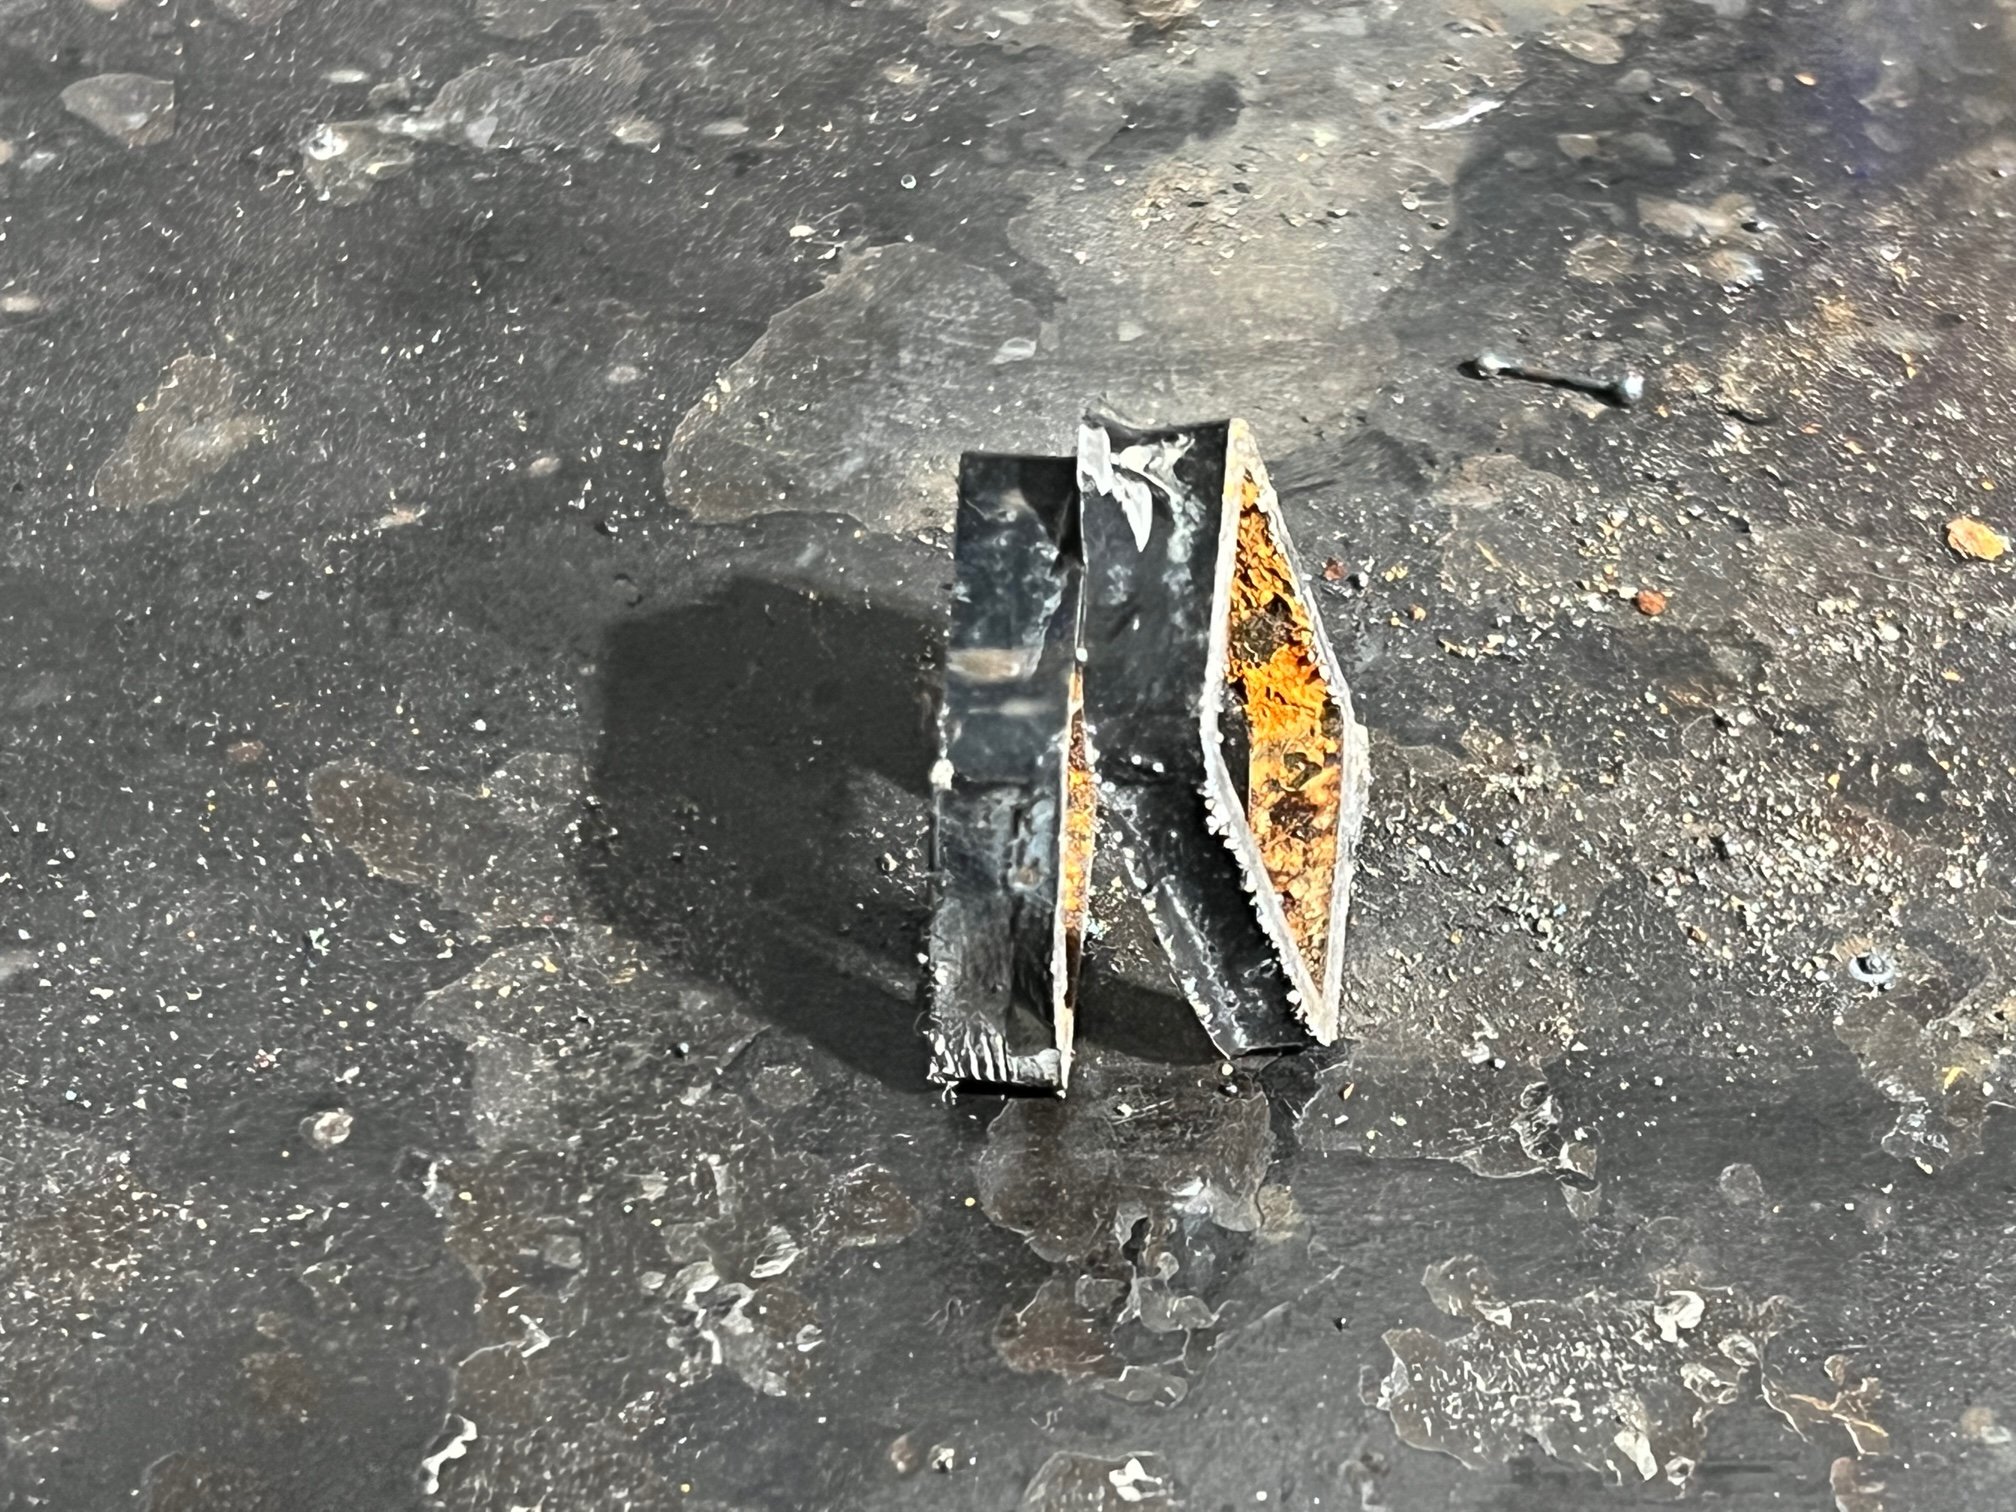
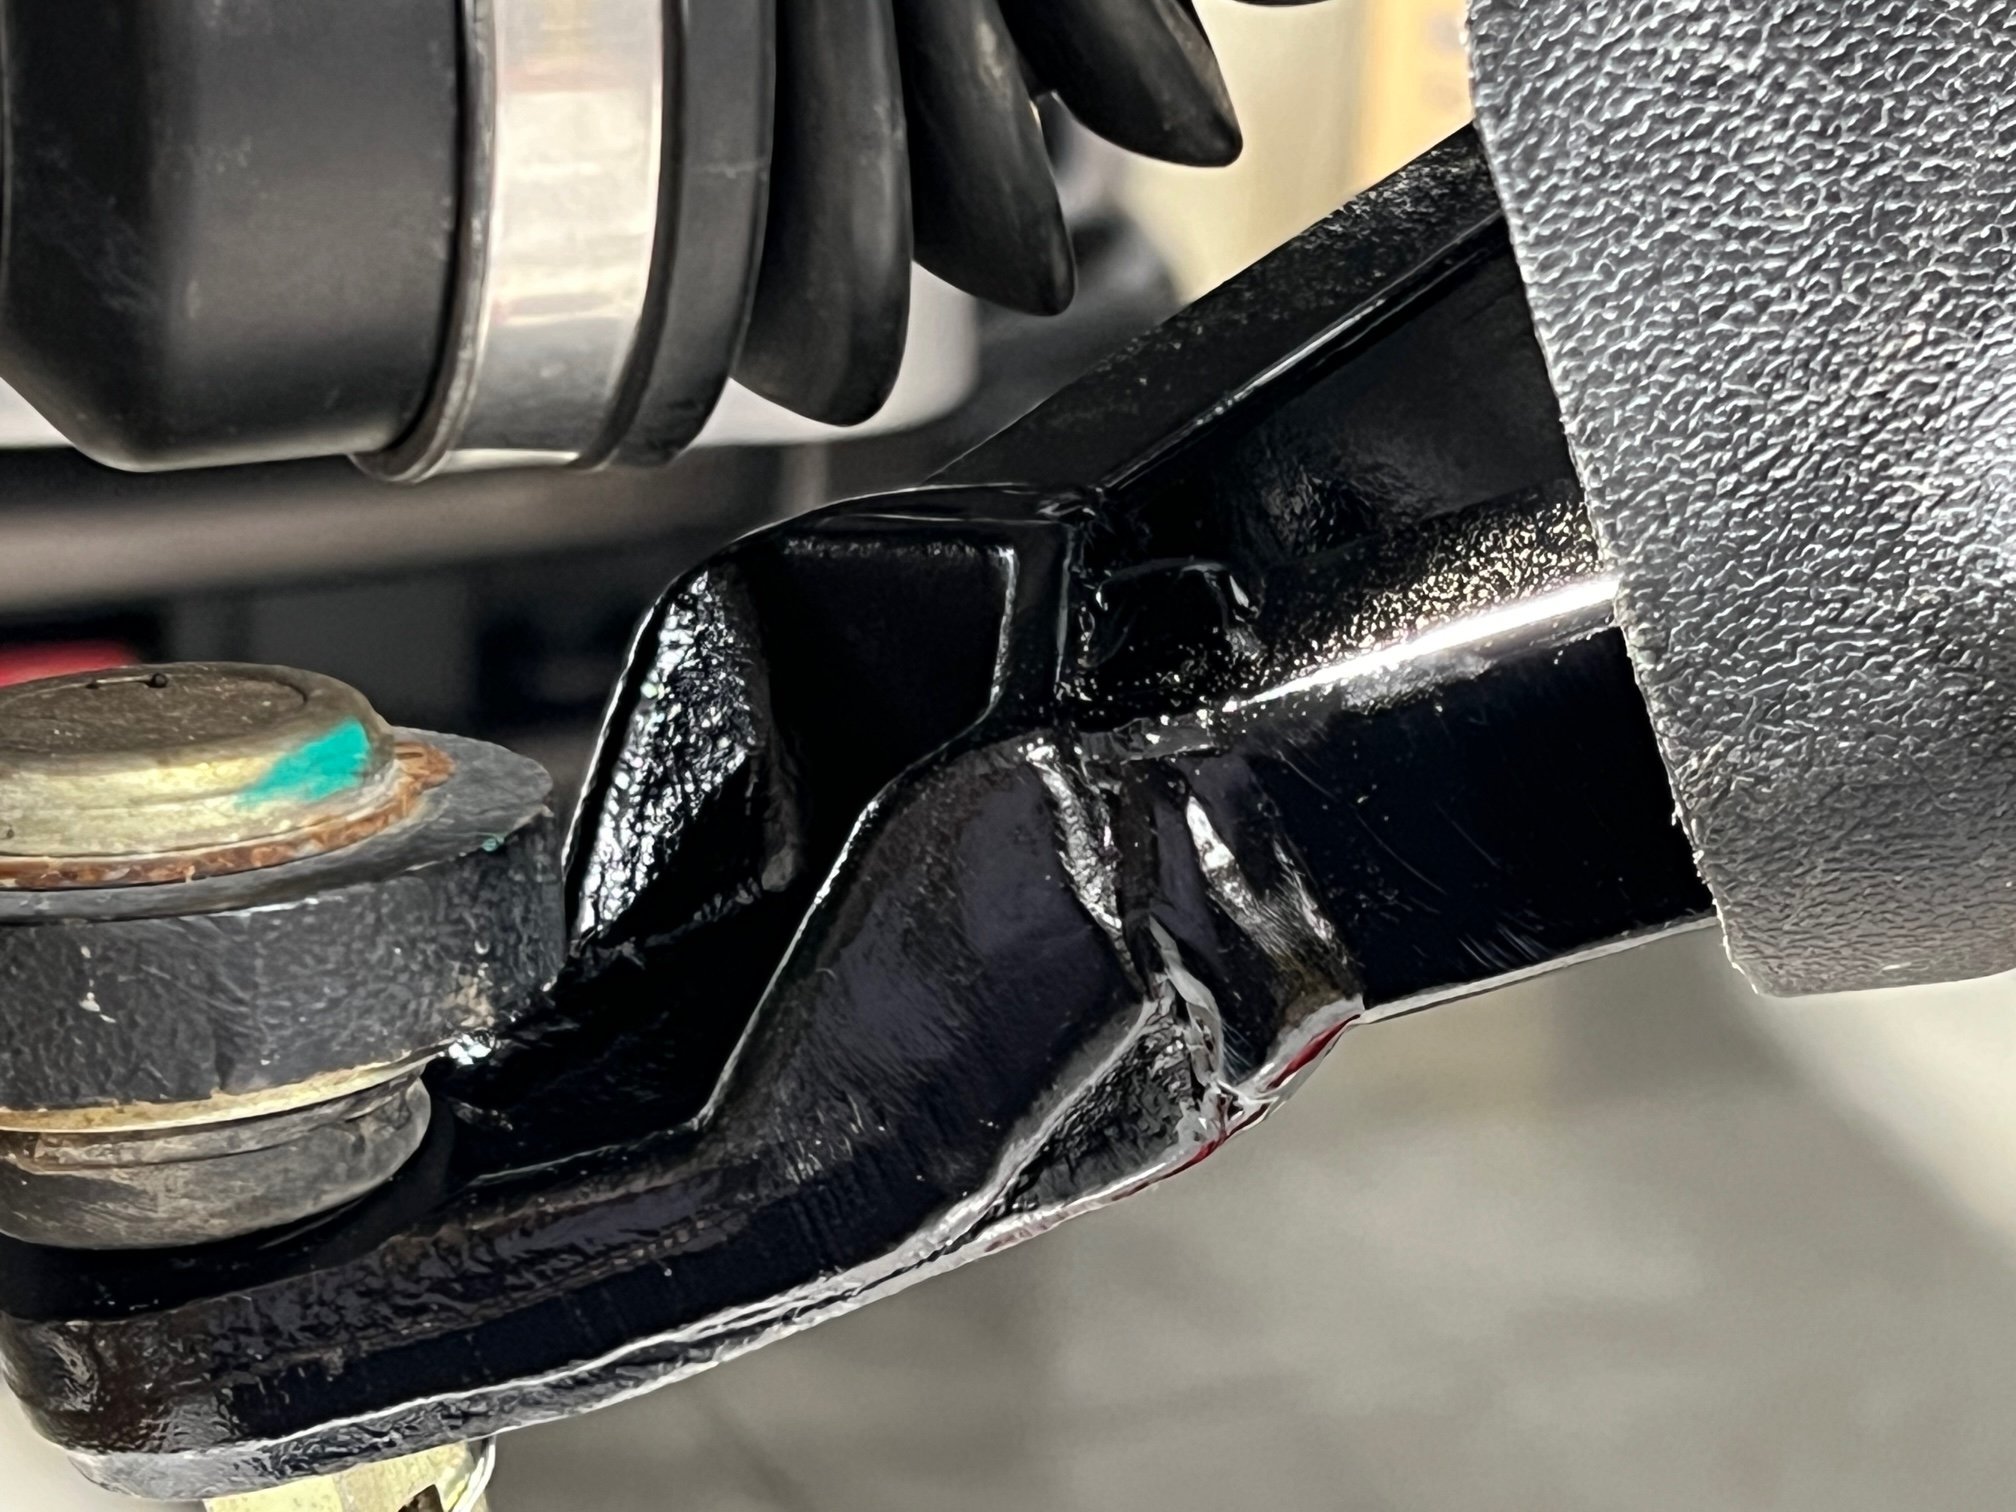
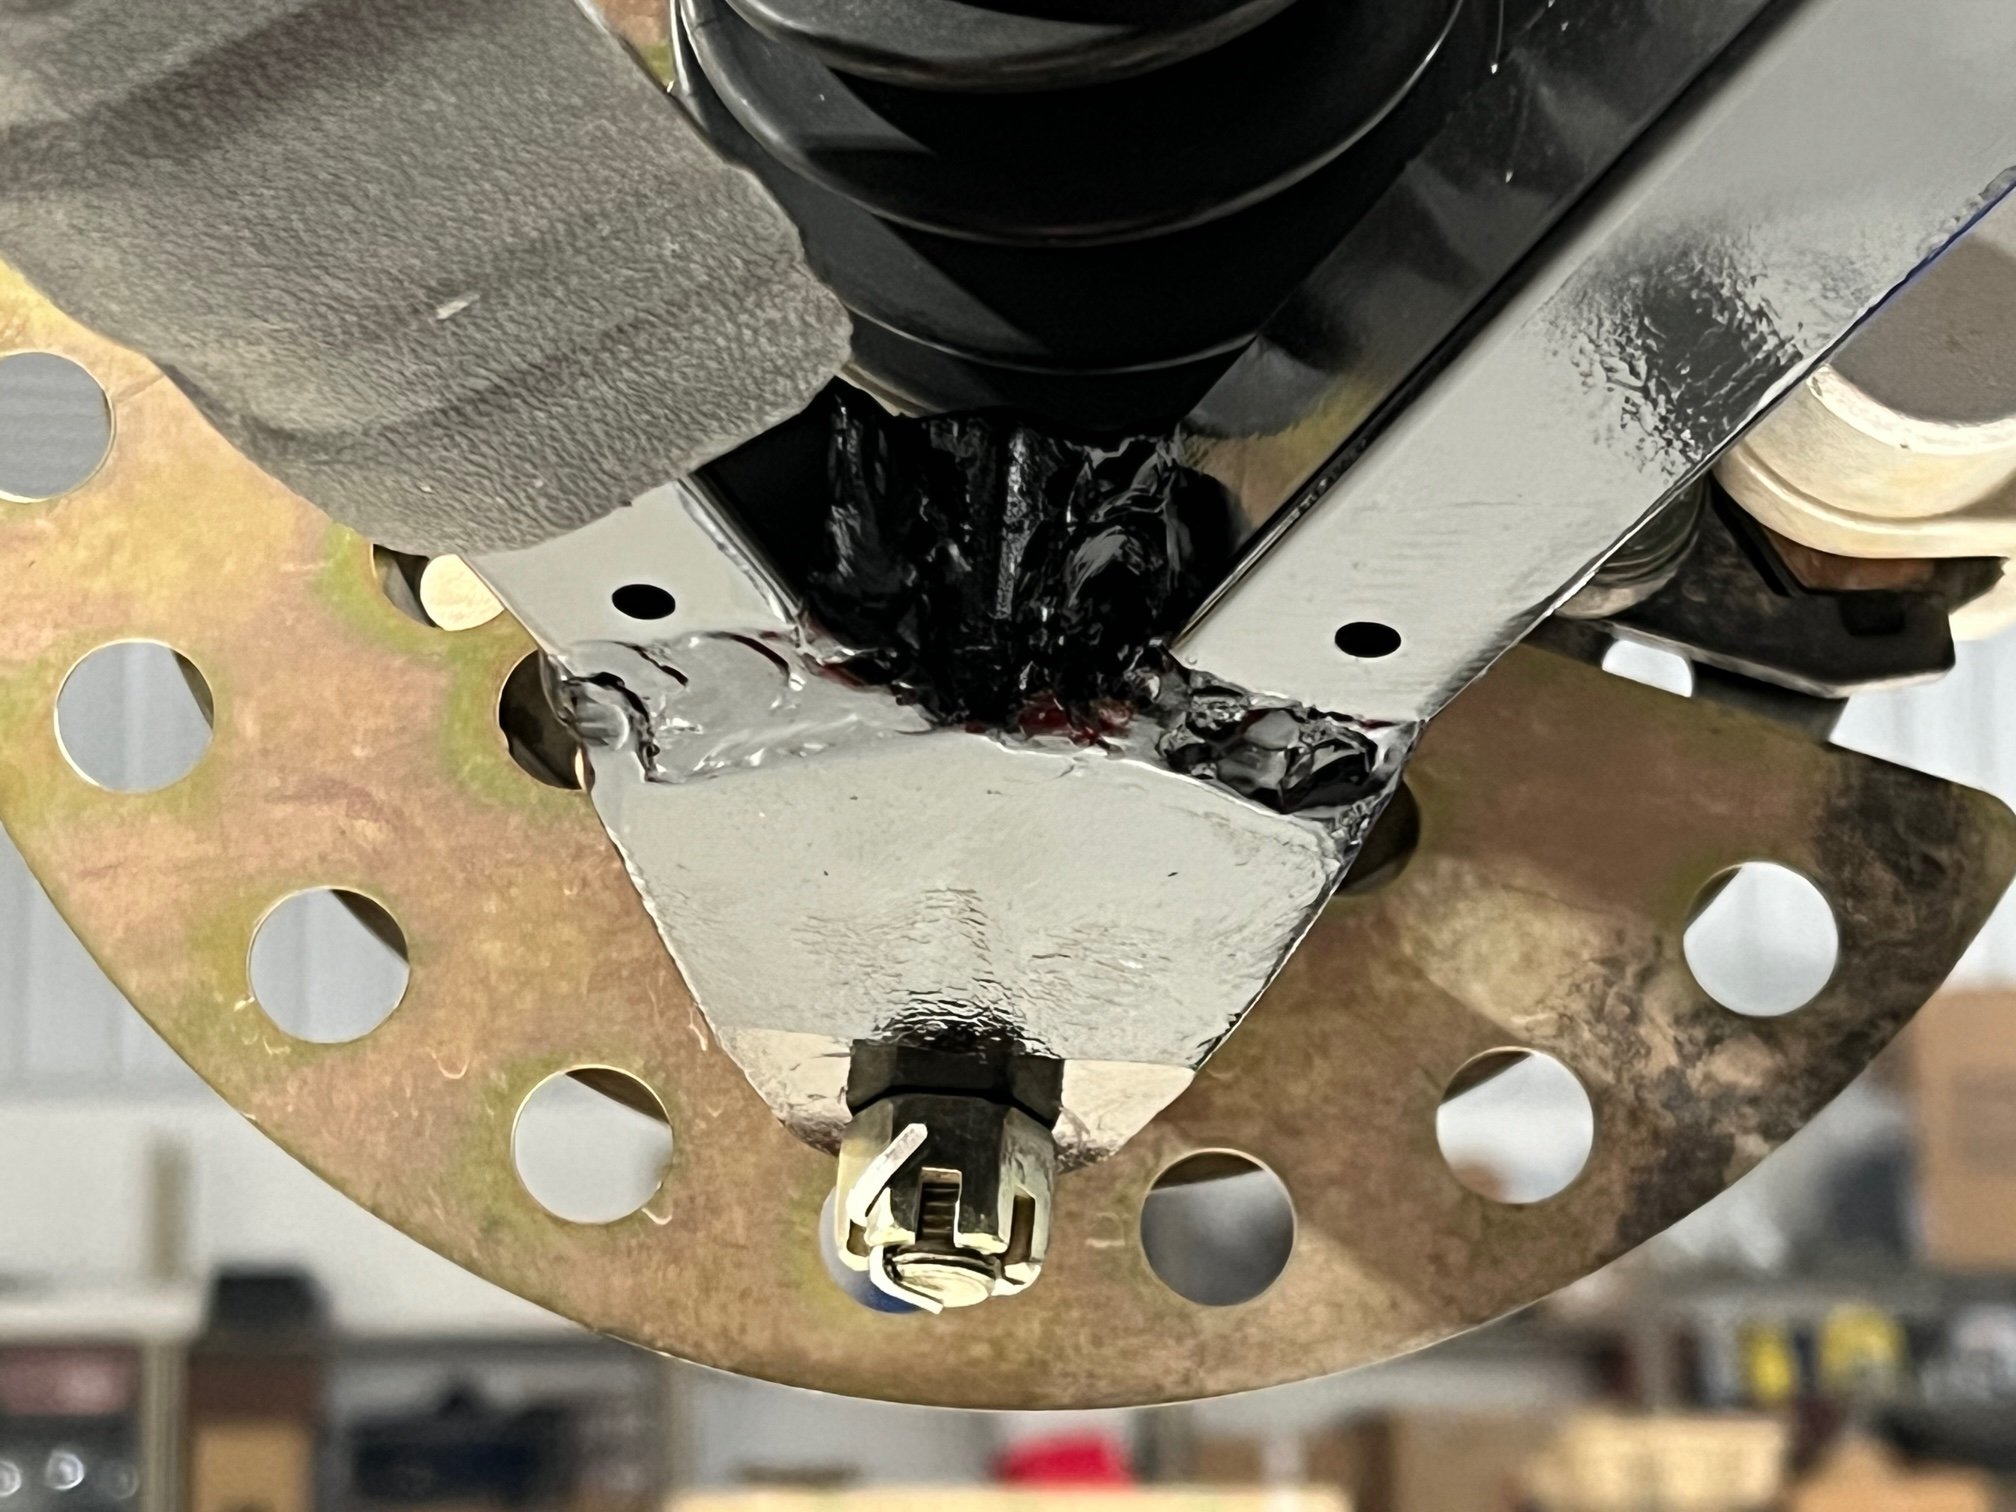
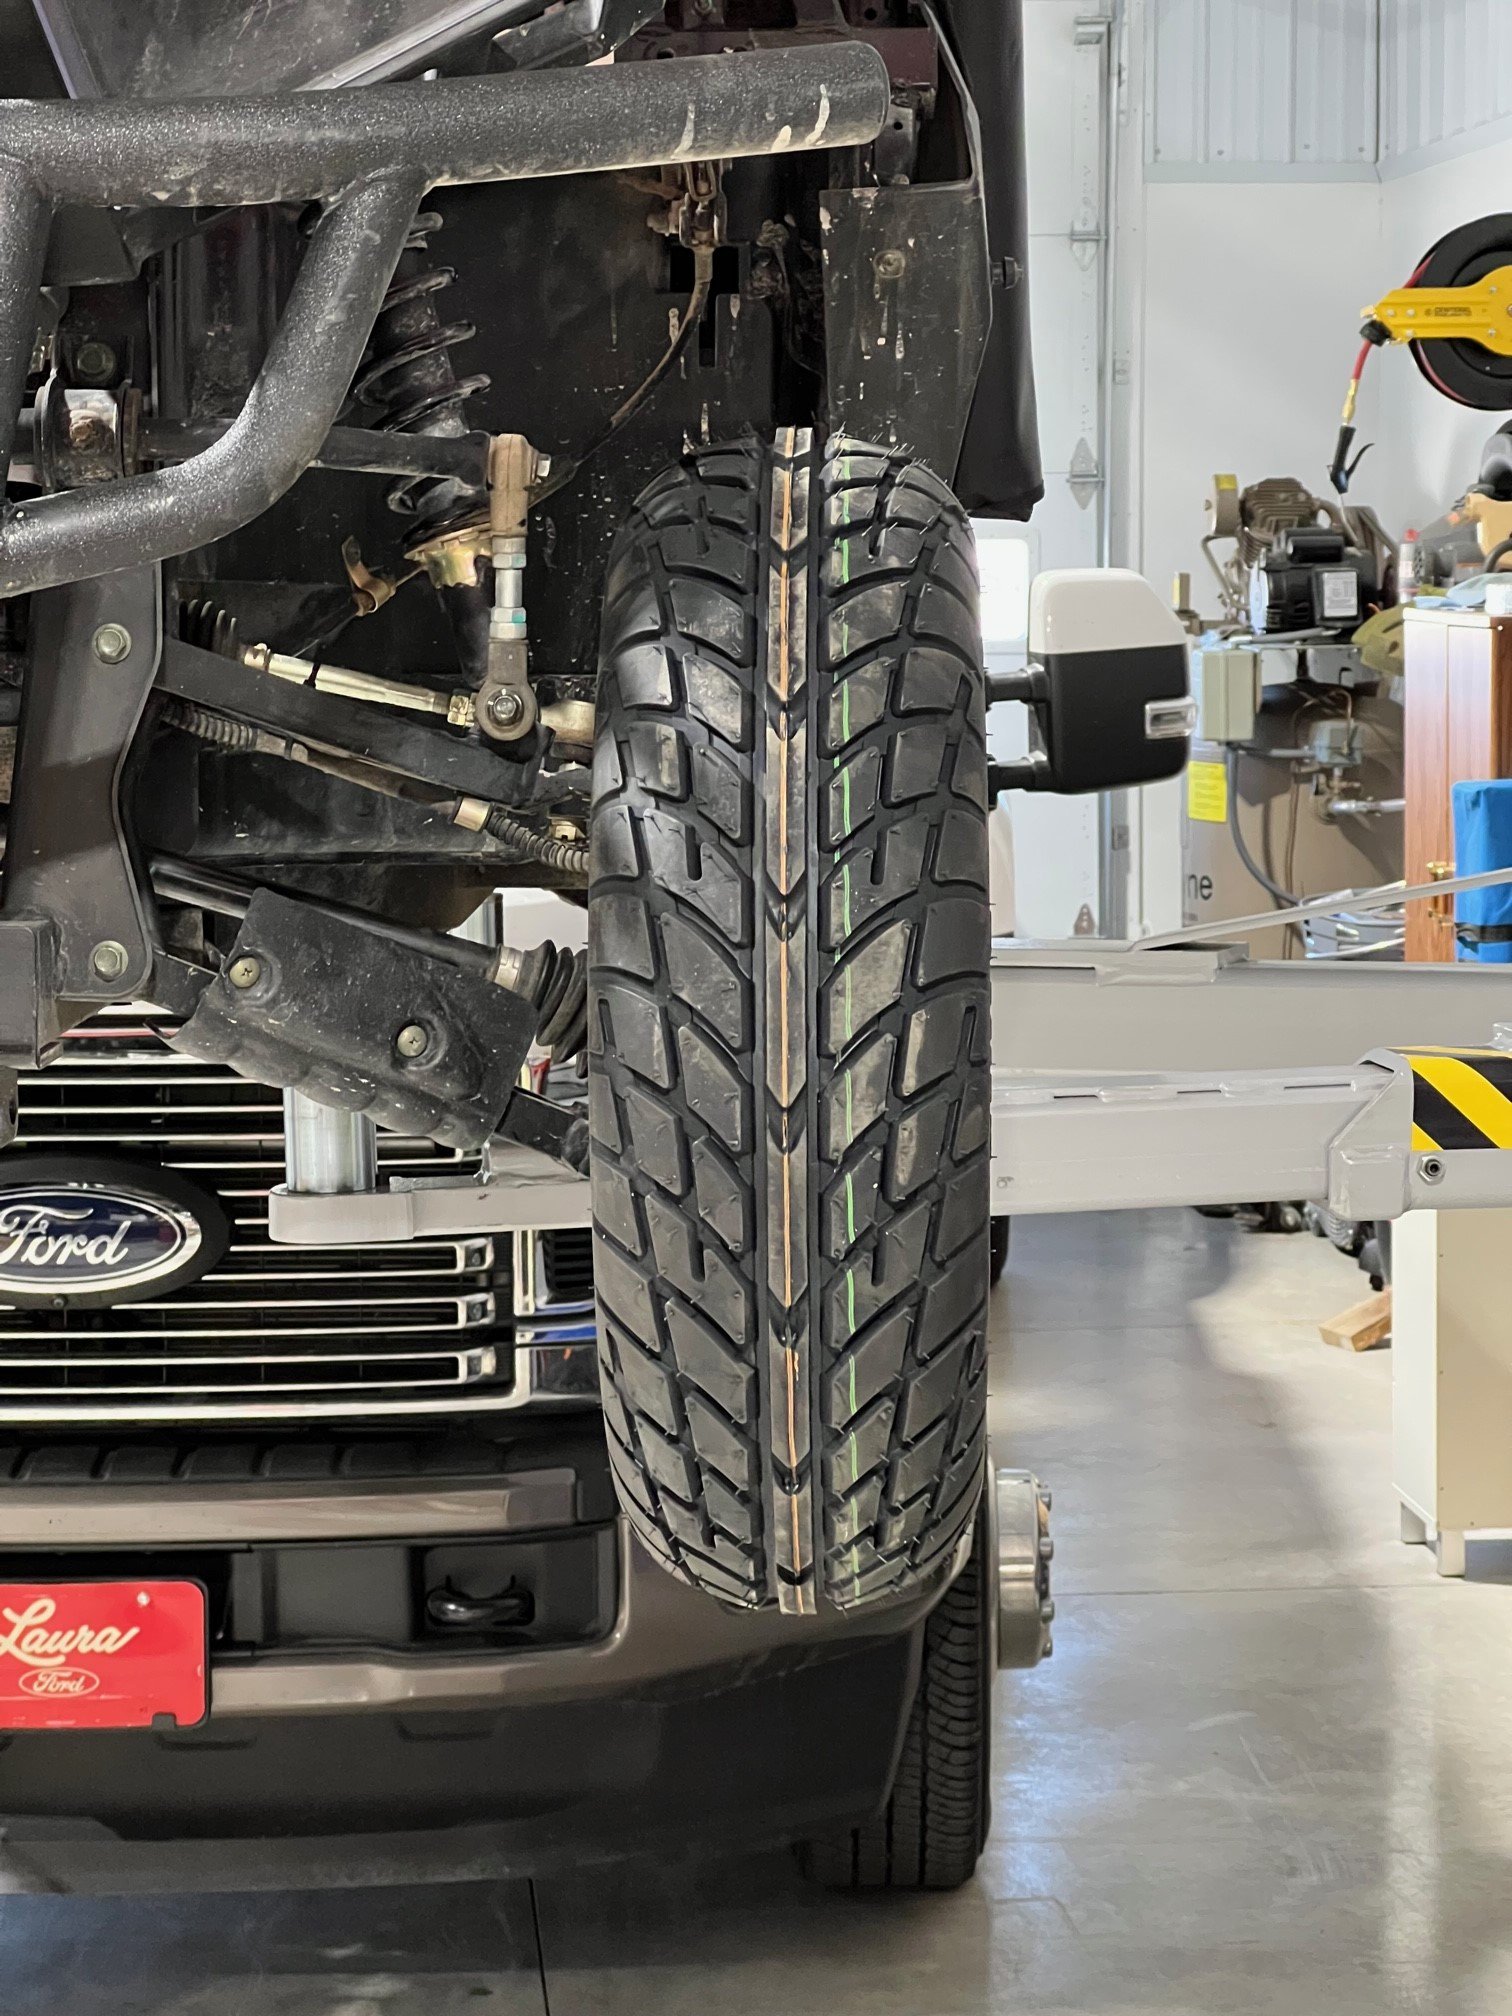
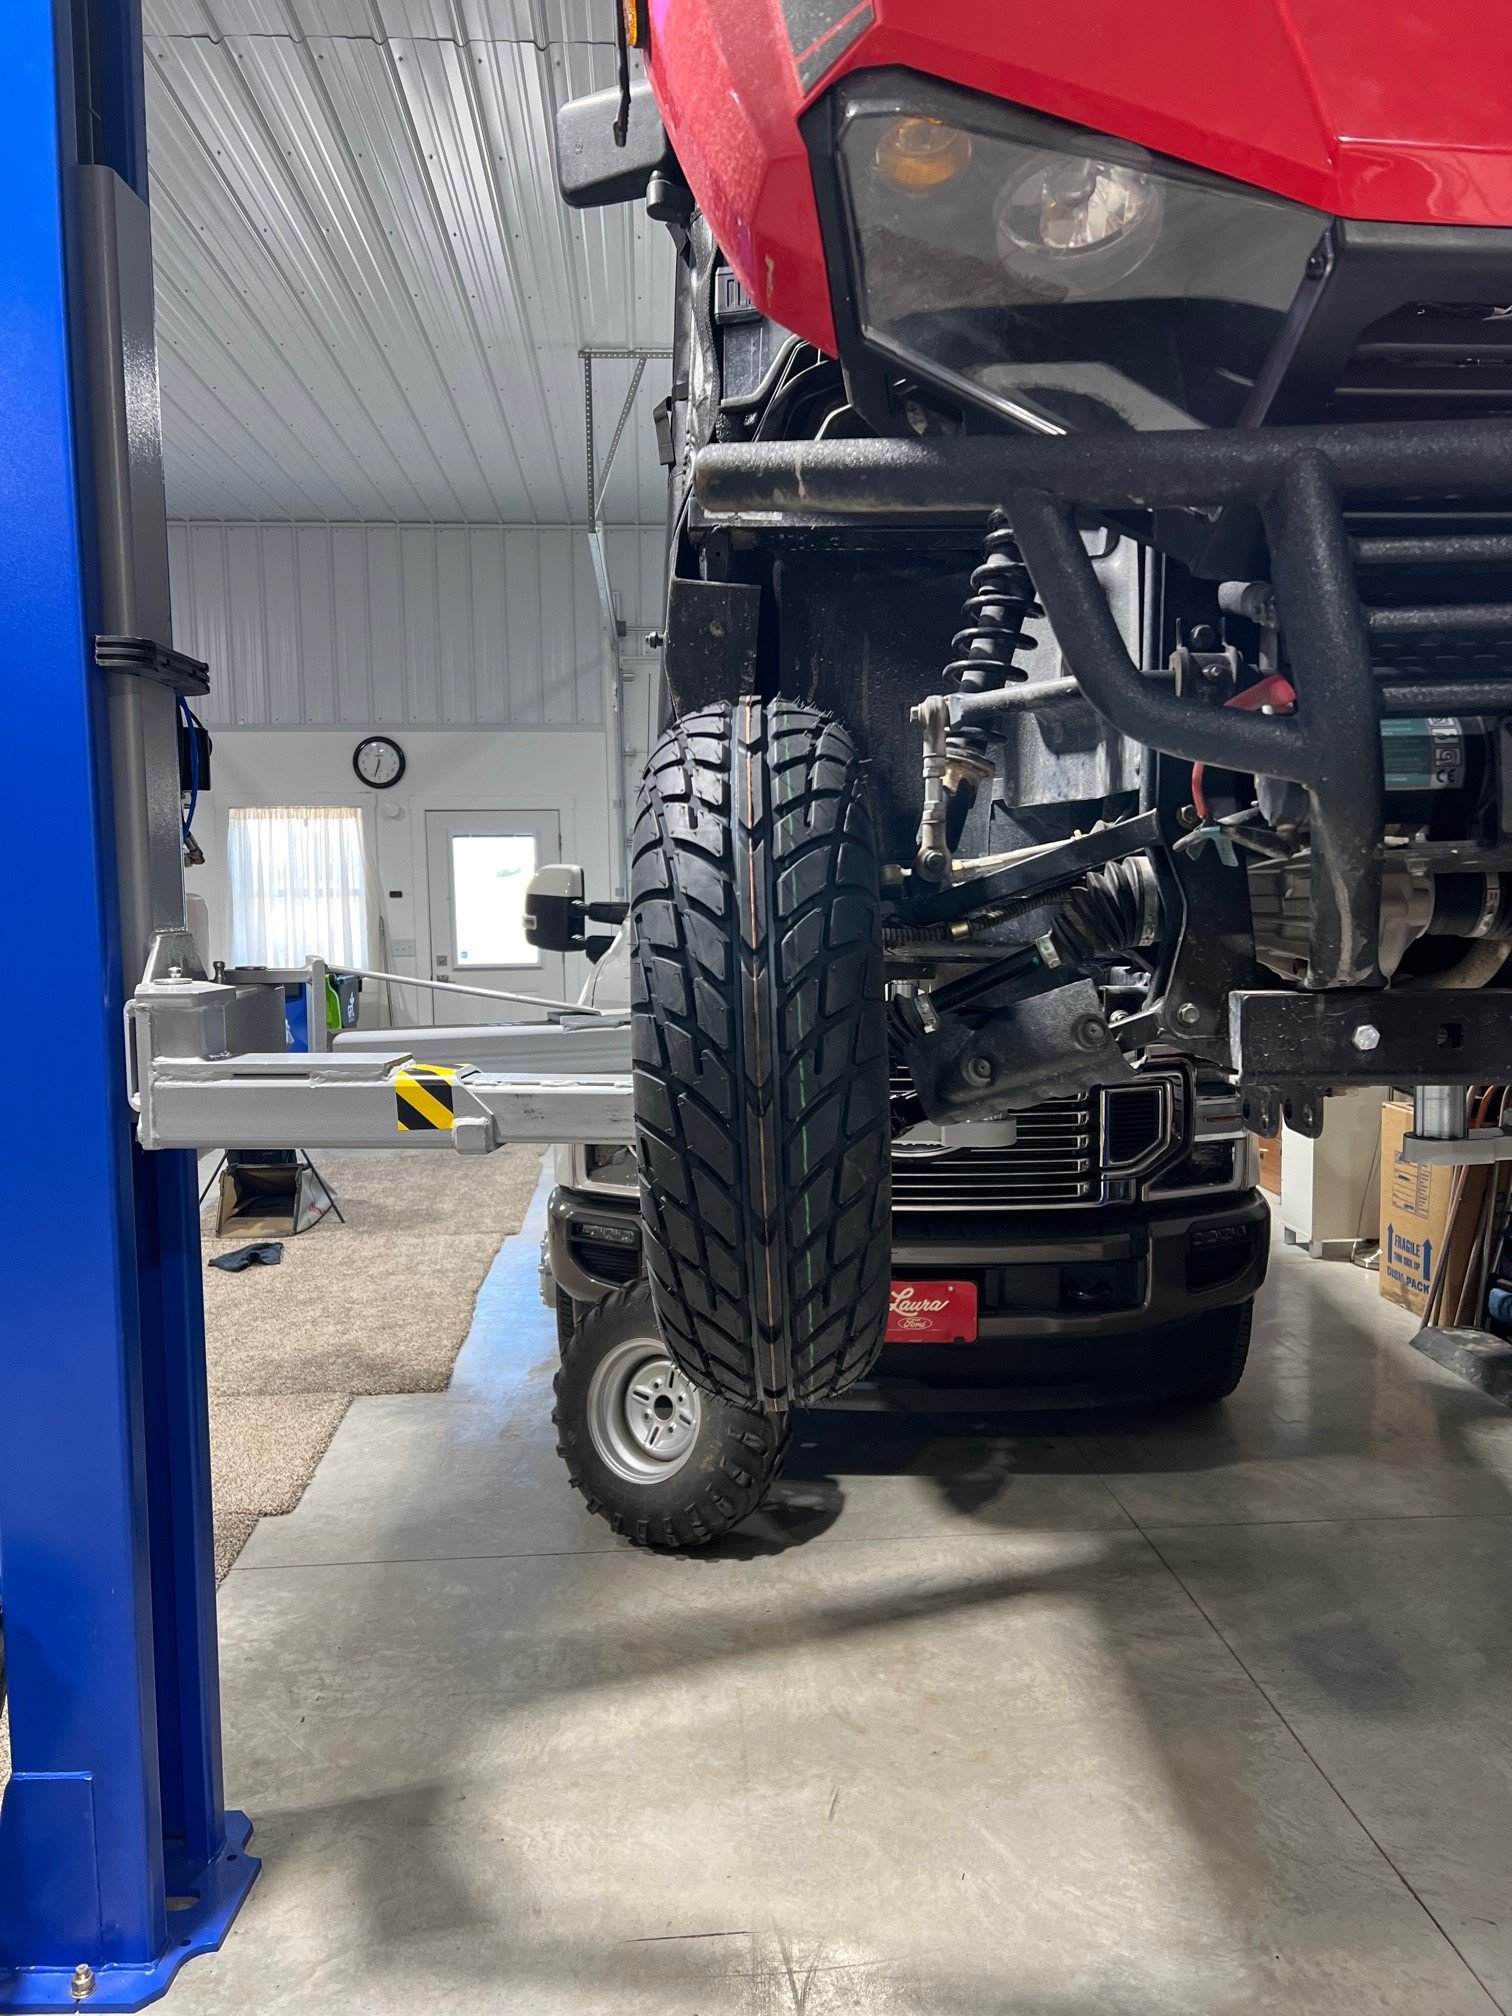
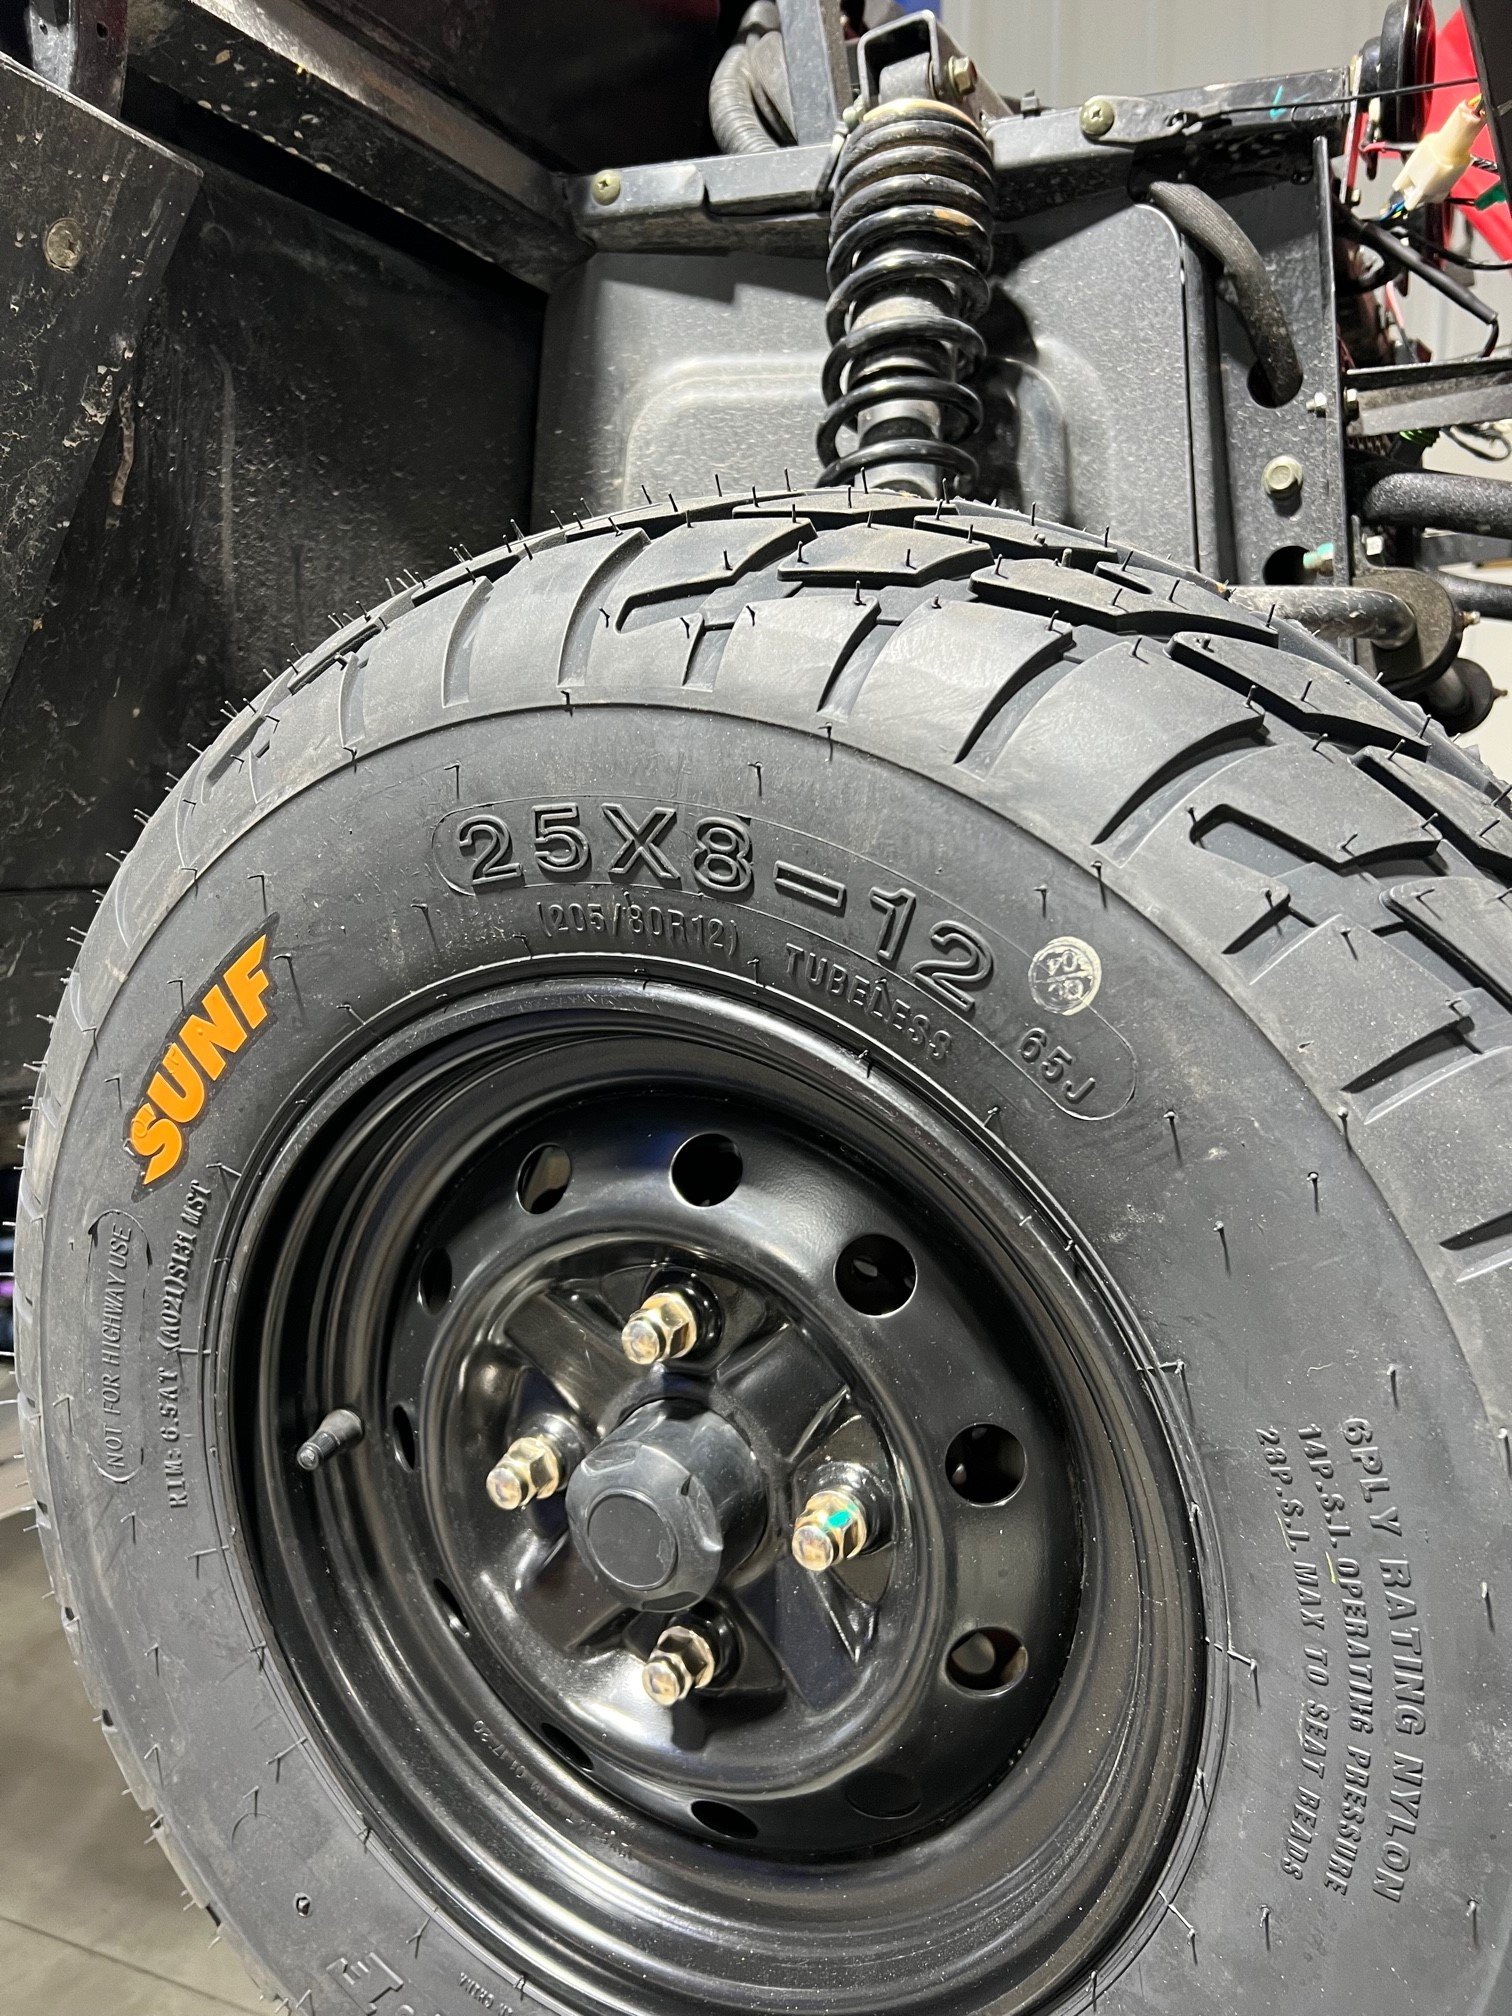
If you pay any attention to your UT400, you have probably noticed that the right front wheel tips in at the top a LOT. The left fronts seem to be about right from what I've seen. I look at them all when I'm at different stores just to see if they're all that way, and yes, they all seem to be that way. There "should" be adjustments on either the ball joints or the inner pivot points, but these are solid, not way to adjust them. I have the UT400 up on my 2-post lift and the right spindle seems to be around 3-deg tipped in at the top and the left spindle is about straight or maybe half a degree tipped in. This is at full suspension drop, not ride height. I took the shocks off and rotated the spindles from bottom travel to full max up travel, way more than the shocks will allow. The higher the spindle lift, the more tip in there is on both spindles. This is true because of the unequal upper and lower A-arms. It's just the nature of of the dual A-arms and them being unequal in length. I took the inner pivot 8mm bolts out and inserted a lot smaller 1/4" bolts and pushed the lower A-arm inward and the angle on the spindle decreased. I then took the top inner bolts out and did the same thing, but pulled out instead. This got the spindle equal to angle of camber on the left side. I used the offset in the holes to see how much I need to go on the lower alone. I was also concerned about bottoming out the axle assembly because the spindle centerline will not be a bit closer to the front diff. But as it all turned out, it was not close to bottoming out. I cut about 1/4" out of the two 1" A-arm tubes as they were welded to the lower ball joint mount casting. I tack welded them back together and trial fit it all together. That seemed to be about right. I took it all back apart and welded it up solid. Now it all looks to match the left side quite well. Also want to use this in our yard and the stock tires are NOT turf friendly, especially with the solid "spool" rear differential. I found these on Amazon, 25x12-12" and 25x8-12" hard pack race tires as they're called. They're 6-ply and tubeless. The initial probably I had was that the size rating was not even close to the actual size. They said, install and then recheck the diameters and I did. They did get larger, but the rears are more than 1" smaller in diameter than the side wall stamping. Instead of 25", they're 23.75" tall. What I DON'T WANT are shorter tires. I had already purchased the used wheels at 12" to match the original factory diameter, but in hindsight I would now opt for 14" wheels with 4x110mm bolt pattern and would have been able to find a tire in the 27" diameter range a lot easier and cheaper. Live and learn they say. Here are some pictures of before and after.