SXSA Gallery updated!
-
Similar Topics
-
By fishhouse3
FOR SALE: 2021 CFMOTO ZForce 800 Trail with many extras and full warranty until 2027. Only 625 miles and 50 hours of use.
In great condition, has a clean title and one adult owner. Has had all scheduled regular maintenance and has not been abused. Only used about six times on weekend trips to Hatfield-McCoy trails in WV.
Under full CFMOTO Care bumper-to-bumper extended warranty until 8/2027 (paid $1,600). Full service and tune up just completed with new clutch, drive shaft, belt, rollers, etc (paid $1500). Plus it comes with over $3,500 in upgrades and accessories! Way too many included items to list here (see last pics for full details).
This machine is ready to go and needs nothing - just hop in and hit the trails! I have over $20k invested in this machine. Priced VERY fair to sell quick at less than half that!!!
$9,999 WITHOUT warranty -OR- $10,999 WITH full extended warranty until 8/2027.
Located in Chesterfield, VA 23832. Message me for more pics and info!
-
By dman66
My buddy has a ut400 that the forward gear keeps popping out of gear. She only has like 400 miles on the odometer .the shift cable has been adjusted and the shift lever has been updated / modified. All other gears are good. Is there an internal detent cam or something that wears out or shift fork that can be replaced ? Or is there some other magic that I can perform ? Looks like the engine needs to be split.
-
By WCF
Hi Joyner Gang
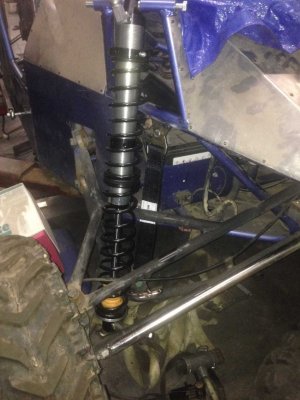
New to the Joyner group. I'm making long travel for the 1100 Sand viper. I'm trying to make something that will work as well or even better than the RZR Rino etc. At this time the front has 14" travel rear has 16" of travel. Still developing the suspension. comets are welcome. Ask questions and I will get back to the Forum
?
-
By Red Good
Serial # a8mv86futja001002 , no search engine will give me a model , it has a 471 engine . Is massimo always hard to get hold of ? No answer to emails or phone calls ?
-
By Ronald
Check engine light comes on after engine runs continuously for 5 minutes or so. I can shut down the engine and restart and check engine light goes out, then comes back on after running 5 minutes or so? What ya think?
-


Recommended Posts
Join the conversation
You can post now and register later. If you have an account, sign in now to post with your account.