
Leaderboard


Popular Content
Showing content with the highest reputation on 10/16/2017 in all areas
-
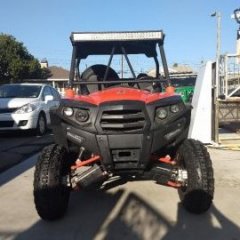
Hello! New guy from sweden here. did buy a 800 Widebody from 2015! Seems like its an odd utv? Wanted to get tracks to it but everybody said it didn't work. But couln't say why.. Buuuut. it did..1 point
-
Probably ought to put a bigger bumper on the front in case you hit Sasquatch..1 point
-
Well my unit is well out of warranty, but most of my problems have been minor. Mostly loose nuts and bolts and the main gauge is not working properly. But like any manufacture they all offer very limited warranty due the off road nature of them. Lucky me I am a master mechanic and happen to be able to repair most of the problems myself. I really don't have a dealer near me that makes it easy to take it to. Having to do a lot of the repairs myself has also taught me alot about the Hisun UTV's. Overall I am happy with the product and performance. I knew going into it what I was getting into and really have no regrets. Glad you were able to work things out. if you ever have any questions, let me know and I'll be happy to help you out.1 point
-
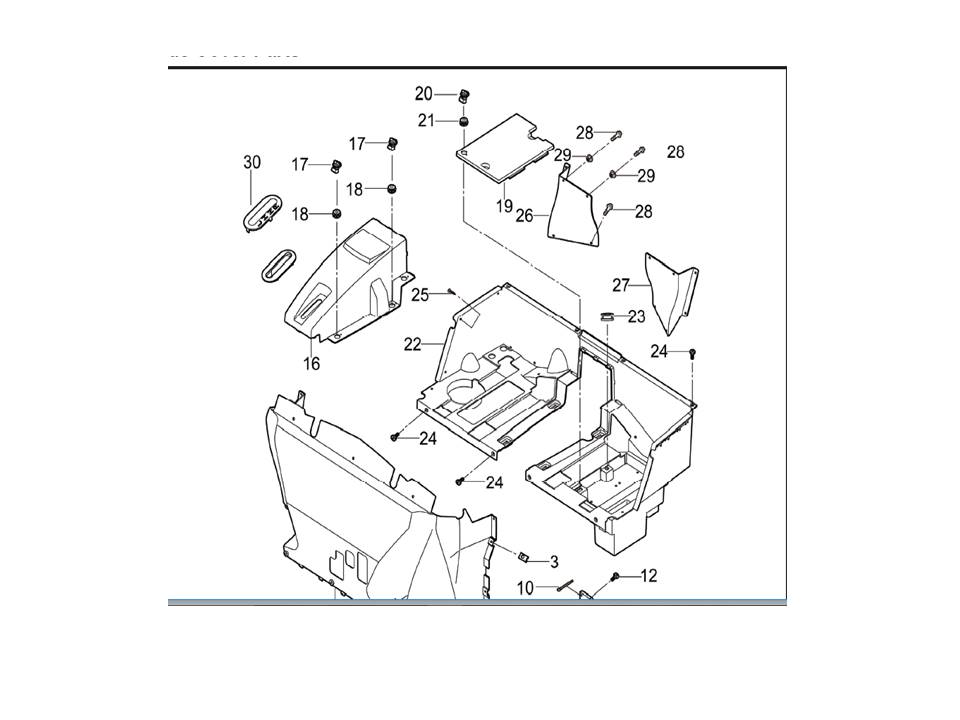
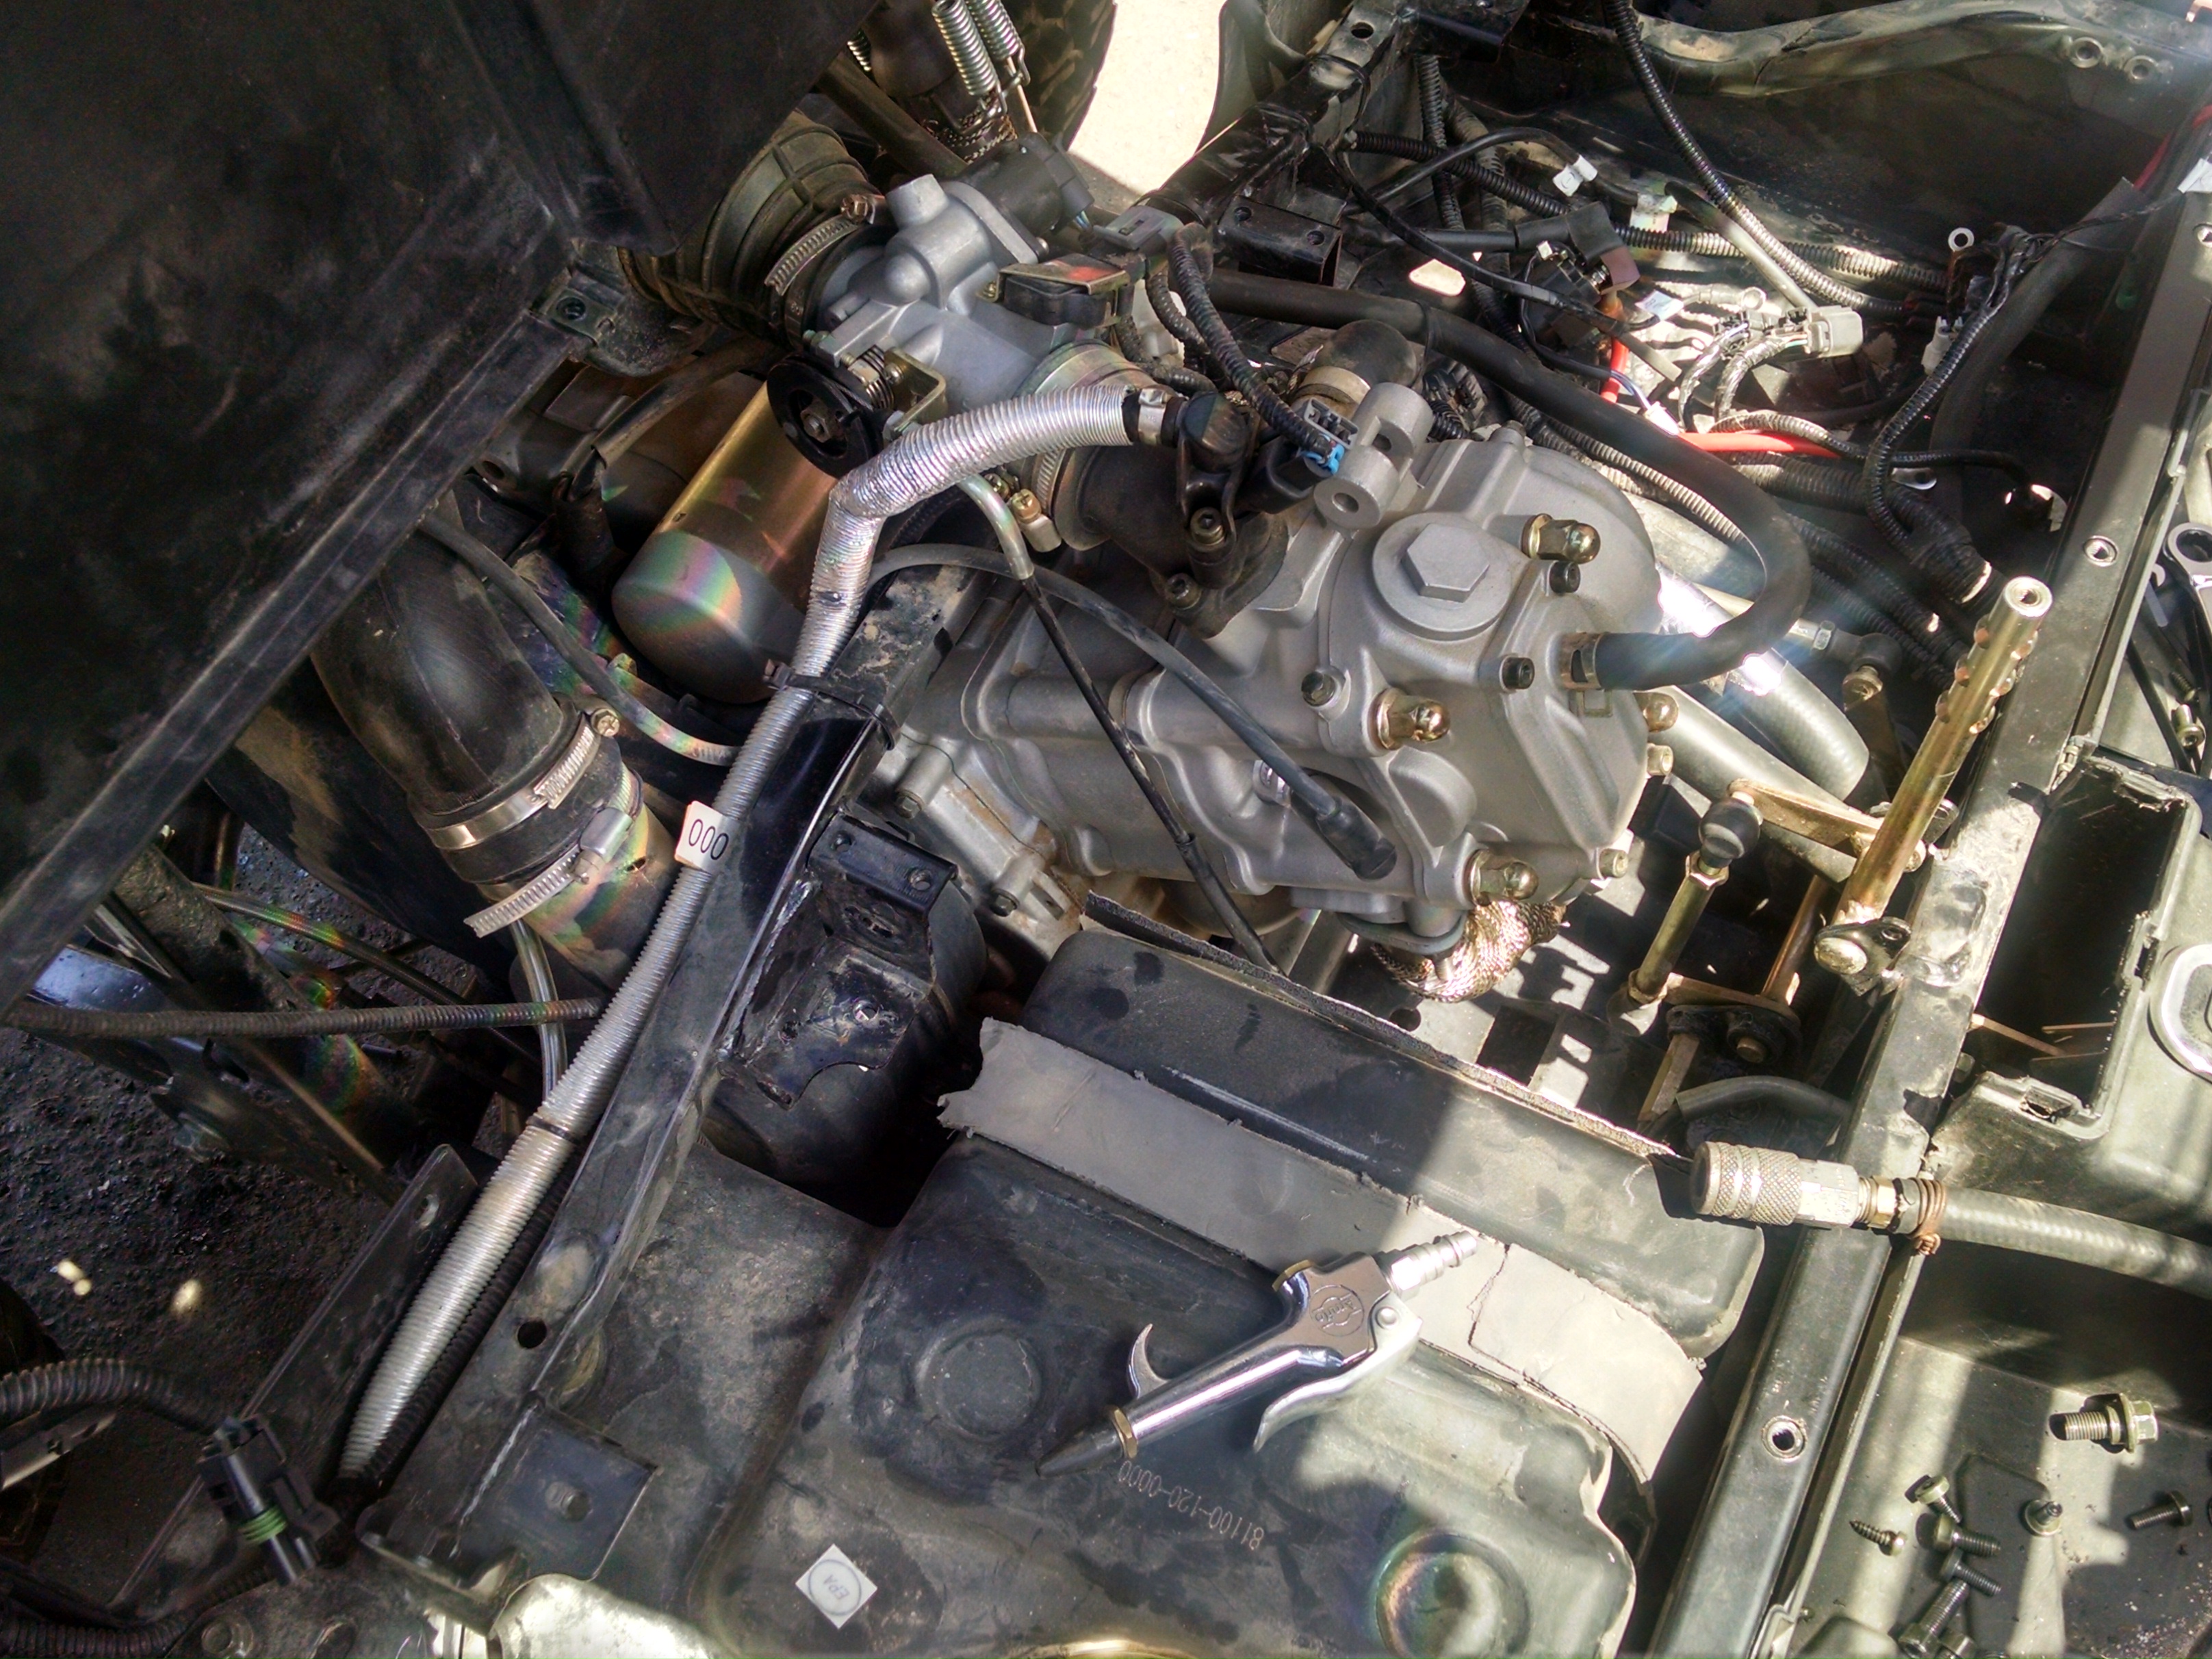
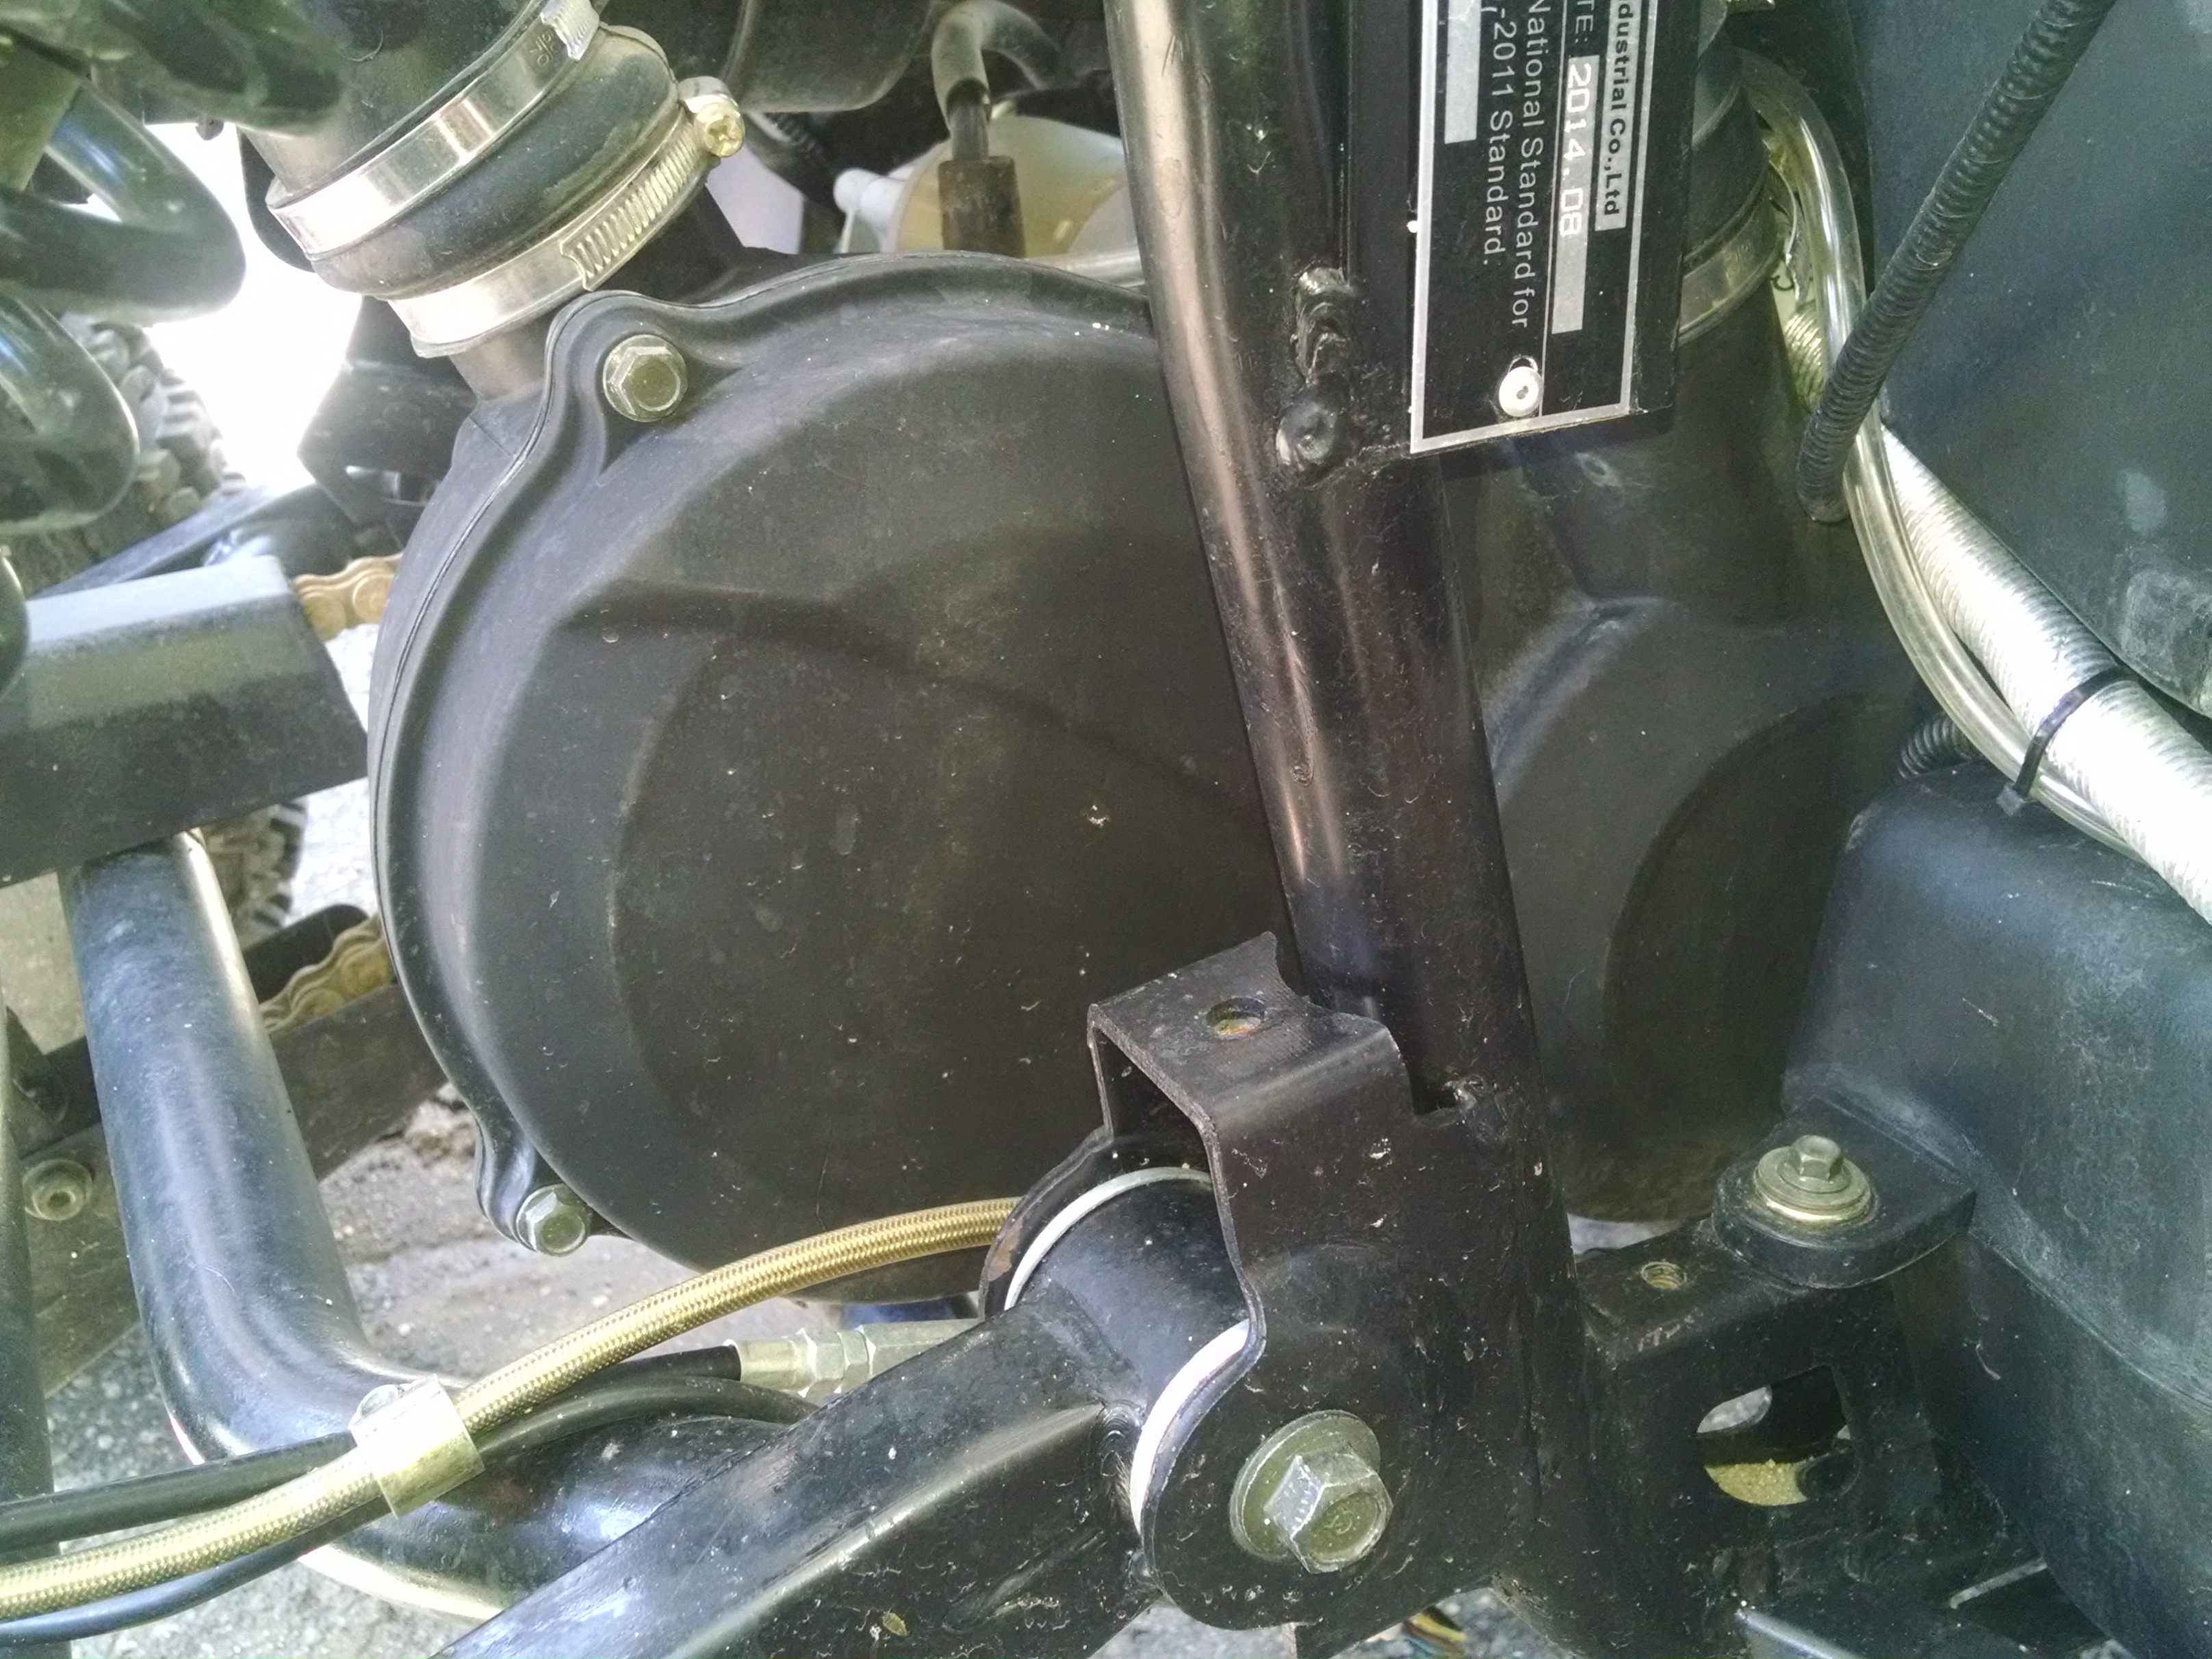
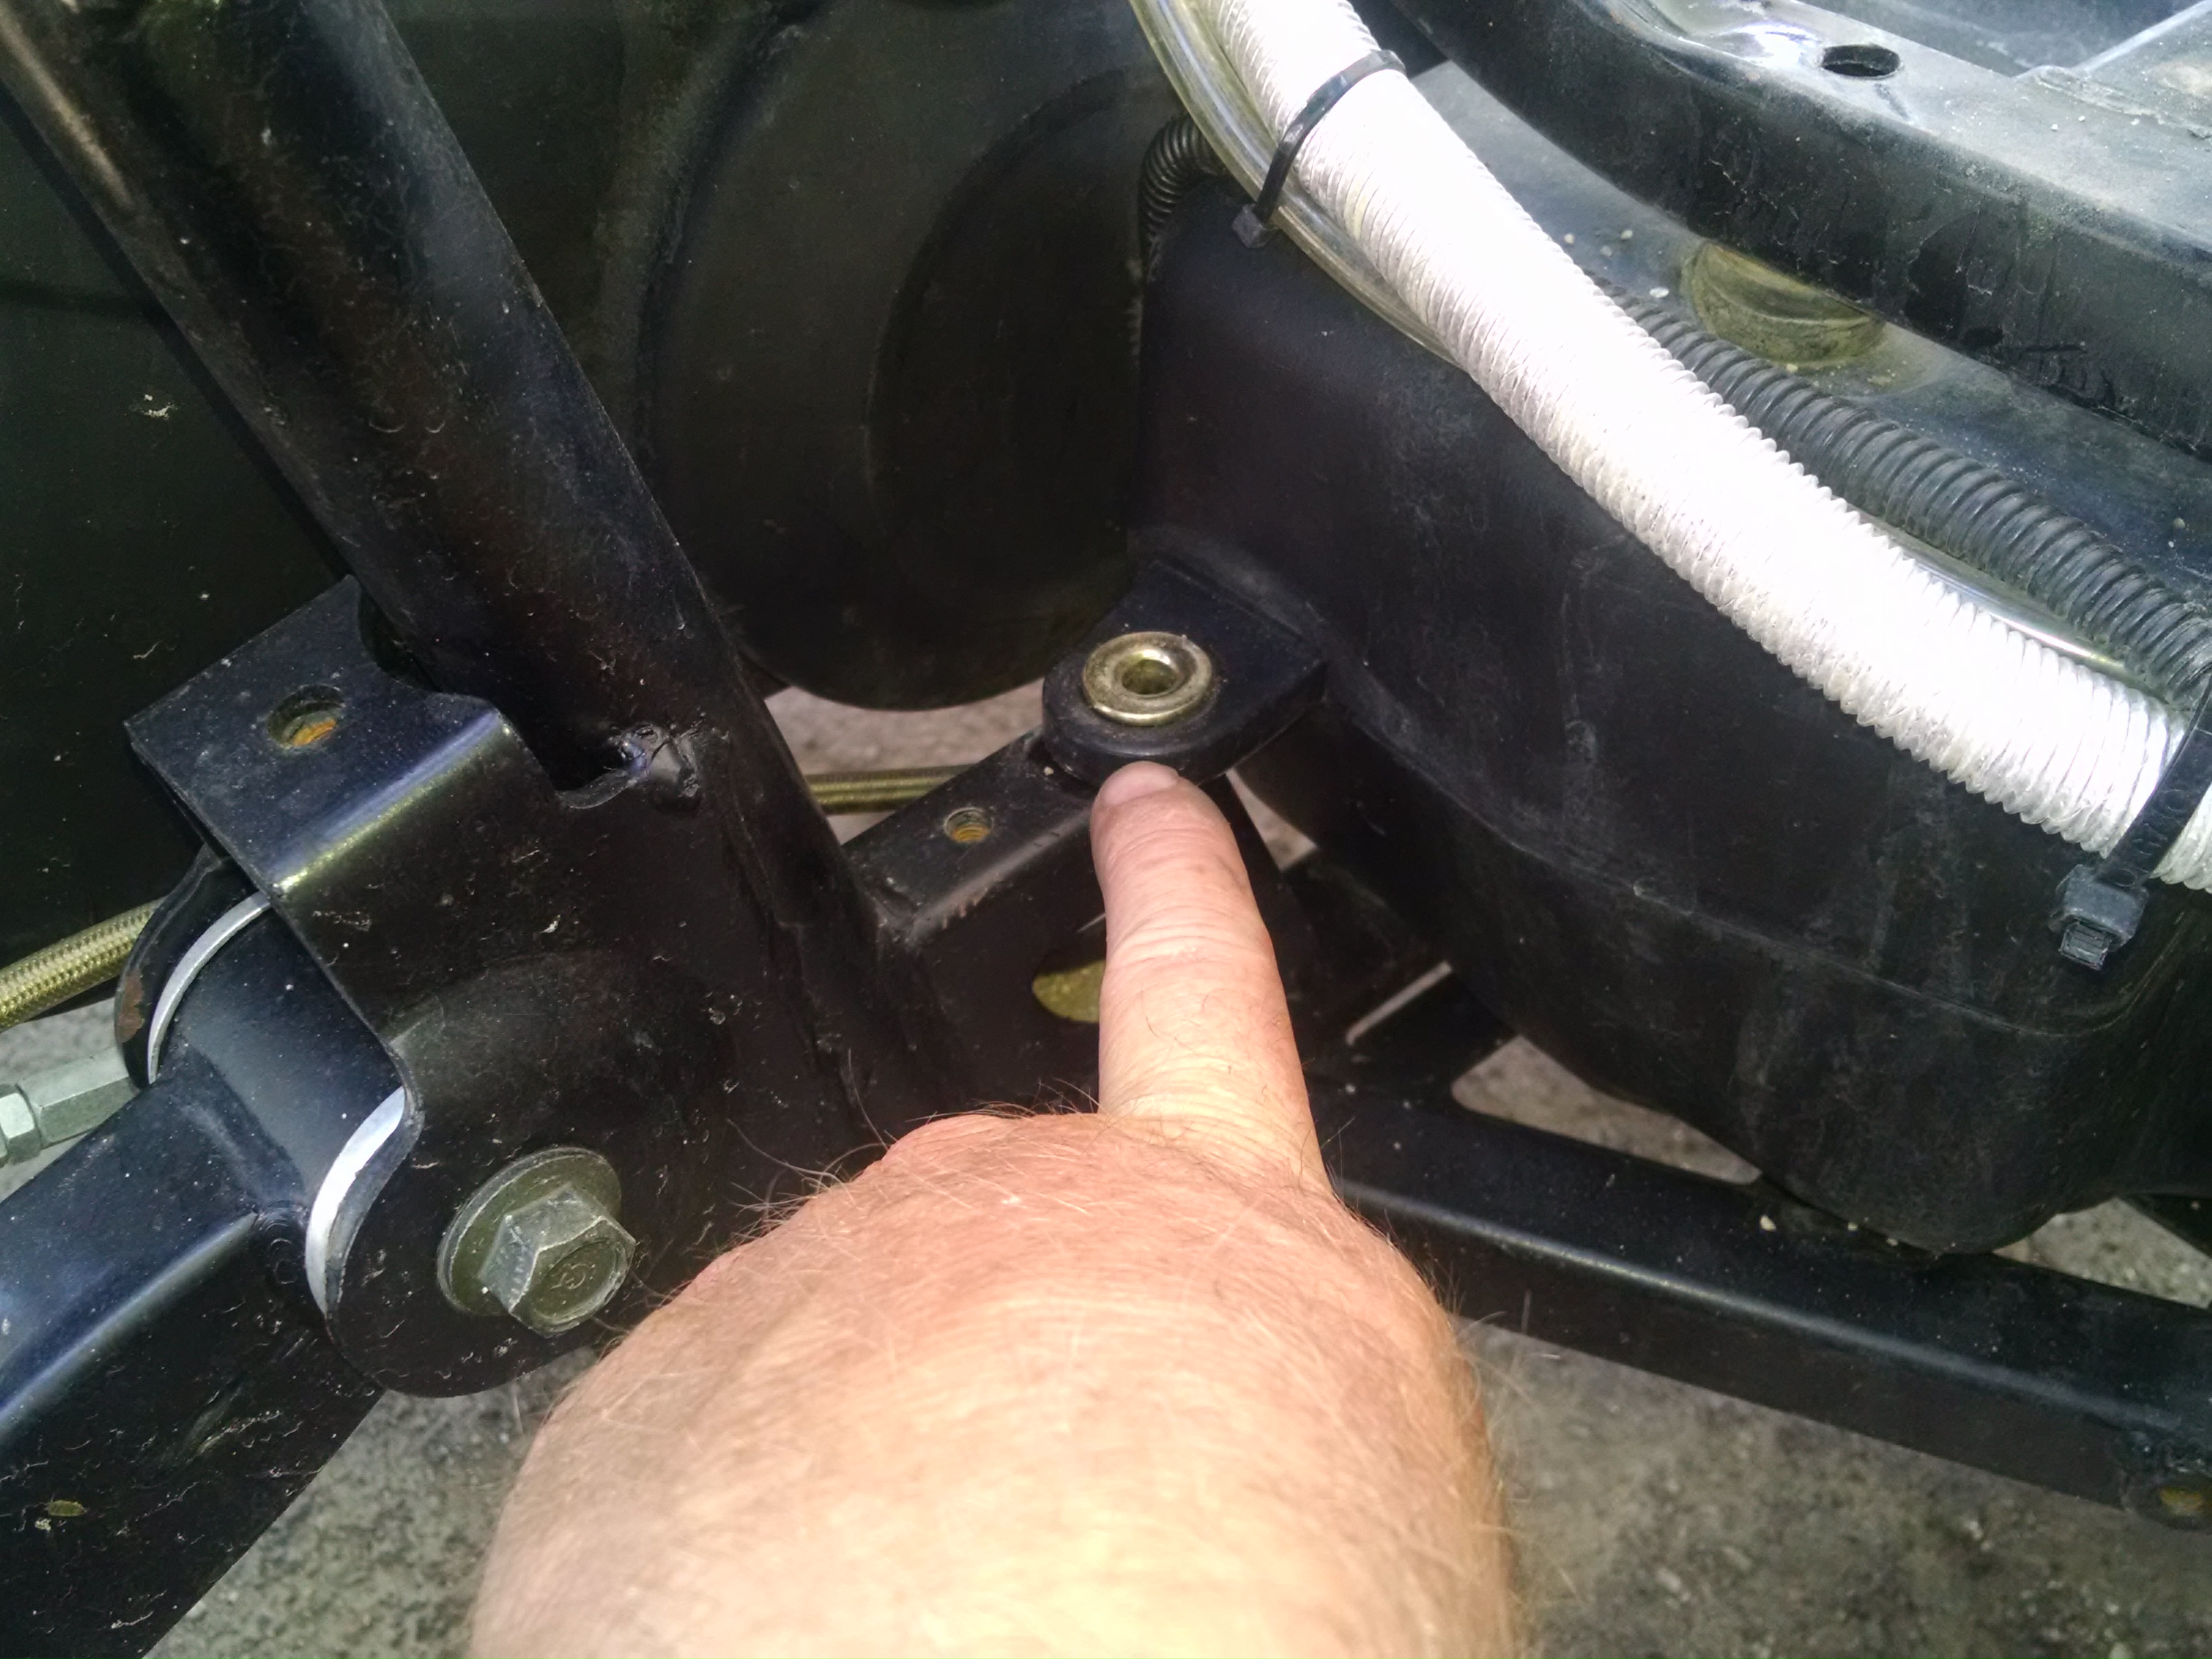
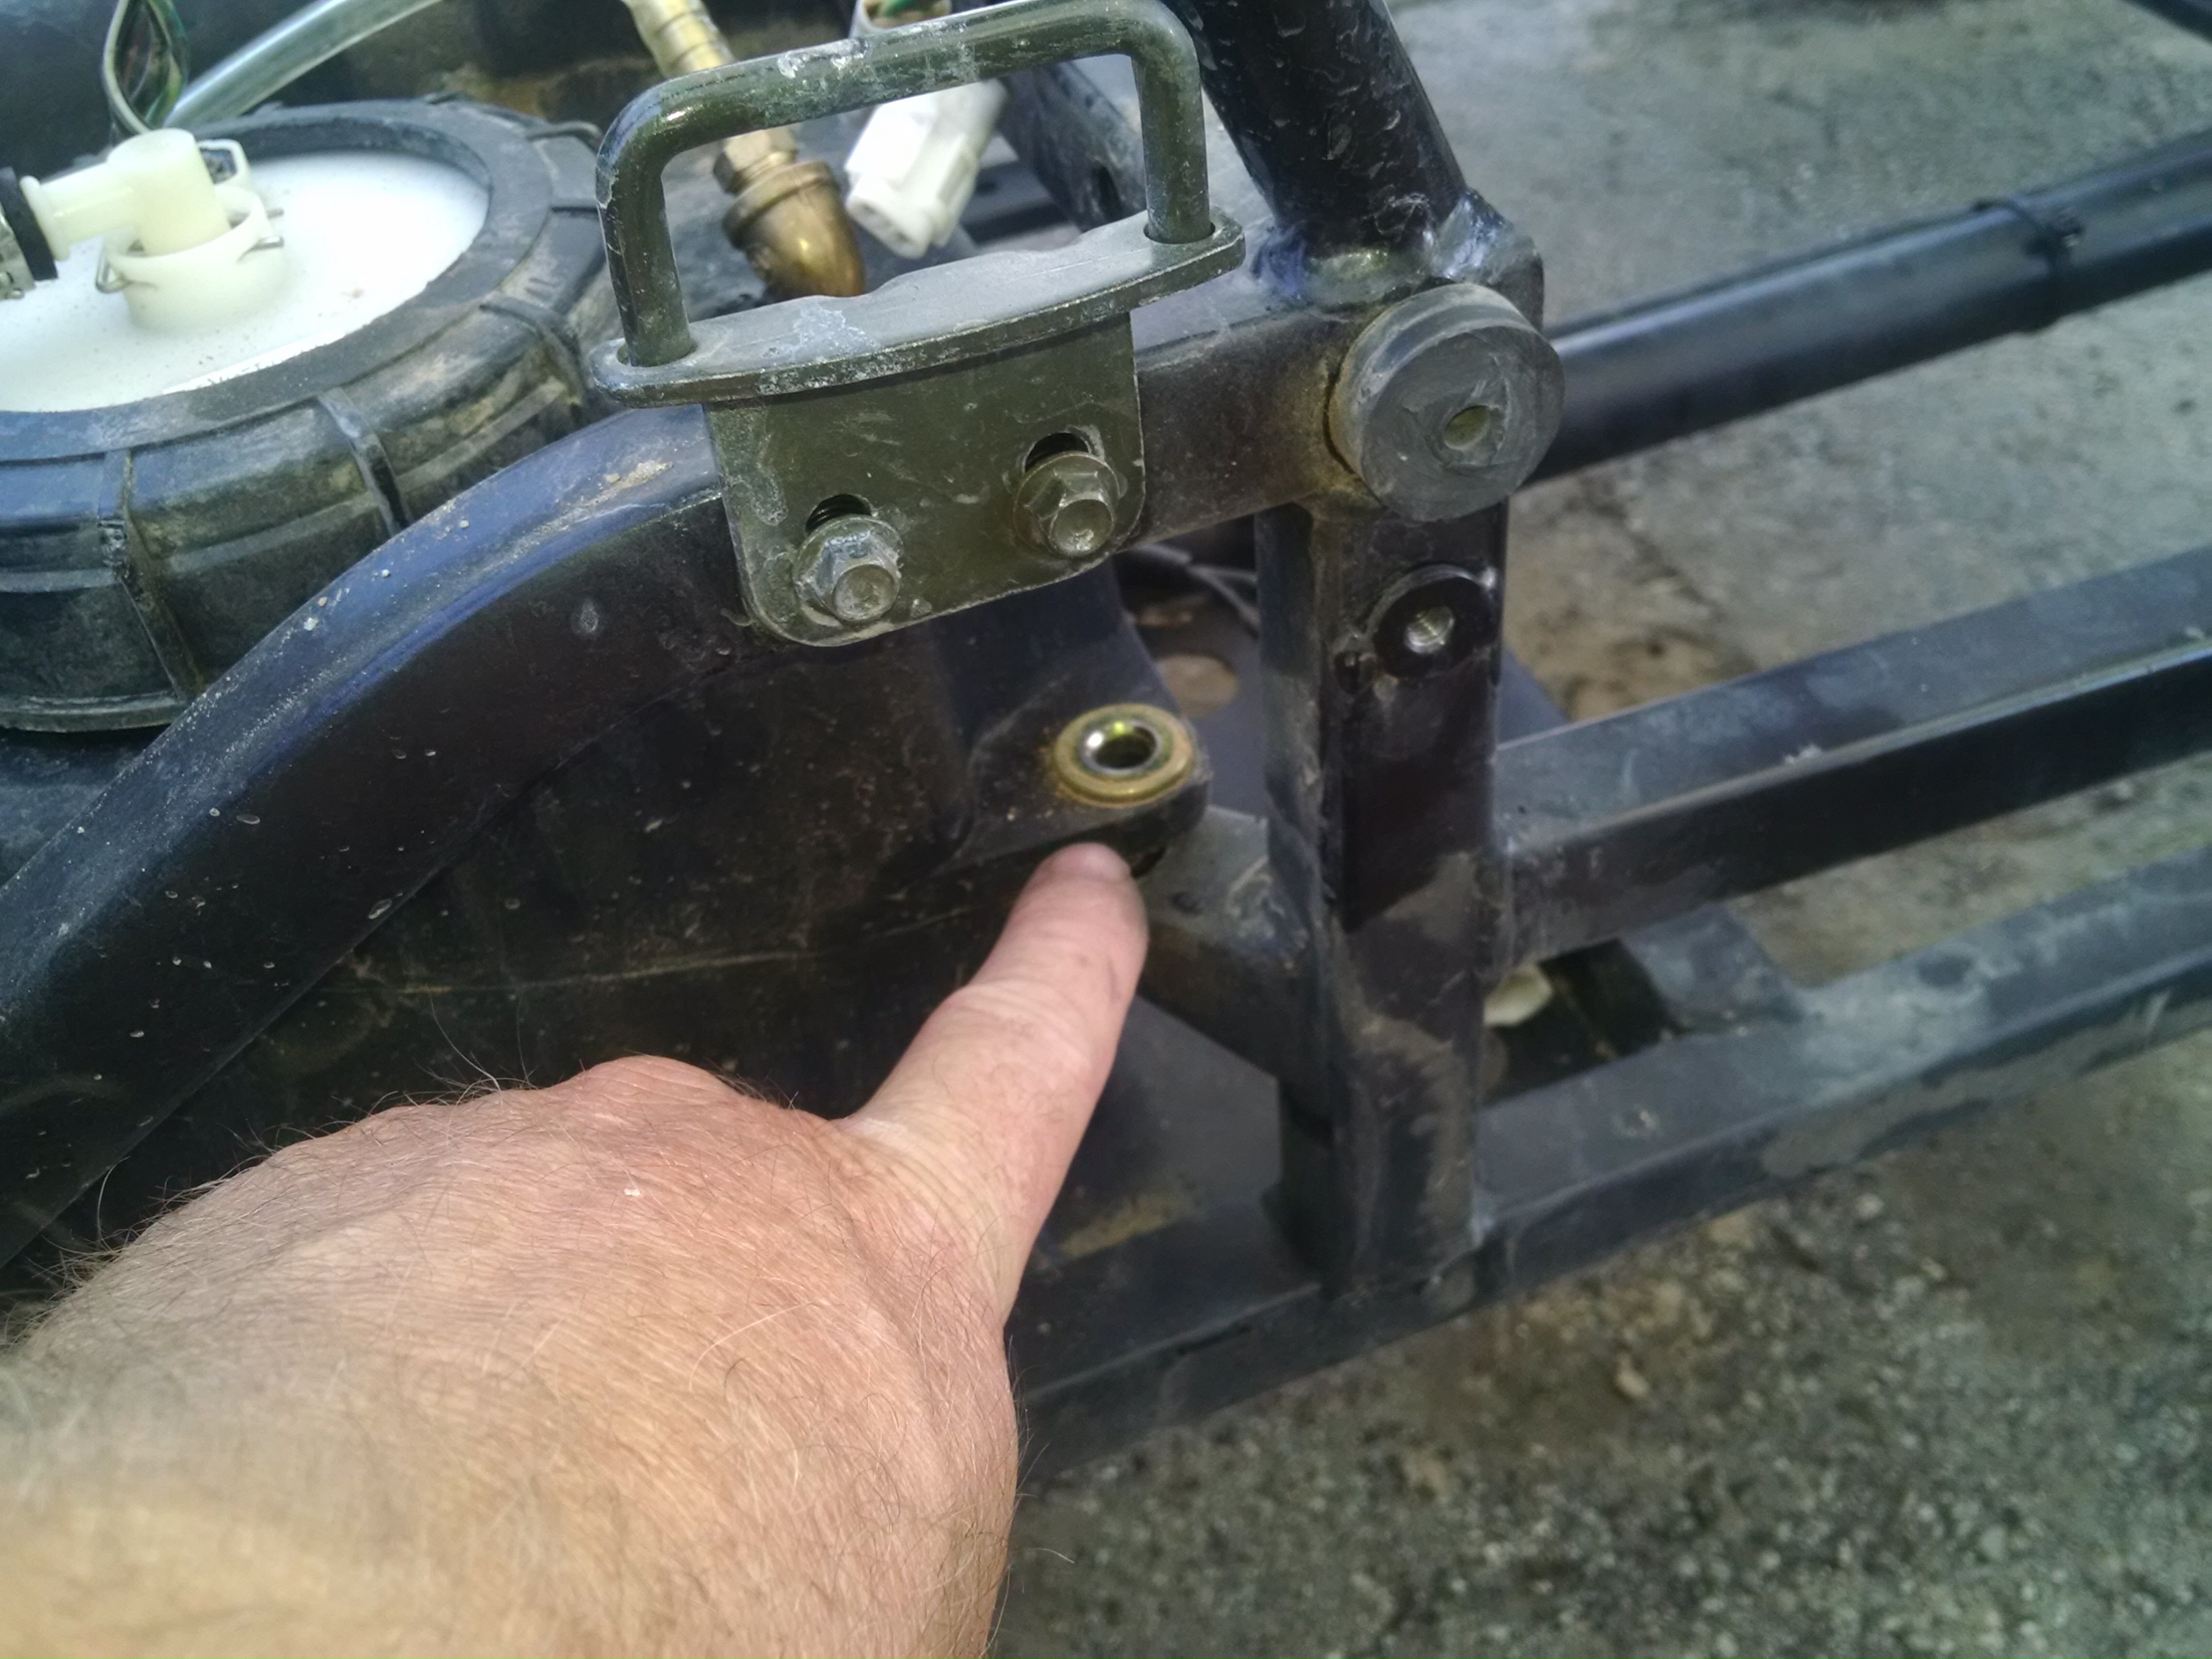
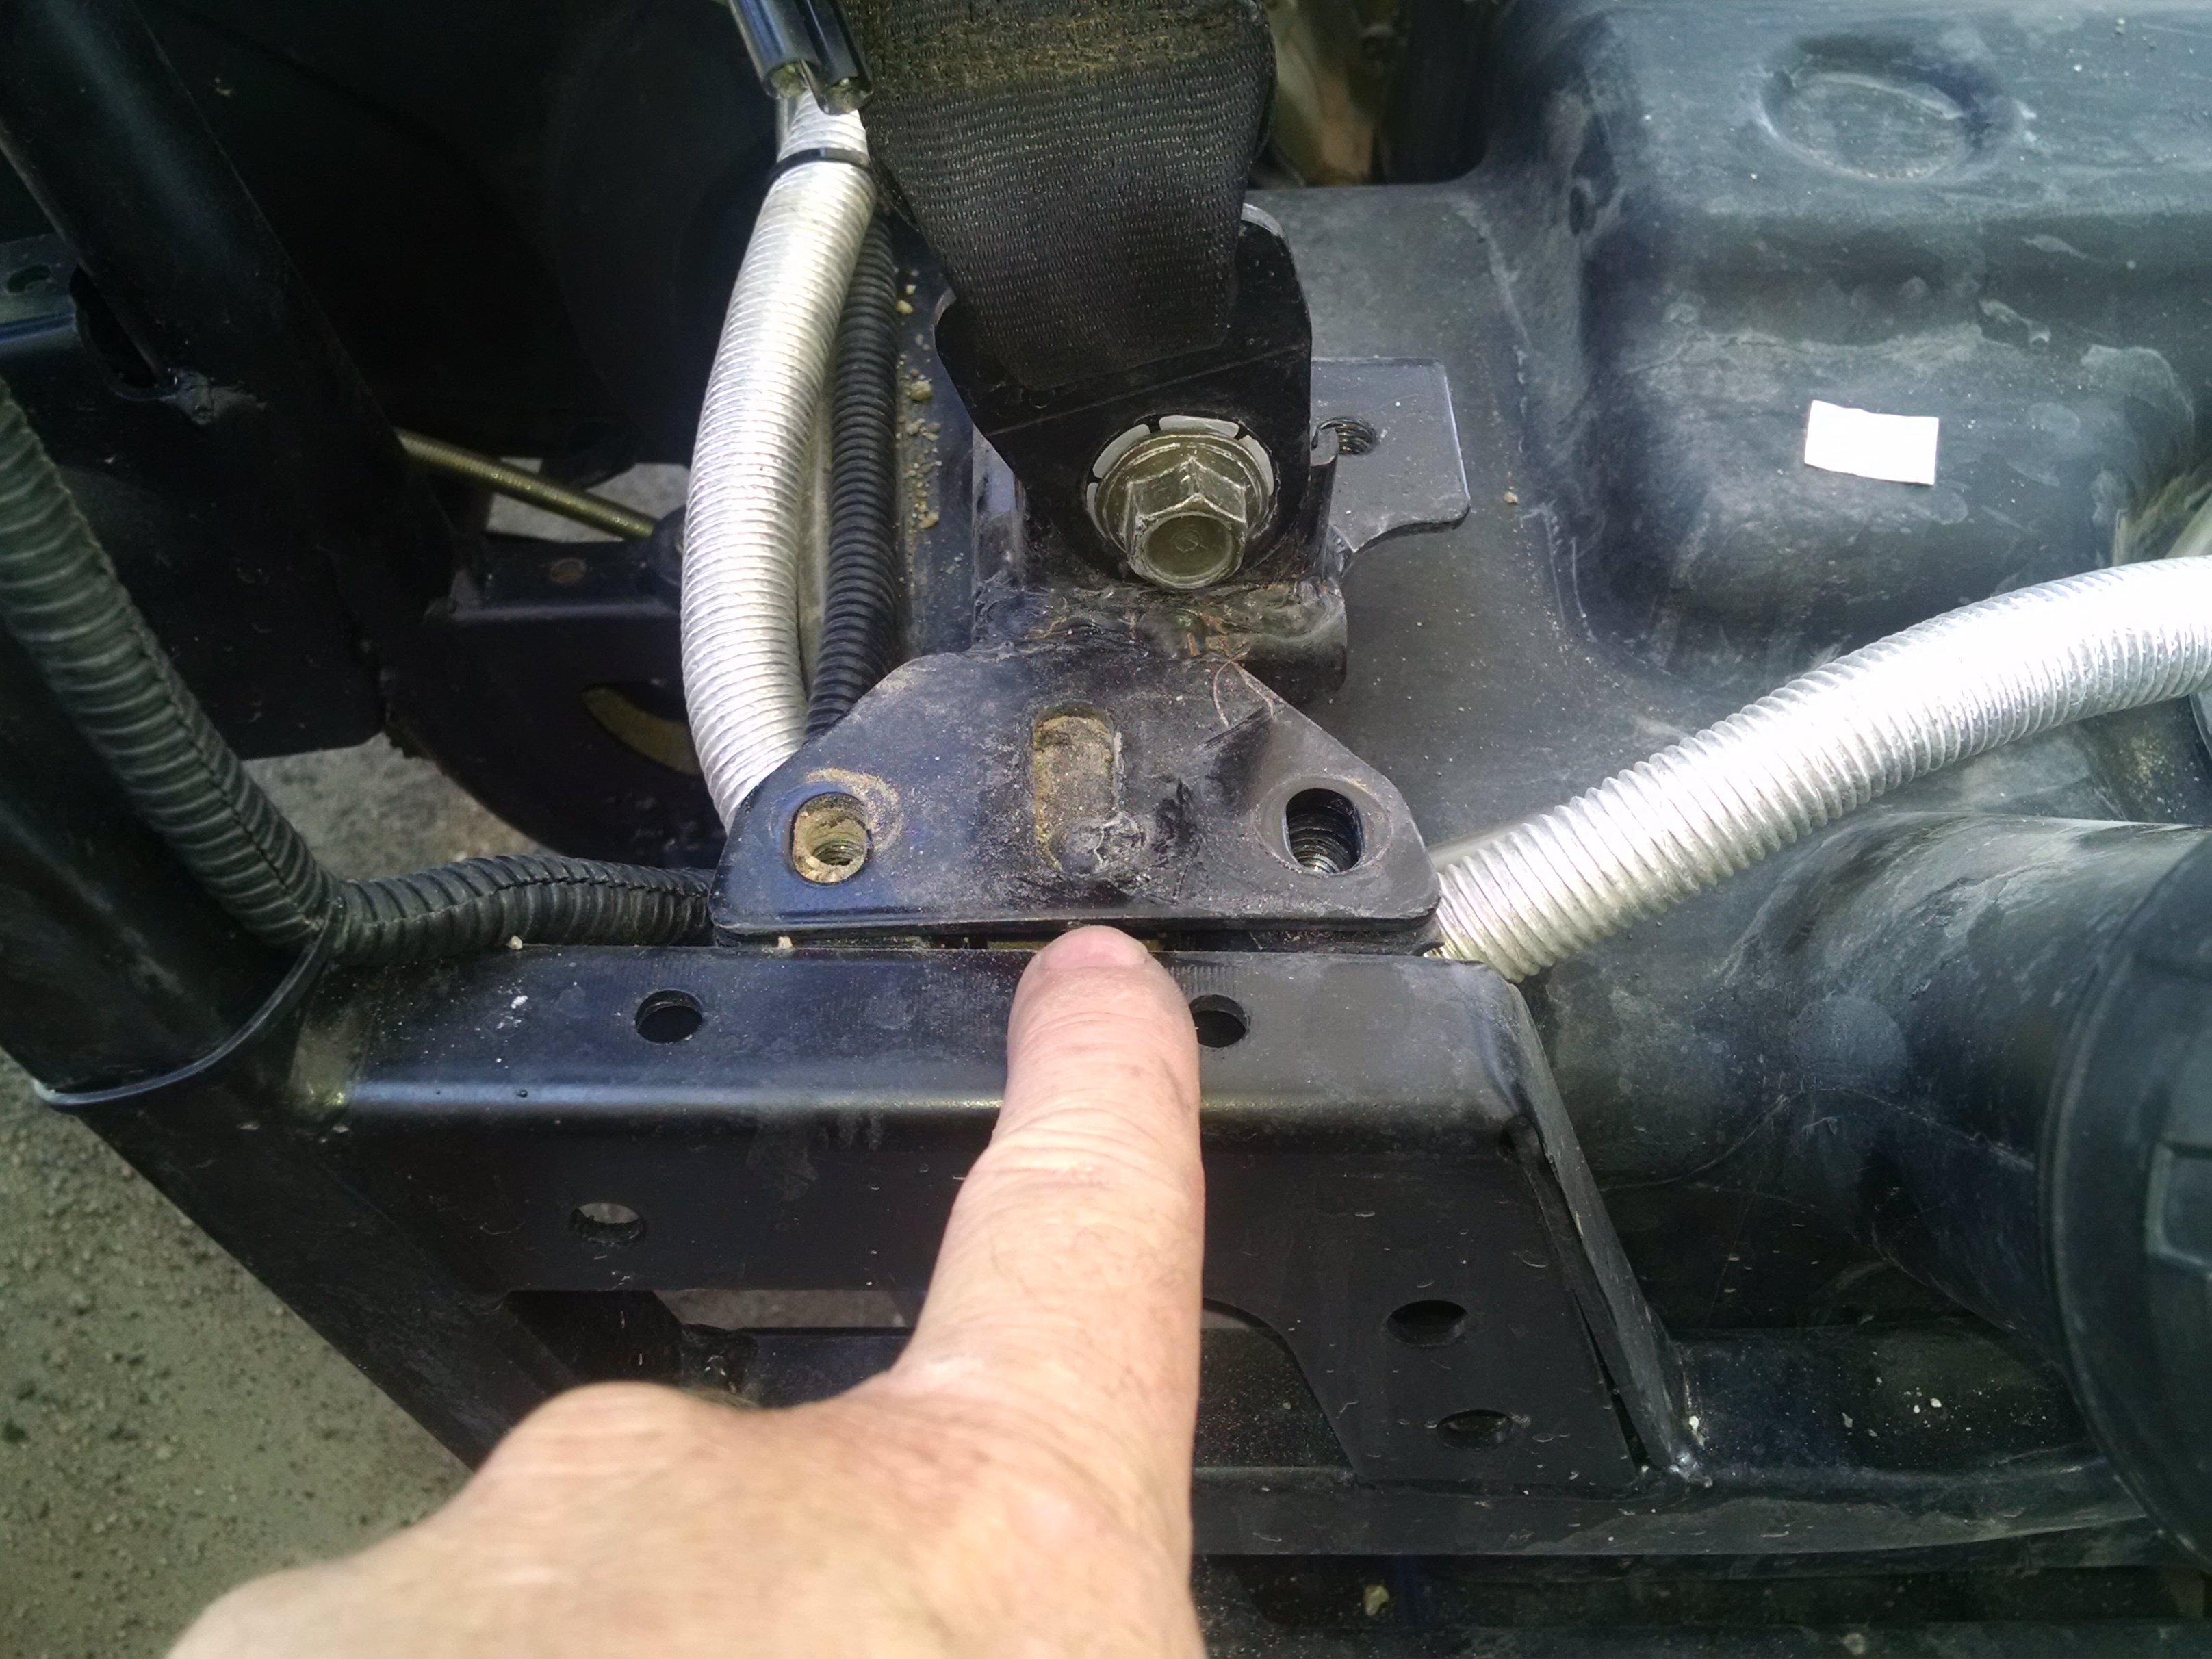
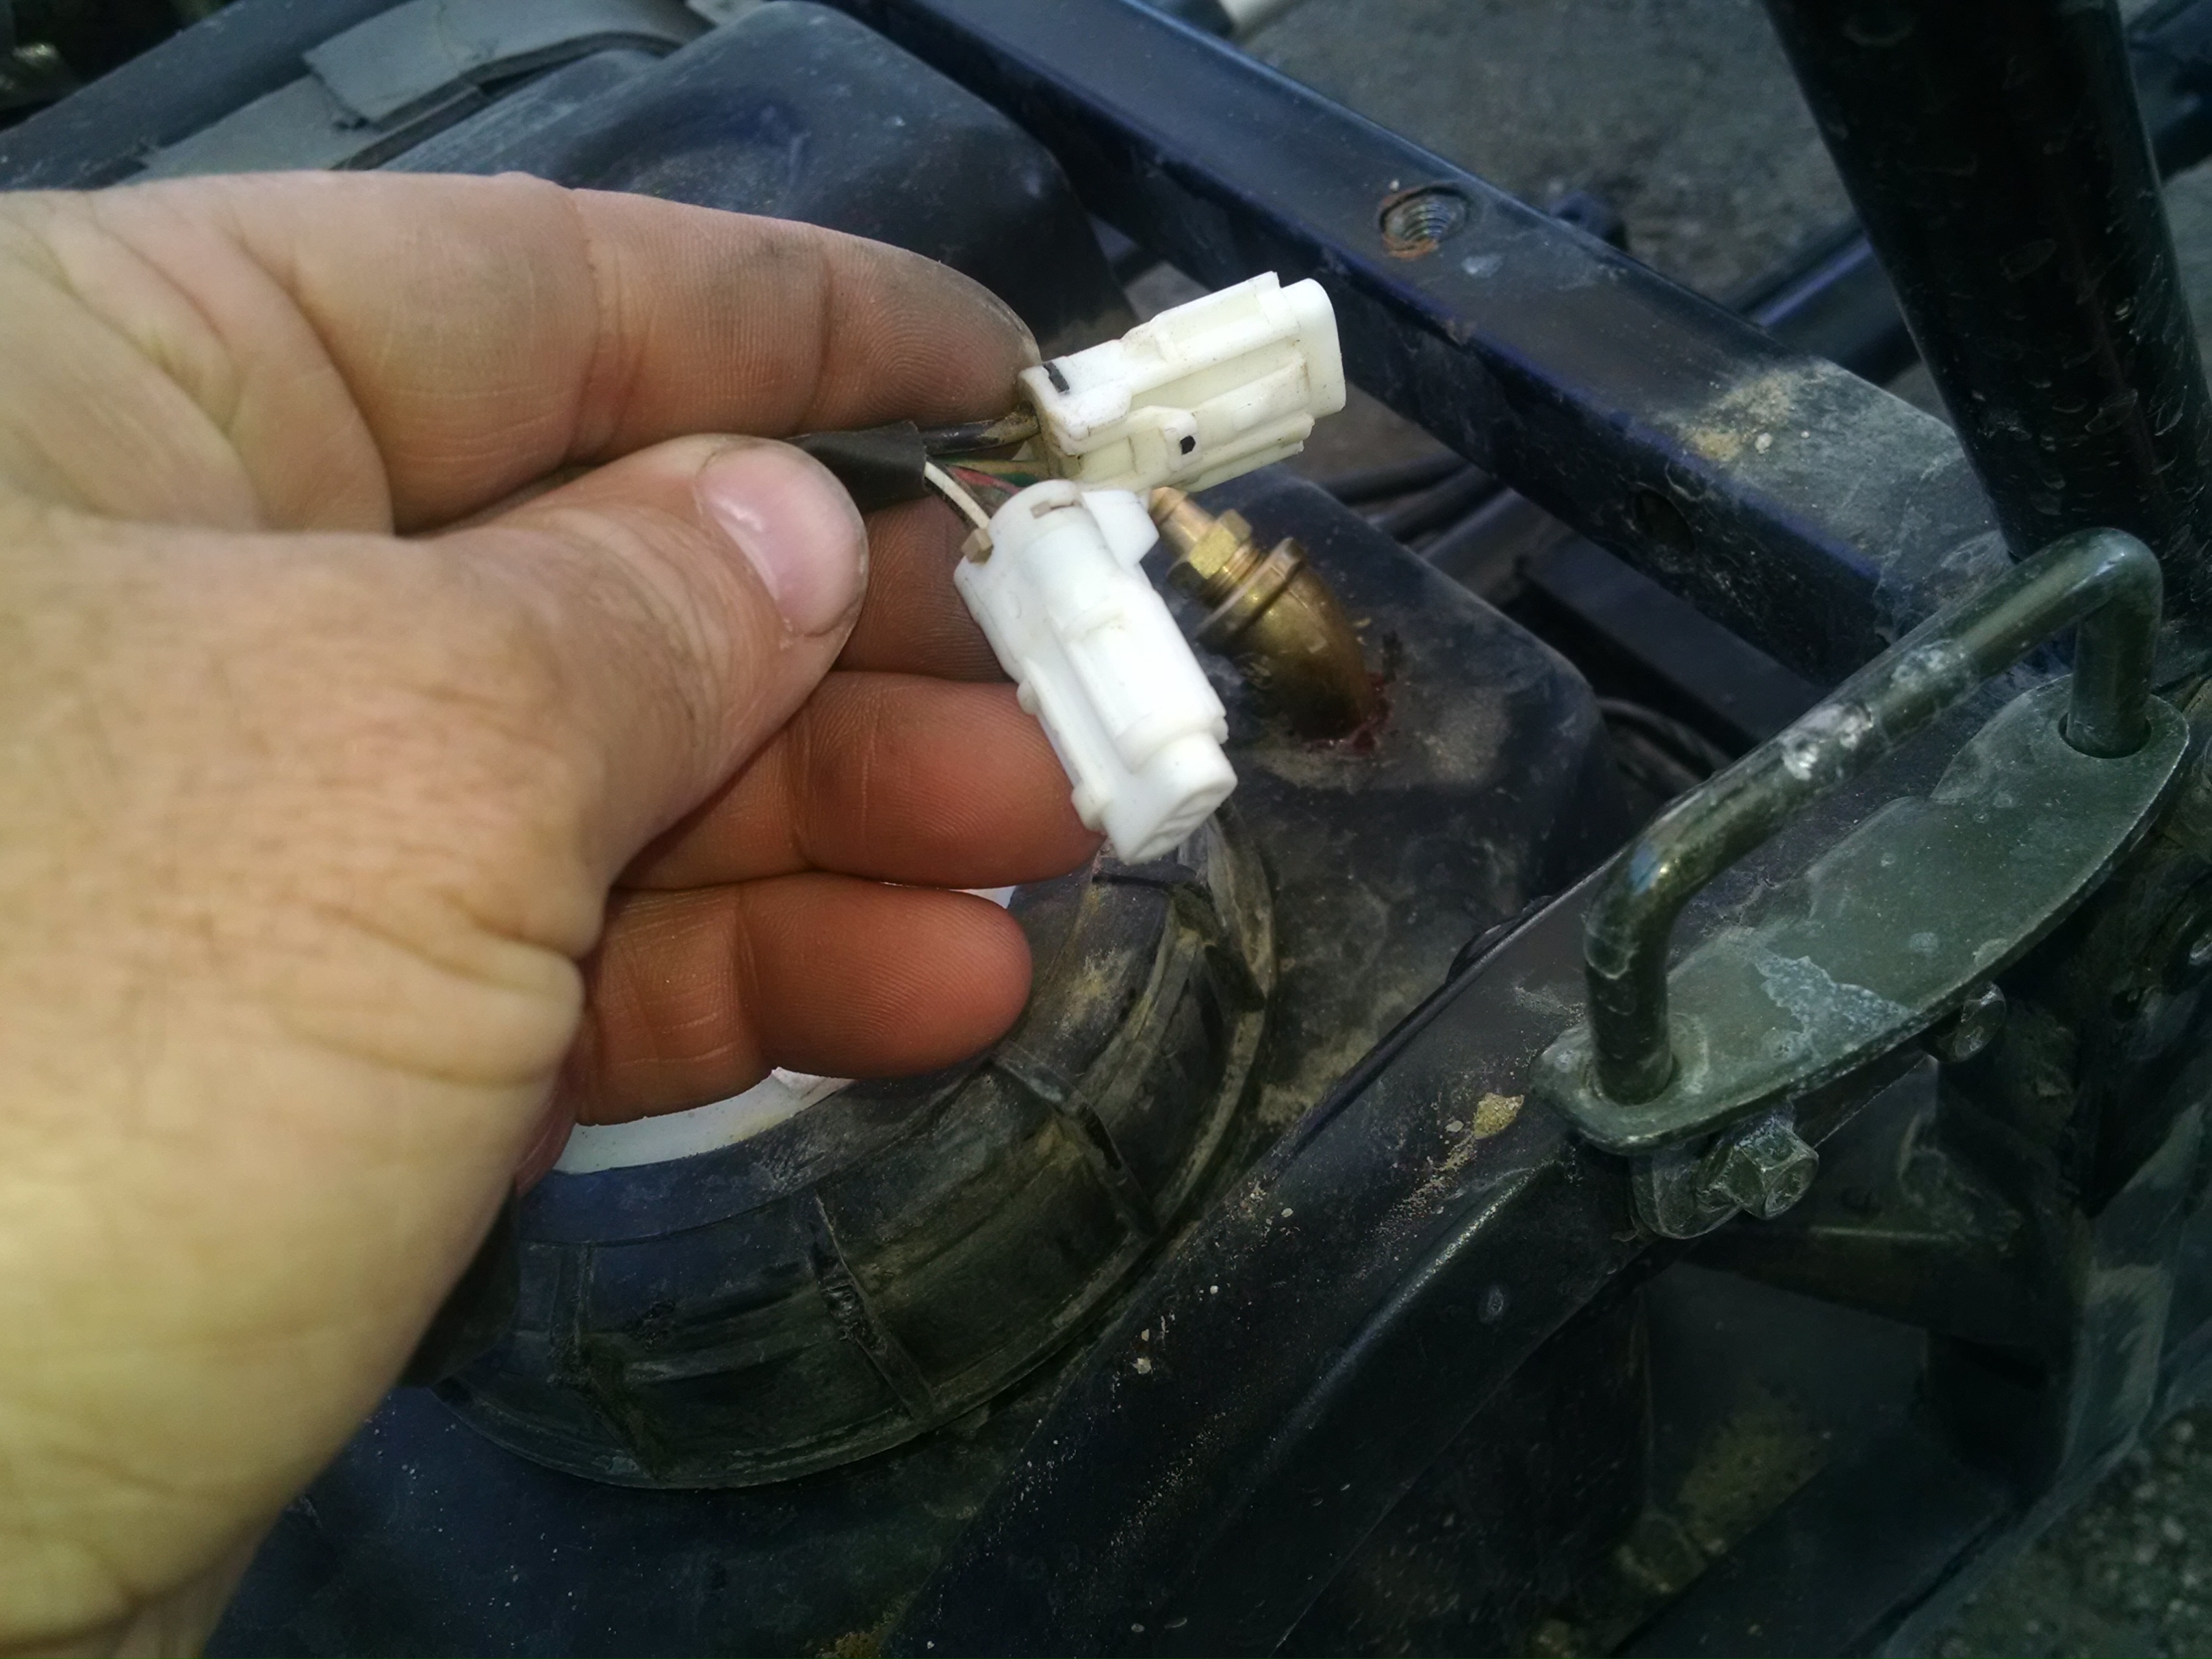
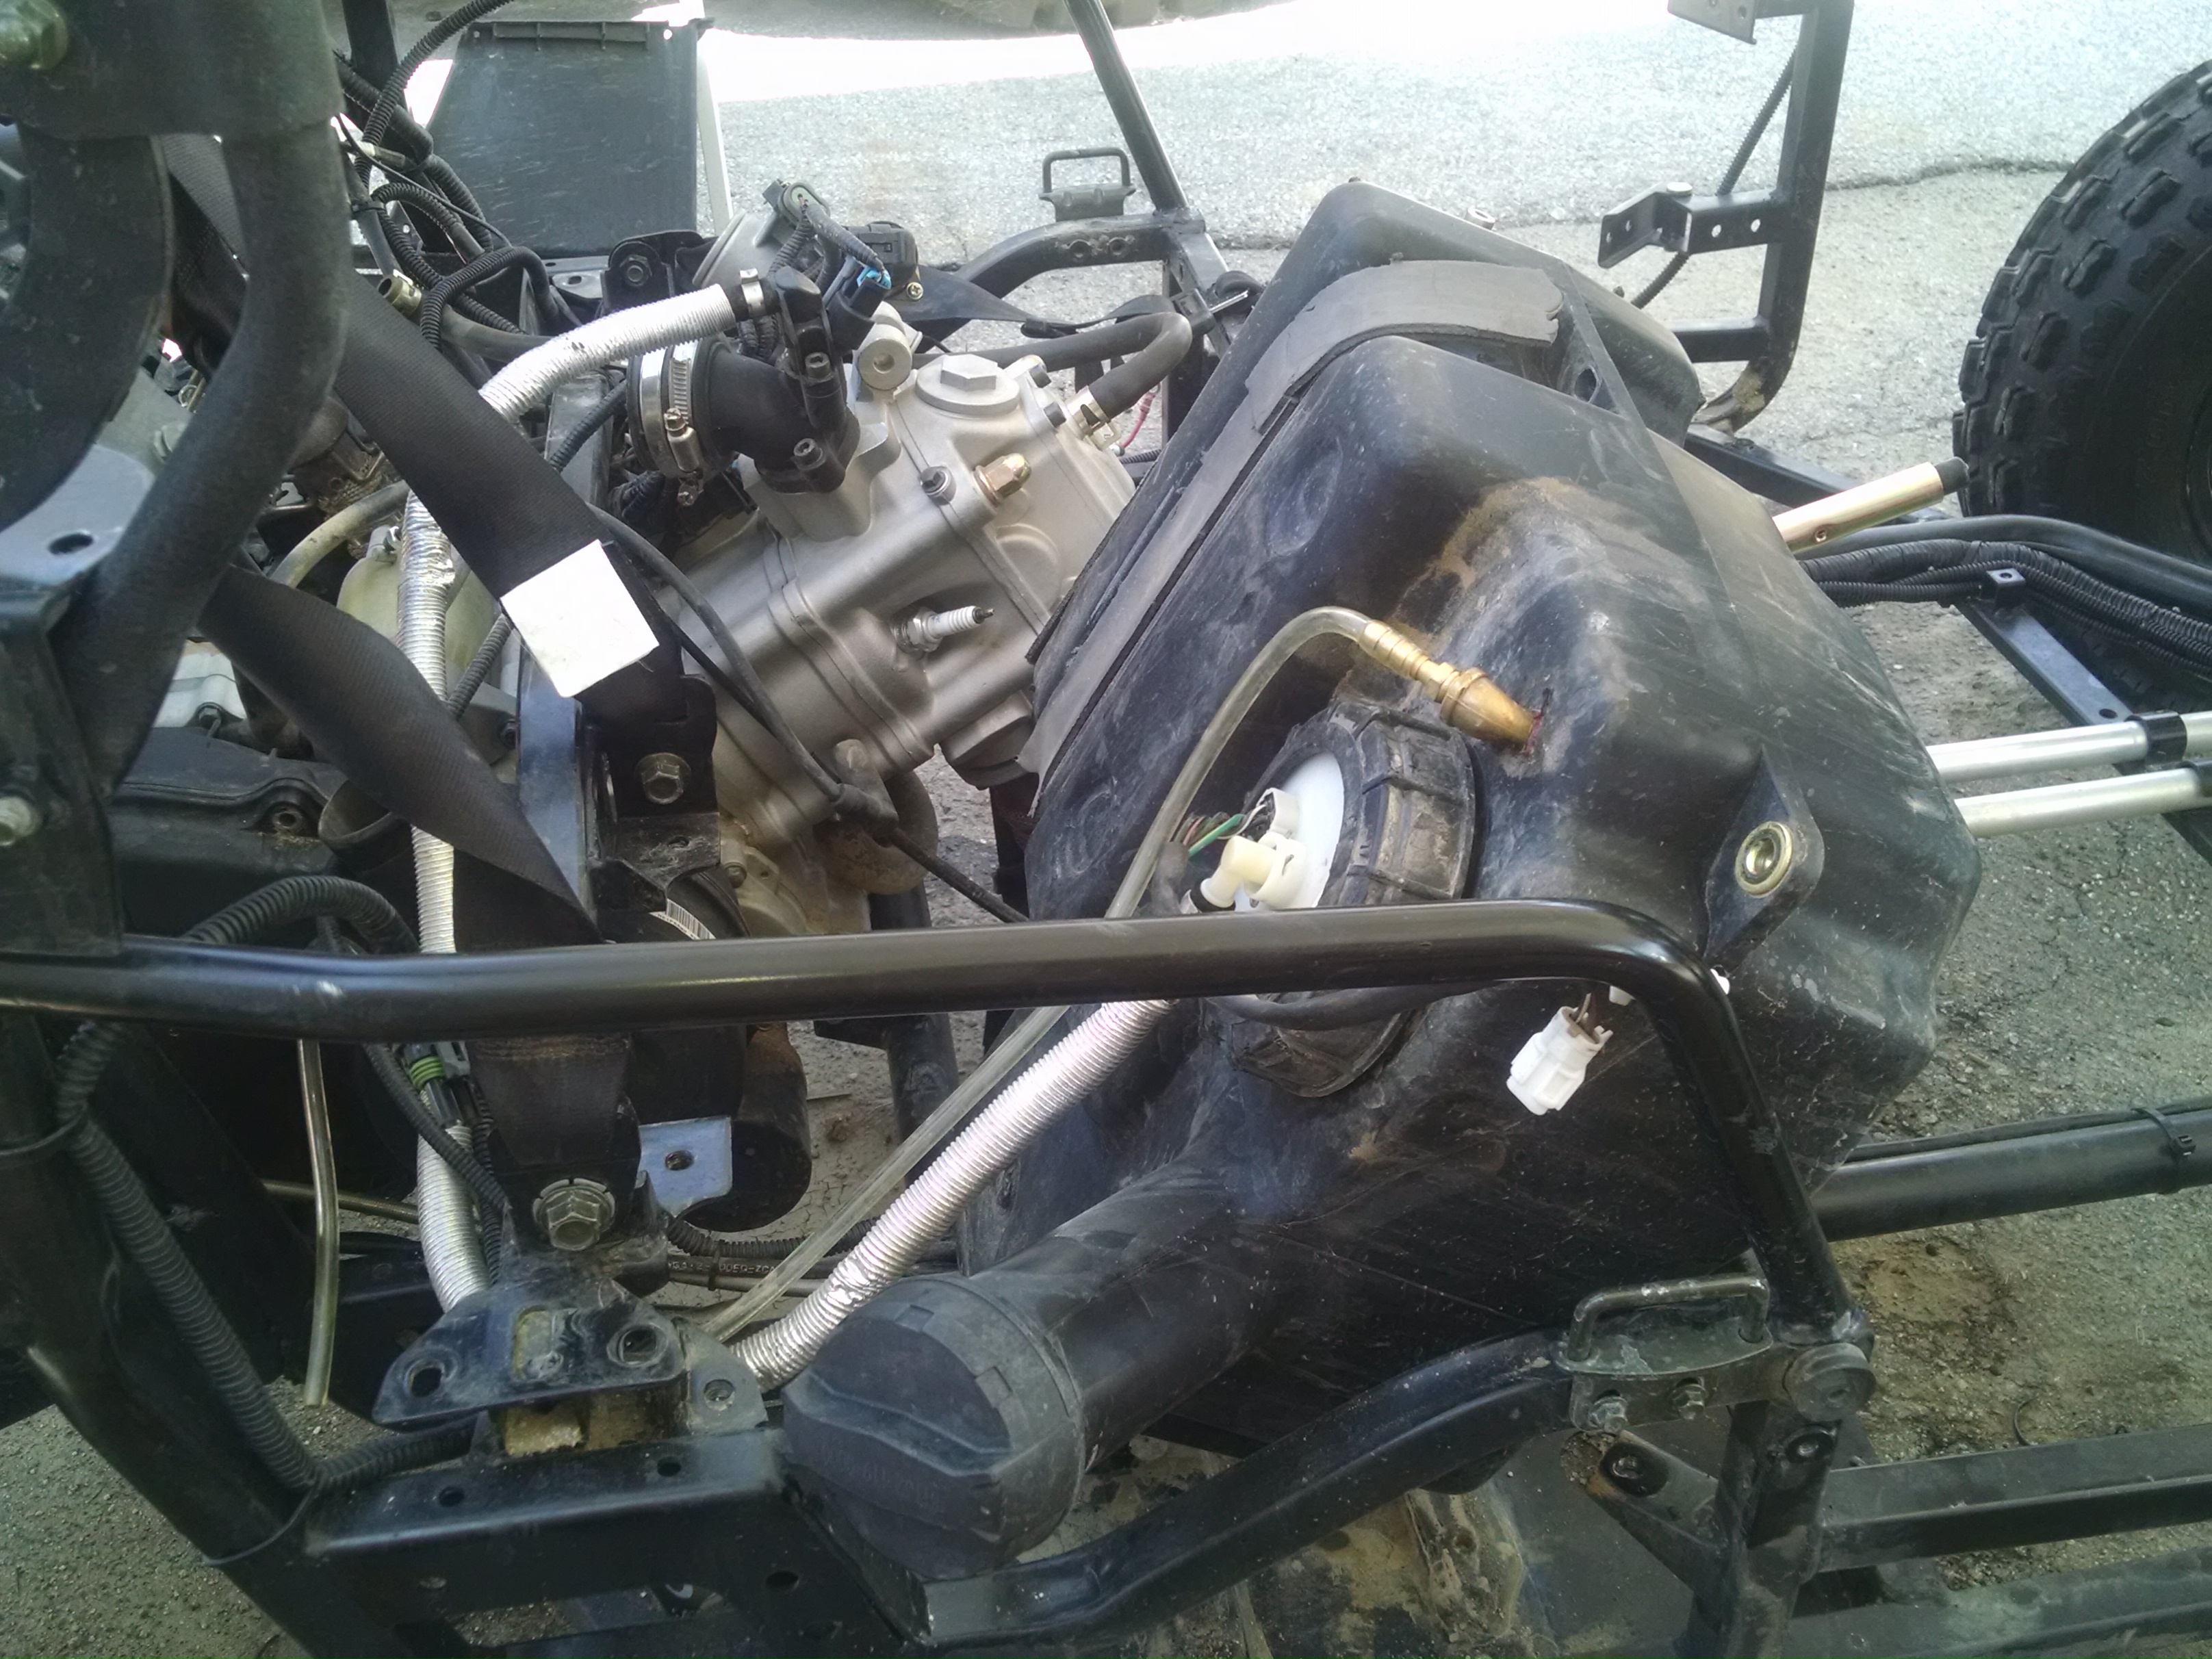
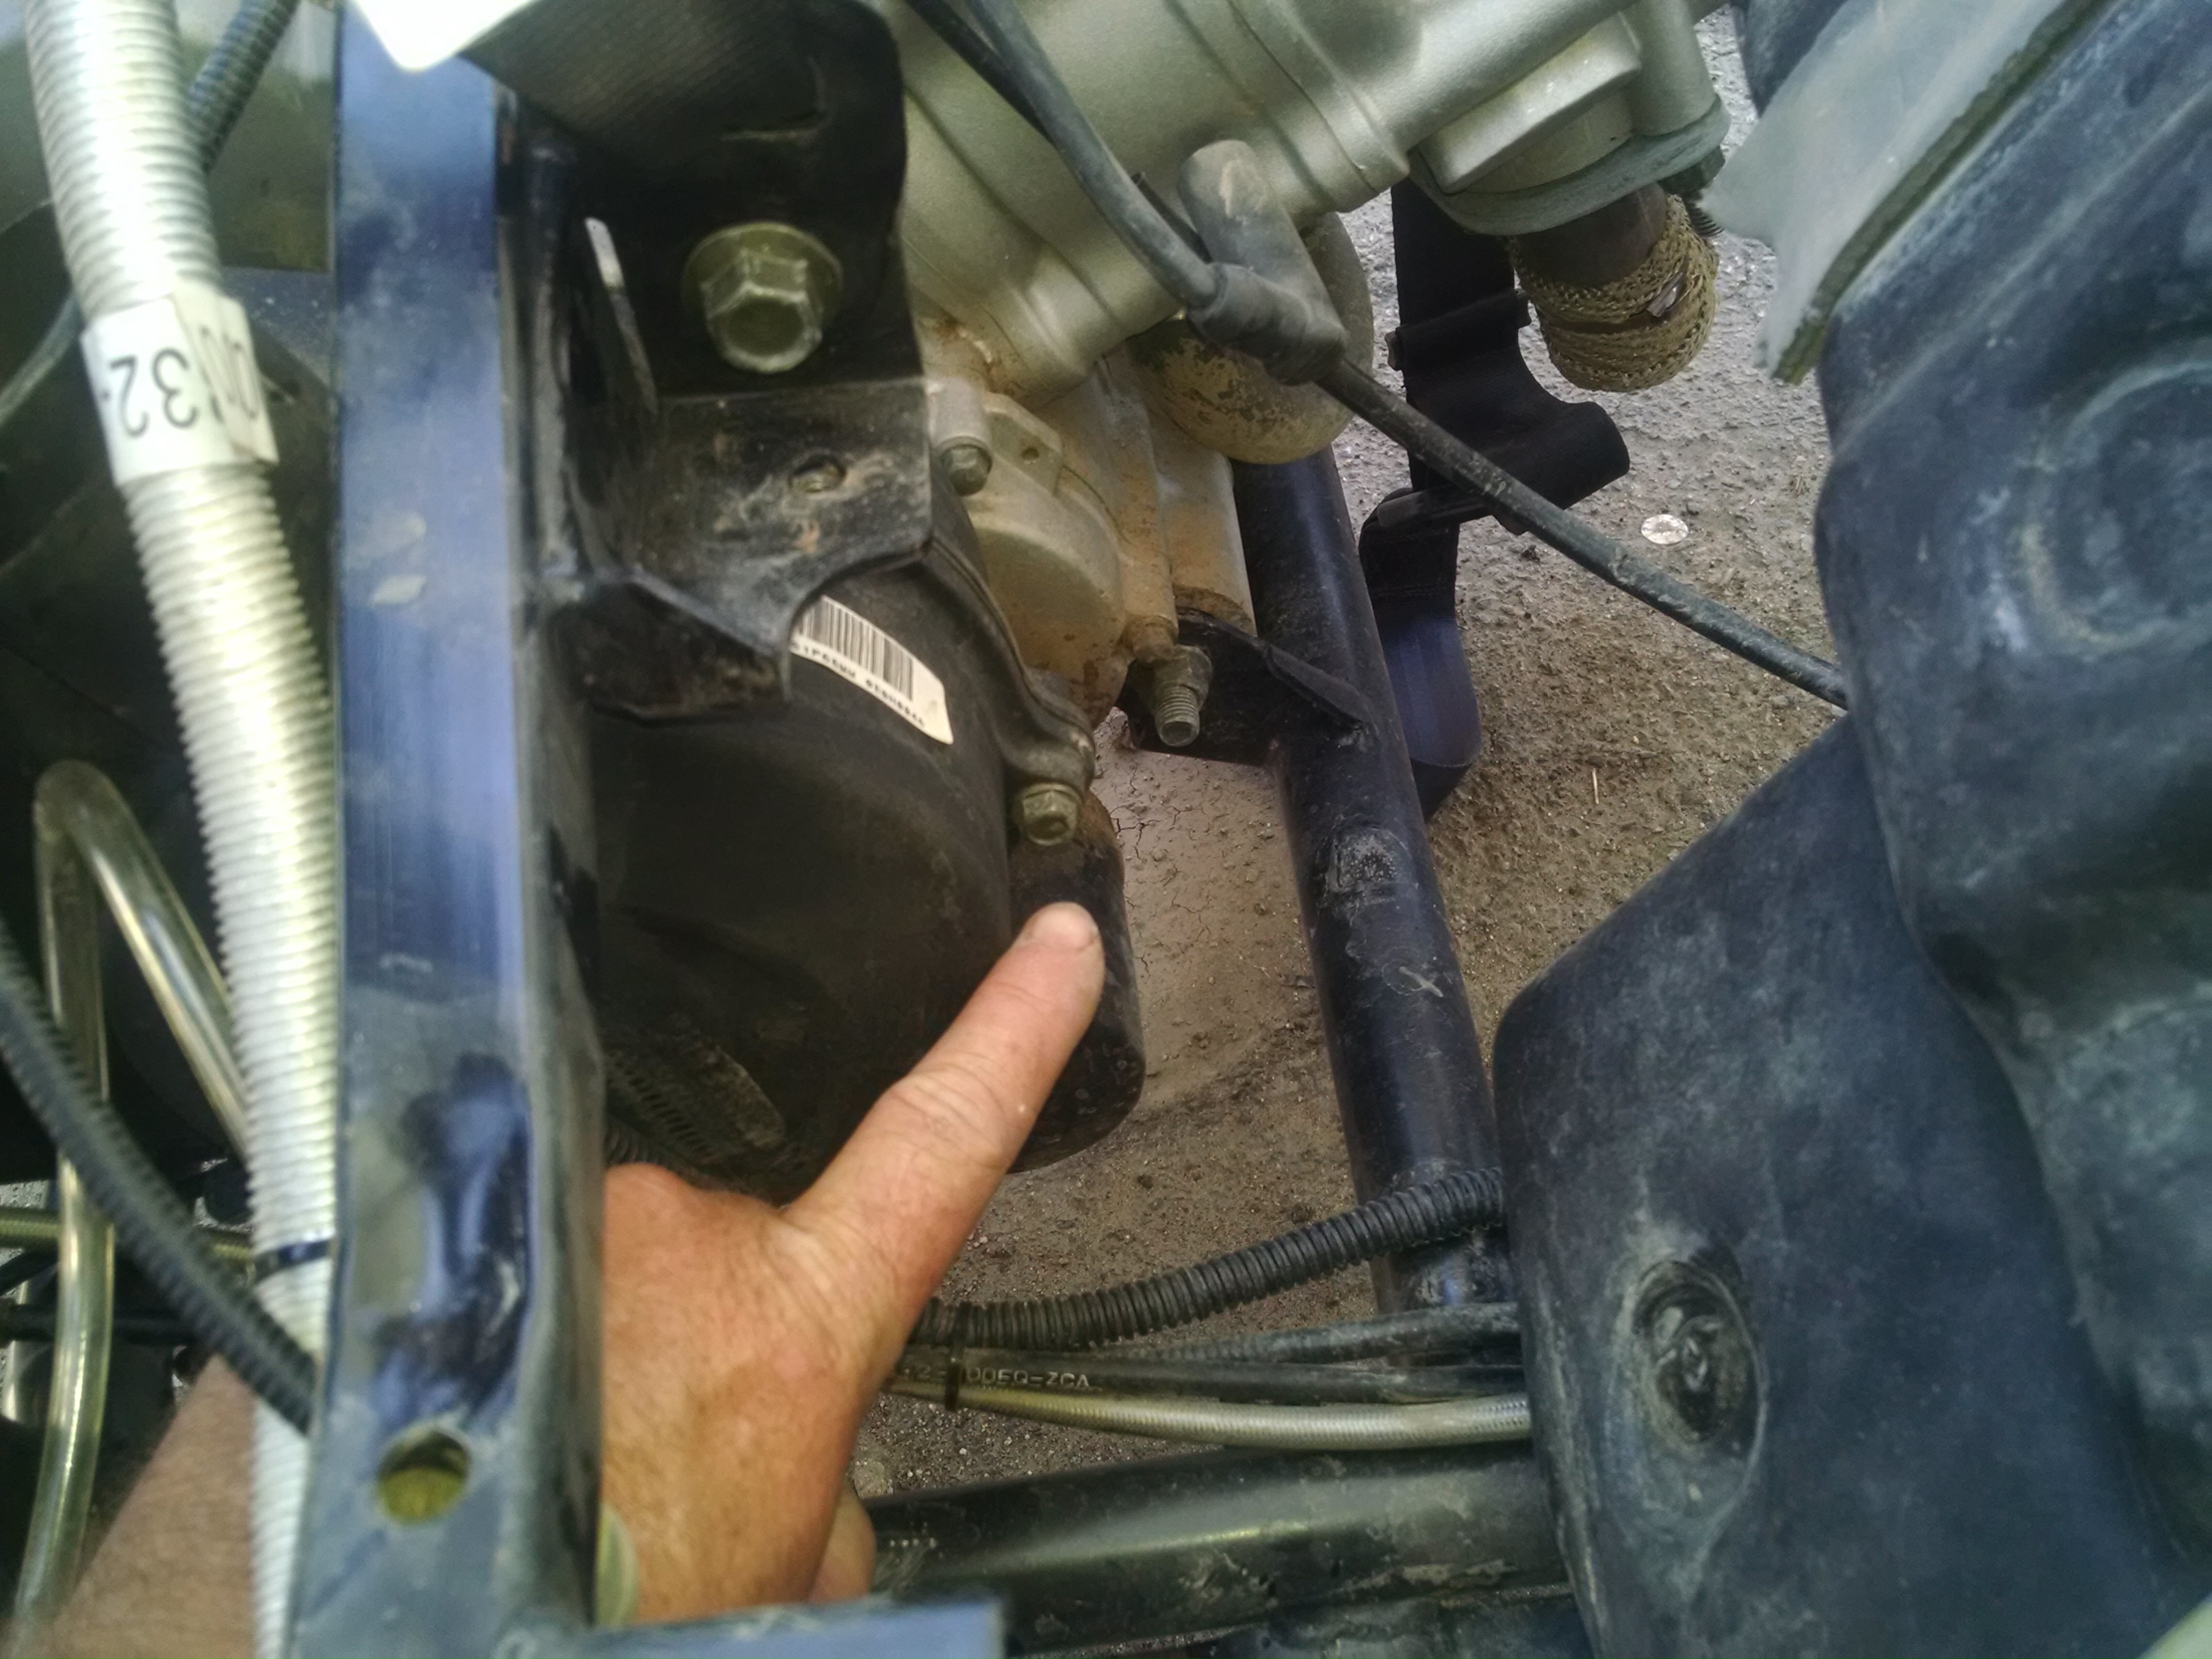
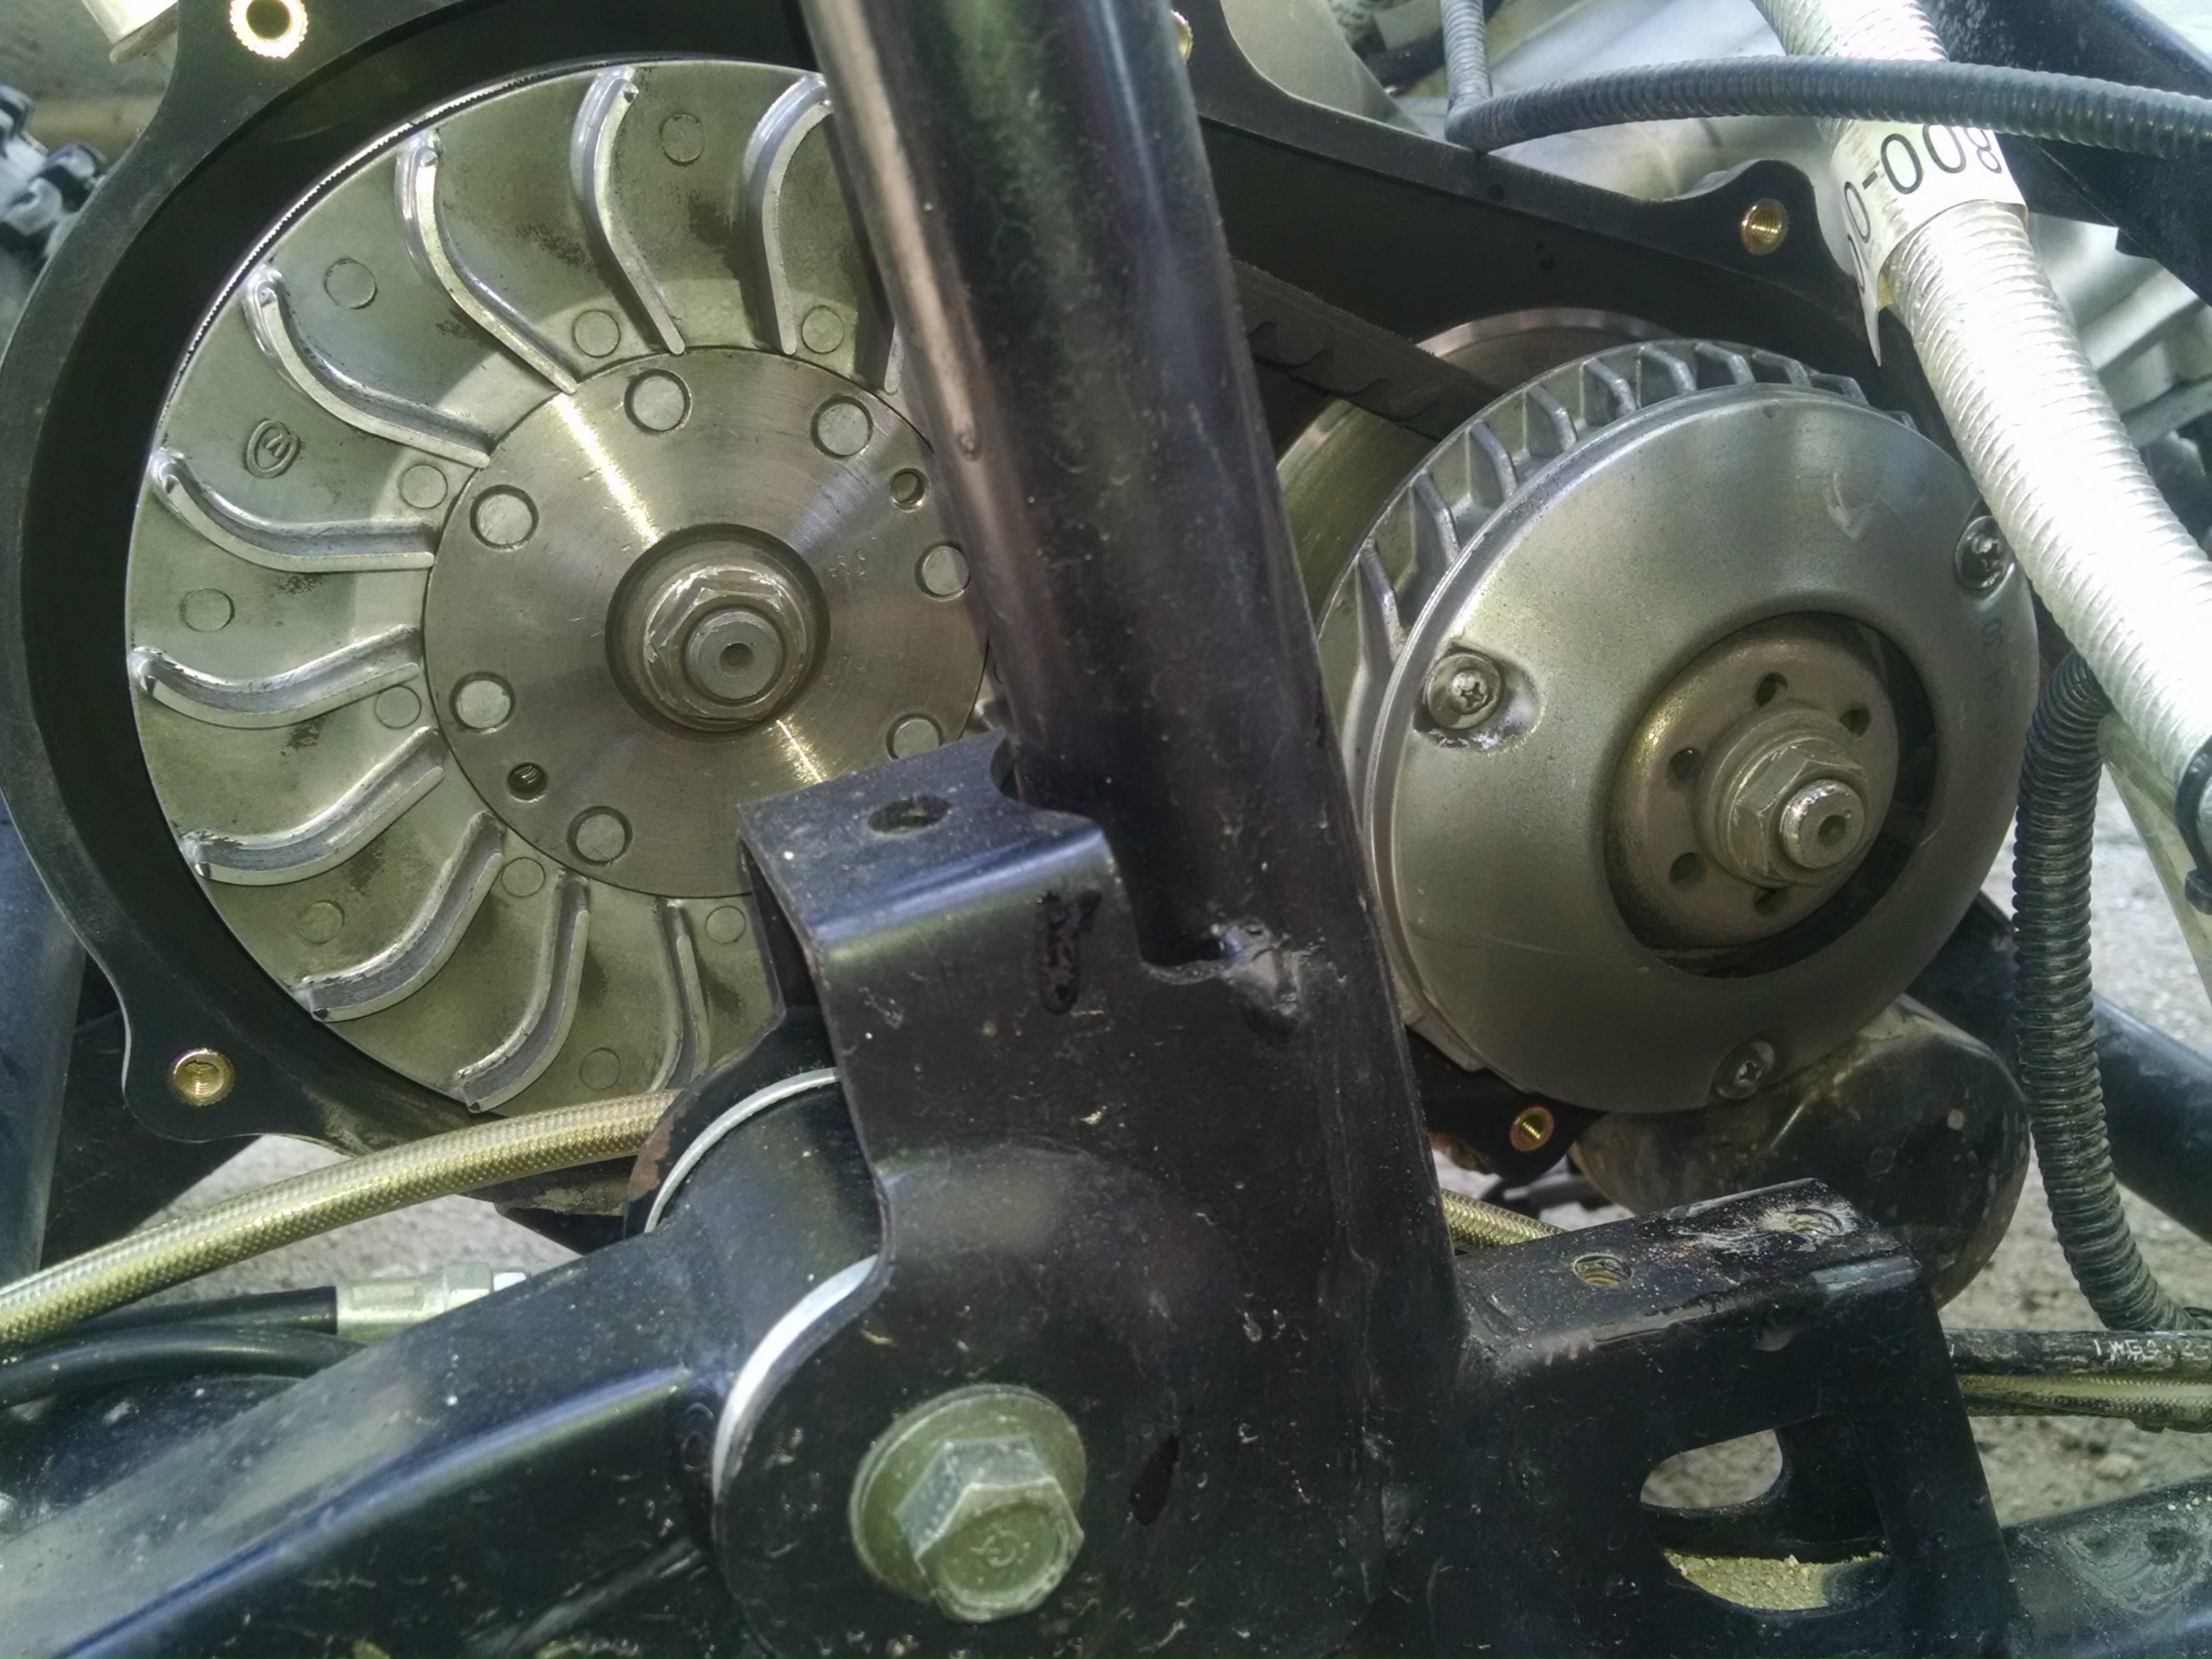
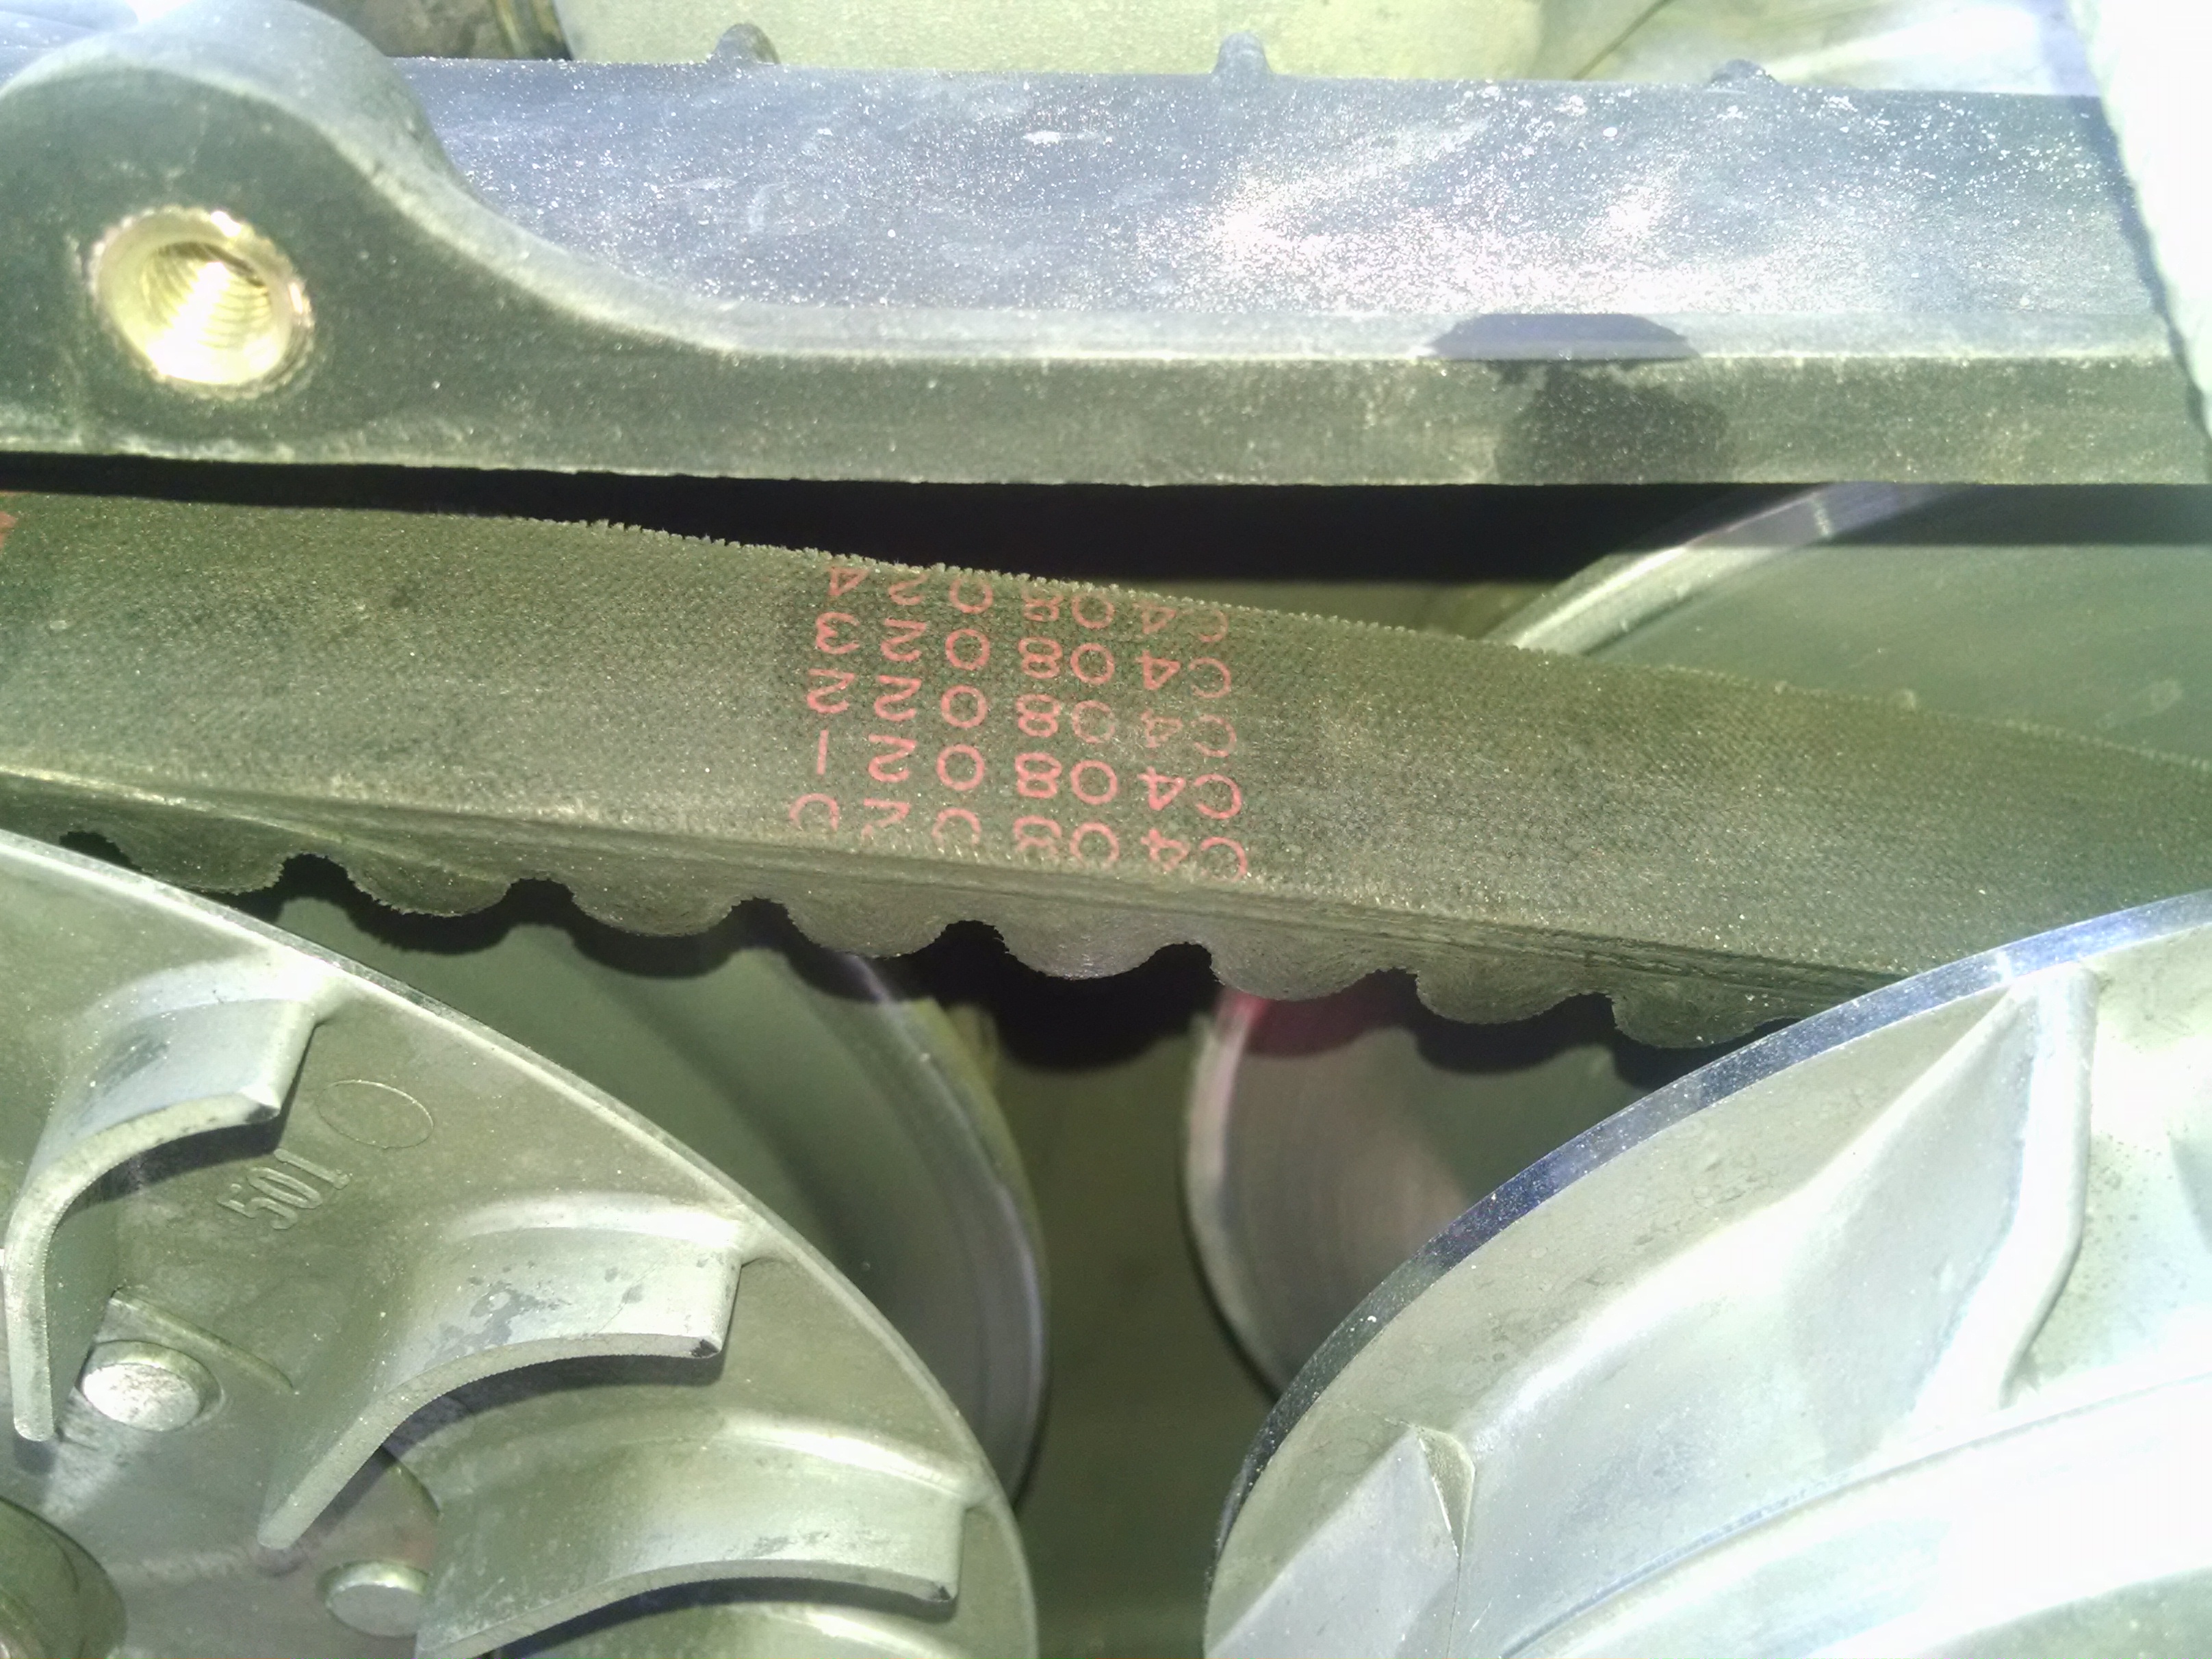
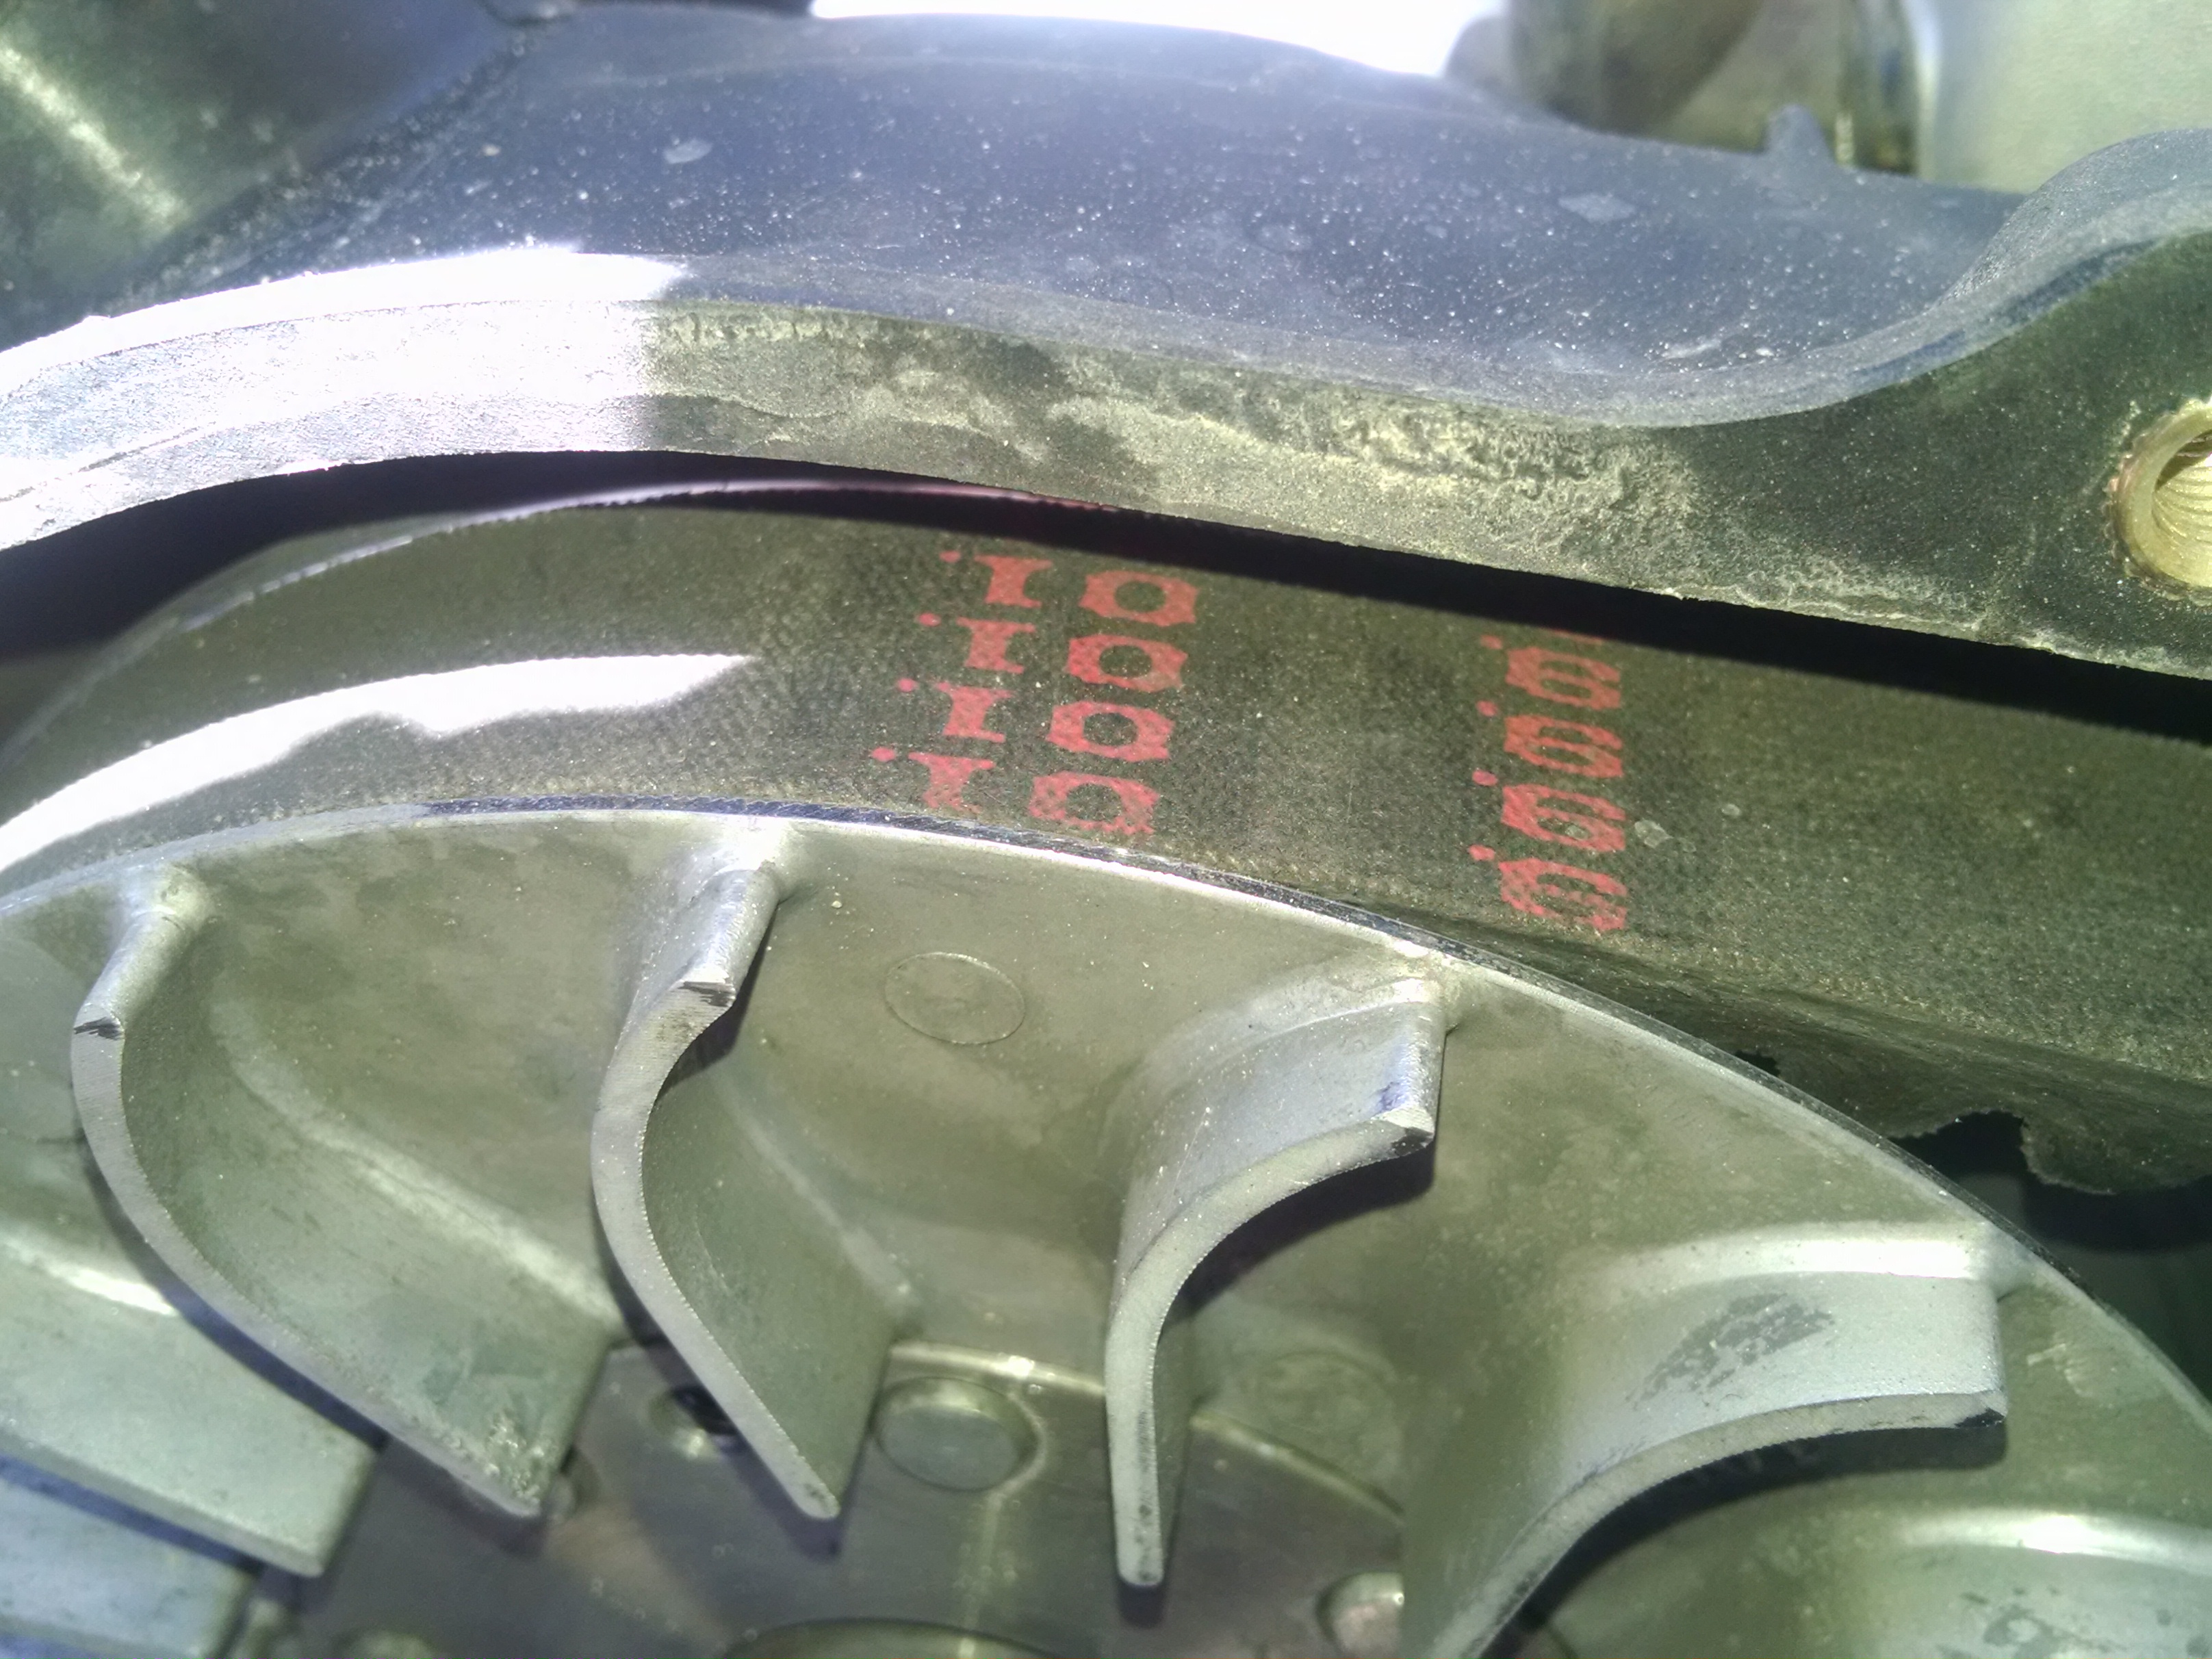
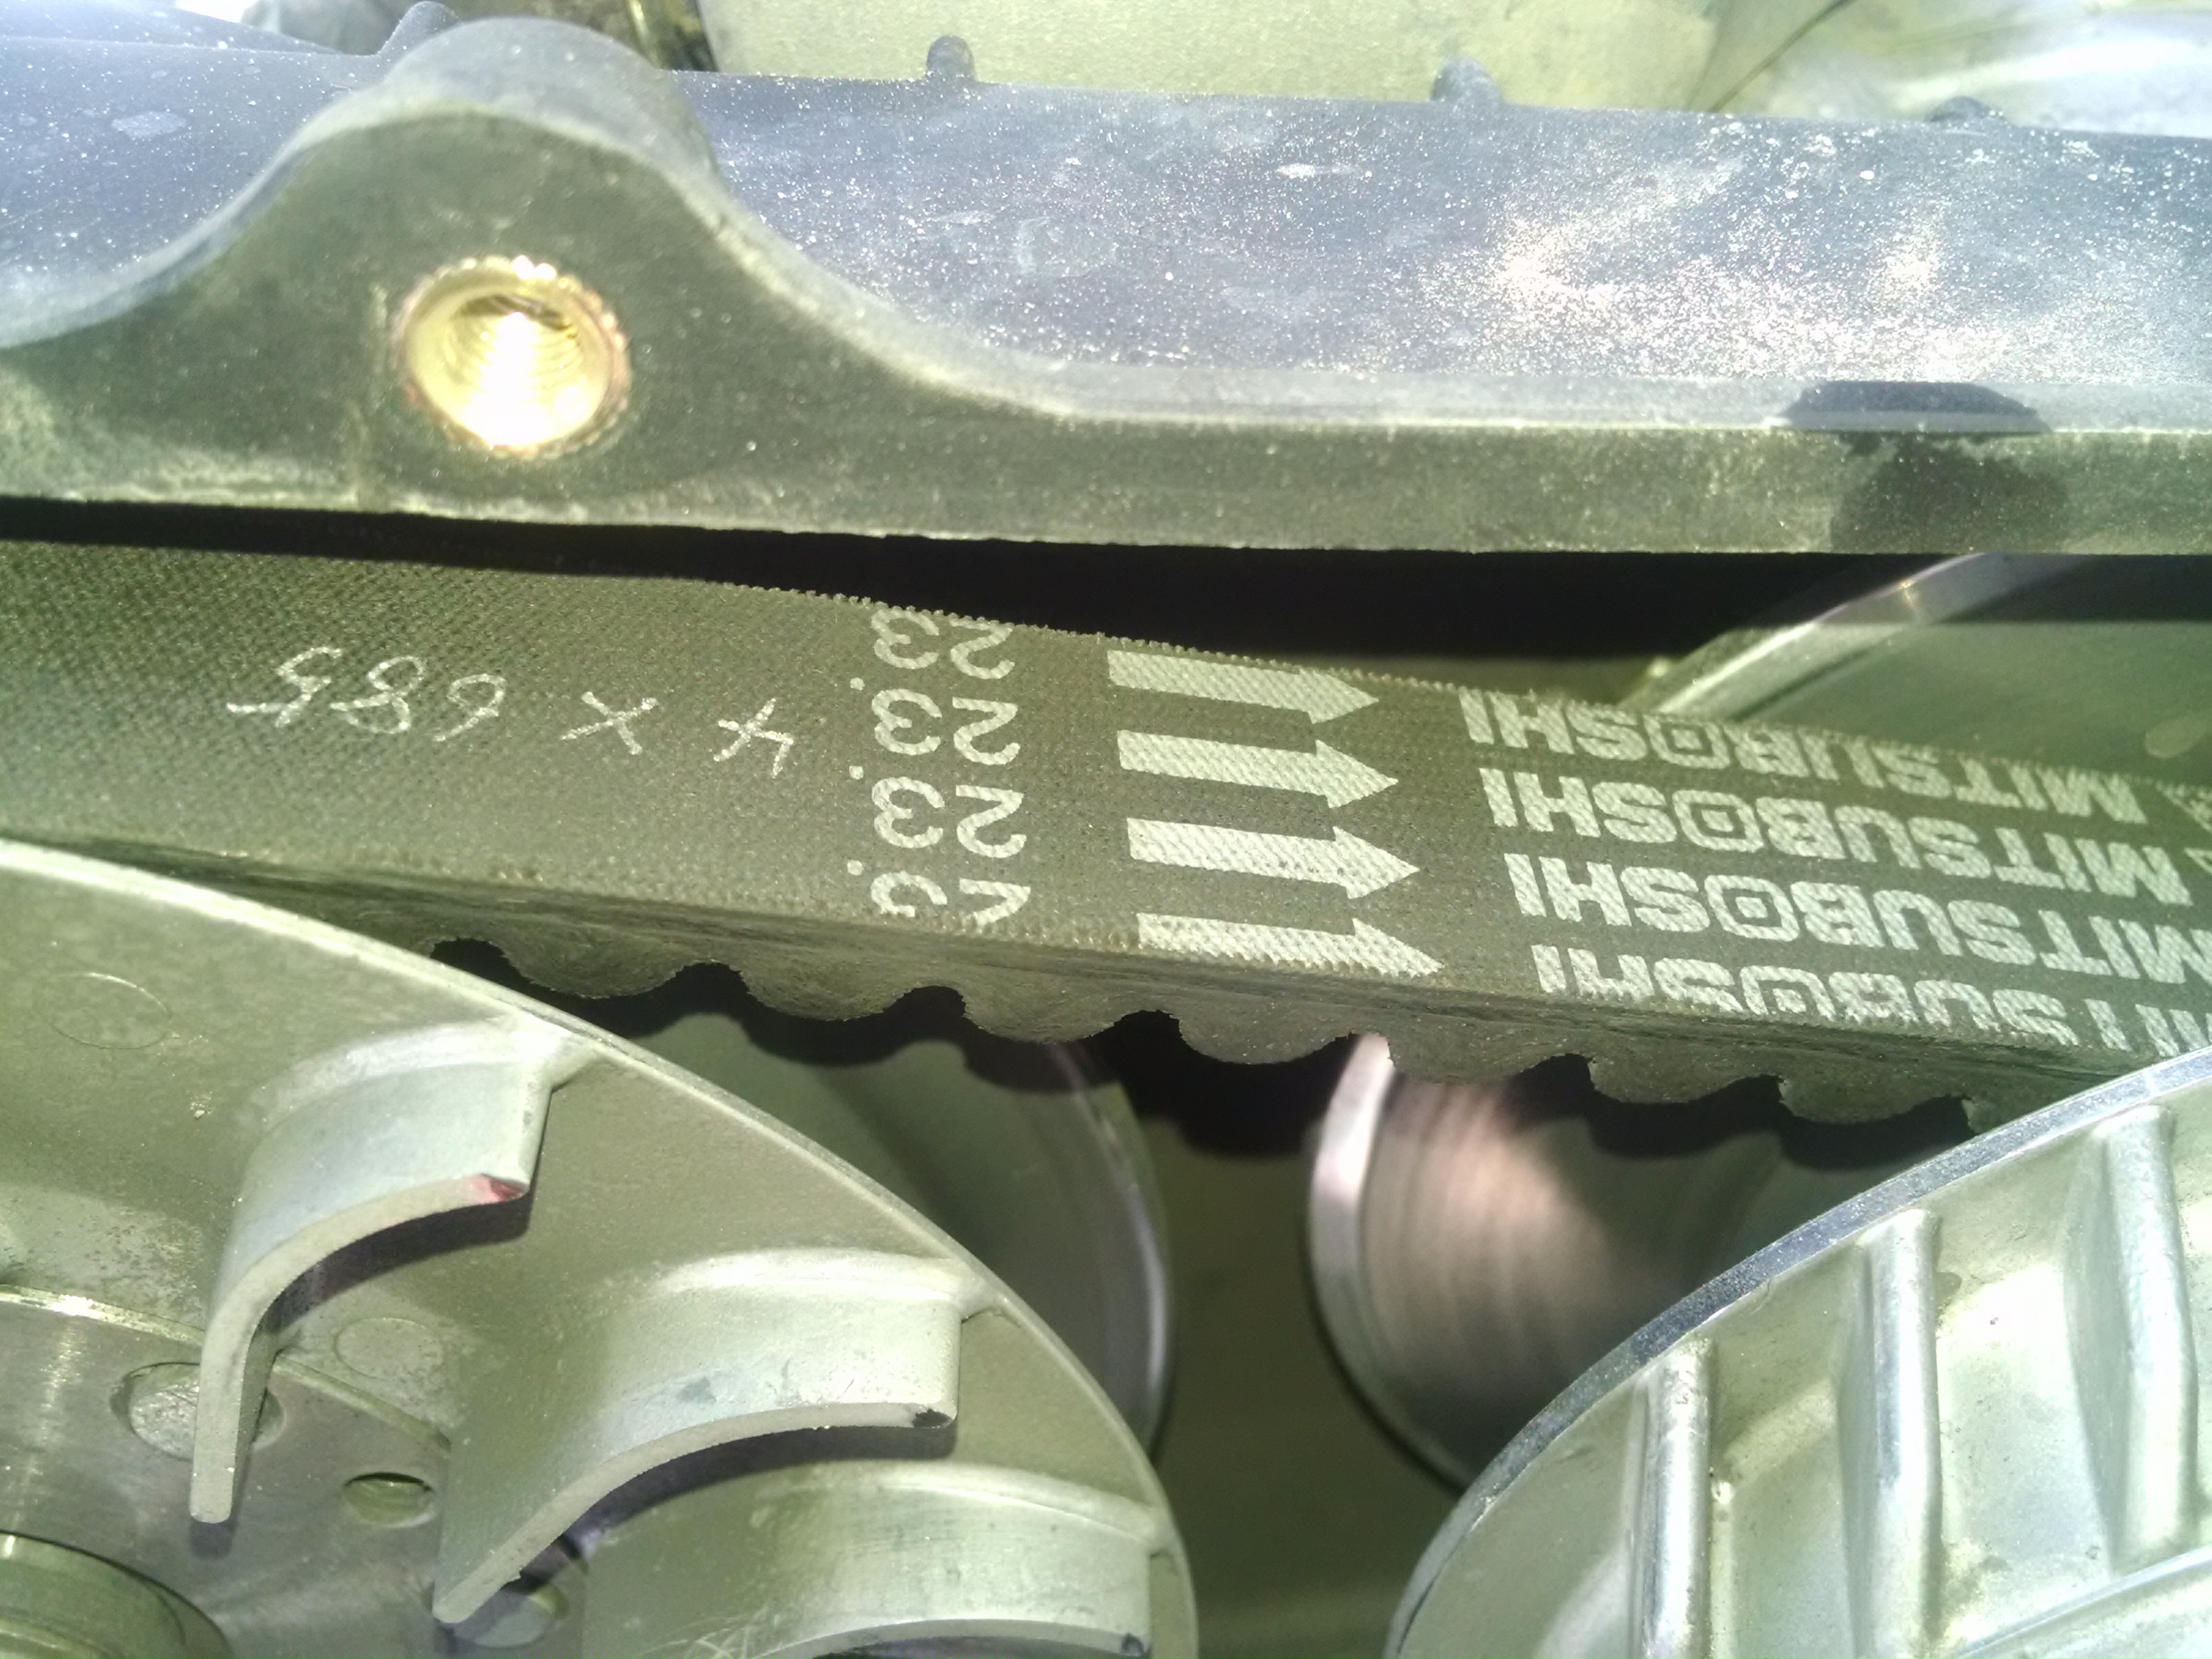
Hello there, Here I hope to help those who have not yet replaced their CV belt on the Hisun Strike 250. I have done this and found the short cuts for you. It is not a 5 to 10 minute job, so if you ever find that you need to replace the belt, get ready for some work. 1.) First off remove the seats, they are easily removed by sliding them forward until they simply come out of the tracks. 2.) Second, remove the seat track brackets and put them aside, this is to access the lower cover and battery box. 3.) open the battery cover and disconnect the battery. You should remove the battery at this point and place it in a safe area. 4.) you will need to remove the two covers on the right and left inner rear fenders. They are forward of the rear wheels and they will give you access to some vital areas. They are held in by some phillips screws and at least one 10mm nut. 5.) pull the battery wires out of the battery trey, also at this point disconnect the ECU and the regulator. The reason for doing this is that you will have to remove the large plastic cover under the seats and engine. Don't forget to remove the engine cover, it is held in place by two plastic turn screws. I have included a pic of the plastic area for you to better understand. Item 19 is the battery cover, Item are the two rear plastic covers by the rear wheels that need to be removed. Item 16 is the actual engine cover, and item 22 is the large plastic lower cover that needs to be removed to gain access to the engine, cover and fuel tank. 6.) you will need to undo the lower 4 point harness points and simply flip the seat belts back into the rear cargo area. 7.) USE CAUTION WHEN REMOVING THE LARGE LOWER COVER!!! it is brittle and will crack or break with little effort. ( trust me I know ) After you remove the large lower cover and wipe the sweat from your brow lol. you can now gain access to the engine, the clutch cover and all the needed parts to remove the CV belt. 8.) You will now need to remove the cross over bar that the seat belts were connected to. It is held in place by two 10 mm bolts on each side. Note: you will have to fiddle and find a way to get it out from behind your intake. I simply removed the two bolts holding my throttle body down and then covered the intake tube to prevent anything from getting into the engine. I had to also remove the throttle cable as well. You will need to do this in order to get the fuel tank out of the way. This is the ONLY way to get to the CV belt cover. I have tried many ways. 9.) The one thing I did do at this point, is take the large lower cover and cut it in the middle. This did a couple of things for me. It make removing and replacing it easier, and it also make it so I only needed to remove one side at a time if I so needed. It has not caused me any problems since. I cut it right along the edge of the center on one side. Just my 2 cents here. 10.) At this point, you'll need to remove the two bolts holding the fuel tank in place. Take care to understand, if the tank is full, you might have to remove the right side cover, as you cannot remove the fuel tank with the fuel cap on as the hole is not large enough. And pulling on the plastic might end in a broken part. You will not have to disconnect the fuel line, as you are only pulling the fuel tank up and out enough so that you have access to the clutch side cover. NOTE: take pictures if you are not real sure of how things go back together. This always helps. 11.) go under and remove the skid plate covering the rear engine area. this will give you access to the lower bolts needed. This would also be a great time to do an oil change, as you are already there. 12.) With the fuel tank up and out of the way, you know have access to the right side clutch cover. FINALLY! You can now remove the 10mm bolts holding it on. 13.) Now, following the factory manual, you will need to insert two 6mm threaded bolts and screw them down on the rear clutch face. There are two threaded holes on the face. This will force the clutch open and allow the belt to relax in its position. Now, with it loose, the manual says you can simply slide the belt off and replace it with a new one after inspection. I have found that this is not the case at times. I have had to at times remove the forward clutch assembly. As it is easier to access the 17mm nut than the rear one. Once I pull the front clutch off, the belt came right off! WHEW!!!!!!! 14.) Now, just replace the belt and do everything in reverse lol. I know it sounds like a lot of work, and believe me, it is. But it does a couple of things here. One, you won't need to replace this belt very often as there is not a ton of torque on it. Second, it gives you a great knowledge base of your unit, and having this is great when you are out and something goes wrong. Third, if you find anything loose from the factory or not in spec, now would be the time to correct it, now when you are stuck in the dunes or in the back woods. All in all it will take a couple of hours to knock it out if you know what you are doing. I would plan on an nice Saturday or Sunday to get this done as it does require your time and energy. I will post some other how to files soon, if there is anything you would like to see, just let me know and I will try to do that first. Matt
 1 point
This leaderboard is set to New York/GMT-04:00
