
Leaderboard



Popular Content
Showing content with the highest reputation since 06/19/2026 in all areas
-
Yeah, from that document I did the figure 3 balanced charging as opposed to the figure 3 "perfectly" balanced charging. While conceptually I get that the "perfectly" is a little better, it is also more complicated to set up since you have to work out the resistances of the cable runs and any connections. In this case just balanced charging is good enough. Another thing to keep in mind is that it's a bigger issue with "dumb" lead-acid batteries. Each of the new LiFePO4 batteries has their own smart BMS to help manage balances, plus parallel in general helps balance out batteries vs the serial setup Hisun used with the awful Discover 6V batteries. I did use equal length brand new 1/0 AWG cables for my connections except for re-using the two final cables that connected to the motor controller.1 point
-
Borg I used what factory cables I could but had to get 5 cables from a local battery store in order to run them in parallel. As for the batts, I do not have a BMS, just connected them with the cam communication wires that were included with them. I hope that's good enough and don't encounter any problems later. GNFO yeah I couldn't use the Hisun jhook clamps either so I ended up securing each batt with straps for now, looping under the metal baseboard where the jhooks were.1 point
-
NVM I figured it out, copied too much of the zip file to the USB. Amazing upgrade!!! Finally!!! My son and I got stranded too many times on those old Discovery batts. The buggy zips around, accelerates with force, steers better... Do it!1 point
-
FYI, Got this as a reply from litime: "The manufacturer warranty applies only to products purchased through the LiTime official website or the official Amazon store. Purchases made from third-party retailers follow that retailer’s own return and exchange policy."1 point
-
I purchased them on Amazon for a total of $1,341. I hope the manufacturer warranty is in place! Will do!1 point
-
I had been driving for about 15 minutes, everything fine. All of a sudden the engine was surging, losing power, would run with 1/2 throttle or greater and was backfiring badly. Luckily I was close to home and got it back. The tipoff to me was that I thought I was hearing intake noise. Sure enough, the rubber boot which connects the air cleaner and intake piping to the throttle body came loose. Obviously the computer was confused. It turned out to be an easy fix, but this is now added to my inspection list. Just thought this might help someone else.1 point
-
Tried to reply to this topic previously, not sure why it didn't go through. I think your model is fuel injected, you might try a new fuel injector. I've read where they can be sensitive to the spray pattern thus causing start issues.1 point
-
Update on resonator mods: After about 6 months I developed an exhaust leak. I don’t know if it is at all related to the mods, but I had to replace the transition pipe between the muffler and exhaust manifold (braided stainless flex pipe), along with the gaskets on each side. I think it was typical corrosion failure, but one thing I noticed during replacement was that one of the exhaust manifold retaining nuts had come loose. That may be related to the additional mass and resonance on the muffler, particularly if the nuts weren’t fully torqued originally. Anyway, if you add any silencer piping past the muffler I recommend you check the manifold nuts for tightness.1 point
-
Unplugging the connector doesn't cost anything and does not suggest one should not wear the seat belt. However, freedom of choice is ours in this country and as long as we accept the consequences of our choice it should not be judged by big brother.1 point
-
So here’s the setup I used to replace the Silent Rider silencer. Materials 2” 16 ga mandrel bent 90 deg elbows (2 pieces) [90 deg elbow] 2” 16 ga mandrel bent 90 deg elbow with tail piece [90 deg + straight] 2” resonator [resonator] Rubber exhaust hanger (note- only used one) [hanger] 2” butt joint band clamp (2 pieces) (note- the exact brand I bought is no longer on Amazon but here’s an identical one) [butt clamp] 4” diameter band clamp (2 pieces, local hardware store) To make the exit pipe from the original muffler, I used the original spark arrestor flange cut from the arrestor and opened the ID to fit the 2” elbow OD. Then I welded the first elbow into the stock flange and welded the second elbow to the first at 90 degrees. The orginal trim ring can slide back over the pipe into place for aesthetics. This forms the new exit pipe to the resonator. In addition, I used some 1” x 1/4” flat stock and a piece of 1/2” rod (cut from a stainless bolt) to fab up the upper hanger that bolts to the Hisun frame, and a piece of 1/8” plate formed to match the radius of the resonator that I welded to a short tab and another 1/2” bolt shank rod. The 4" band clamps attach the resonator to the plate, and the rubber exhaust hanger provides support and vibration isolation. So originally I had intended to have the tail pipe extend straight down, but the elbows I chose wound up a bit longer than anticipated and conflicted with the rear wheel. I shortened the elbow legs on either side of the resonator as much as practicable while maintaining what I estimated to be minimum safe clamping area of about 1” to 1-1/4” (which also required “notching” the band clamps on the inside bends, see photos). I was able to get the tail pipe piece off of the tire, but it’s still pretty close and cannot aim straight toward the ground. Doesn’t look as clean, but I deem it acceptable and it does not heat the tire. I will turn down the last few inches at a later date, which should also reduce sound a bit more. So how does it perform I'm sure you are wondering... ***OUTSTANDING IMPROVEMENT!*** Much quieter, particularly outside the vehicle. Definitely quieter than the Silent Rider and lower cost (at least from my perspective since I could fab up the bits). Moreover, the stainless should last the life of this vehicle. Not a simple install for the average owner, but a muffler shop or local welder could do it for you. If I had to do this again I might source some tighter elbows or I would just shorten all the legs and weld up everything including the resonator in order to get the tailpipe straight down. But I didn’t want to weld in a resonator in general just to make it more serviceable, and also definitely not until I had assessed the performance of the mods and the selected resonator. You might look at the Evil Energy ones...more expensive but it looks like all stainless. Also, the exhaust clamps I ordered do not have stainless bolts. And finally there are more heavy duty band clamps available for the resonator that I may switch to in the future. Sorry I forgot to take a picture of the resonator hanger before installing, but you should be able to see it clearly in the installed pics. Post any questions and I’ll reply as best I can.
 1 point
 -
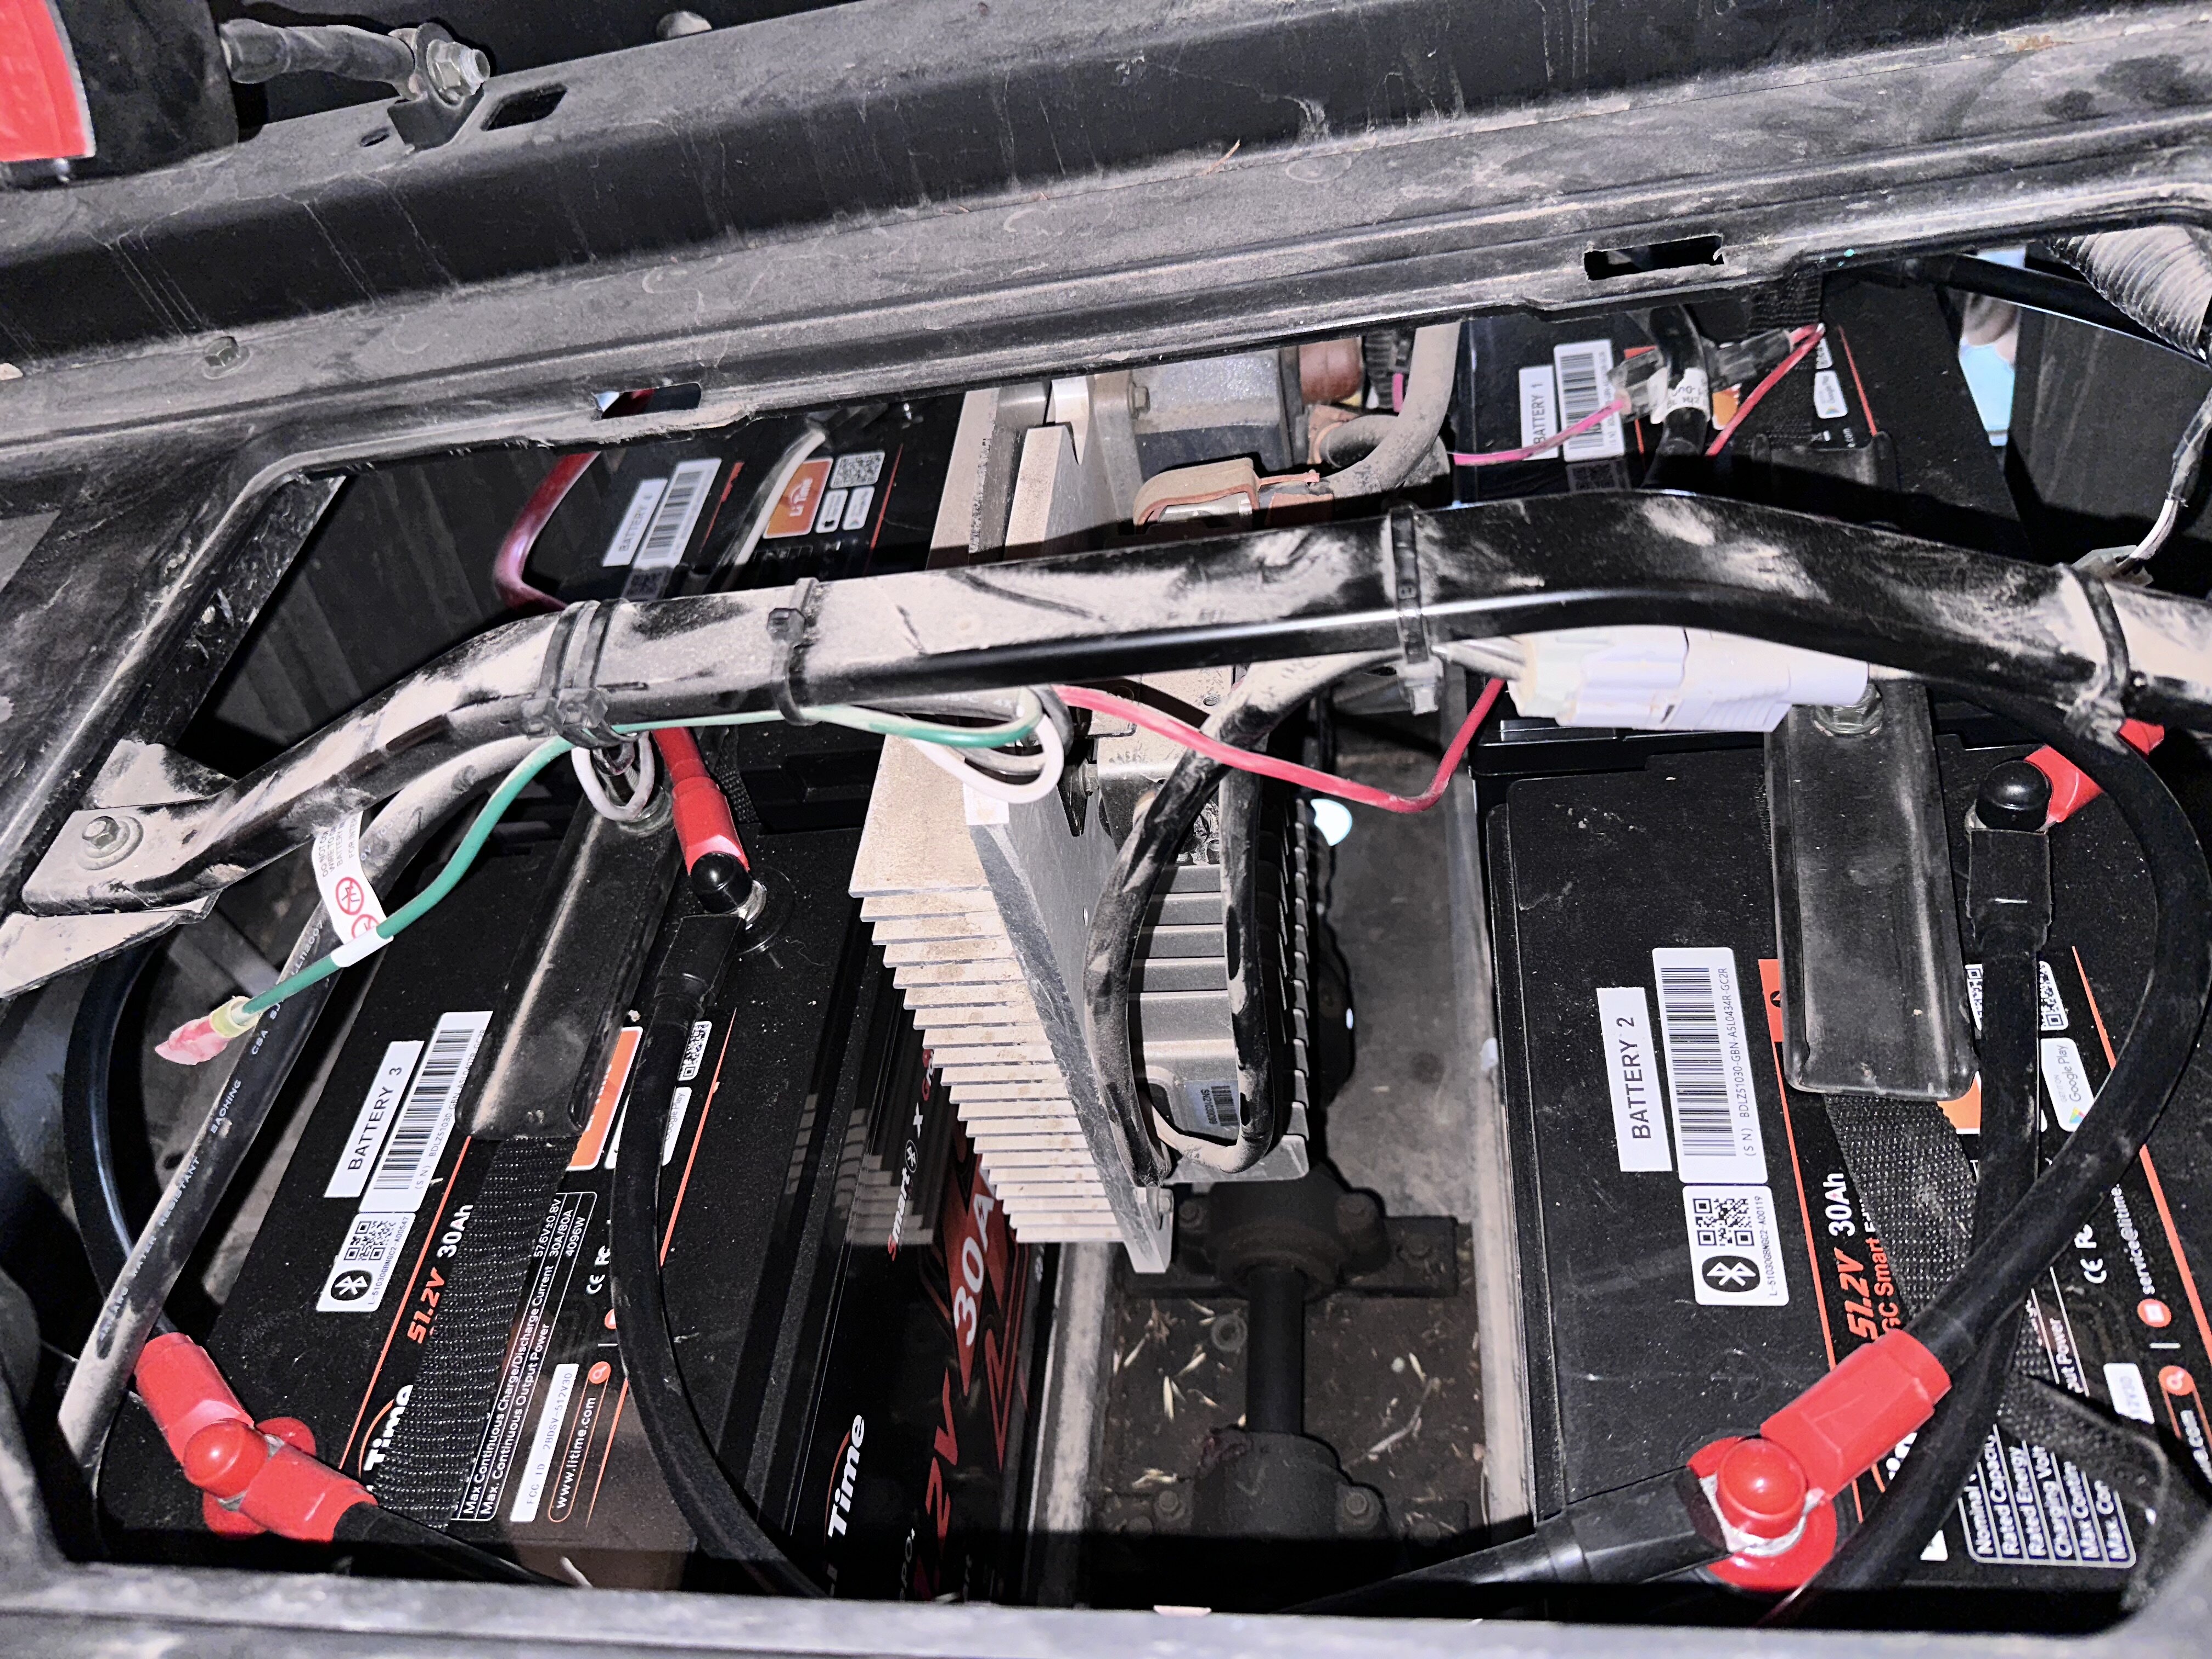
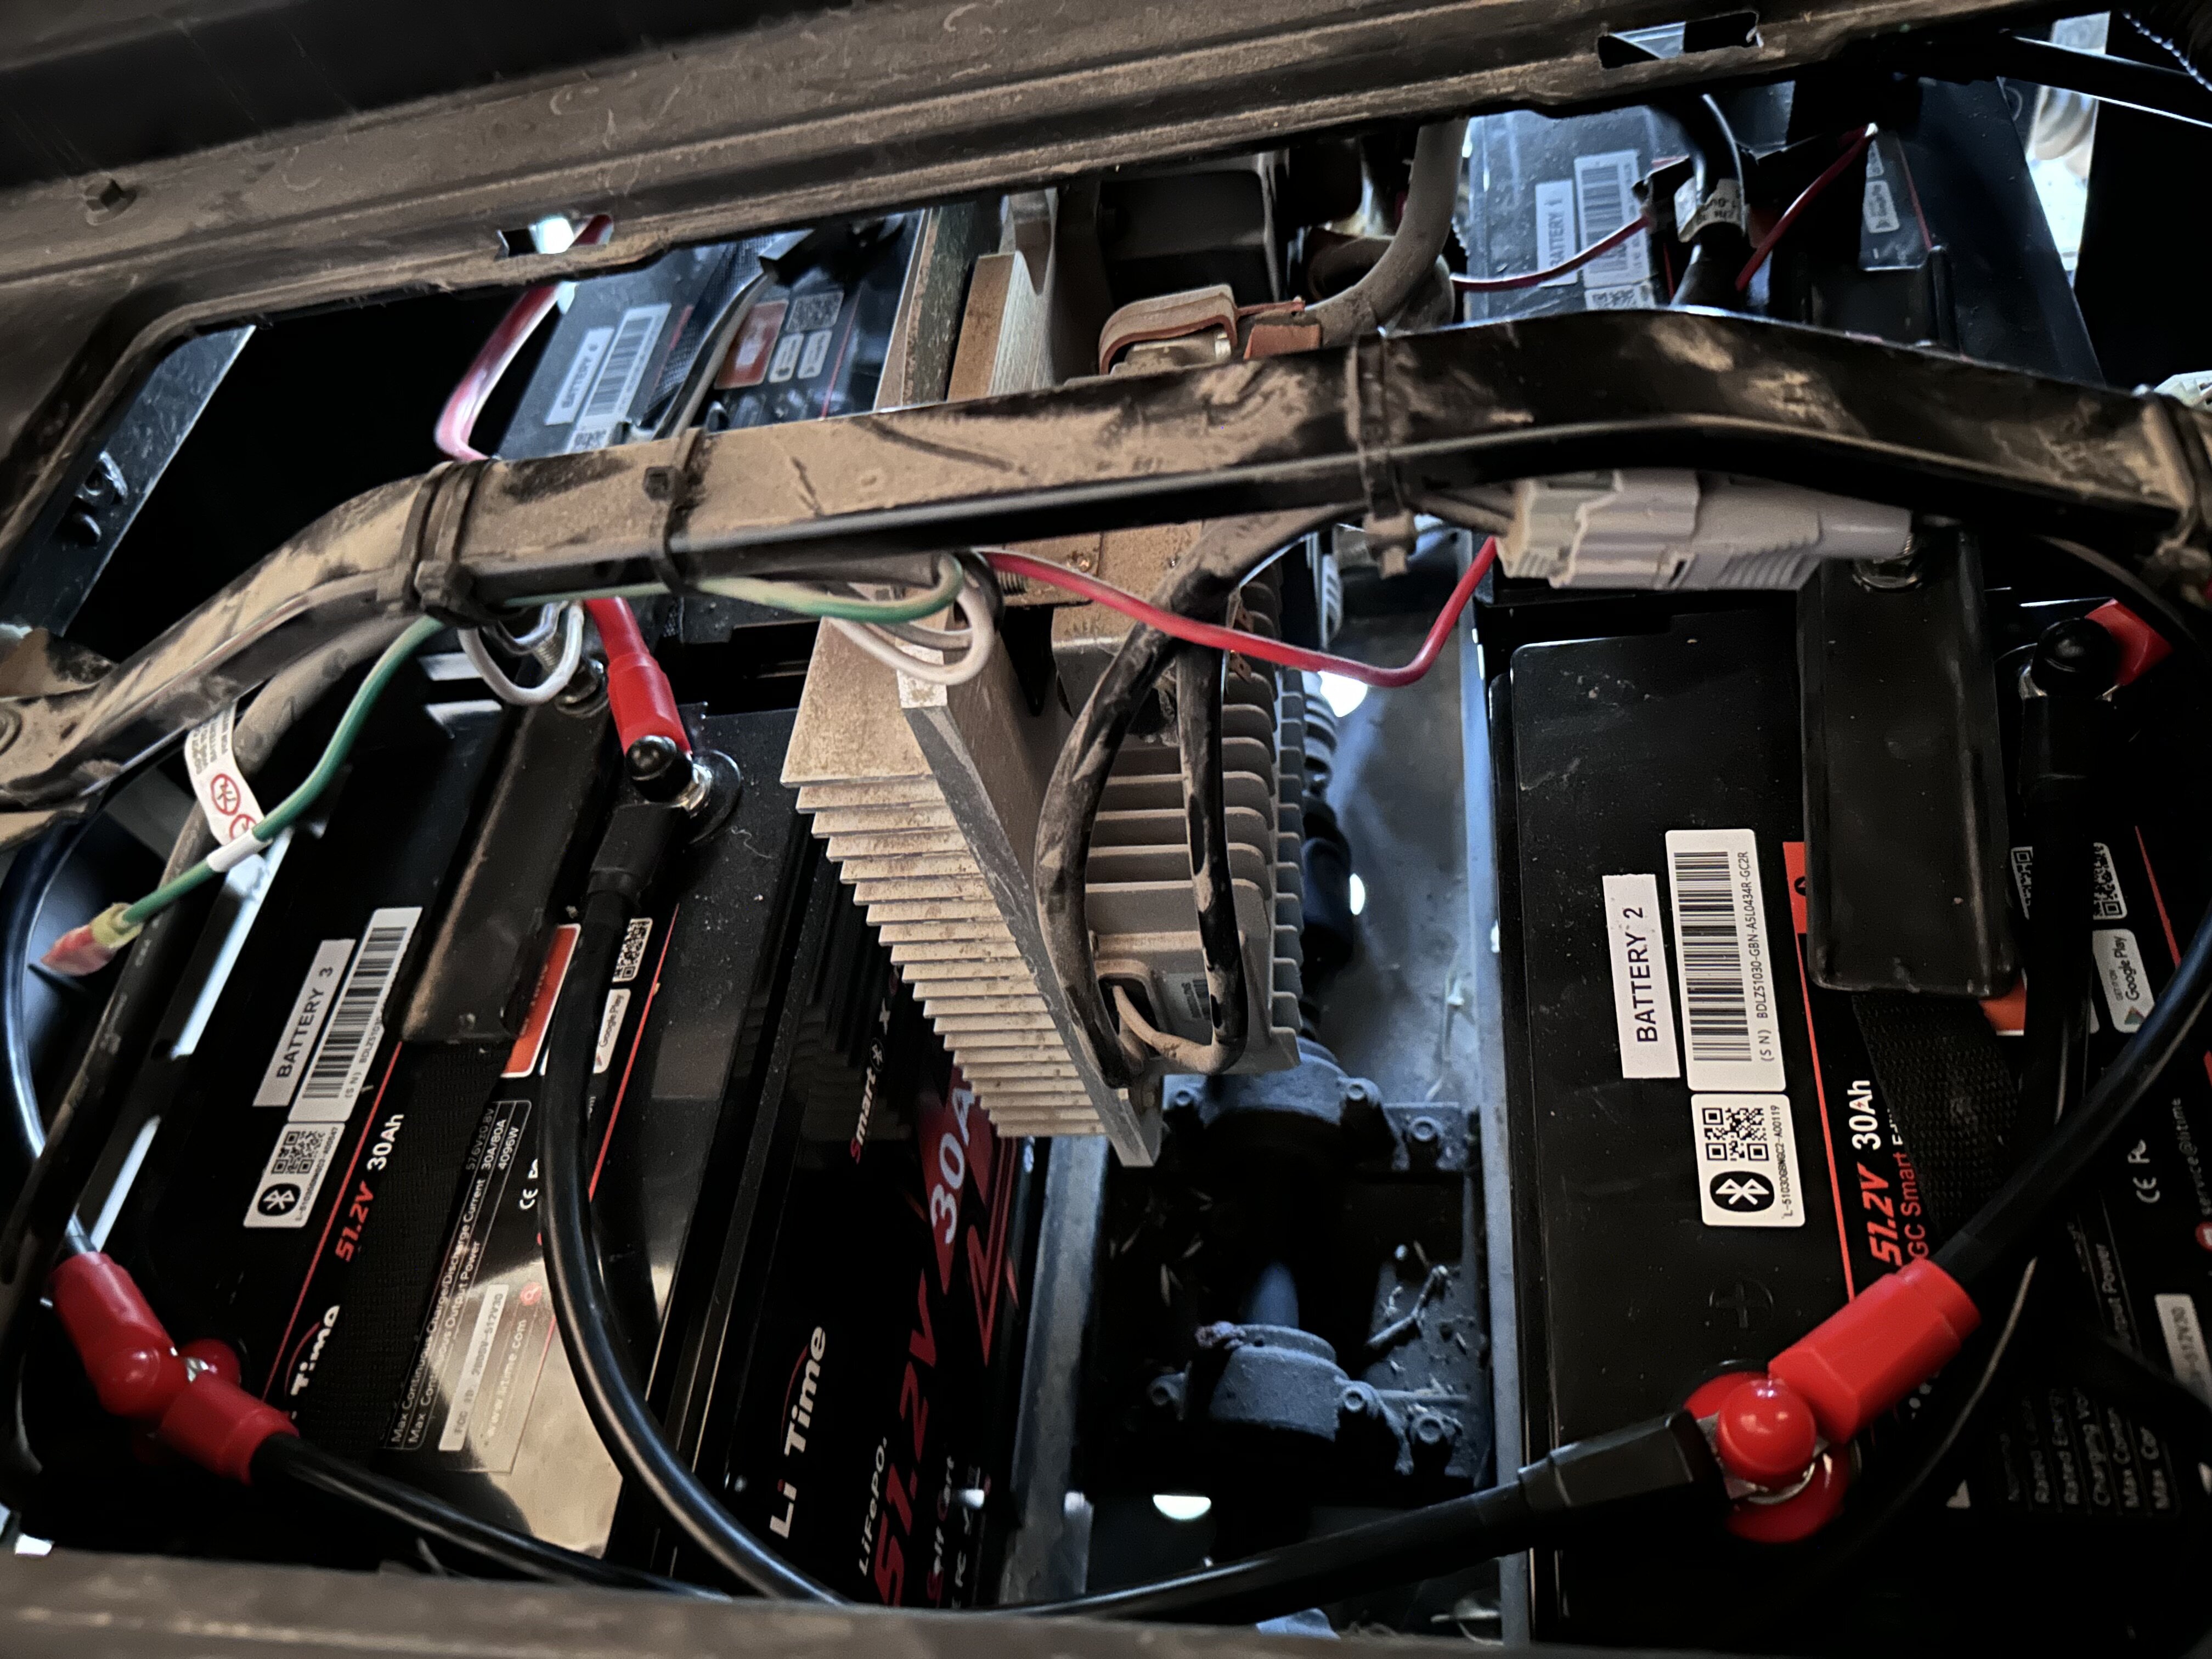
This is the best I could do with photos. Controller is in between 2 sets of batteries. Back right battery has all the positive leads from the controller, charger, etc. Left back battery has all the negative leads from the controller, charger, etc. The wiring follows balanced, but not perfectly balanced connections in parallel meaning that the right back battery starts with the positive load/charge and connects to the front right battery which connects to the front left battery and finally the back left battery terminates with the negative load/charging leads. Hope this helps. No issues yet, but haven’t used it that much lately, so still haven’t completed a full charging cycle.
1 point
-
John M - I know you just addressed Didgeridoo, but FYI I haven't had any error codes since I swapped out my batteries for the lithium replacements.1 point


This leaderboard is set to New York/GMT-04:00