
Rear gear case cracked...any ideas....how, and what to do?
-
Similar Topics
-
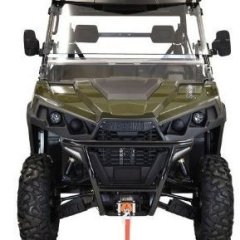
 By TapBoss
So I’d been shopping for an enclosure for my ‘21 TBoss pretty much since I bought it. Then they came out with half doors and that’s the only one that I could find. Then the other day I ran across one on Amazon for half the price of anything else I’d seen. The link is below and I’m pretty impressed by how well it fits. There is one Velcro strap on the top of the door that doesn’t line up well with the roll cage, but I’ll work around it.
https://a.co/d/09ACQ191
-
 By rdc
I have a 2007 Joyner 1100 sand viper and before it even get's to where the thermostat opens up the oil pressure get's so low I have to shut it down. What could fix this ? I thought about adding an oil cooler with fan, thicker oil, or removing the thermostat. Any advice?
-
 By Rusmis91
I’ve never been around Coleman Utv machines. Do they have a good reputation, durable dependability. Could you compare them to yamaha rhinos or Polaris ranger
thanks in advance
-
 By nrggaragebuilds
2004 250DL DIRT DEVIL. Hey y’all, I already know this is a long shot. But I am looking for a the “prick gear” assembly that makes reverse work for my external reverse gearbox. OEM PN D250.08.103 and its assembly. I bought the kart as a basket case, but I saw that the reverse box was present so I was optimistic. Upon starting working on the buggy I realized there was a block off plate in plate of there the normal gear would be. If my understanding is correct that means the transmission no longer has reverse gear. I figured it’s just a standard bevel gear and I could probably find a gear to make work, but I don’t want to spend the time making all the other housing parts to shim the gear perfectly. Has anyone spare parts, or figured out an aftermarket solution from McMaster? I already know it’ll be a challenge to get this box to be happy again, but figured I would ask
-
 By Adrian Domingues
I have 31 miles on my new T-Boss 550. In order to start I put in nentural and the emerage brake on and push down on brake paddle, then trun ket and get nothing, with key still on I shift to reverase and the back to netural and it starts. Anyone know what is happening.
Thanks for your help
-

Recommended Posts
Join the conversation
You can post now and register later. If you have an account, sign in now to post with your account.
Note: Your post will require moderator approval before it will be visible.