

Greg Kilgore
-
Posts
282 -
Joined
-
Last visited
-
Days Won
25
Content Type
Profiles
Events
Forums
Gallery
Downloads
Community Map
Everything posted by Greg Kilgore
-

Axis air box elimination
Greg Kilgore replied to Greg Kilgore's topic in AXIS Off-Road UTV SxS Forum
Just Mark, got pics? -
Axis air box elimination
Greg Kilgore replied to Greg Kilgore's topic in AXIS Off-Road UTV SxS Forum
Thanks for the reply KLM. In the pics 7,8,9, and 10 in the 1st post. The air box is removed and a thin plastic flex hose. (Almost like the ones used for a dryer vent hose.) Is attached and going thru the drive shaft tunnel and into the hood area. That is where I stopped the mock-up. When I make the permanent install I will use solid wall pipe as much as possible. I have a heat gun that will be used to make bends and pre-made bends where needed. I'll keep everyone posted on the progress. As well as the fans I'm installing. The fans are on another post. Then I'm going to make doors and installing a heater. Plan on taking pics and posting all progress. -
Axis air box elimination
Greg Kilgore replied to Greg Kilgore's topic in AXIS Off-Road UTV SxS Forum
Nobody has a comment Nobody has input -
Axis air box elimination
Greg Kilgore replied to Greg Kilgore's topic in AXIS Off-Road UTV SxS Forum
My bad. The PVC hose would be sucking in air from crankcase and not outside air. 2nd my bad. The oil, if any, does not drip on ground. There is a plug in the bottom of that tube/hose. So it would just fill with oil. See pics.
-
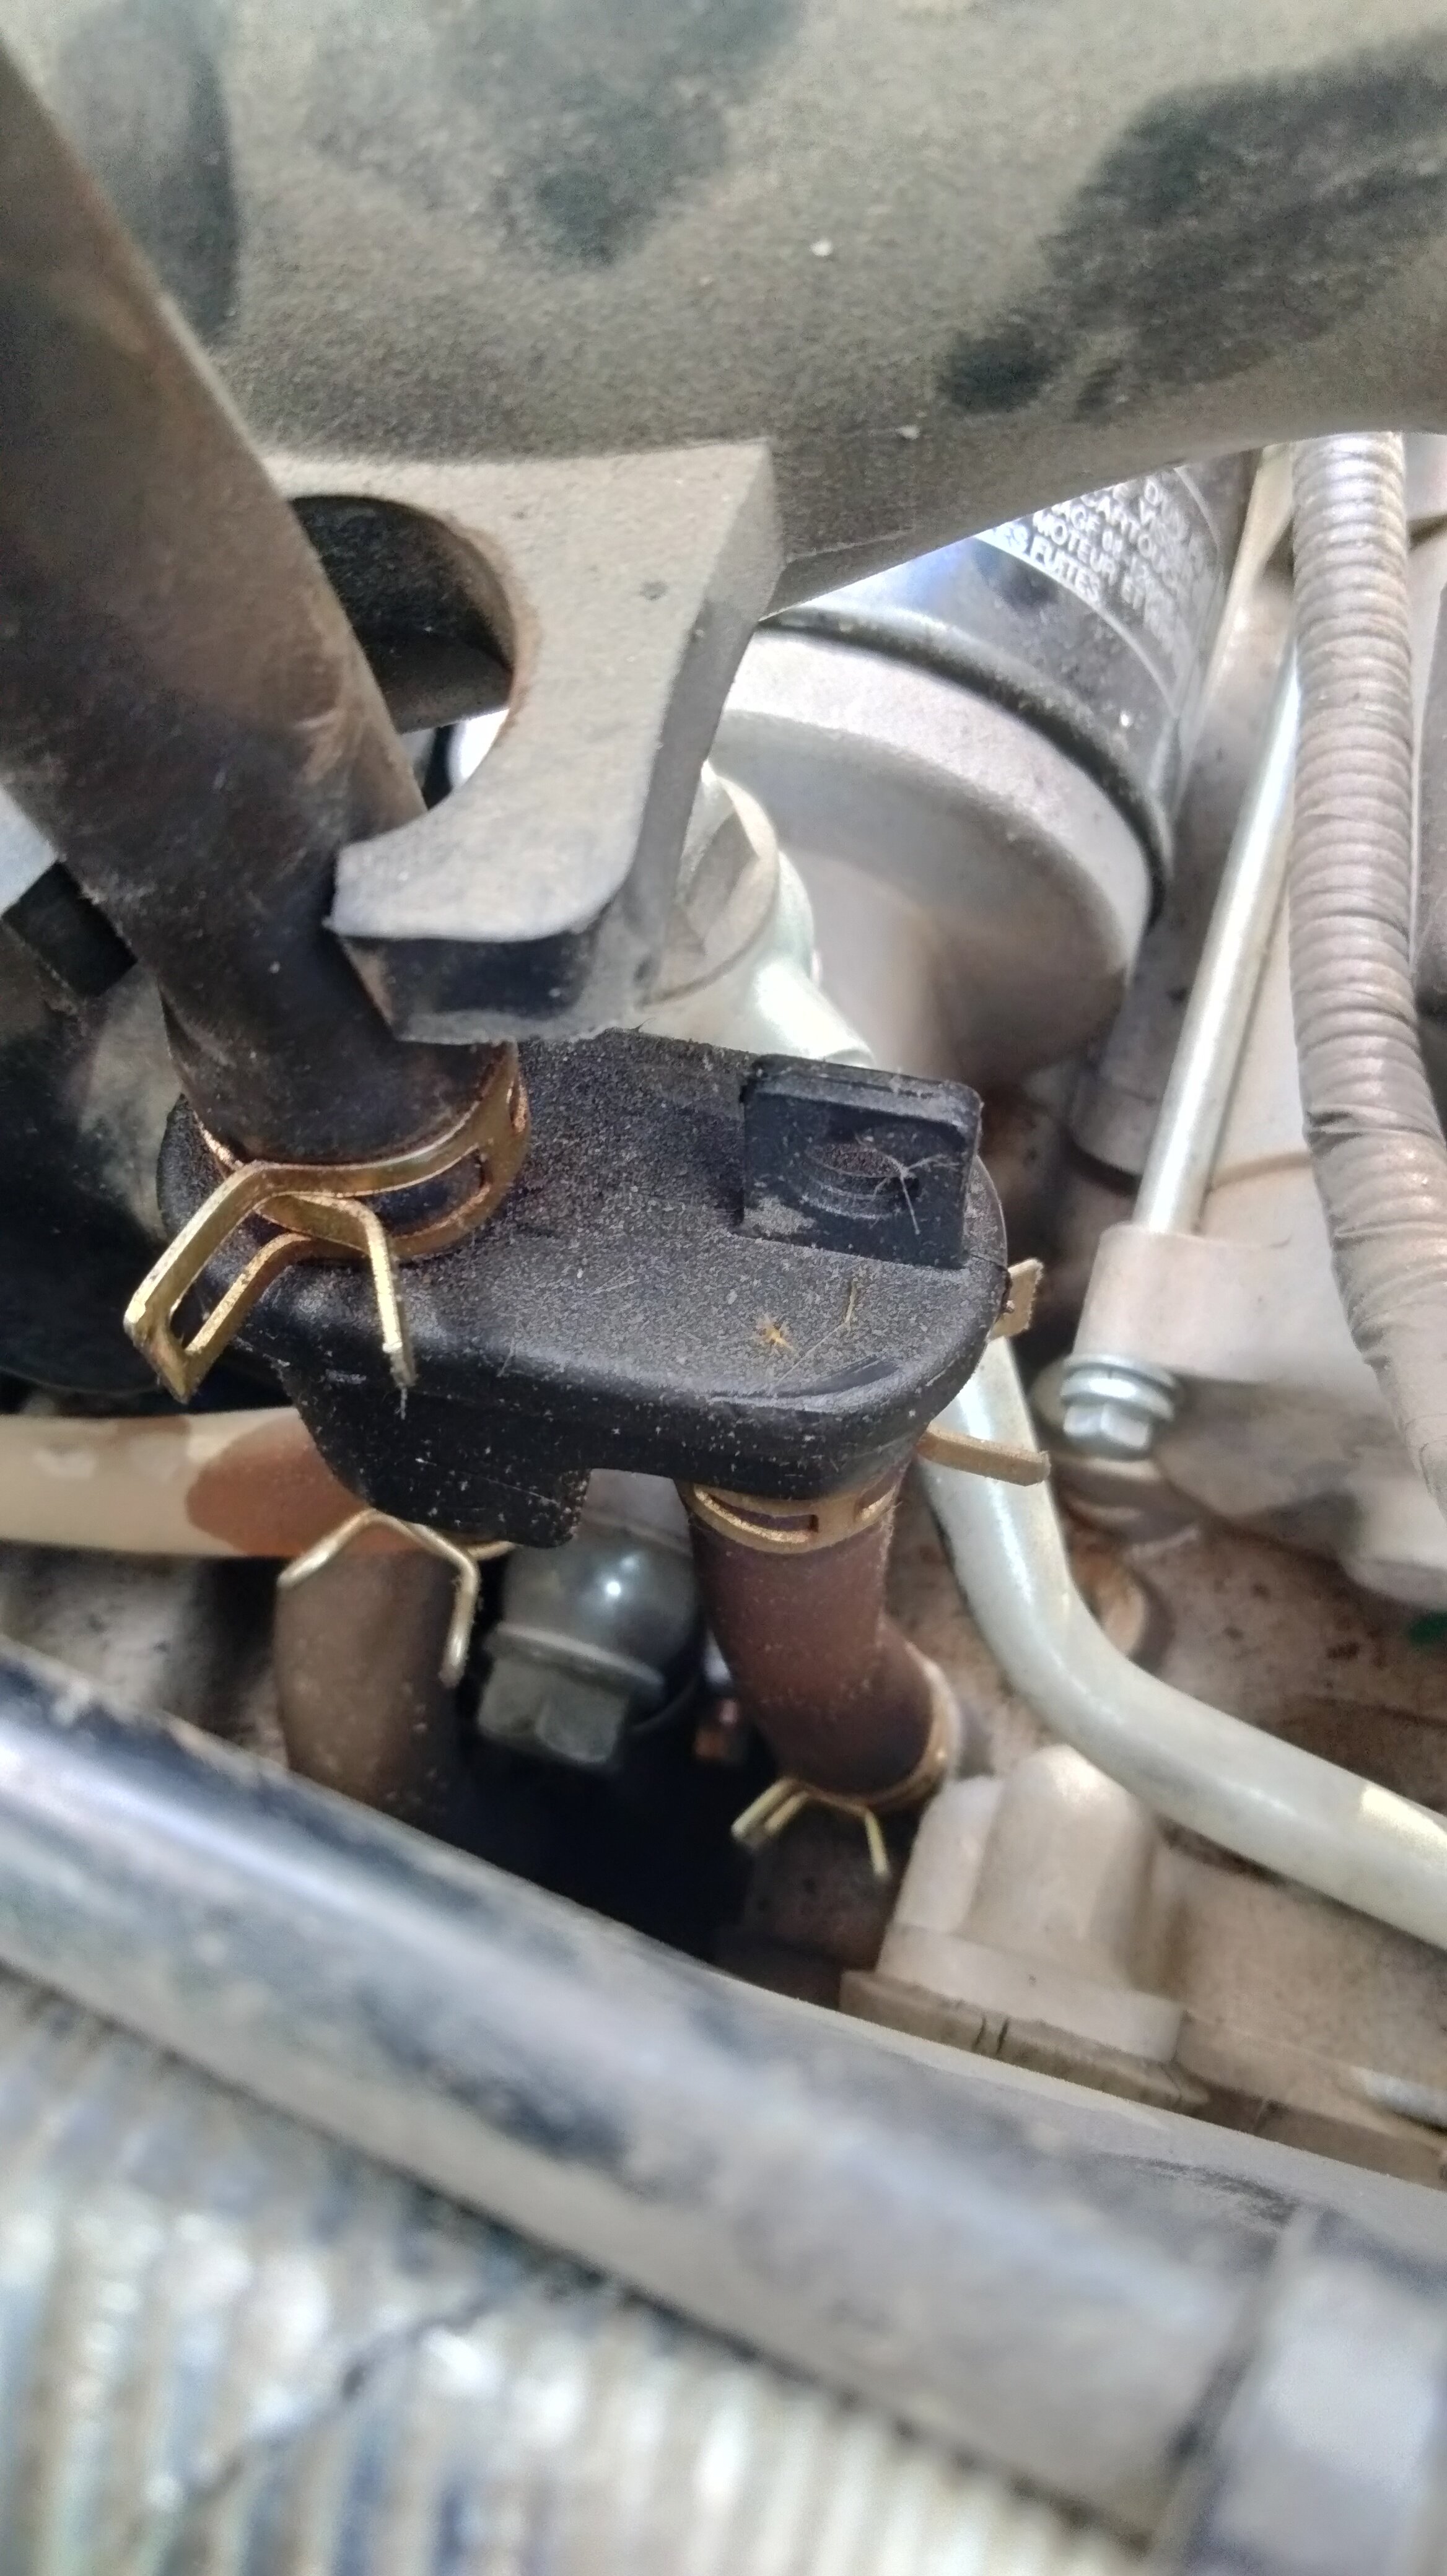
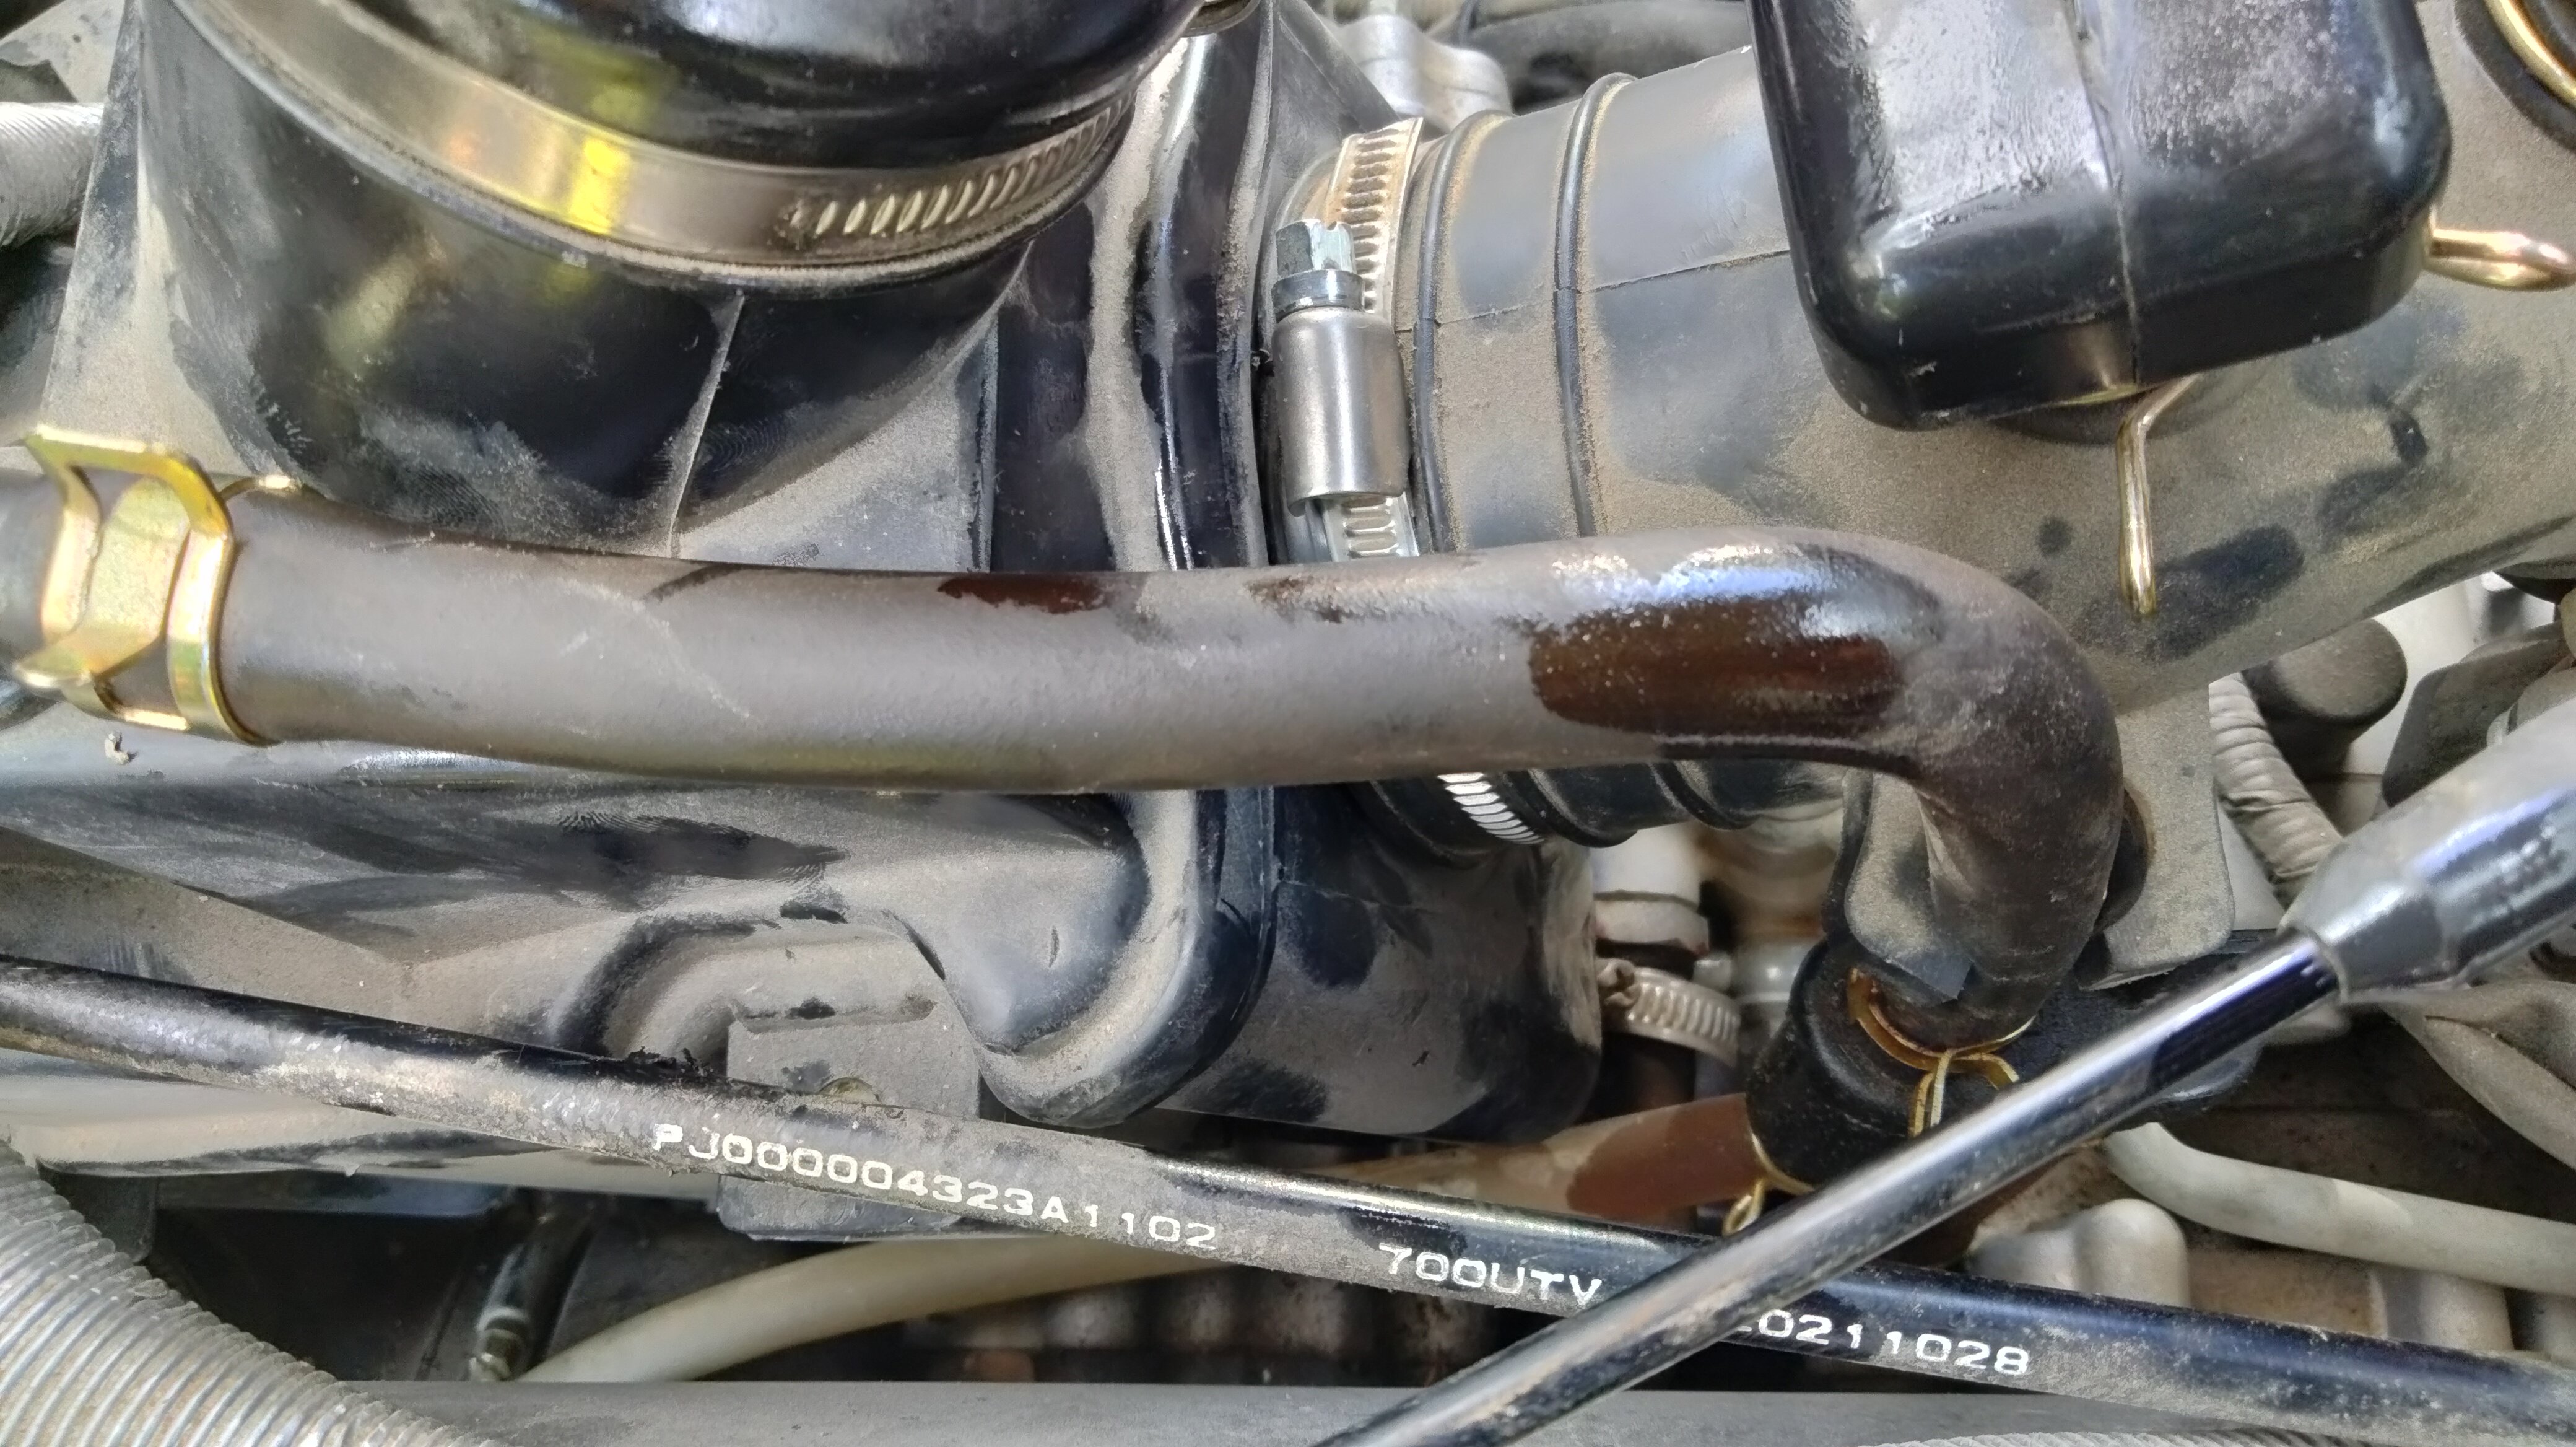
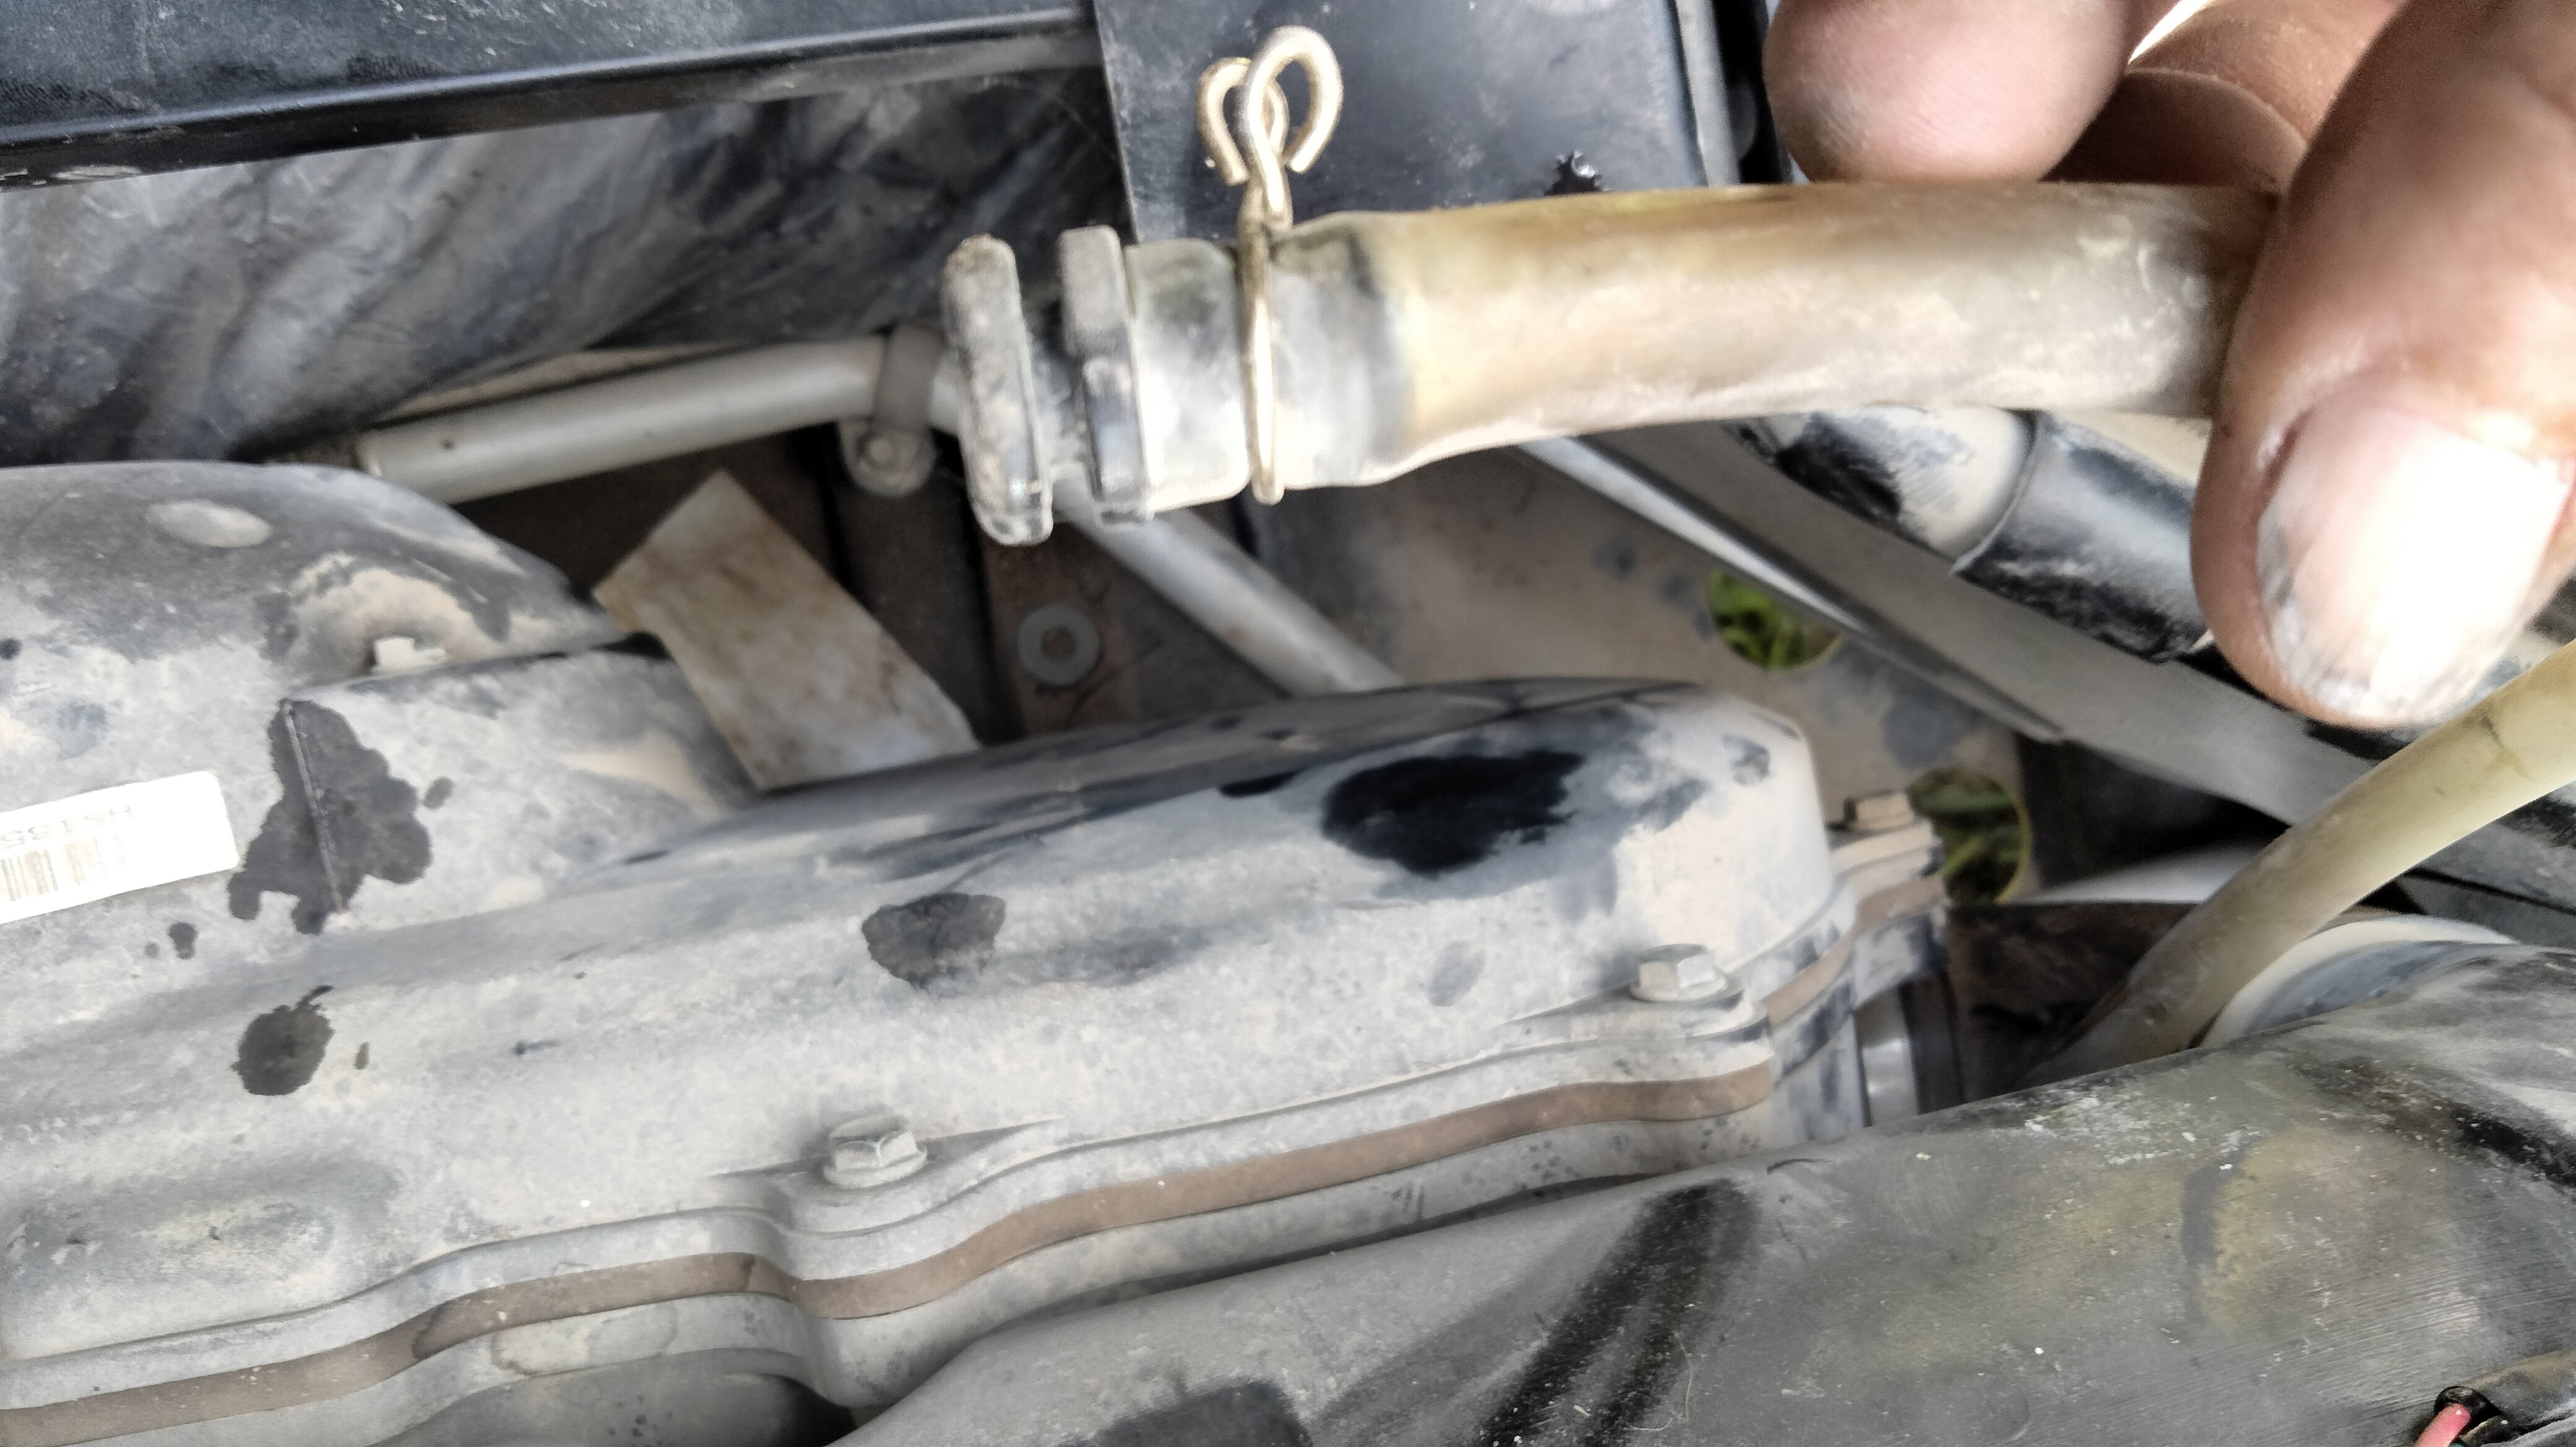
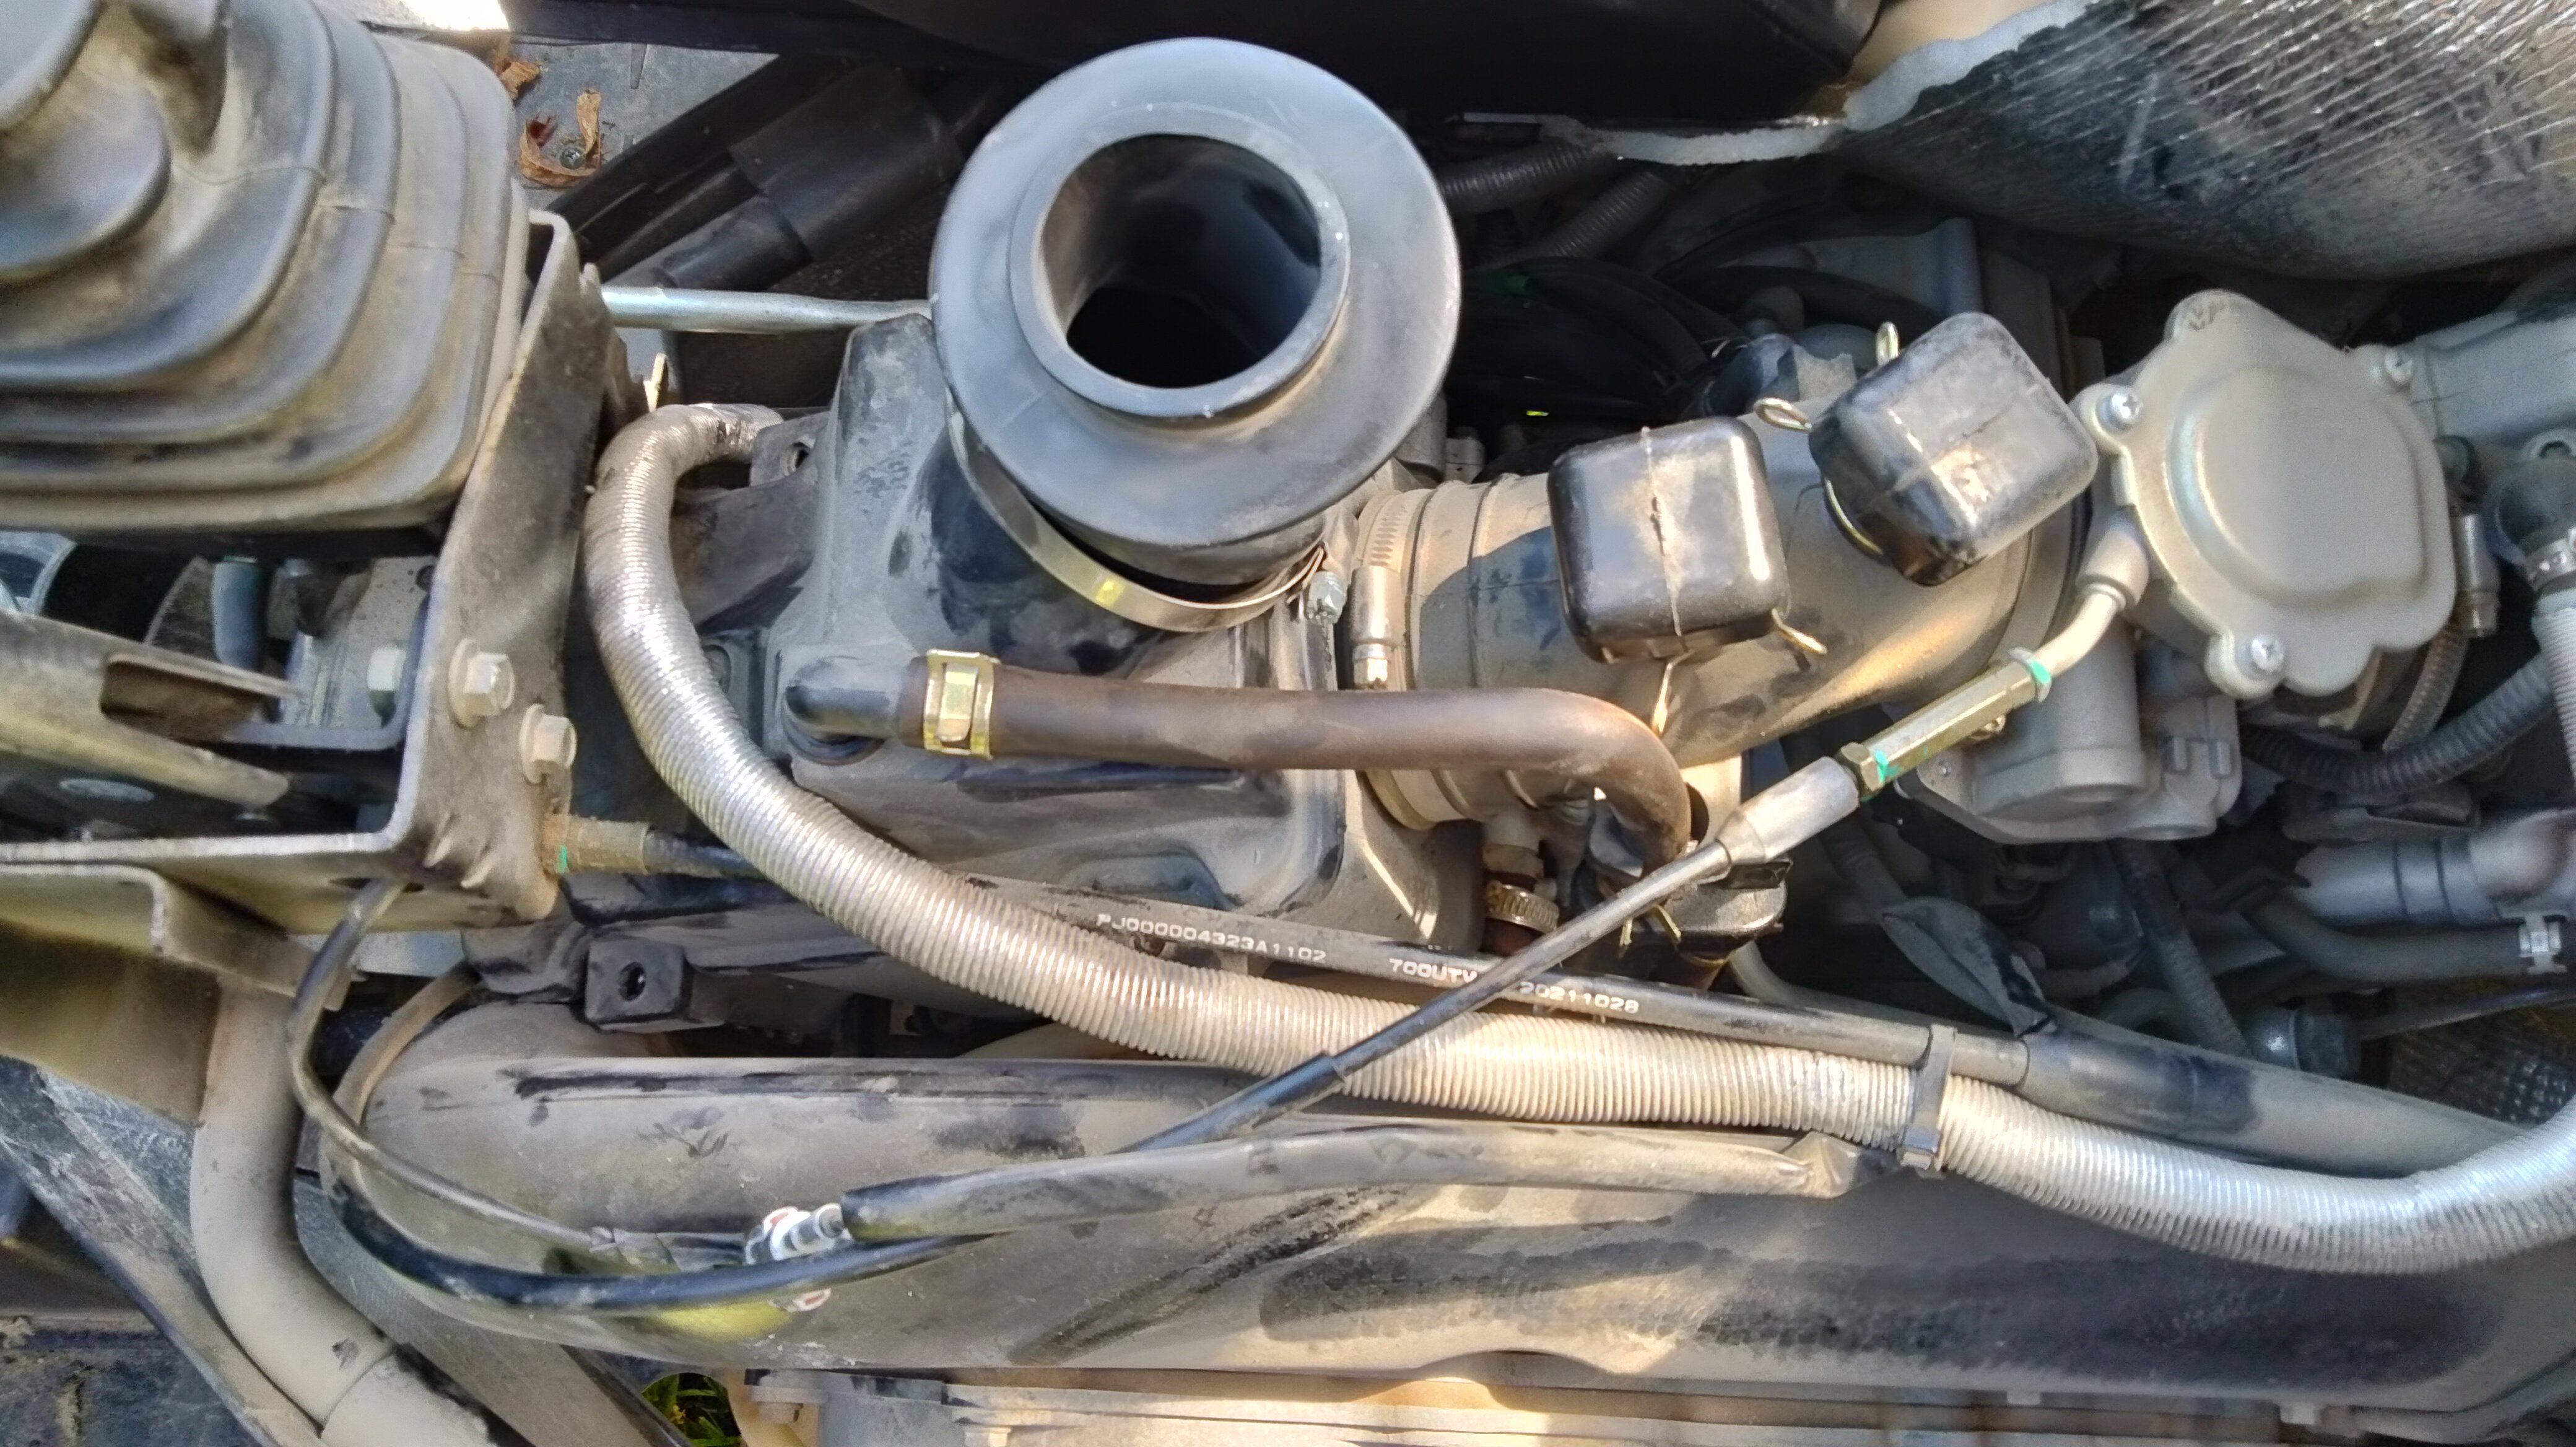
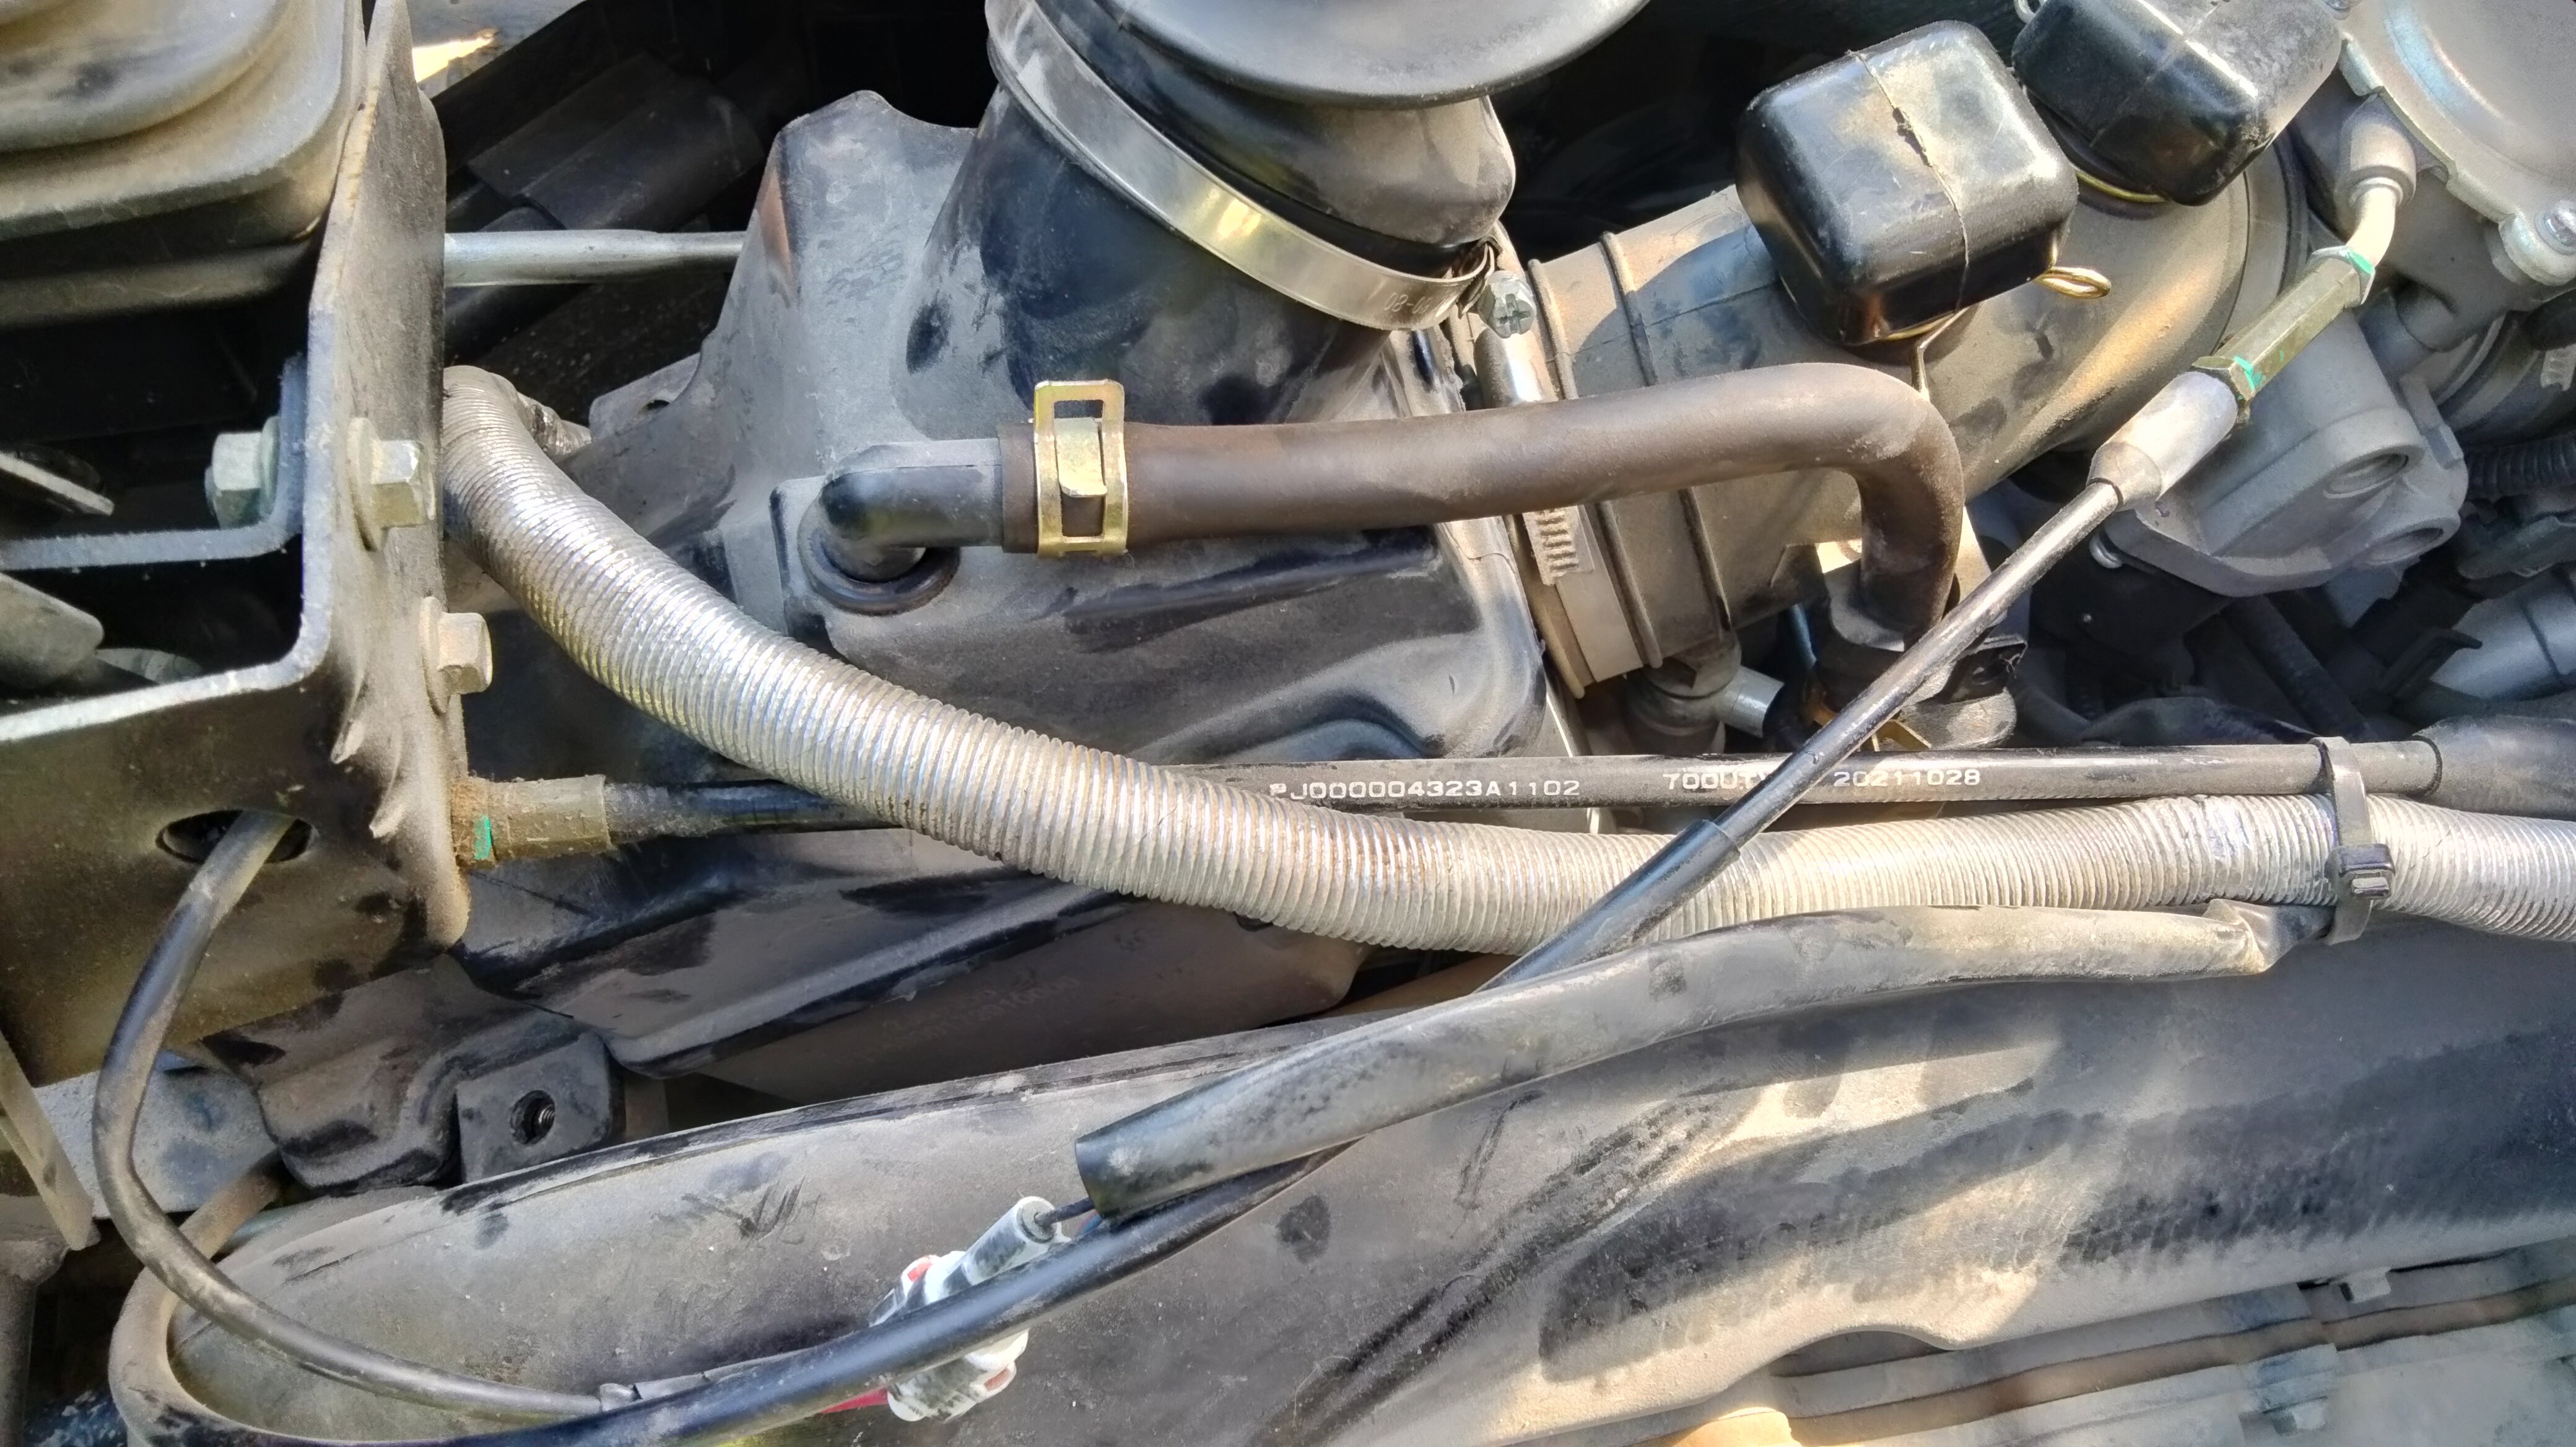
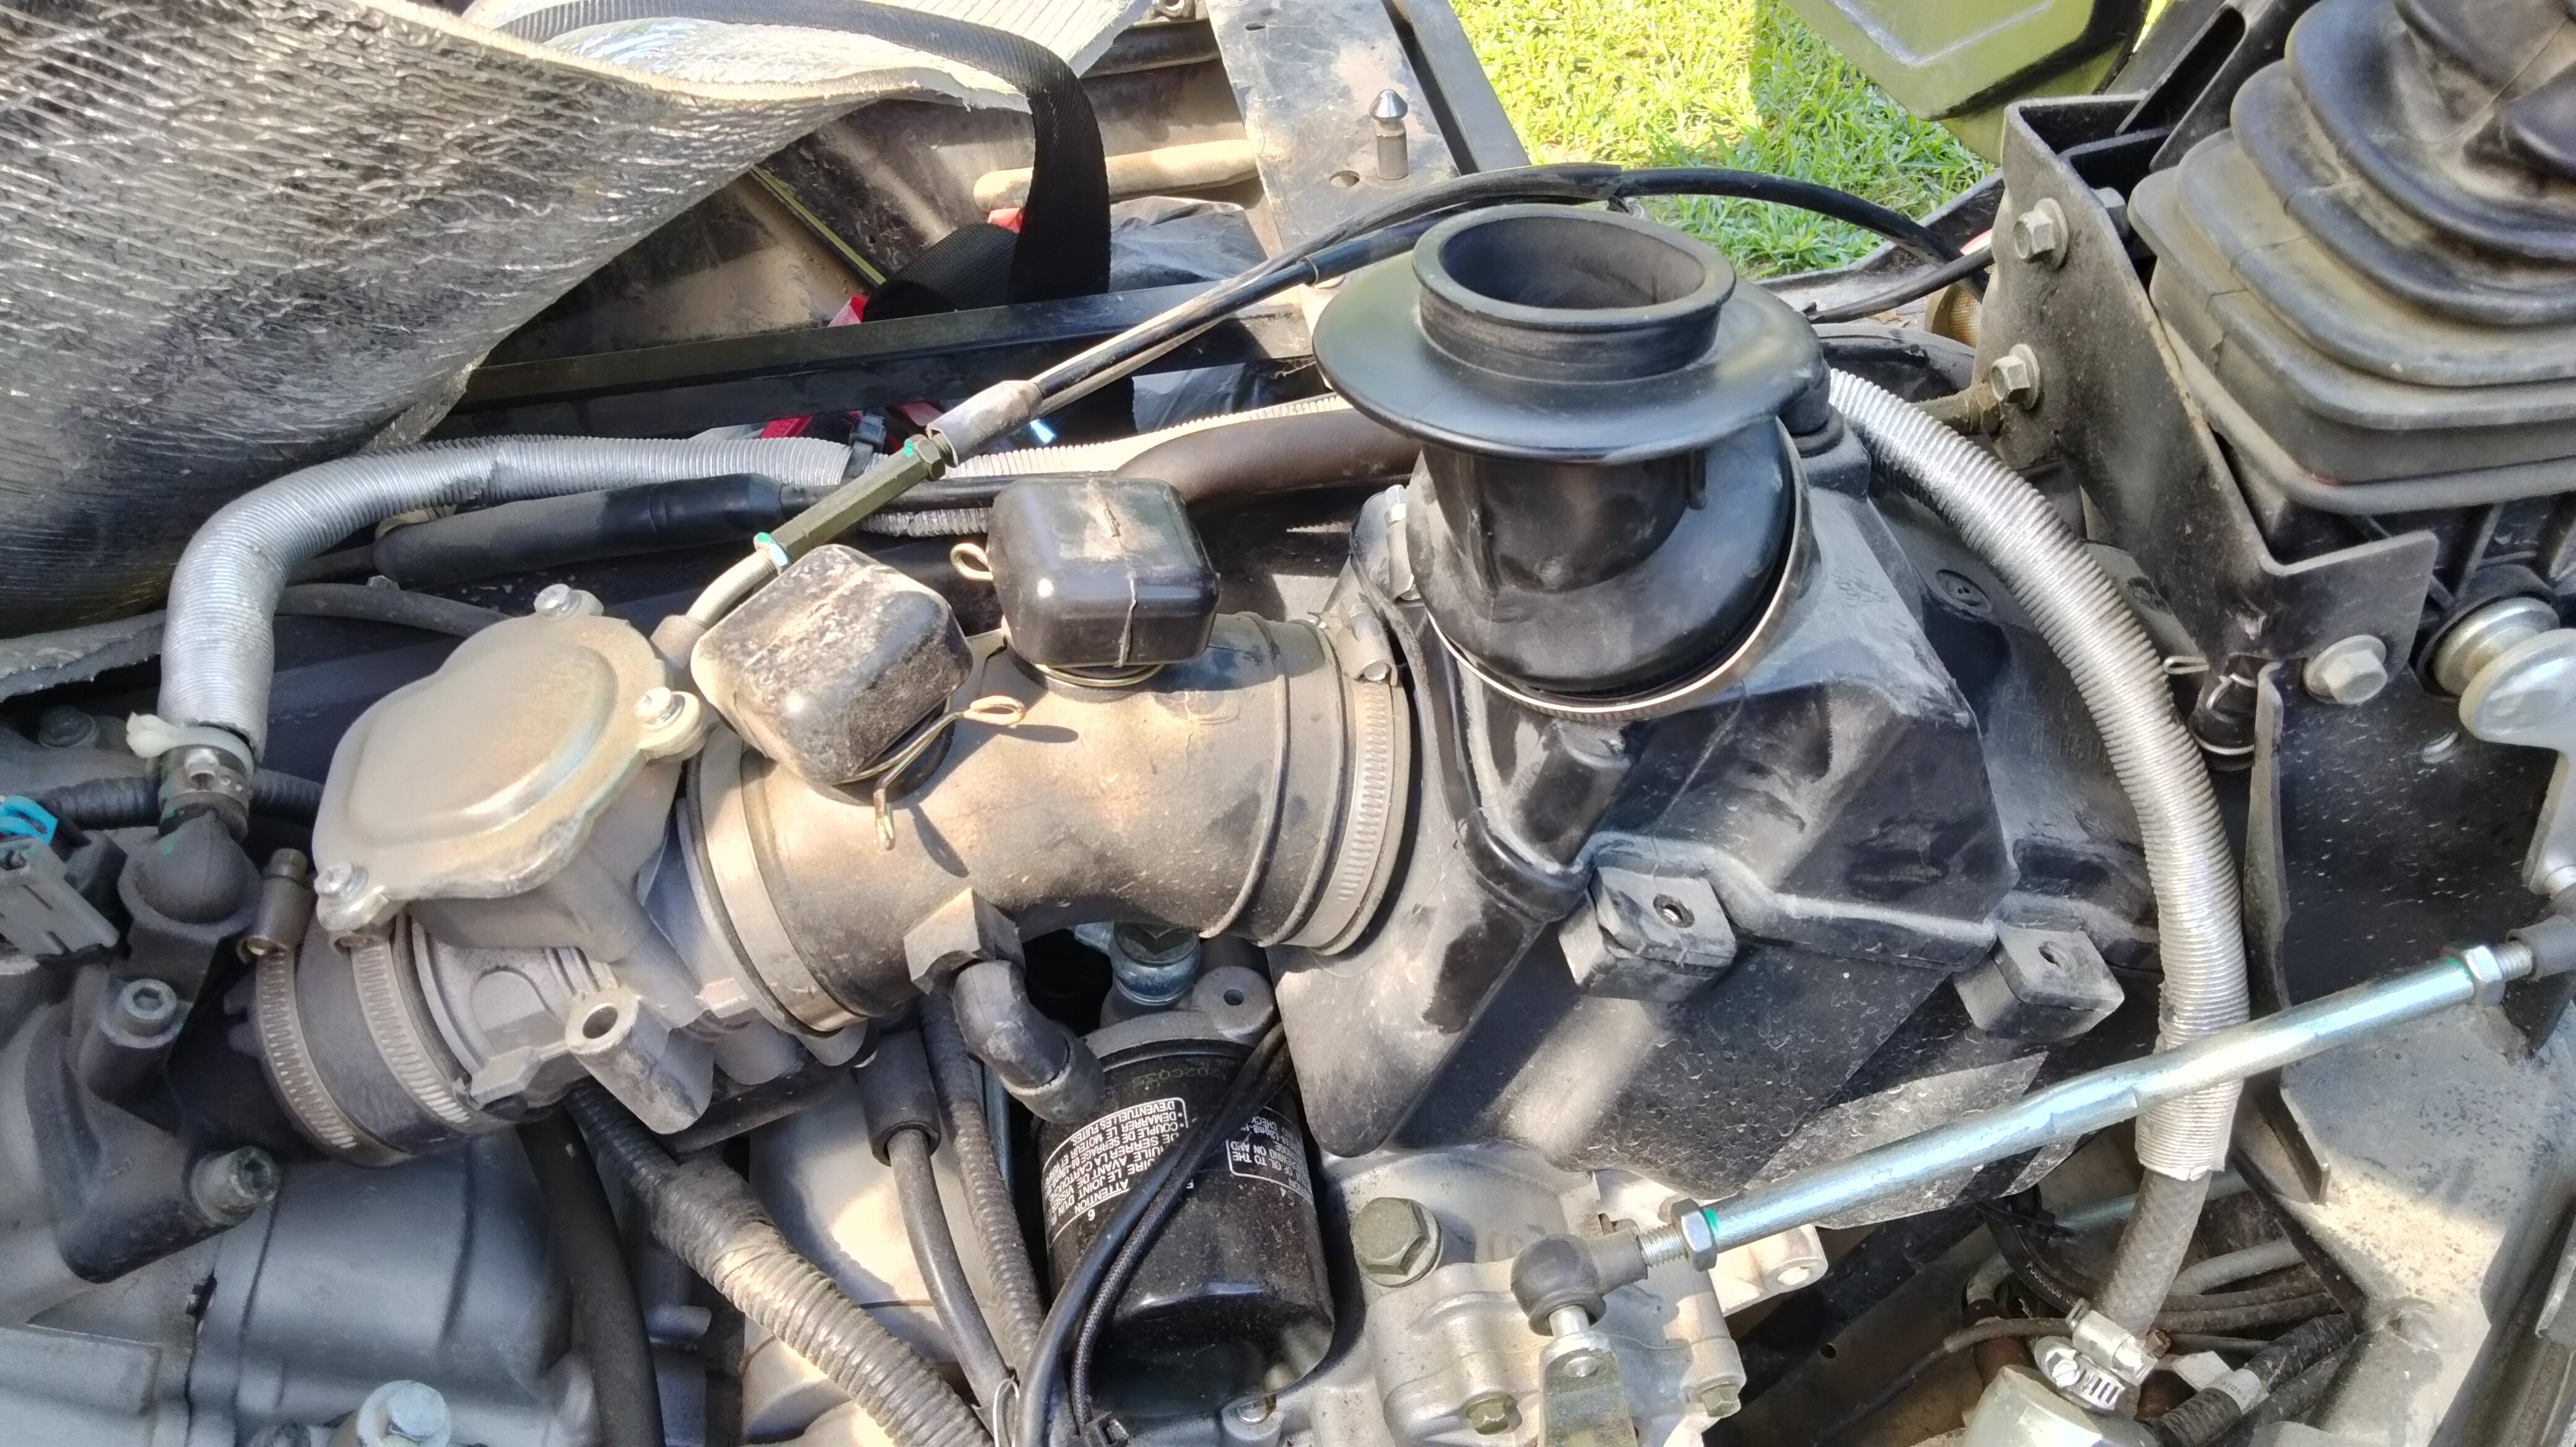
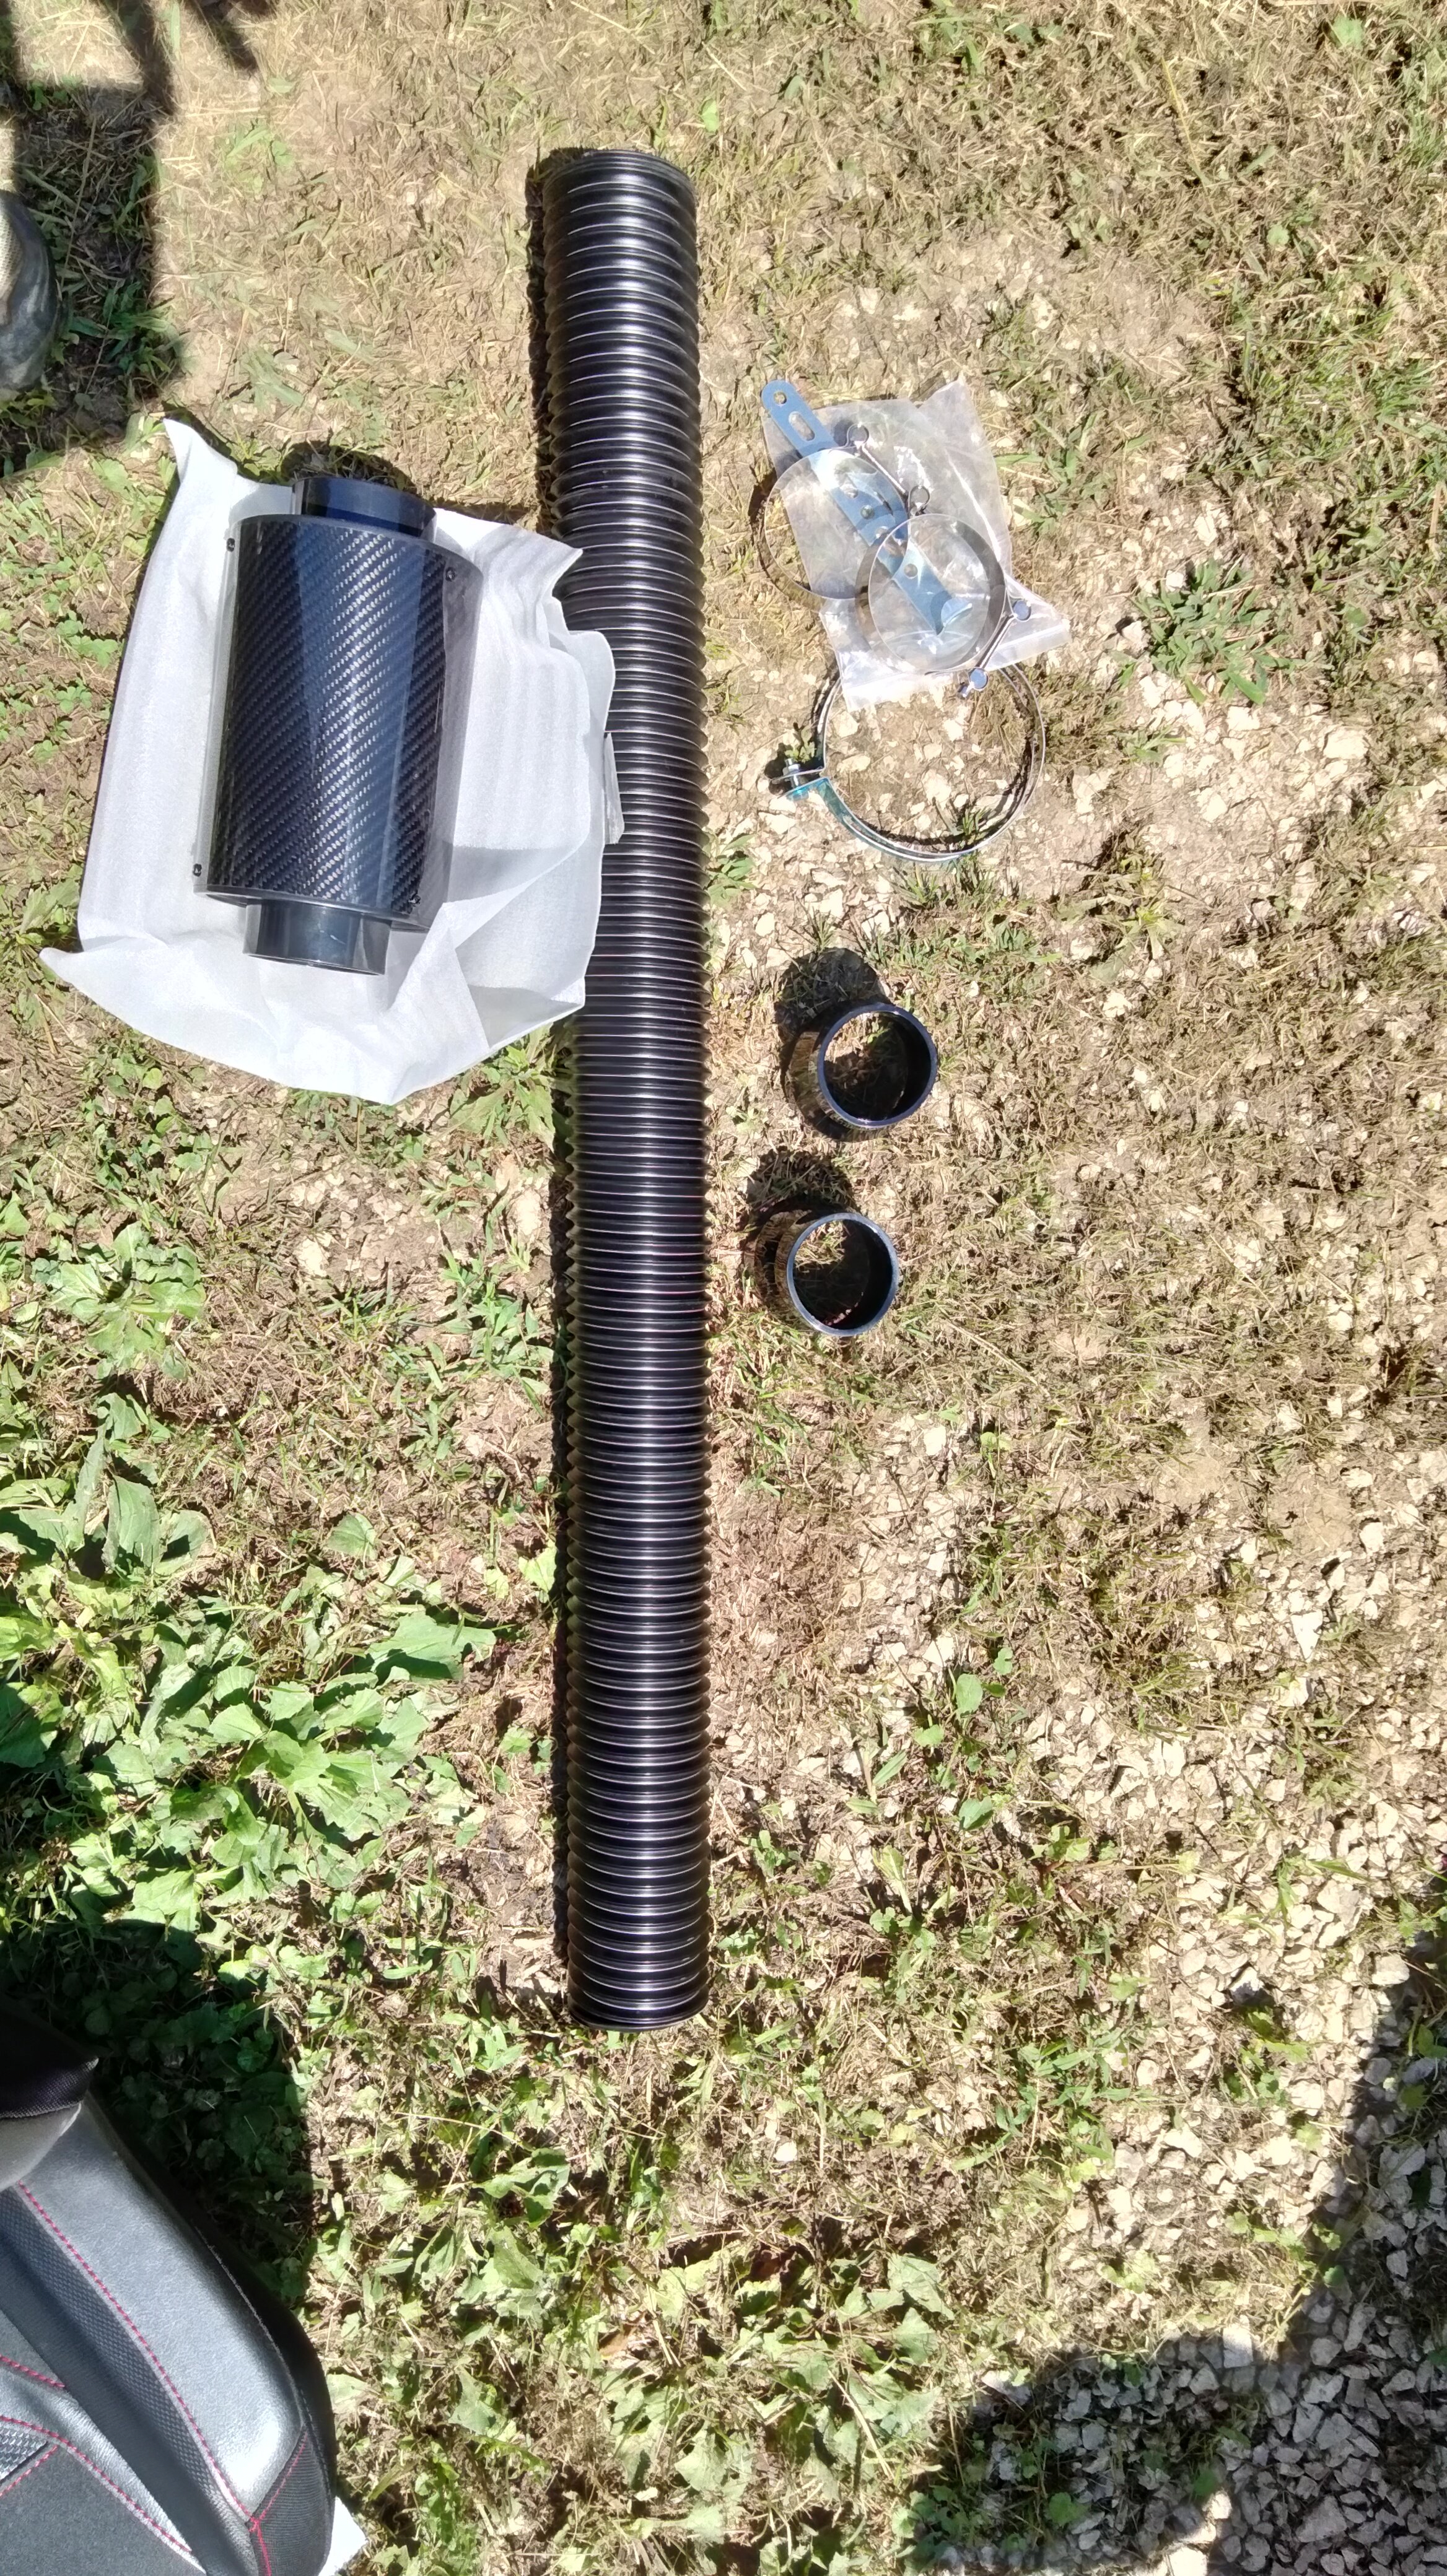
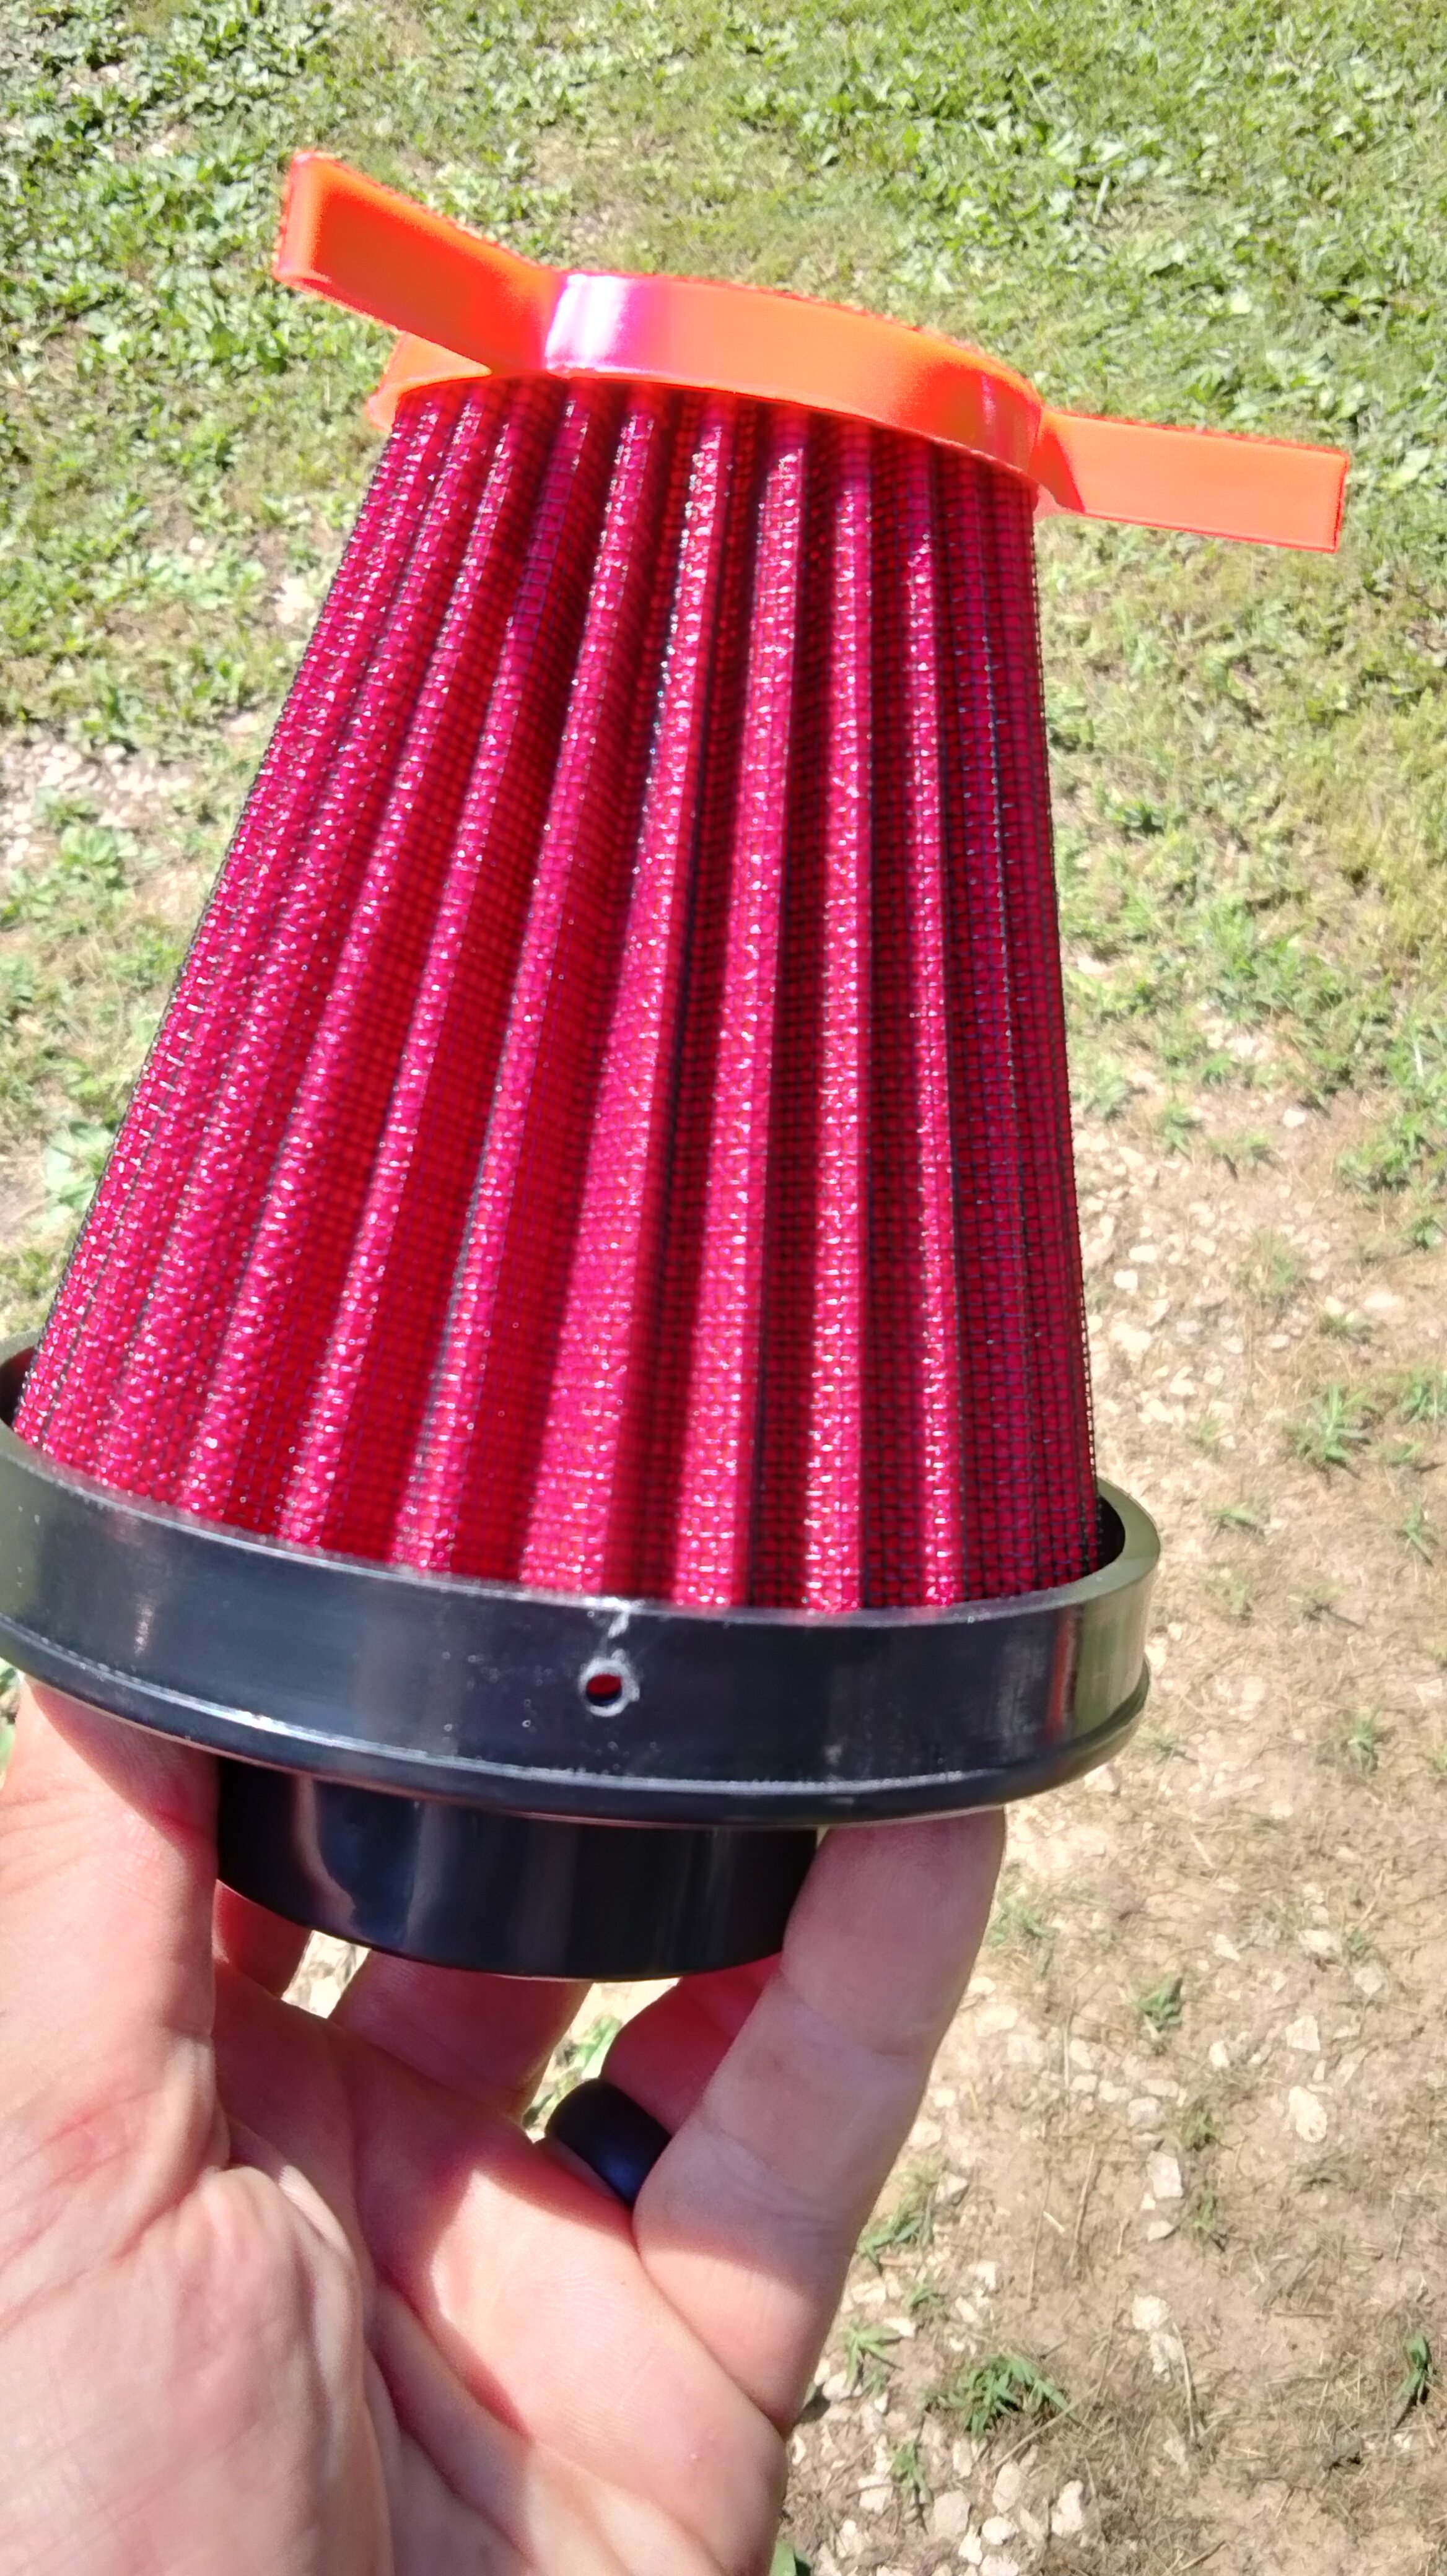
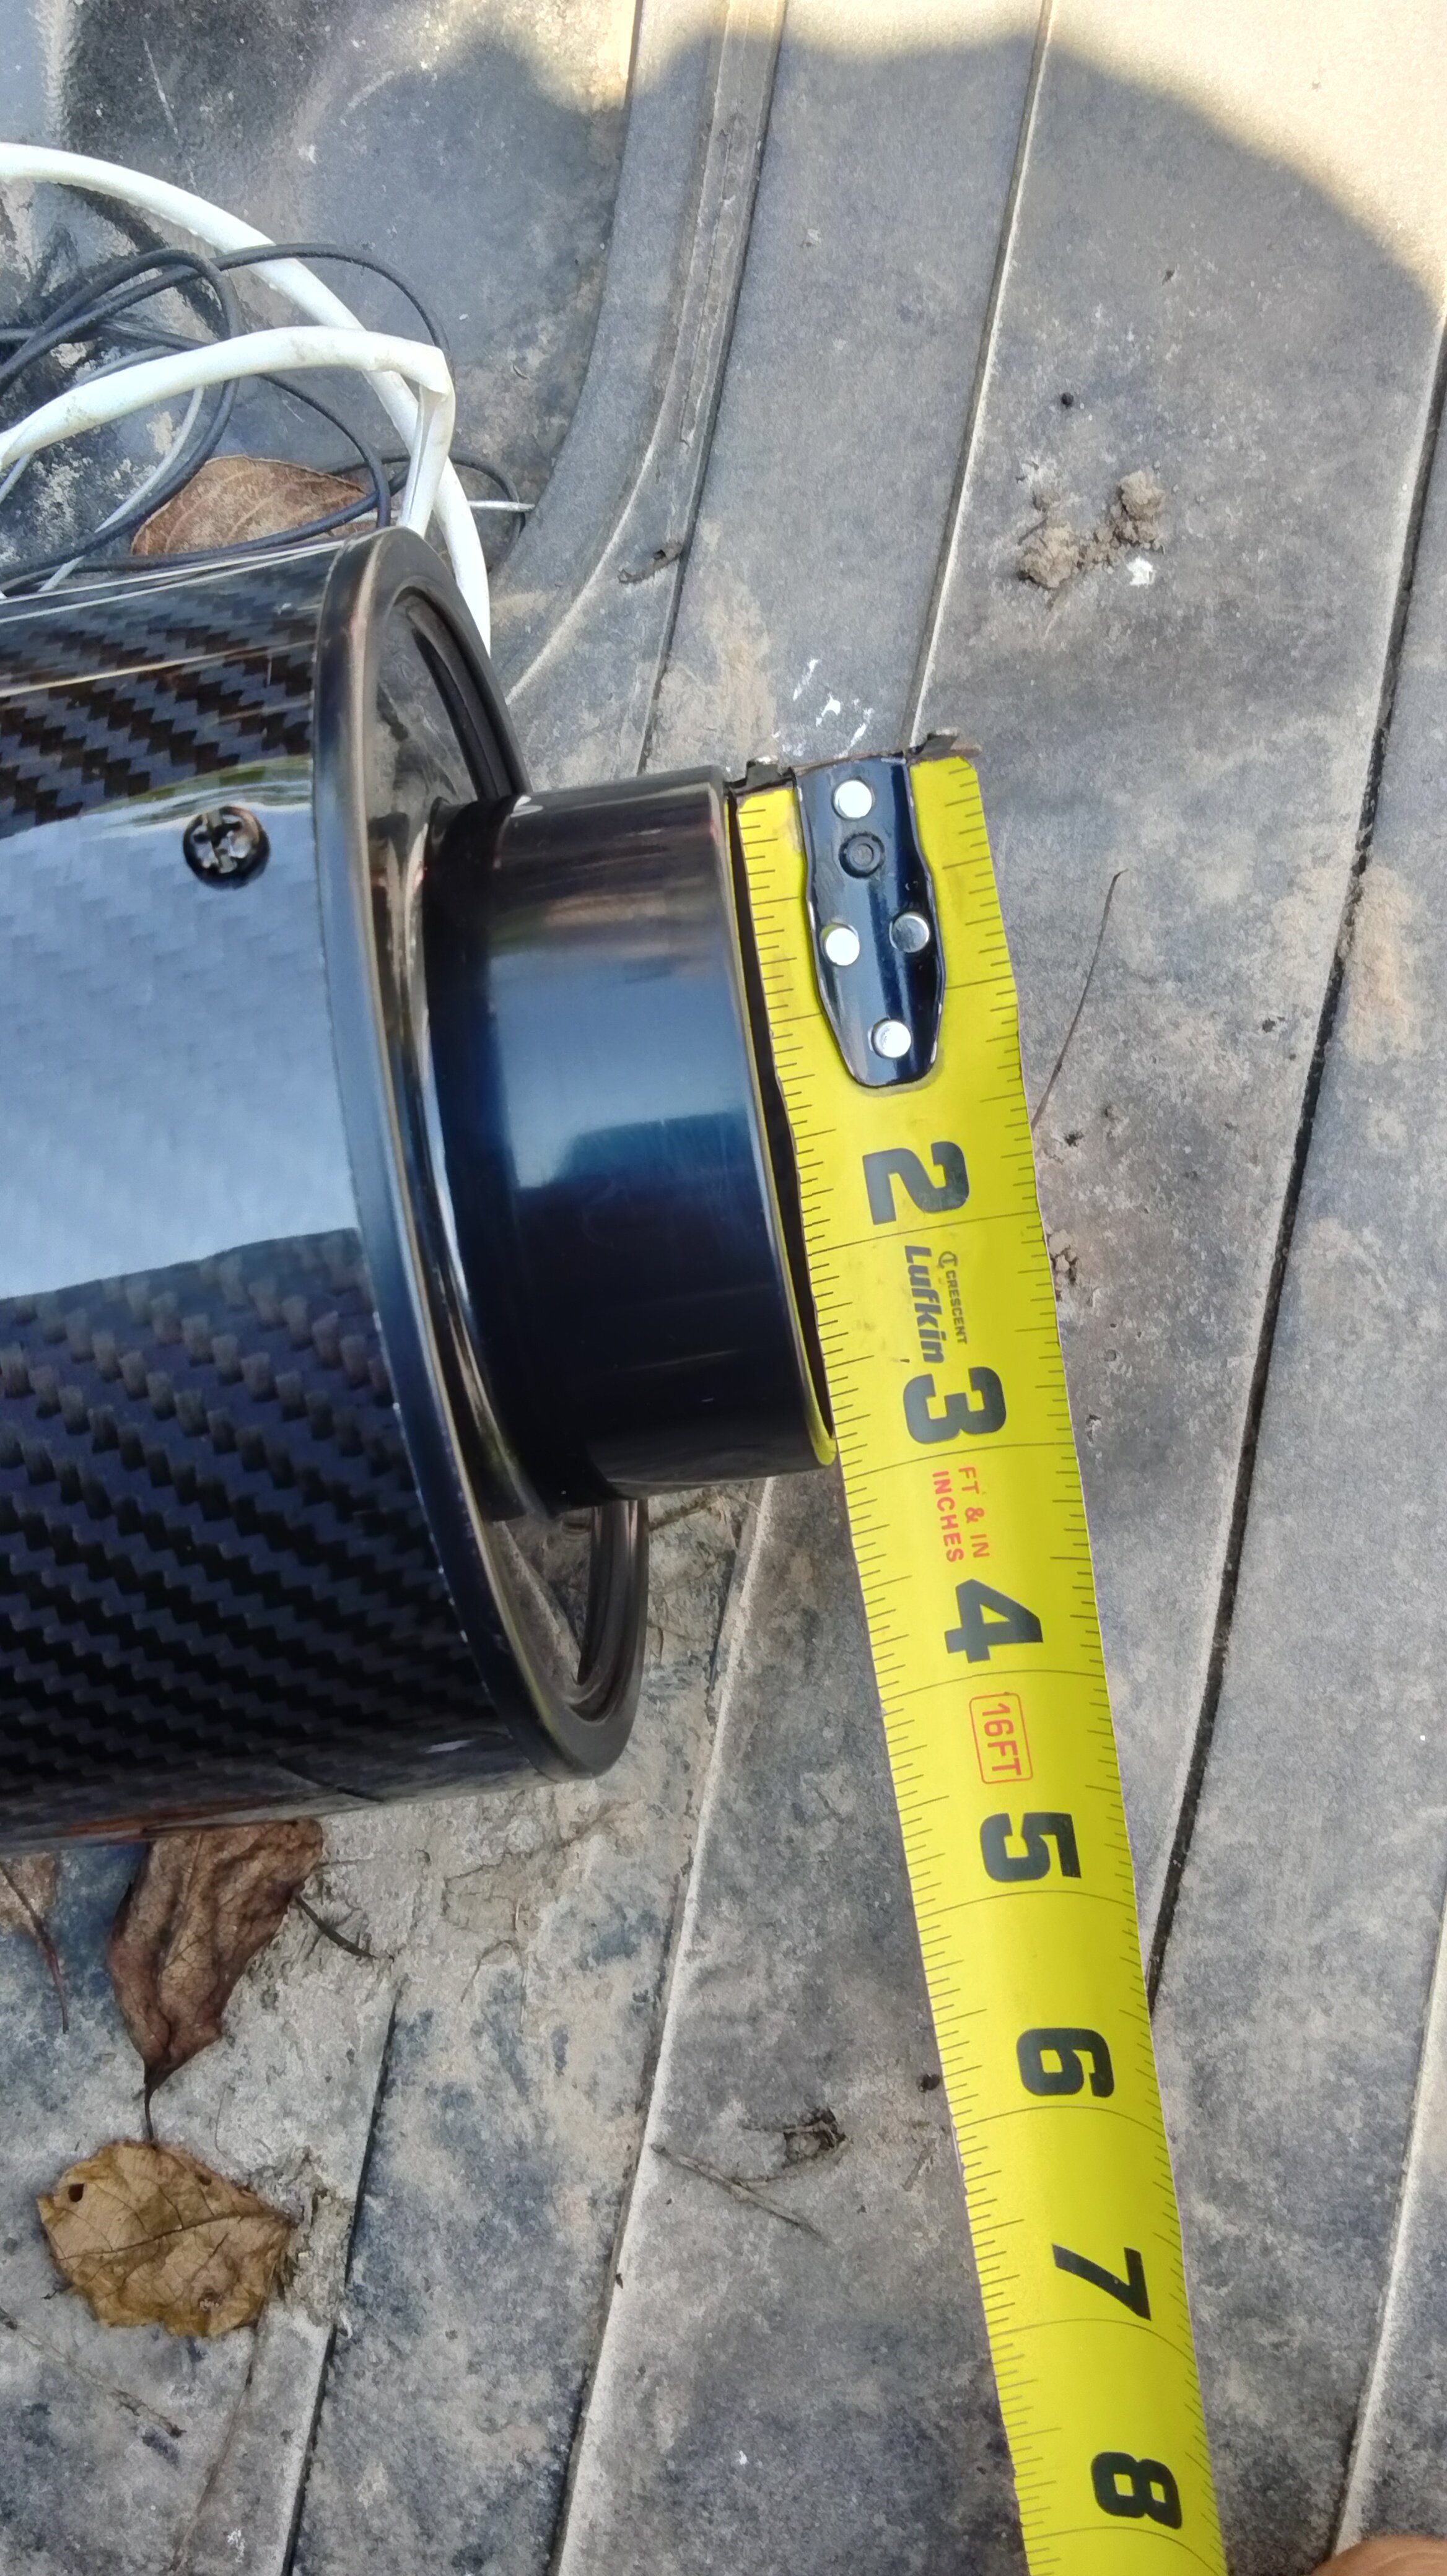
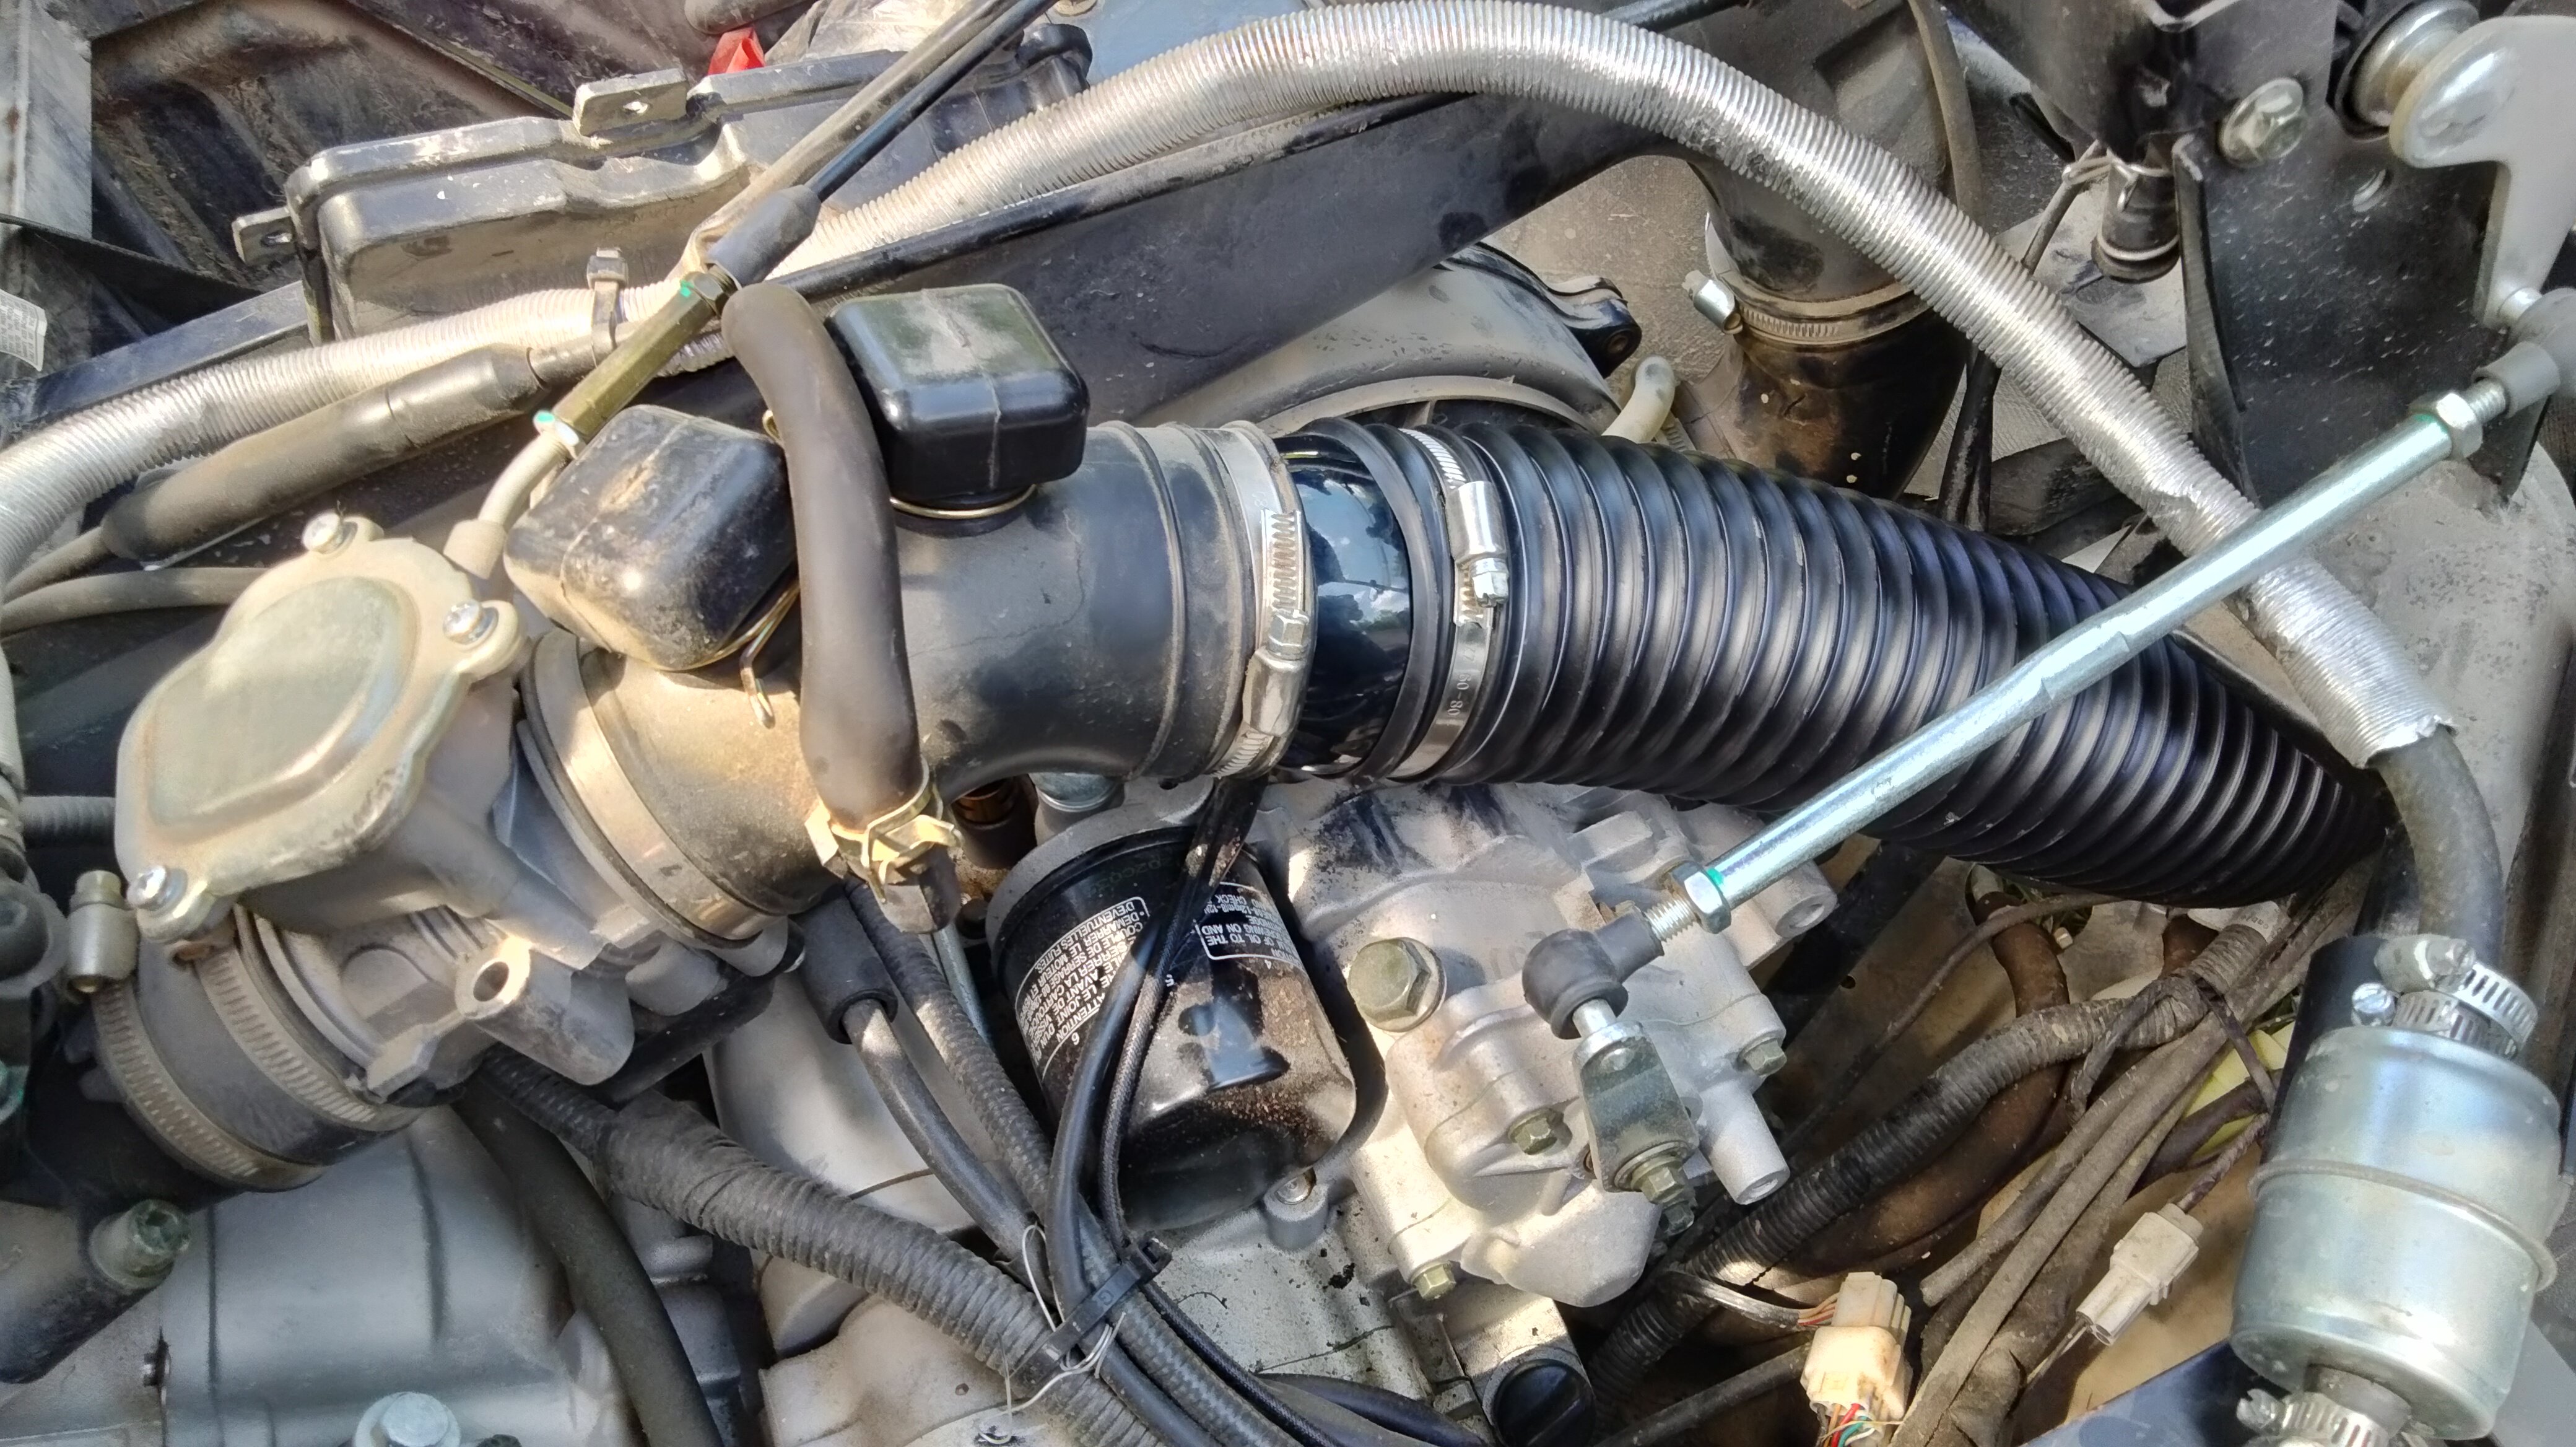
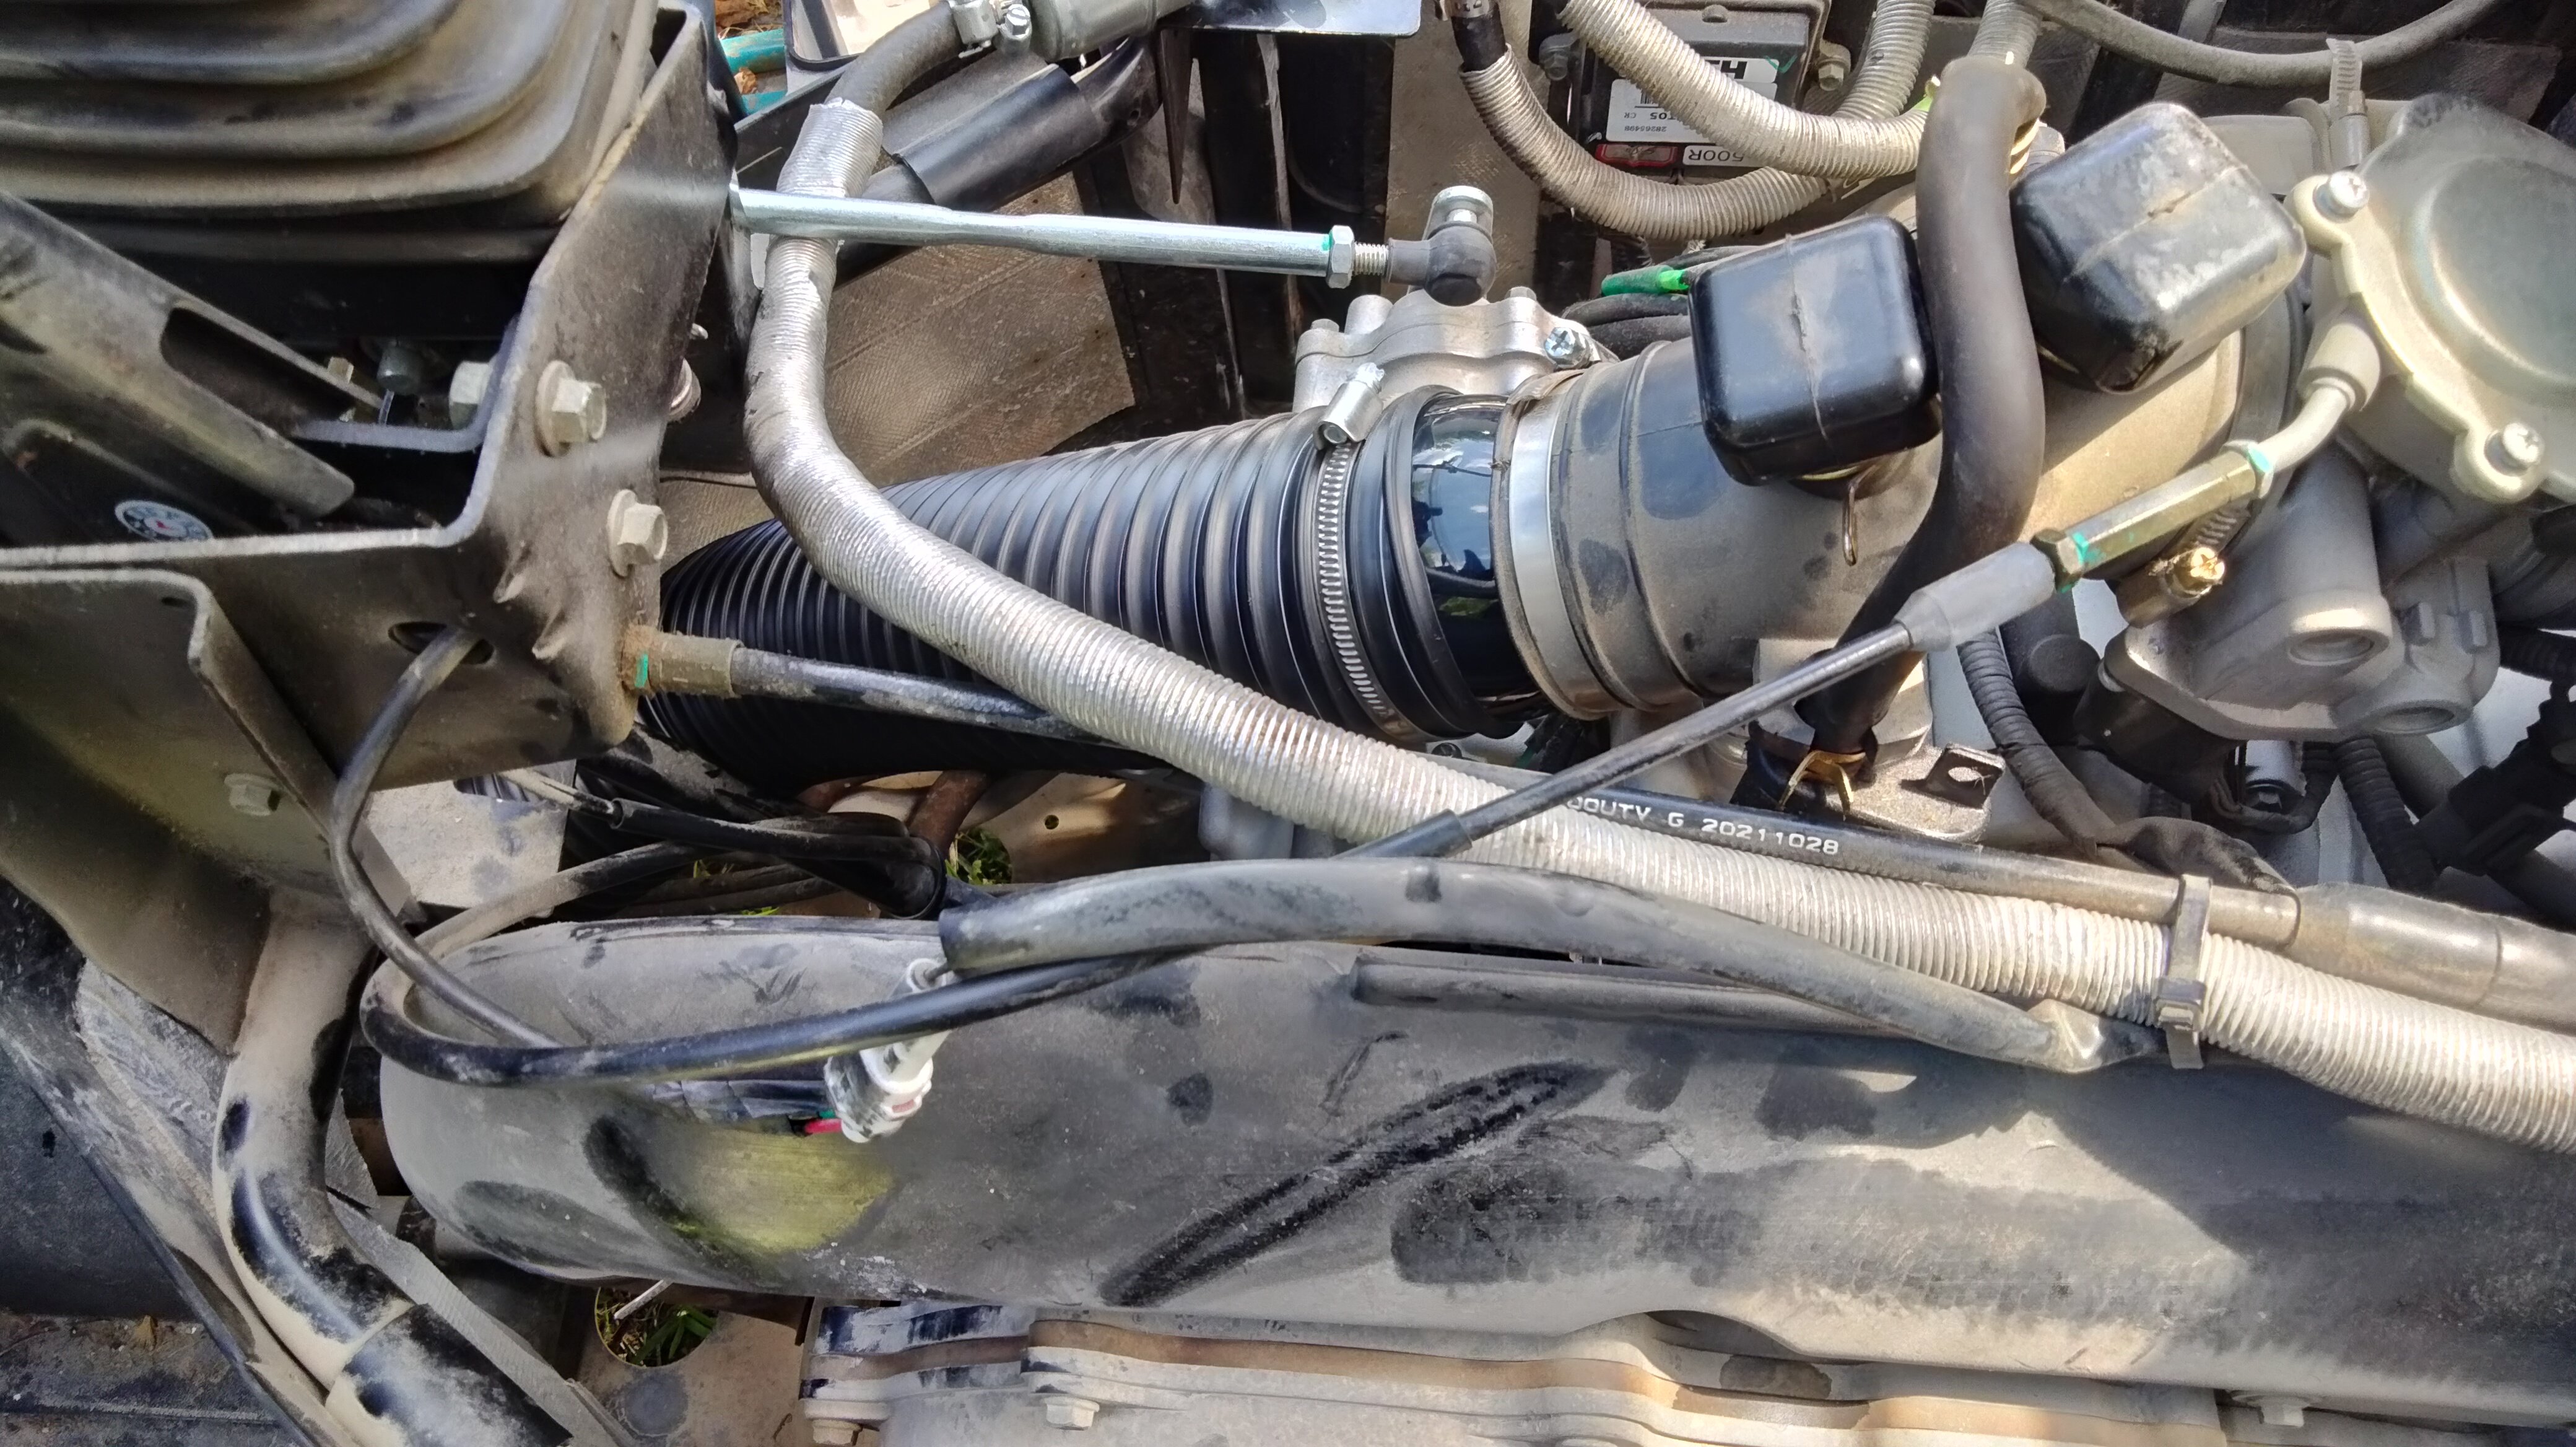
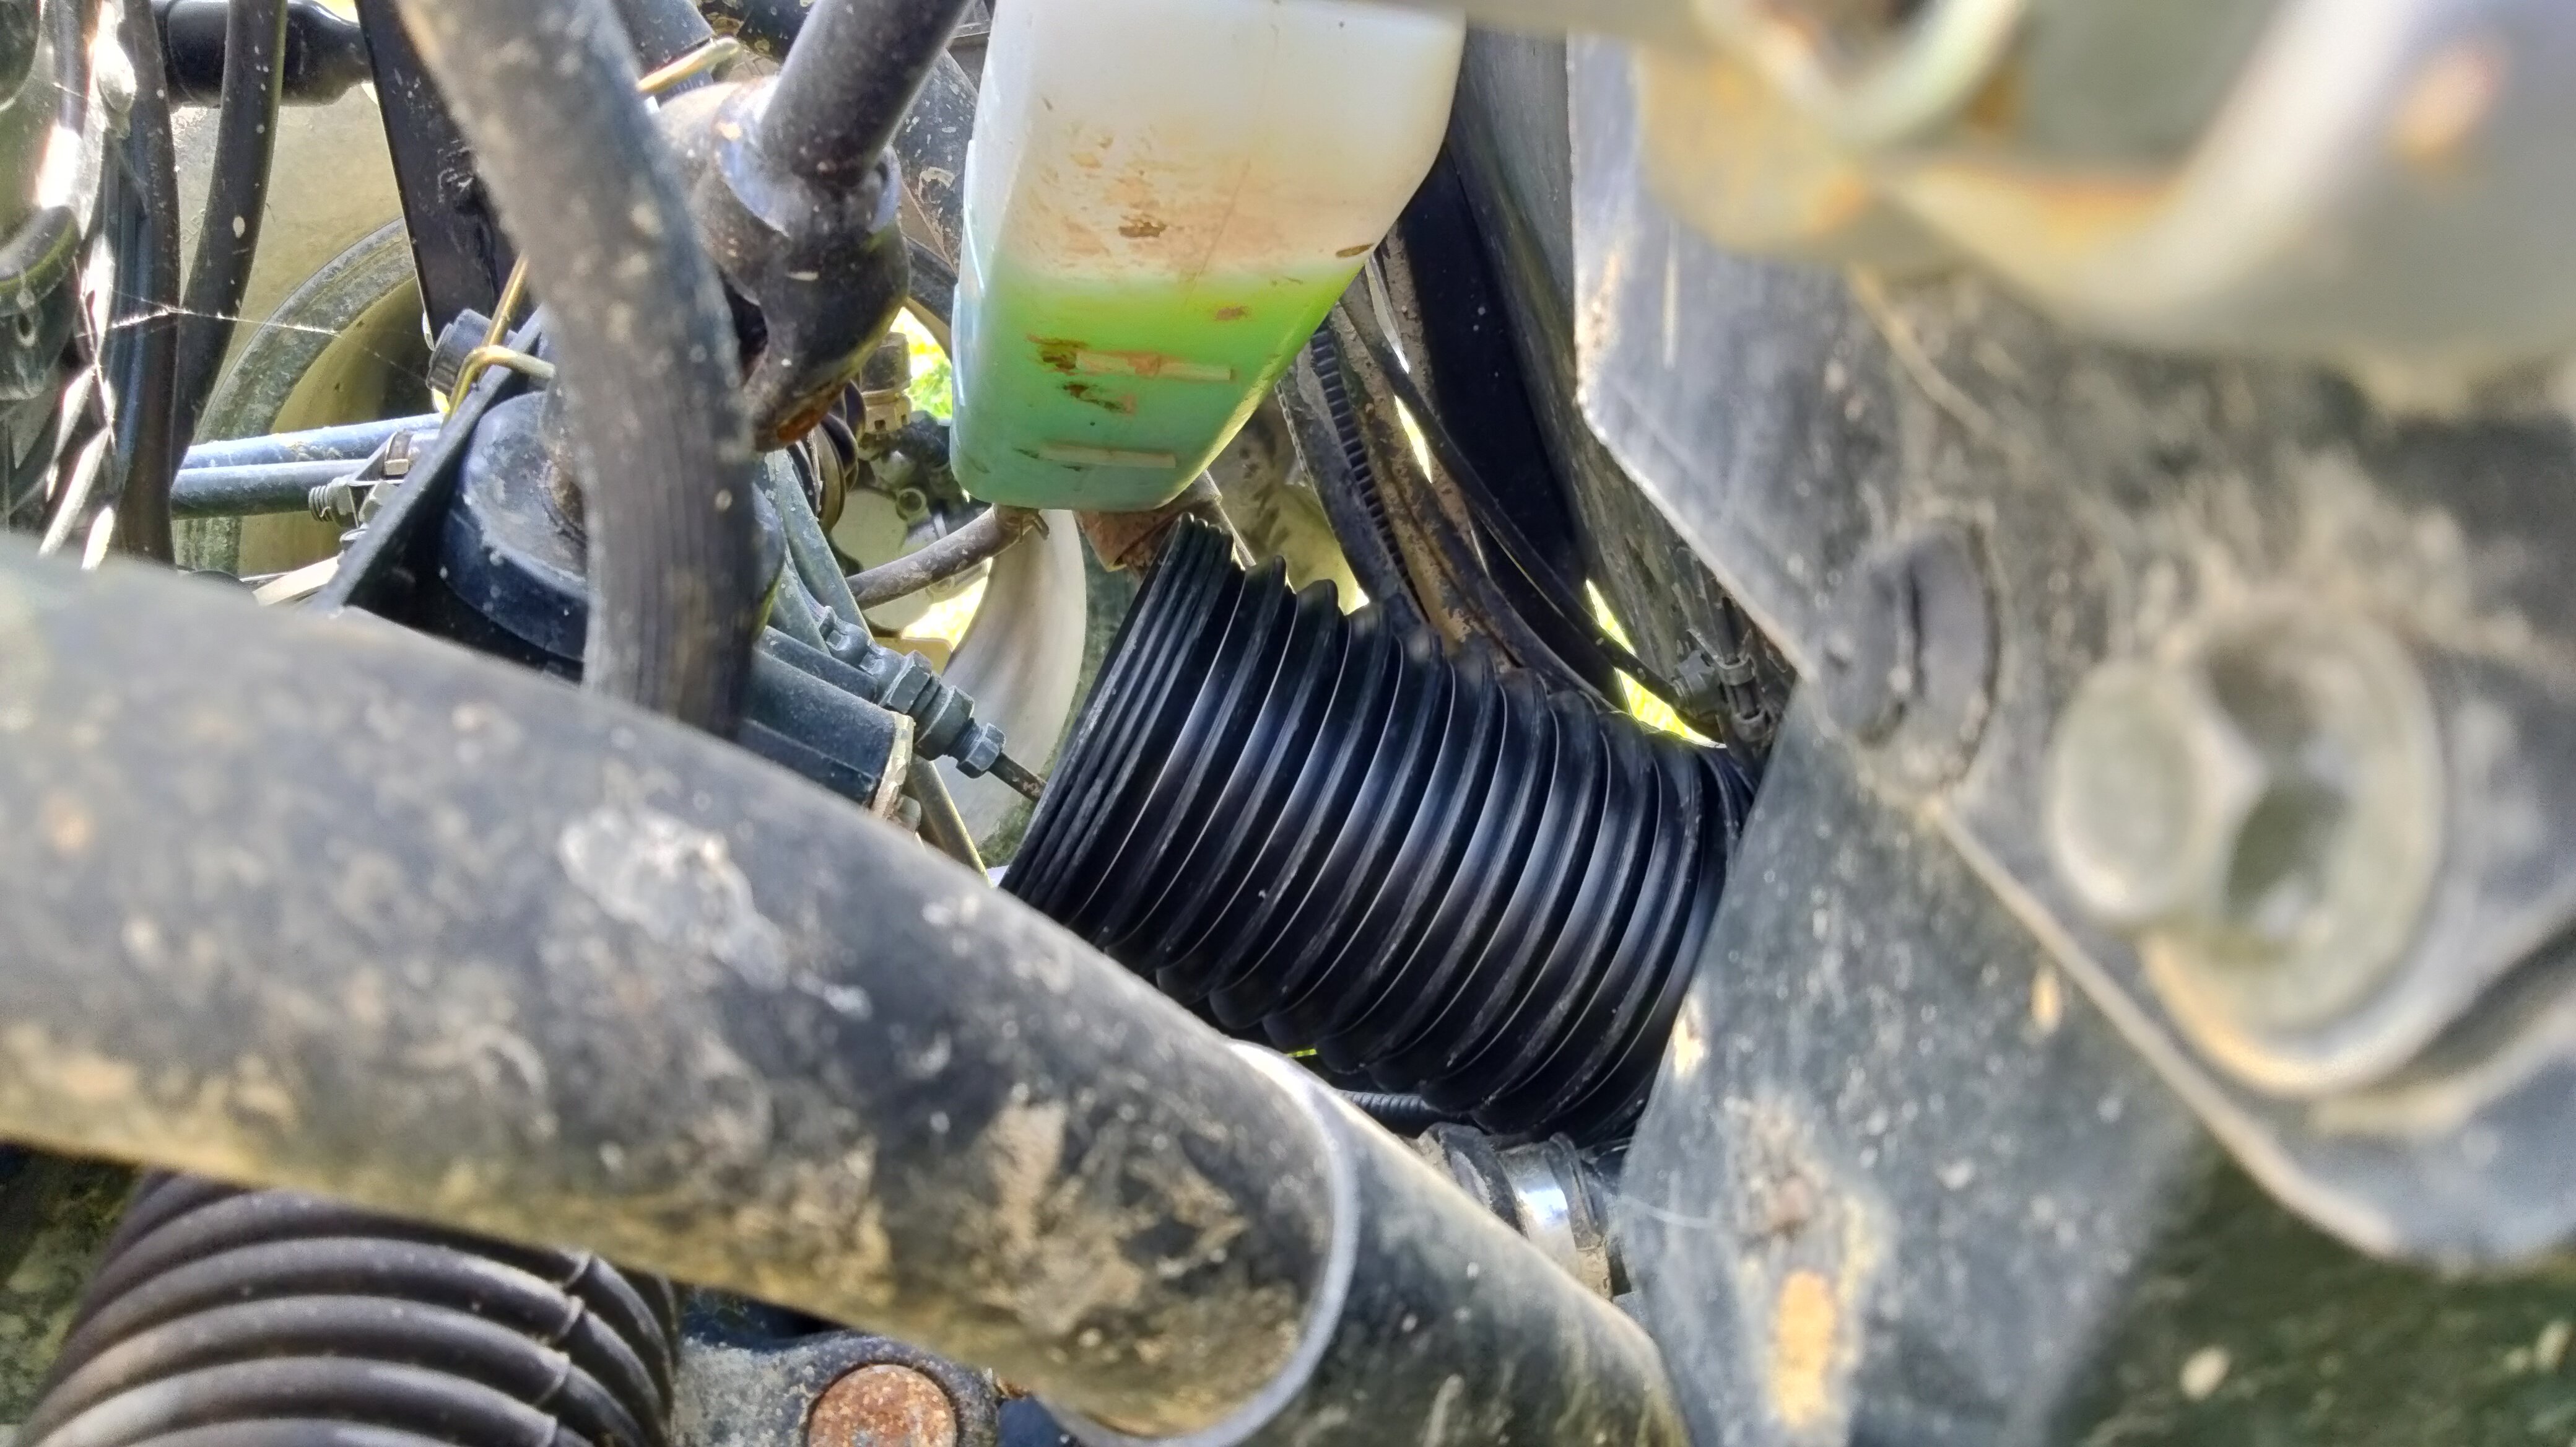
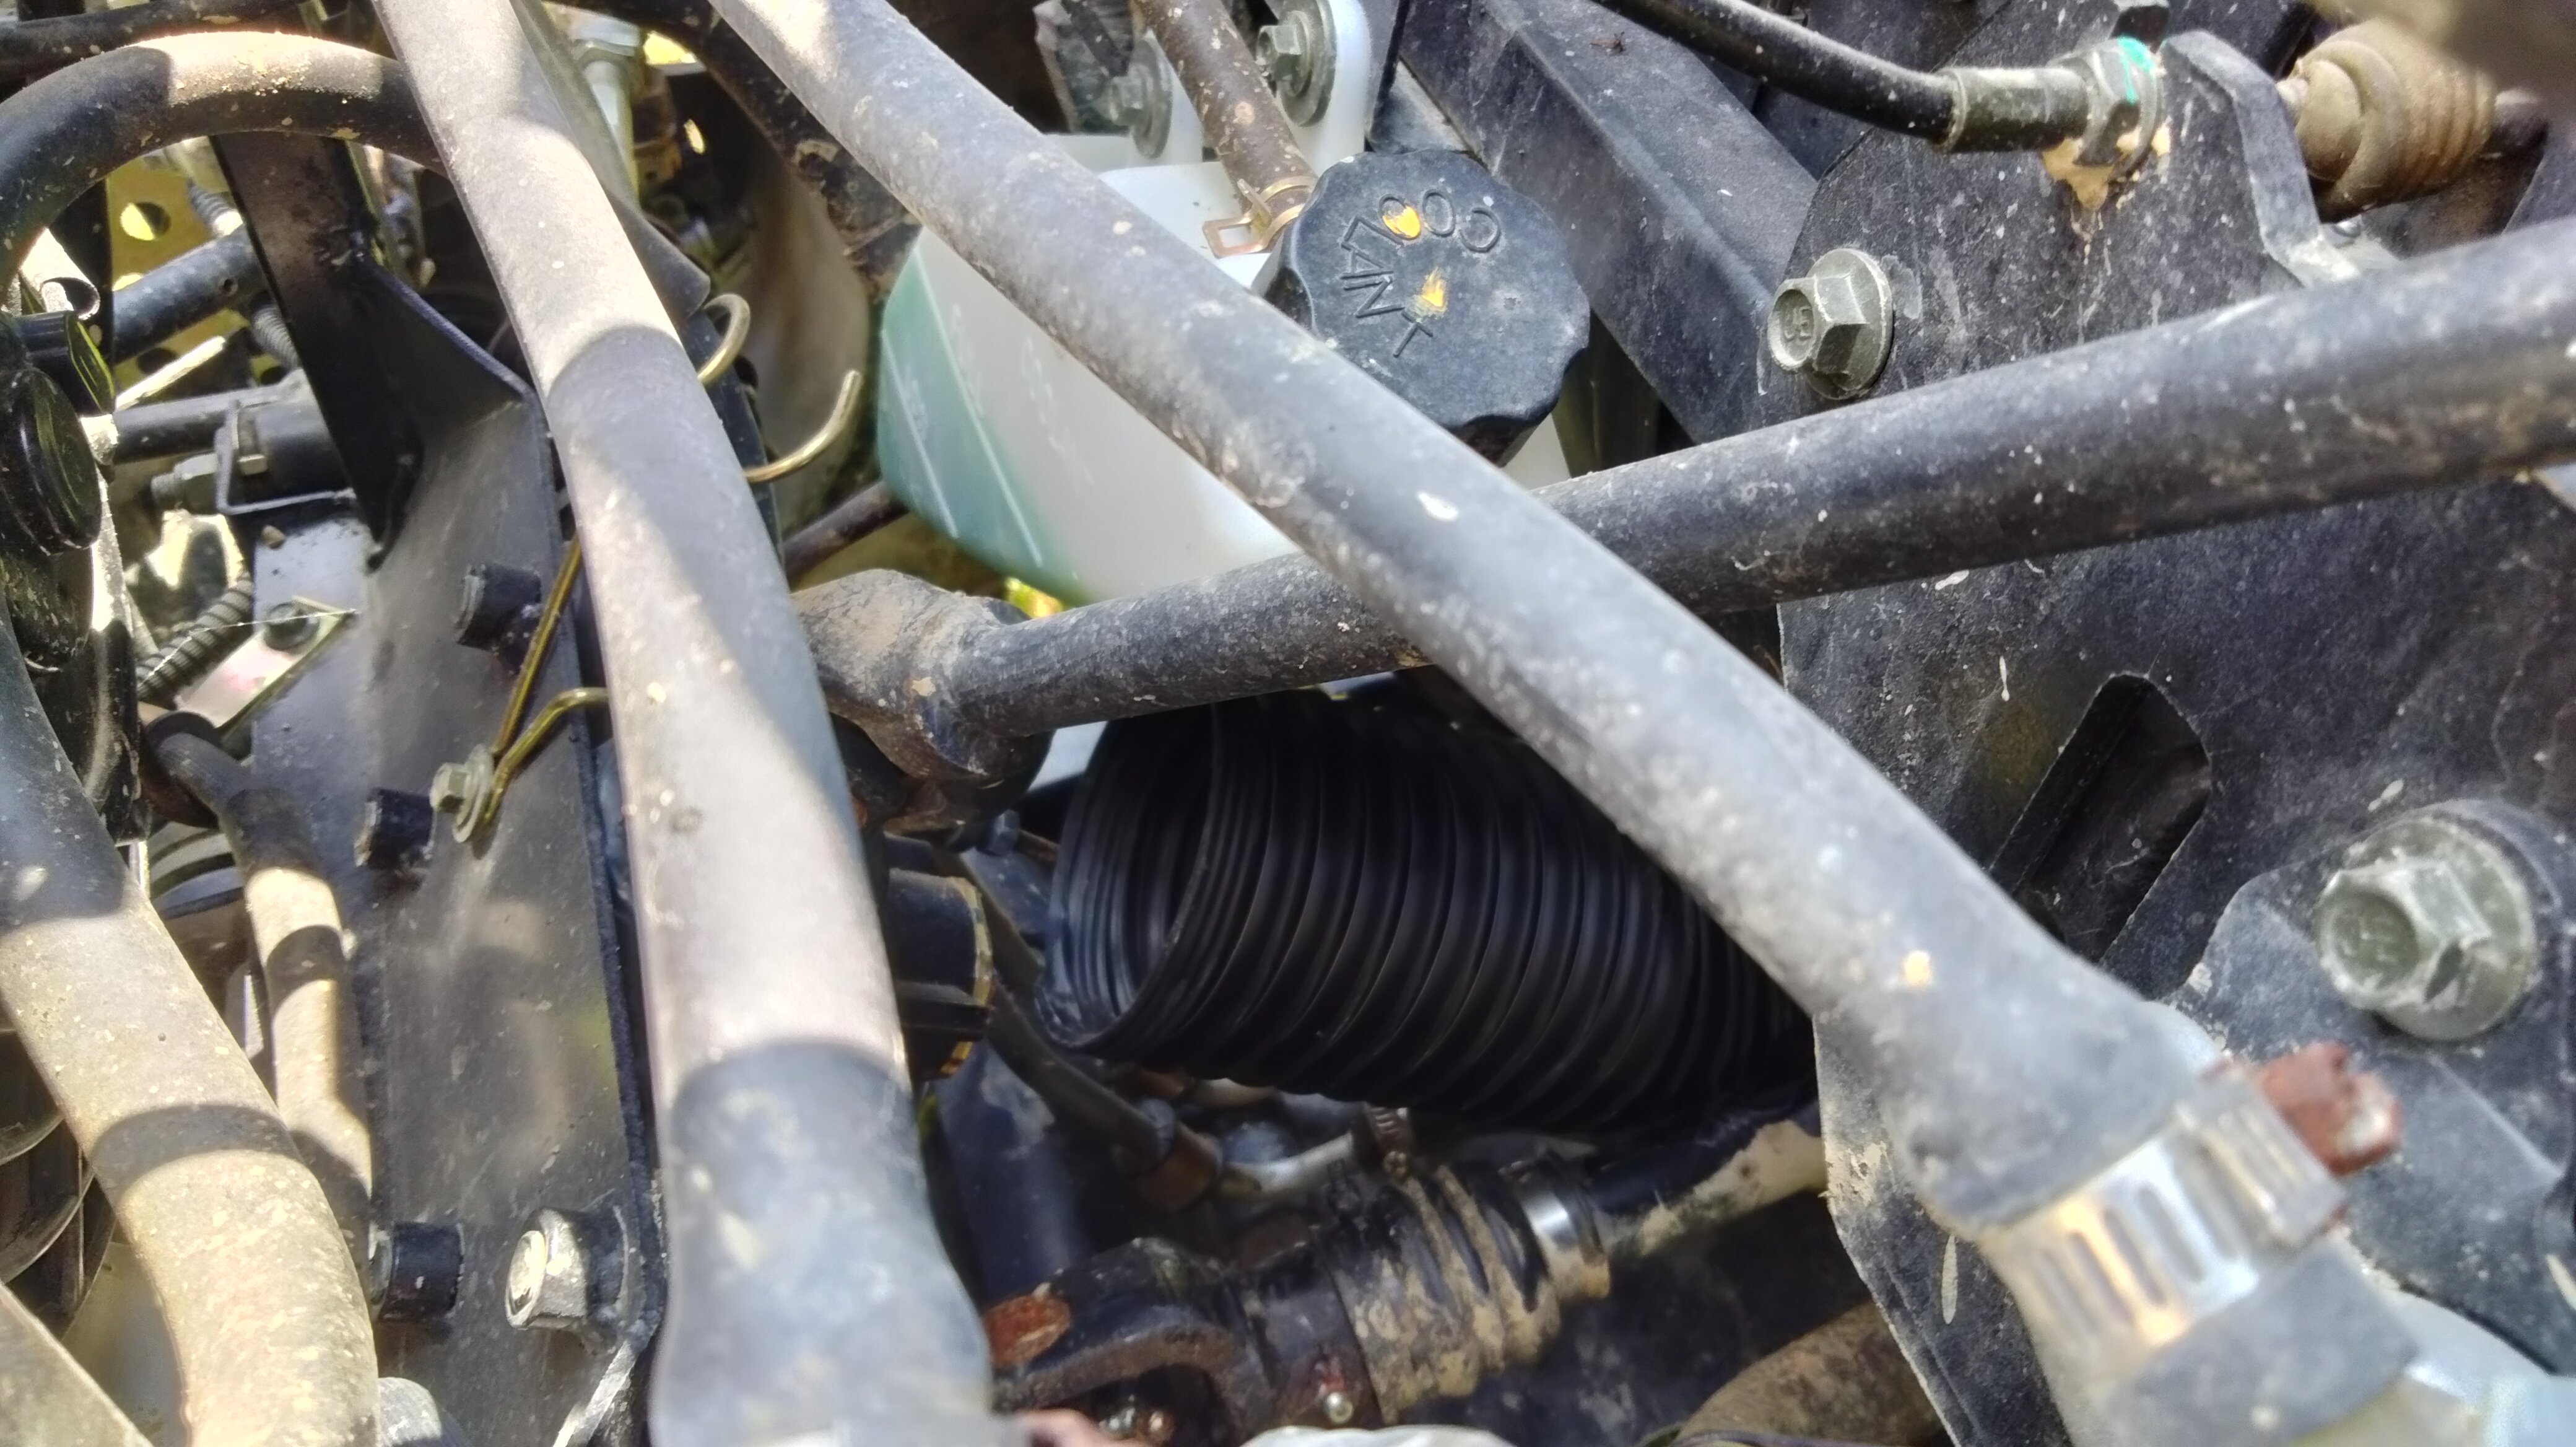
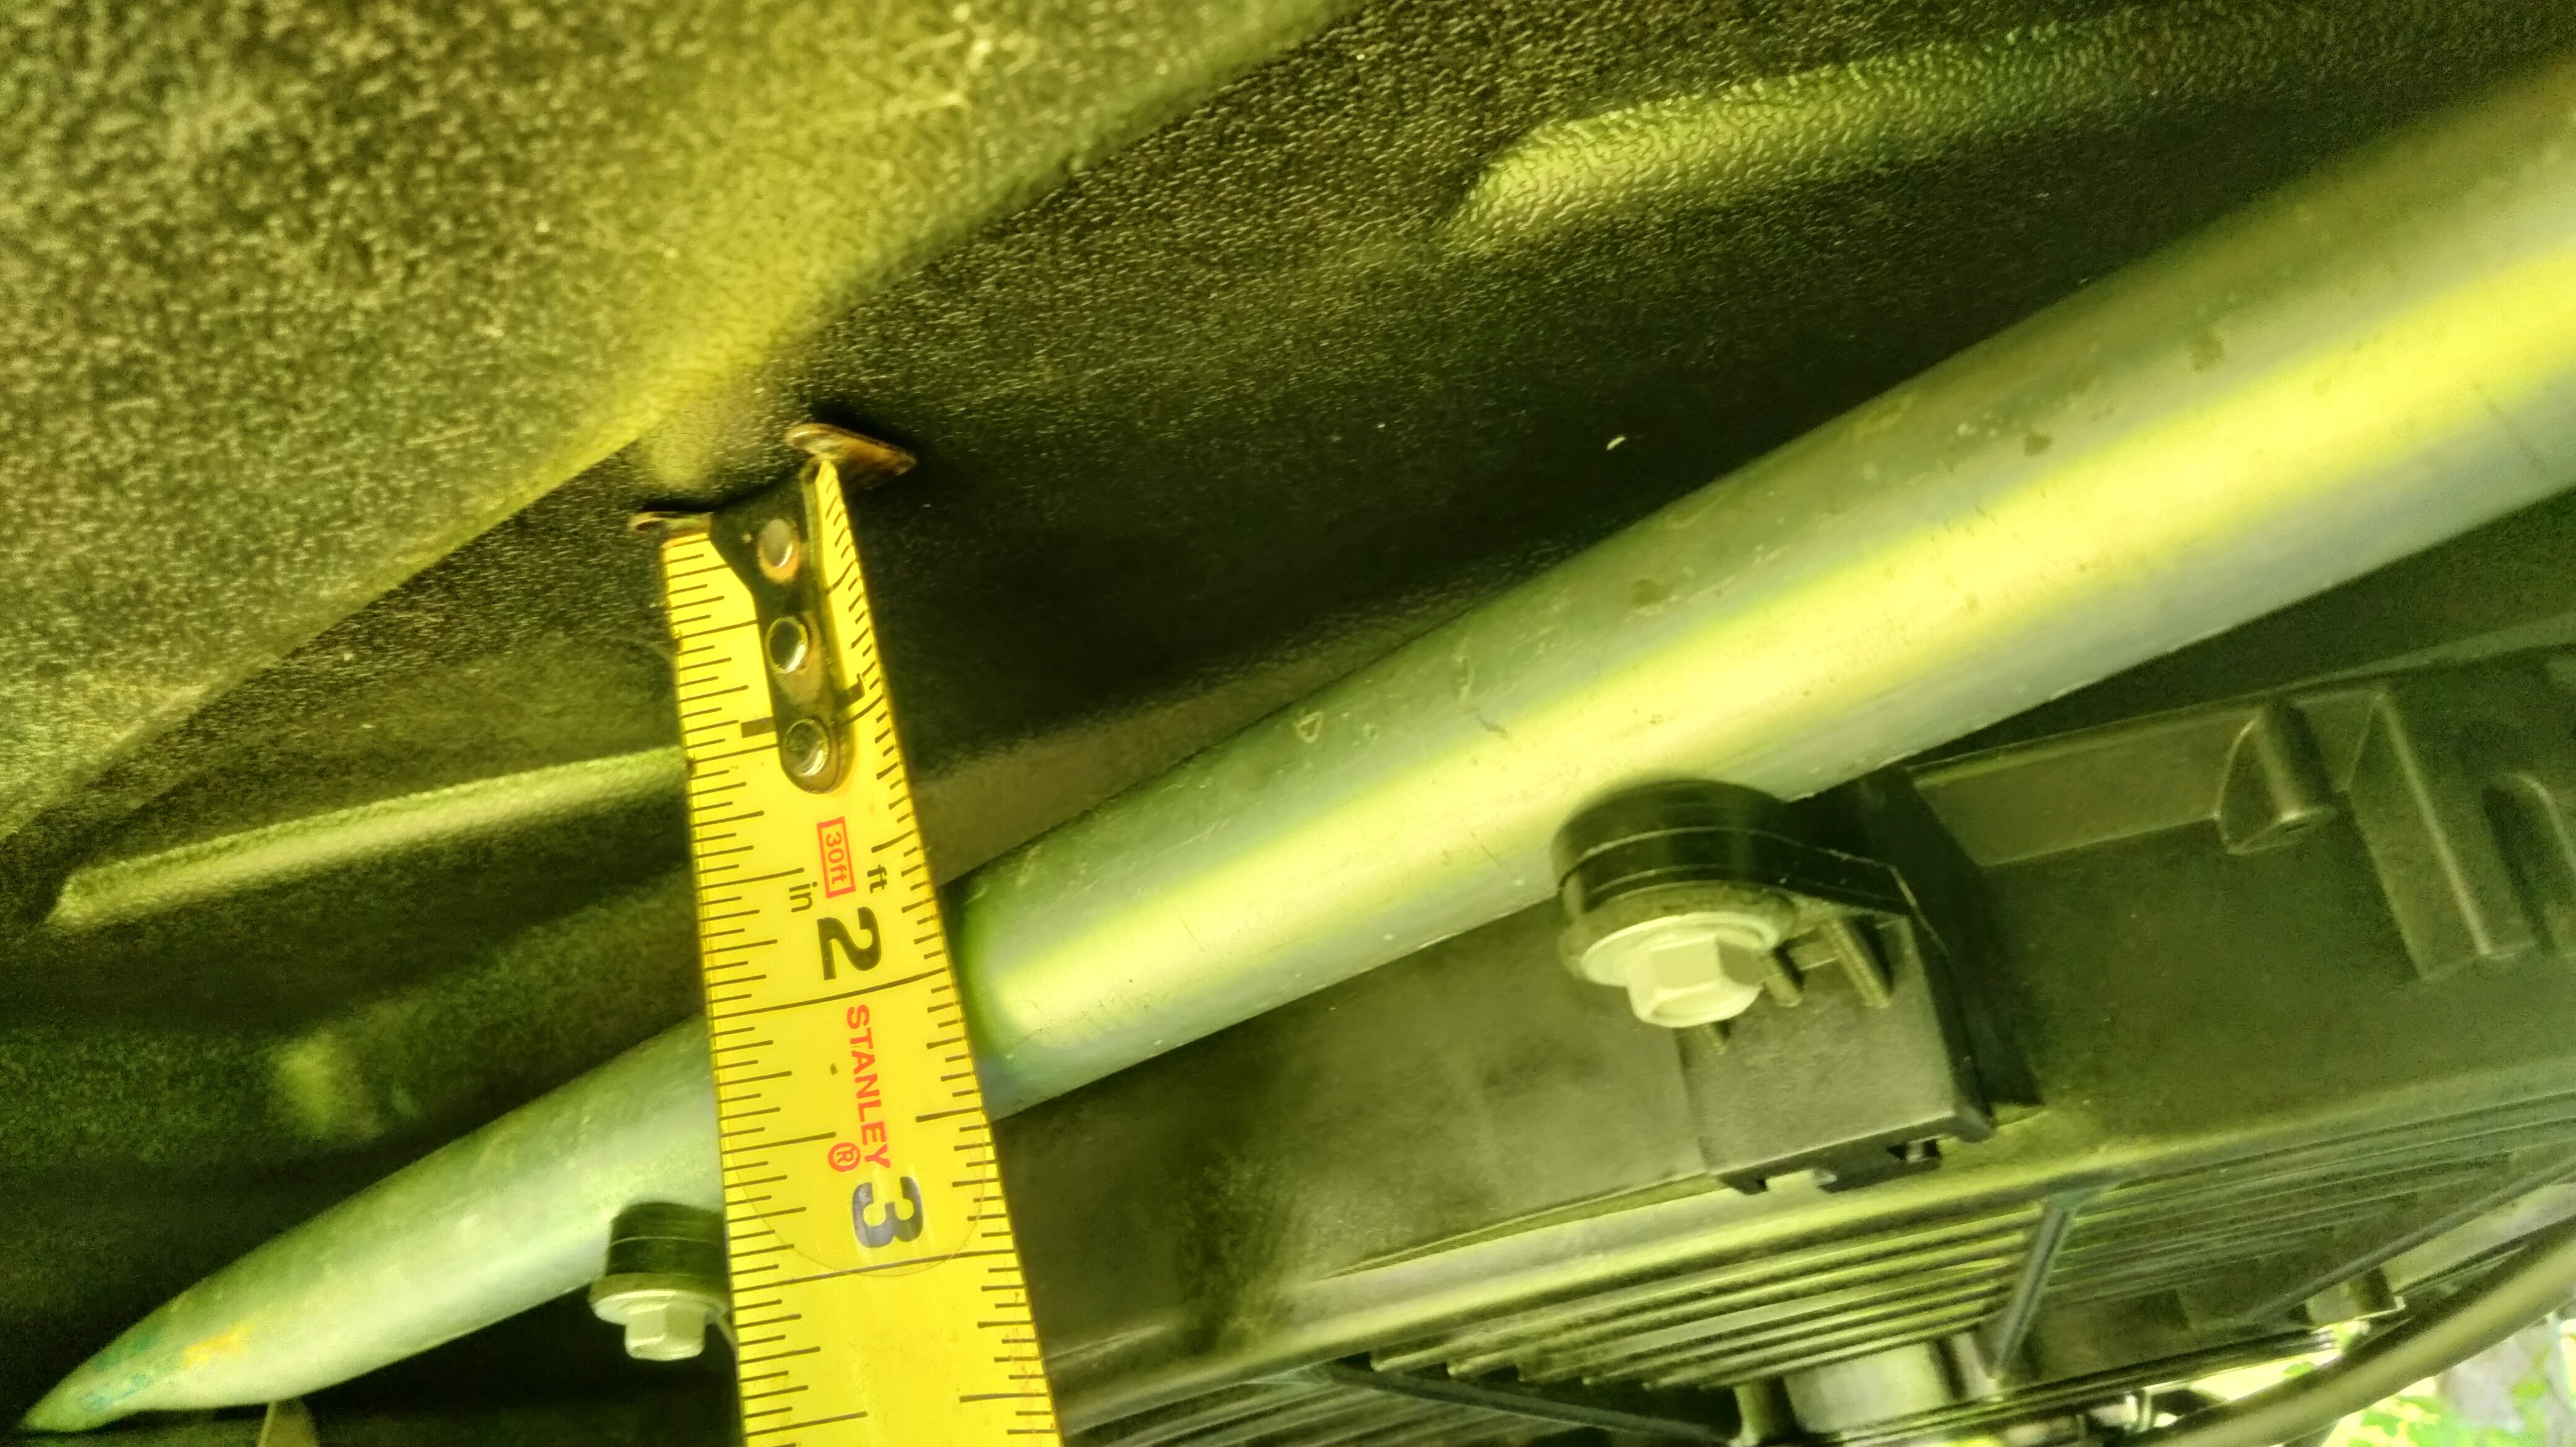
At 185 hours while do a little riding noticed using a little more fuel that the trip should have taken and running a little rough. Thought it might be time to clean the air filter. I while back, I bought a filter kit for another sxs I had but never installed. I was going to do the snorkel thing. Anyway, while I was as cleaning the air filter for the Axis 500. I mocked up this filter kit and wanted to know if anyone could give a reason why this wouldn't work. I plan on removing the air box completely. Moving the PCV valve hose to the side of the large hose going to the throttle body instead of the way it is now. Now it connects to the air box. There is already a hole in that hose and it just has a 90° fitting on it and then a plug. Then route some pipe thru the tunnel that the front drive shaft uses. Then up under the hood and mount the new filter there. I even bought a hood scoop to use. See pics below. Here is the way it is from the factory. Notice the hose plugged into the top of the air box. That is for the PCV valve. It provides suction for the crankcase to keep from blowing seals. You can't see in the pic, but there is a hose that connects to the crank case. That hose connects to a box with 2 hoses coming off. One of those hoses goes down to under the sxs to let any oil that is sucked up drip on the ground. The other hose connects to the air box. Here is the passenger side of the air box. Notice the 90° nipple on the large hose running between the air box and the throttle body. Here is a pic of the kit I got off Amazon. Here are some pics with the air box removed, PCV hose relocated, and the hose coming up into the hood area thru the tunnel that the front drive shaft uses. I will probably have to relocate the radiator overflow jug. I know I will probably have to use solid pipe instead of that plastic flex stuff. And will have to keep it clear of the drive shaft. The only issue I see it the air coming in thru the PVC hose is not filtered. It also could cause more suction on the crankcase and cause the sxs to use some oil. Those little square boxes on top to the throttle hose are empty. I may have to connect the PCV hose to that and add a filter in that square box. But other than that. Does anyone know of any reason this shouldn't work? Once I get it installed I can close off the holes in the engine cover that is currently uses by the air box. That will help keep noise and heat out of the cab in the summer.
-
Charging Issue with 2021 Axis 700 4x4
Greg Kilgore replied to Buss's topic in AXIS Off-Road UTV SxS Forum
Had a similar issue with a used Yamaha 4-wheeler I bought off a friend. Except going into the deal I knew it wasn't charging. The voltage regulator where the wires plugged in were bent badly. Anyway I bought a off brand voltage regulator and stator for it. Installed both and after a week or so the voltage regulator quit working. After going through 3 voltage regulators. I tested the stator. The stator wasn't sending the correct AC voltage to the regulator. I replaced the stator and regulator and all was fine. Sold the 4-wheeler 2 years later and unit was still charging fine. I would check the 3 wires coming from the stator going to the regulator. Be CAREFUL cause as stated. The stator sends AC voltage. Take multi meter. And set the AC voltage. I don't have the numbers in front of me. But should between 80-130 volts AC between all 3 sets of wires. All wires are probably the same color. Just lable them 1, 2, and 3. Using mult meter set for AC volts. Clip the leads to 1 and 2 and record reading. Then clip leads to 2 and 3 and record reading. Finally clip the leads to 1 and 3 and record reading. I using the word clip instead of touch or hold. You want to get the alligator adapter clips the you push the probes of the meter into. Then using the alligator clips to connect the wires from stator. Remember the stator produces AC voltage. AC voltage from a stator can give a bad zap or even KILL. So be careful. Post the results here and we will help determine the next course of action. -
Coleman Outfitter 550 Adjusting Toe in
Greg Kilgore replied to Dale Stansbery's topic in Coleman UTV SxS Forum
My bad. Don't read so good. LoL Glad you got it fixed. My Axis had a tie rod lock nut loose at 75hr. You are correct. The toe is the life of the tires and should be checked before hour 1 is put on it. 1/4 inch is 6.3mm (+ -) Enjoy the ride and be safe this summer -
Coleman Outfitter 550 Adjusting Toe in
Greg Kilgore replied to Dale Stansbery's topic in Coleman UTV SxS Forum
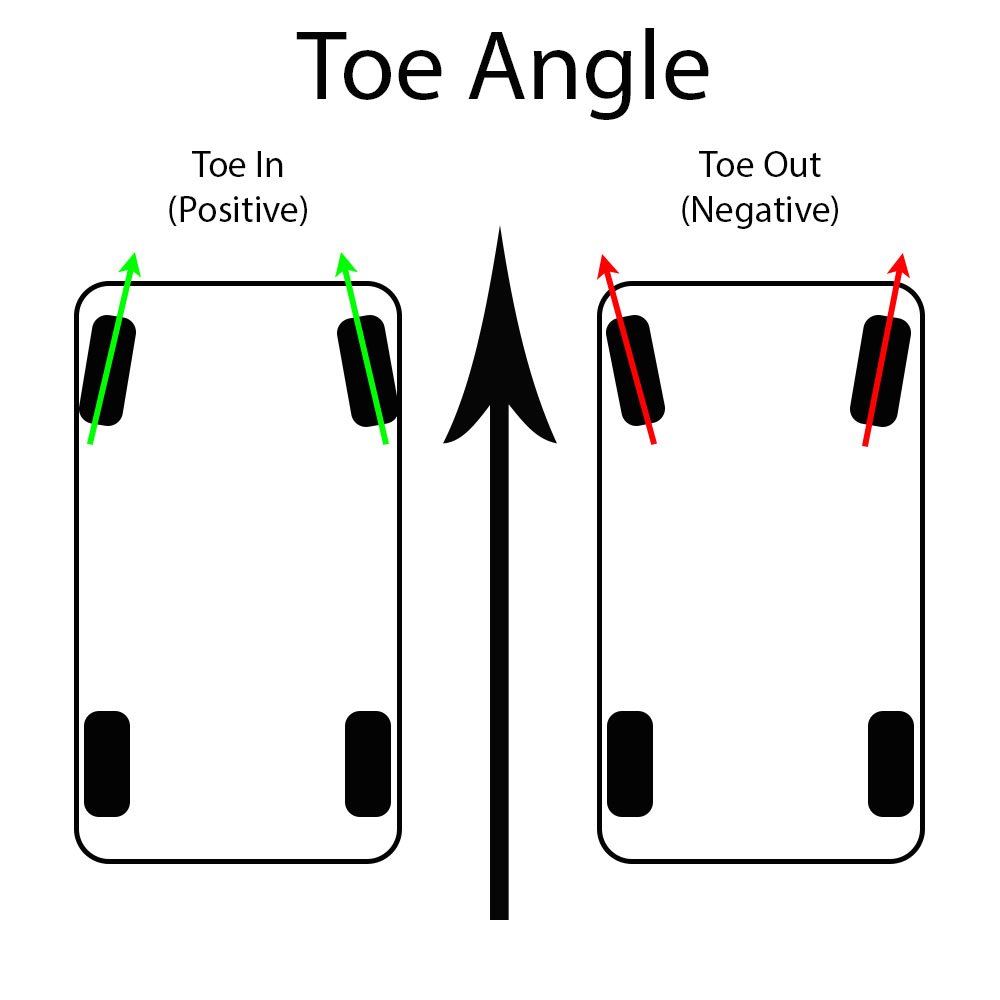
I hate to disappoint but the way you have the tires now. With the front of the tires further from each other with the back closer, is called toe-out. Toe-out will make the sxs roadwalk easier. (Also if the rear tires stick out further that the front. The string shouldn't touch any of the front tires. The rear of the front tires should be equal distance from the string. And the front of the front tires should be equal distance from the string. And the front of the front tires should be further away from the string than the rear of the front tires.) See pic I find it hard to adjust the toe-in/toe-out with the string method. I use 2 pieces of U-strut. Make sure the machine is level front to back and side to side. Make sure the steering wheel is secured in the center position. Jack up the machine, remove all wheels, set the weight of the machine on jack stands as close to the ball joint as possible so the weight of the machine is still on the suspension. Then I bolt the u-strut on the rear rotor (enlarge holes u-strut if needed). So the u-strut is on the bottom two lug nuts. Extends all the way past the front rotors. Make sure the u-strut is level front to back. Now you can use a tape measure to adjust the front of the rotor is slightly further away from the u-strut than the back of the rotor. I try to have 1/4 toe-in on each side or 1/2 overall toe-in. This will give solid materials to take measurements off of. After making adjustment, take for a test drive at low speeds to try it out. And re-adjust if needed.
-
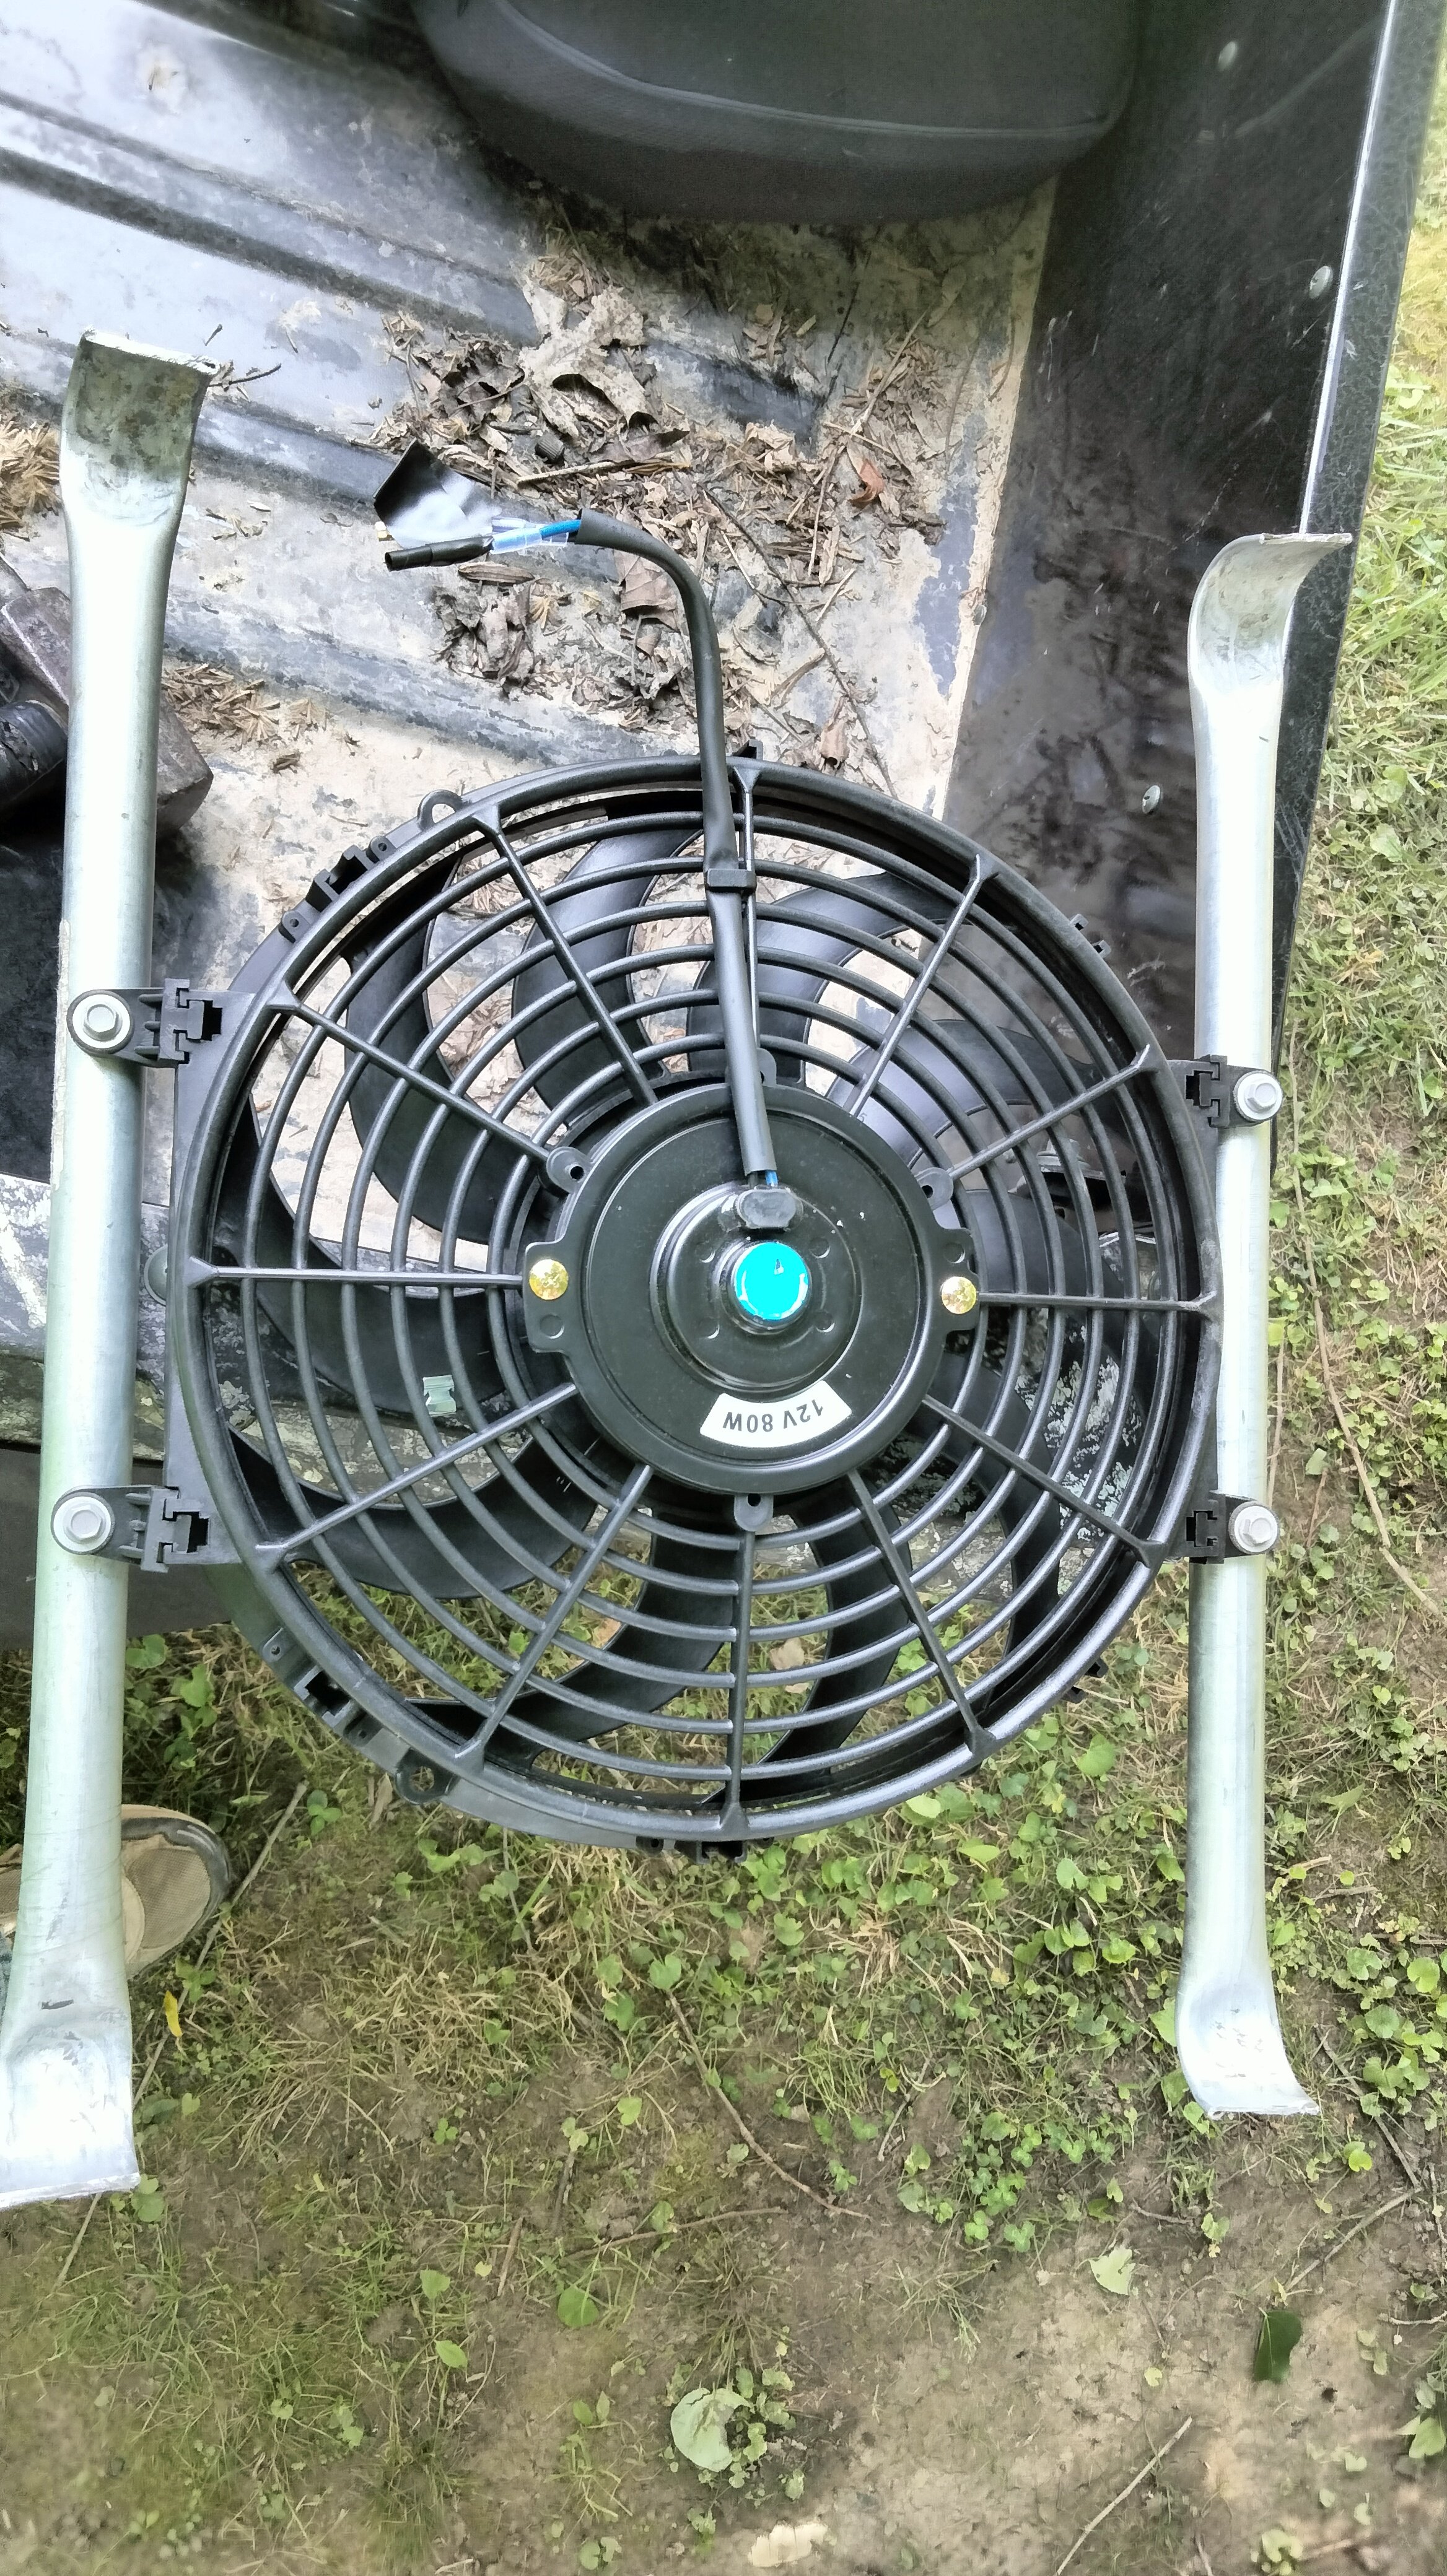
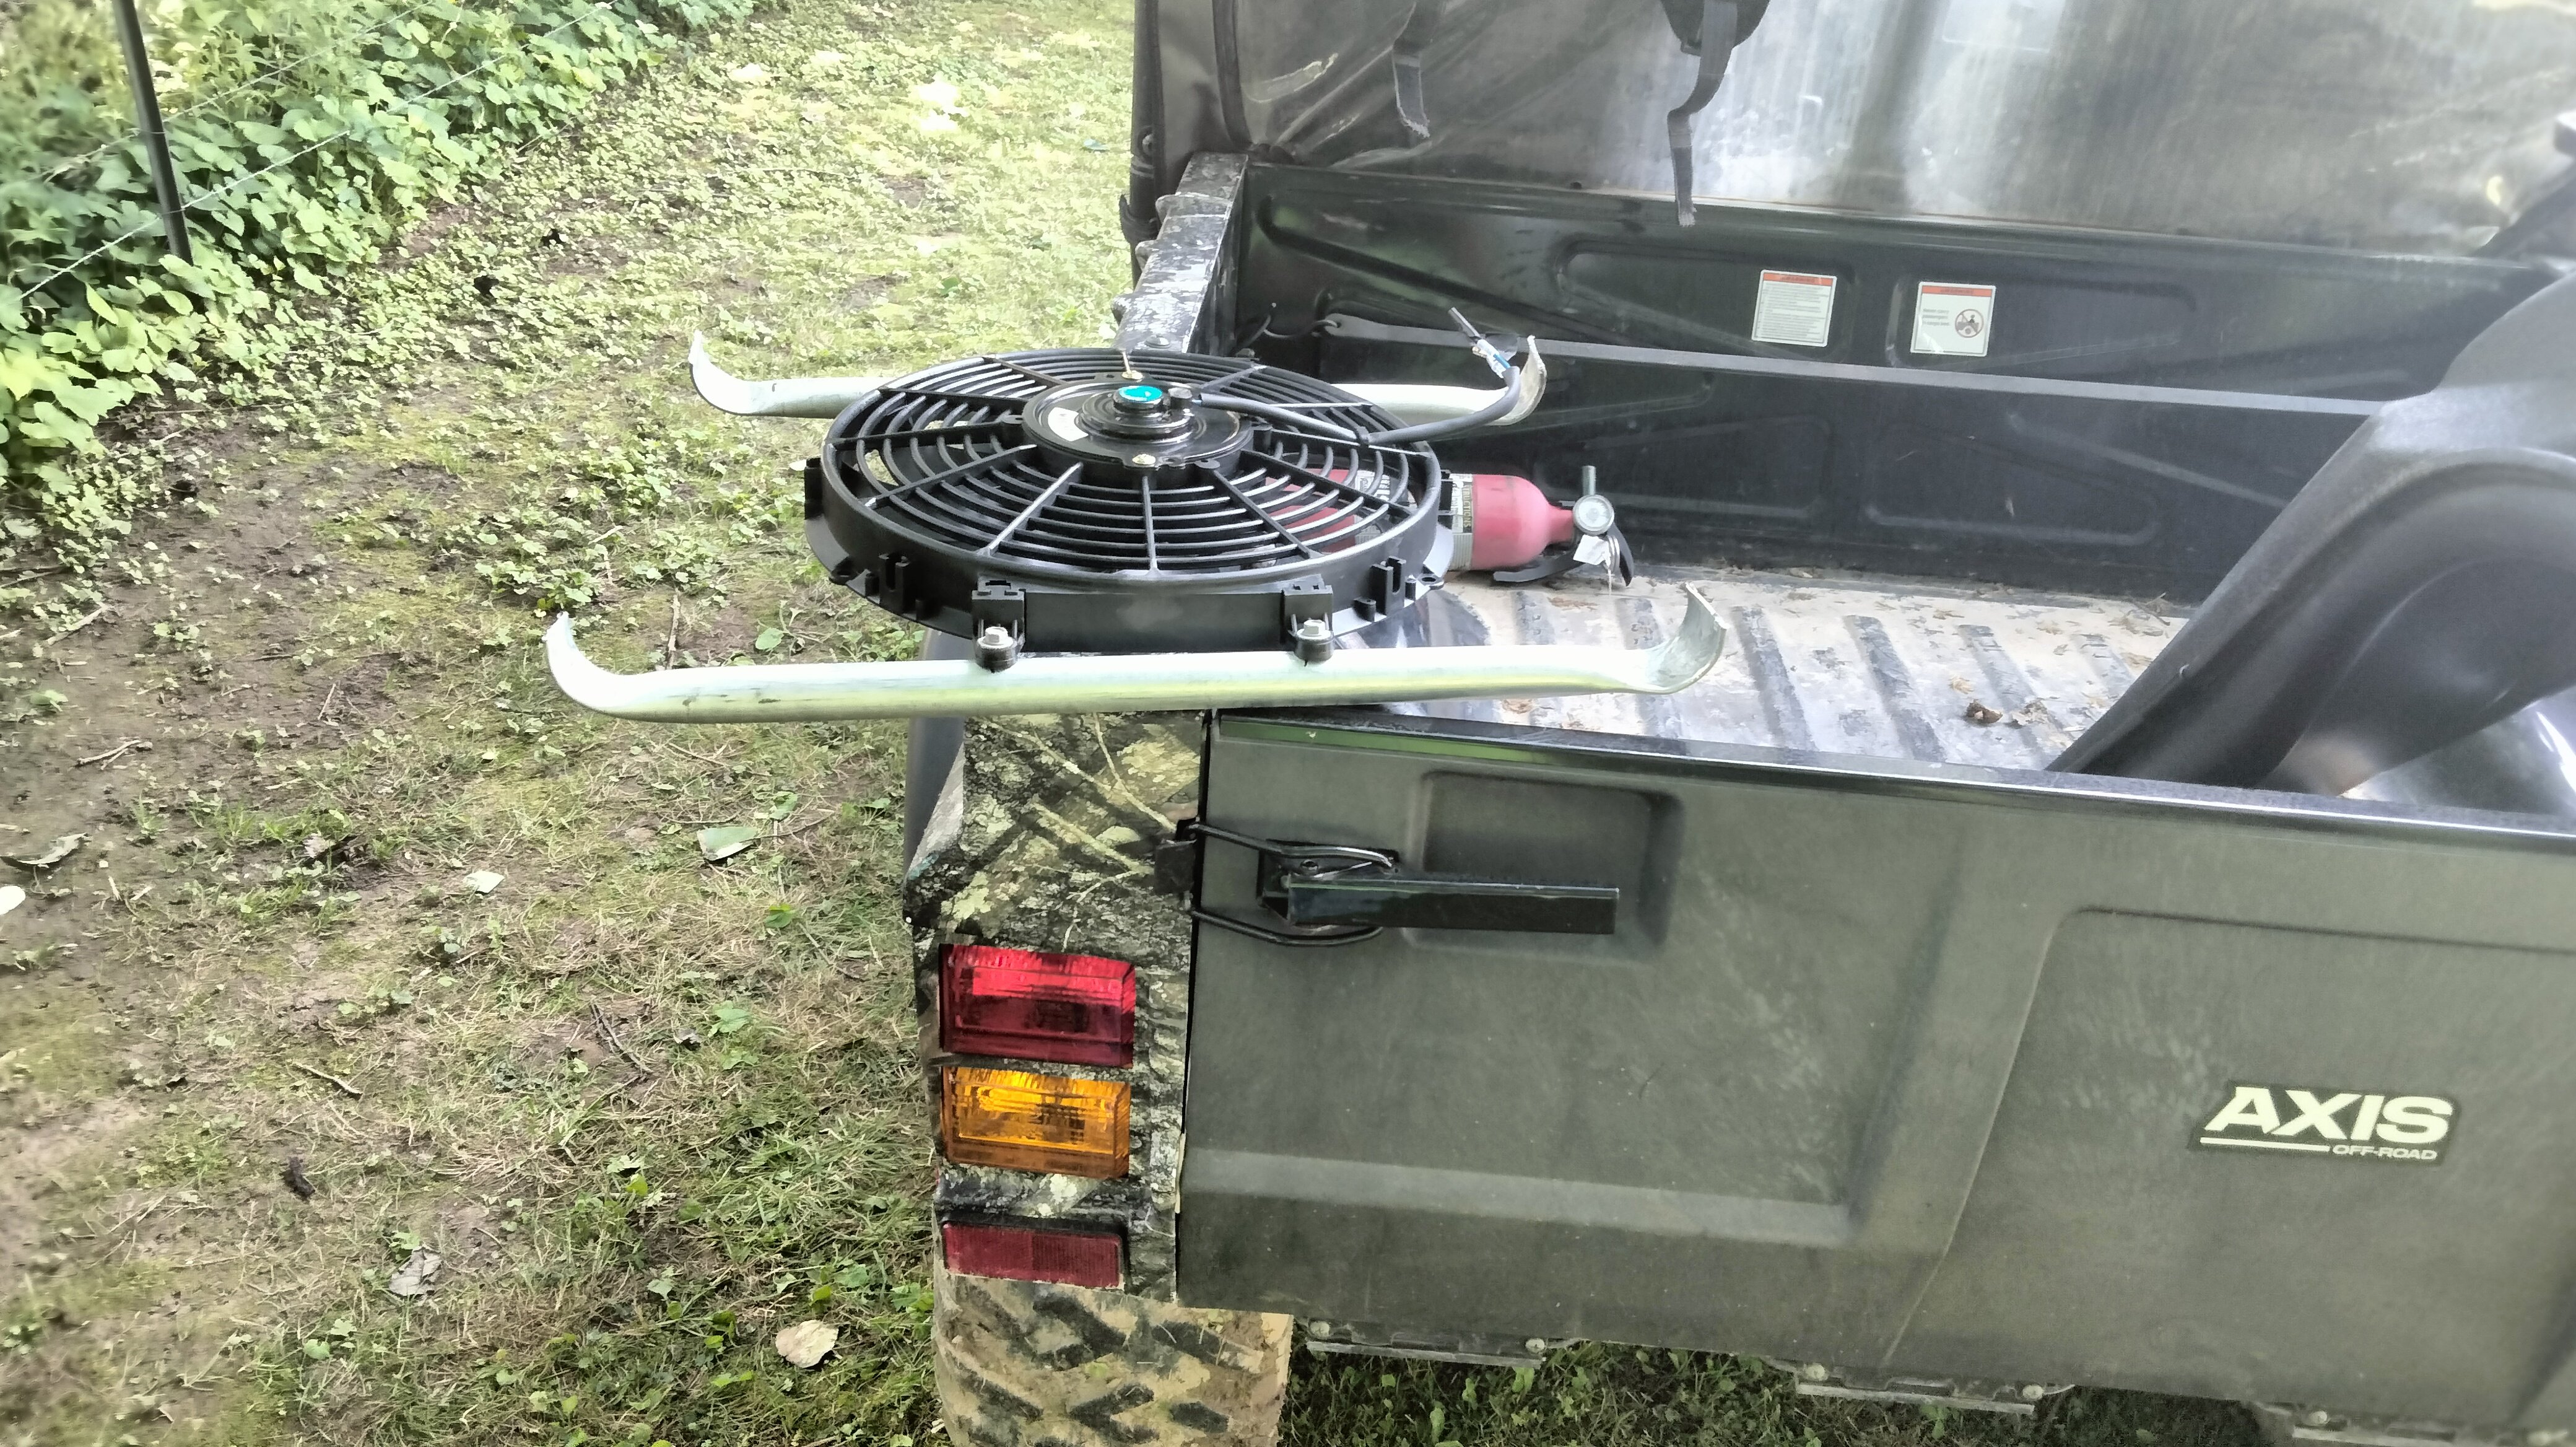
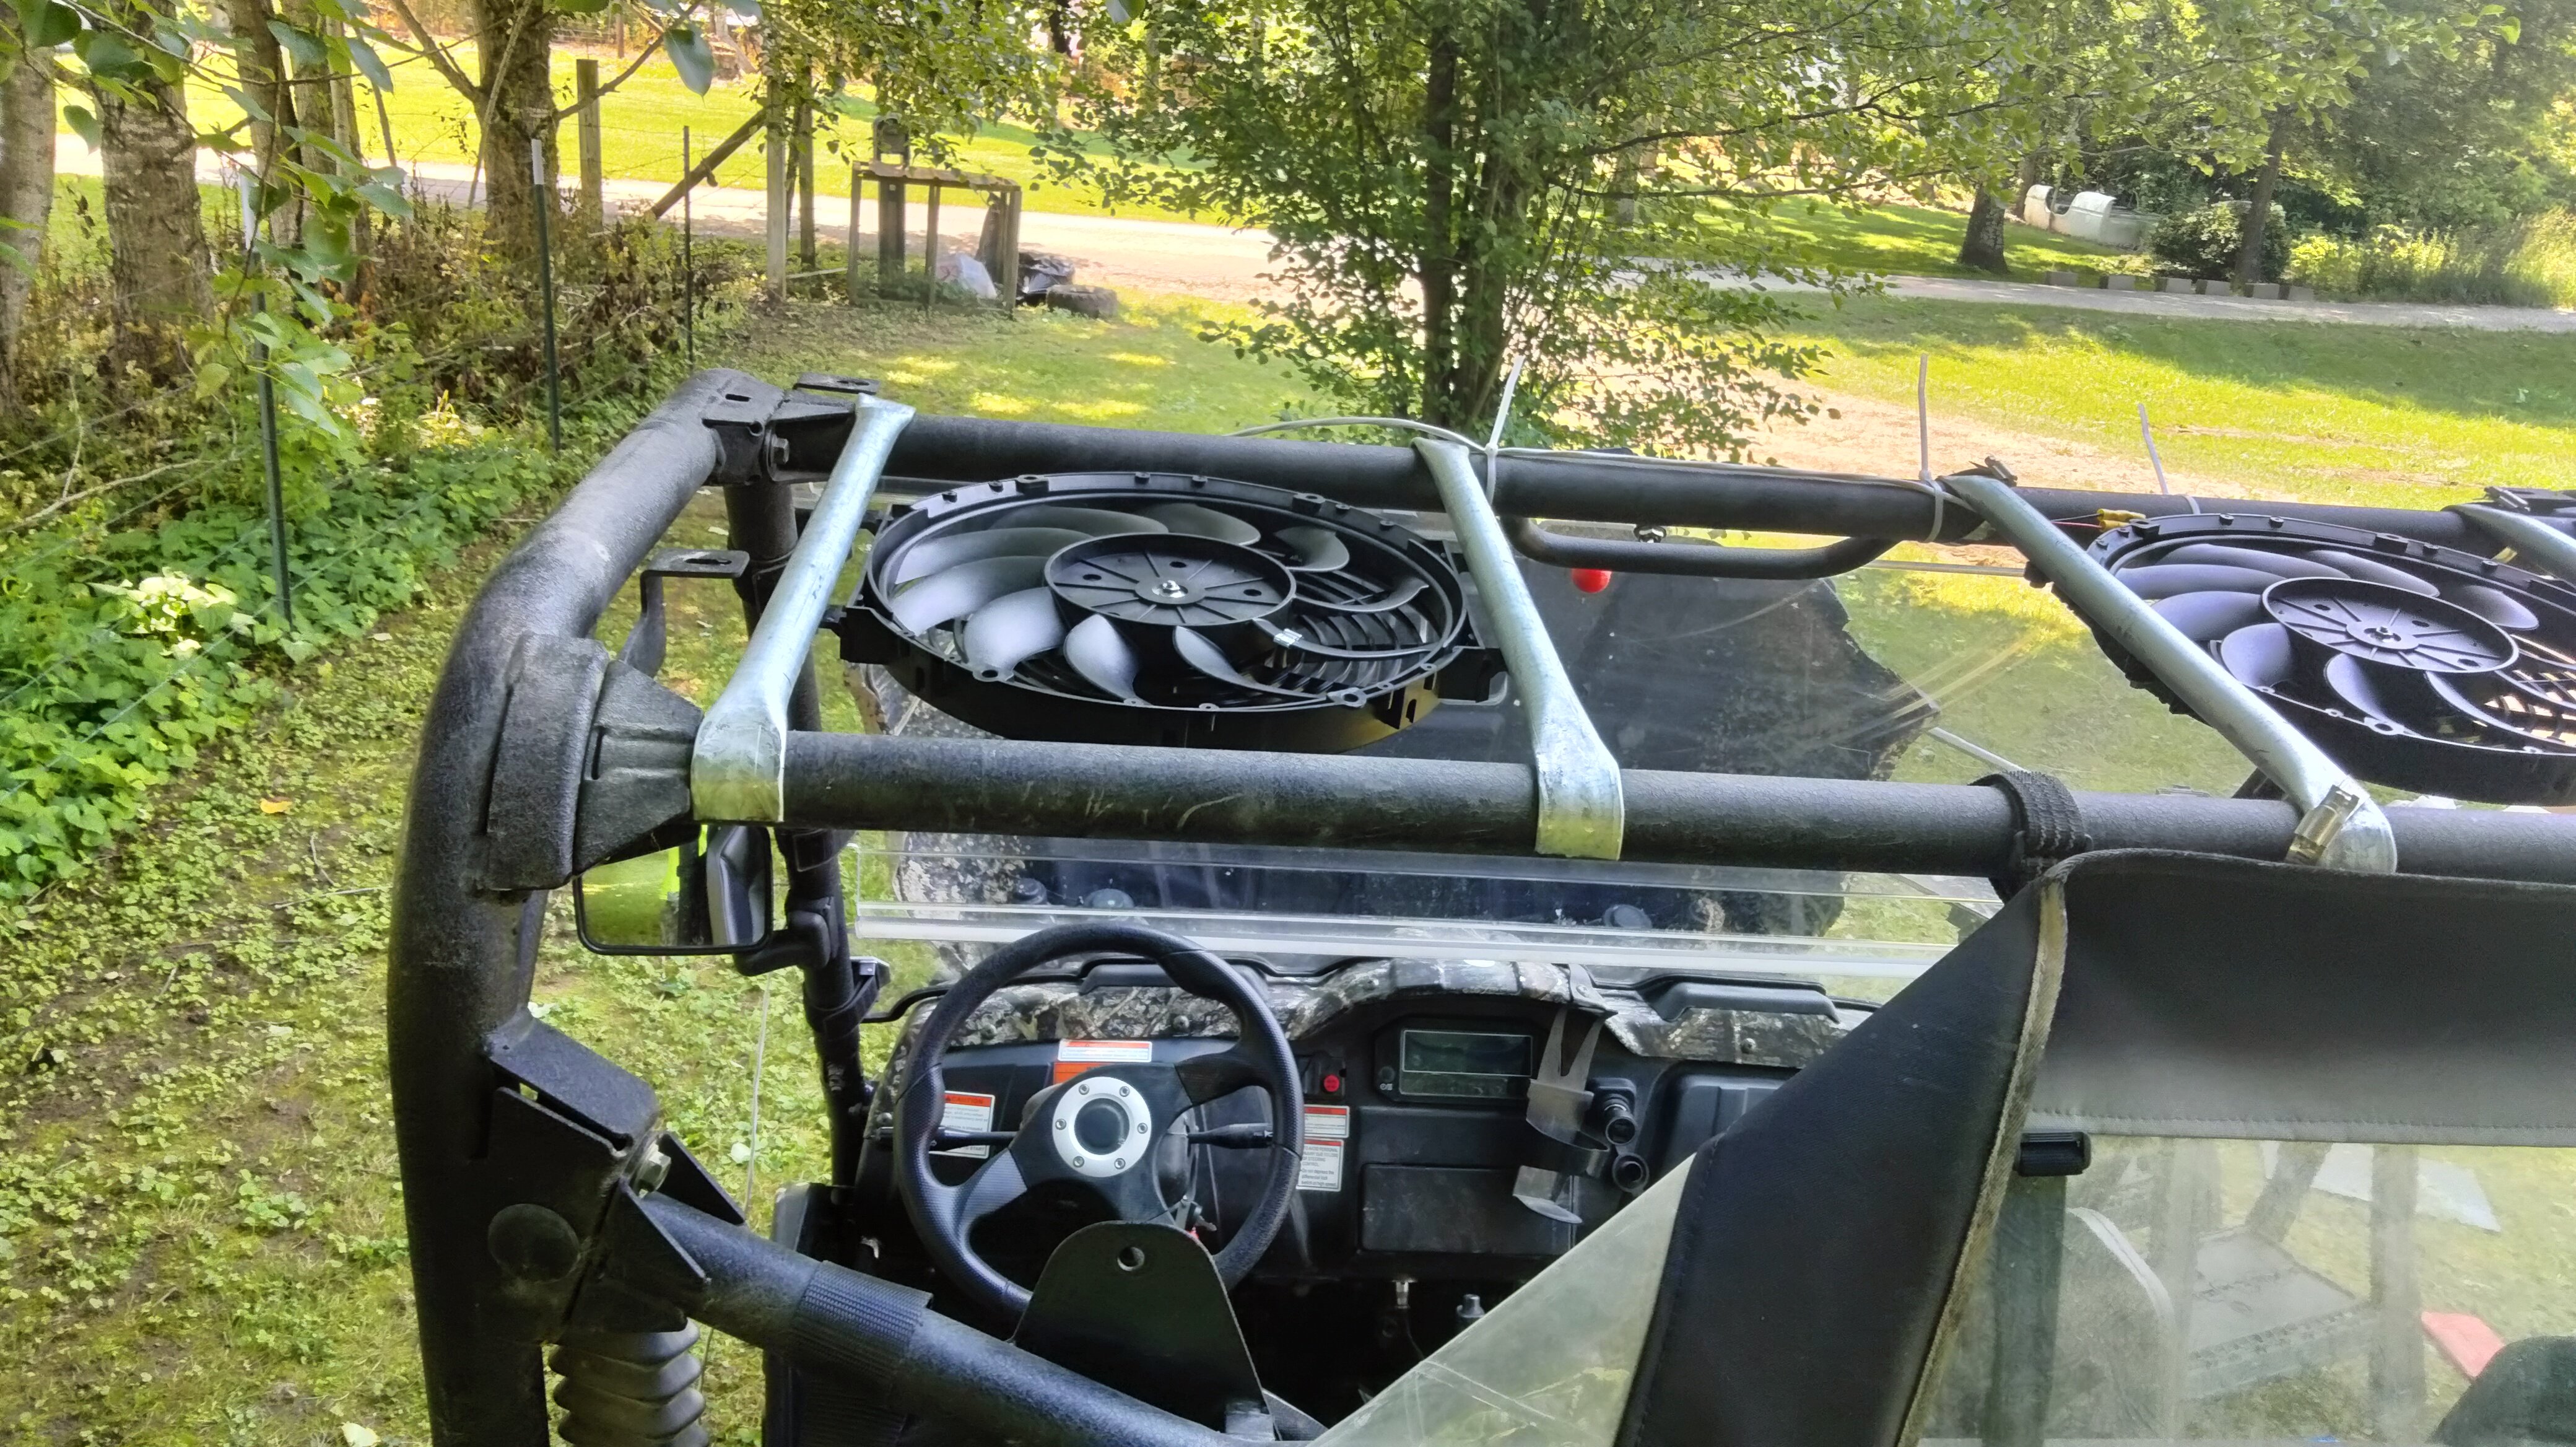
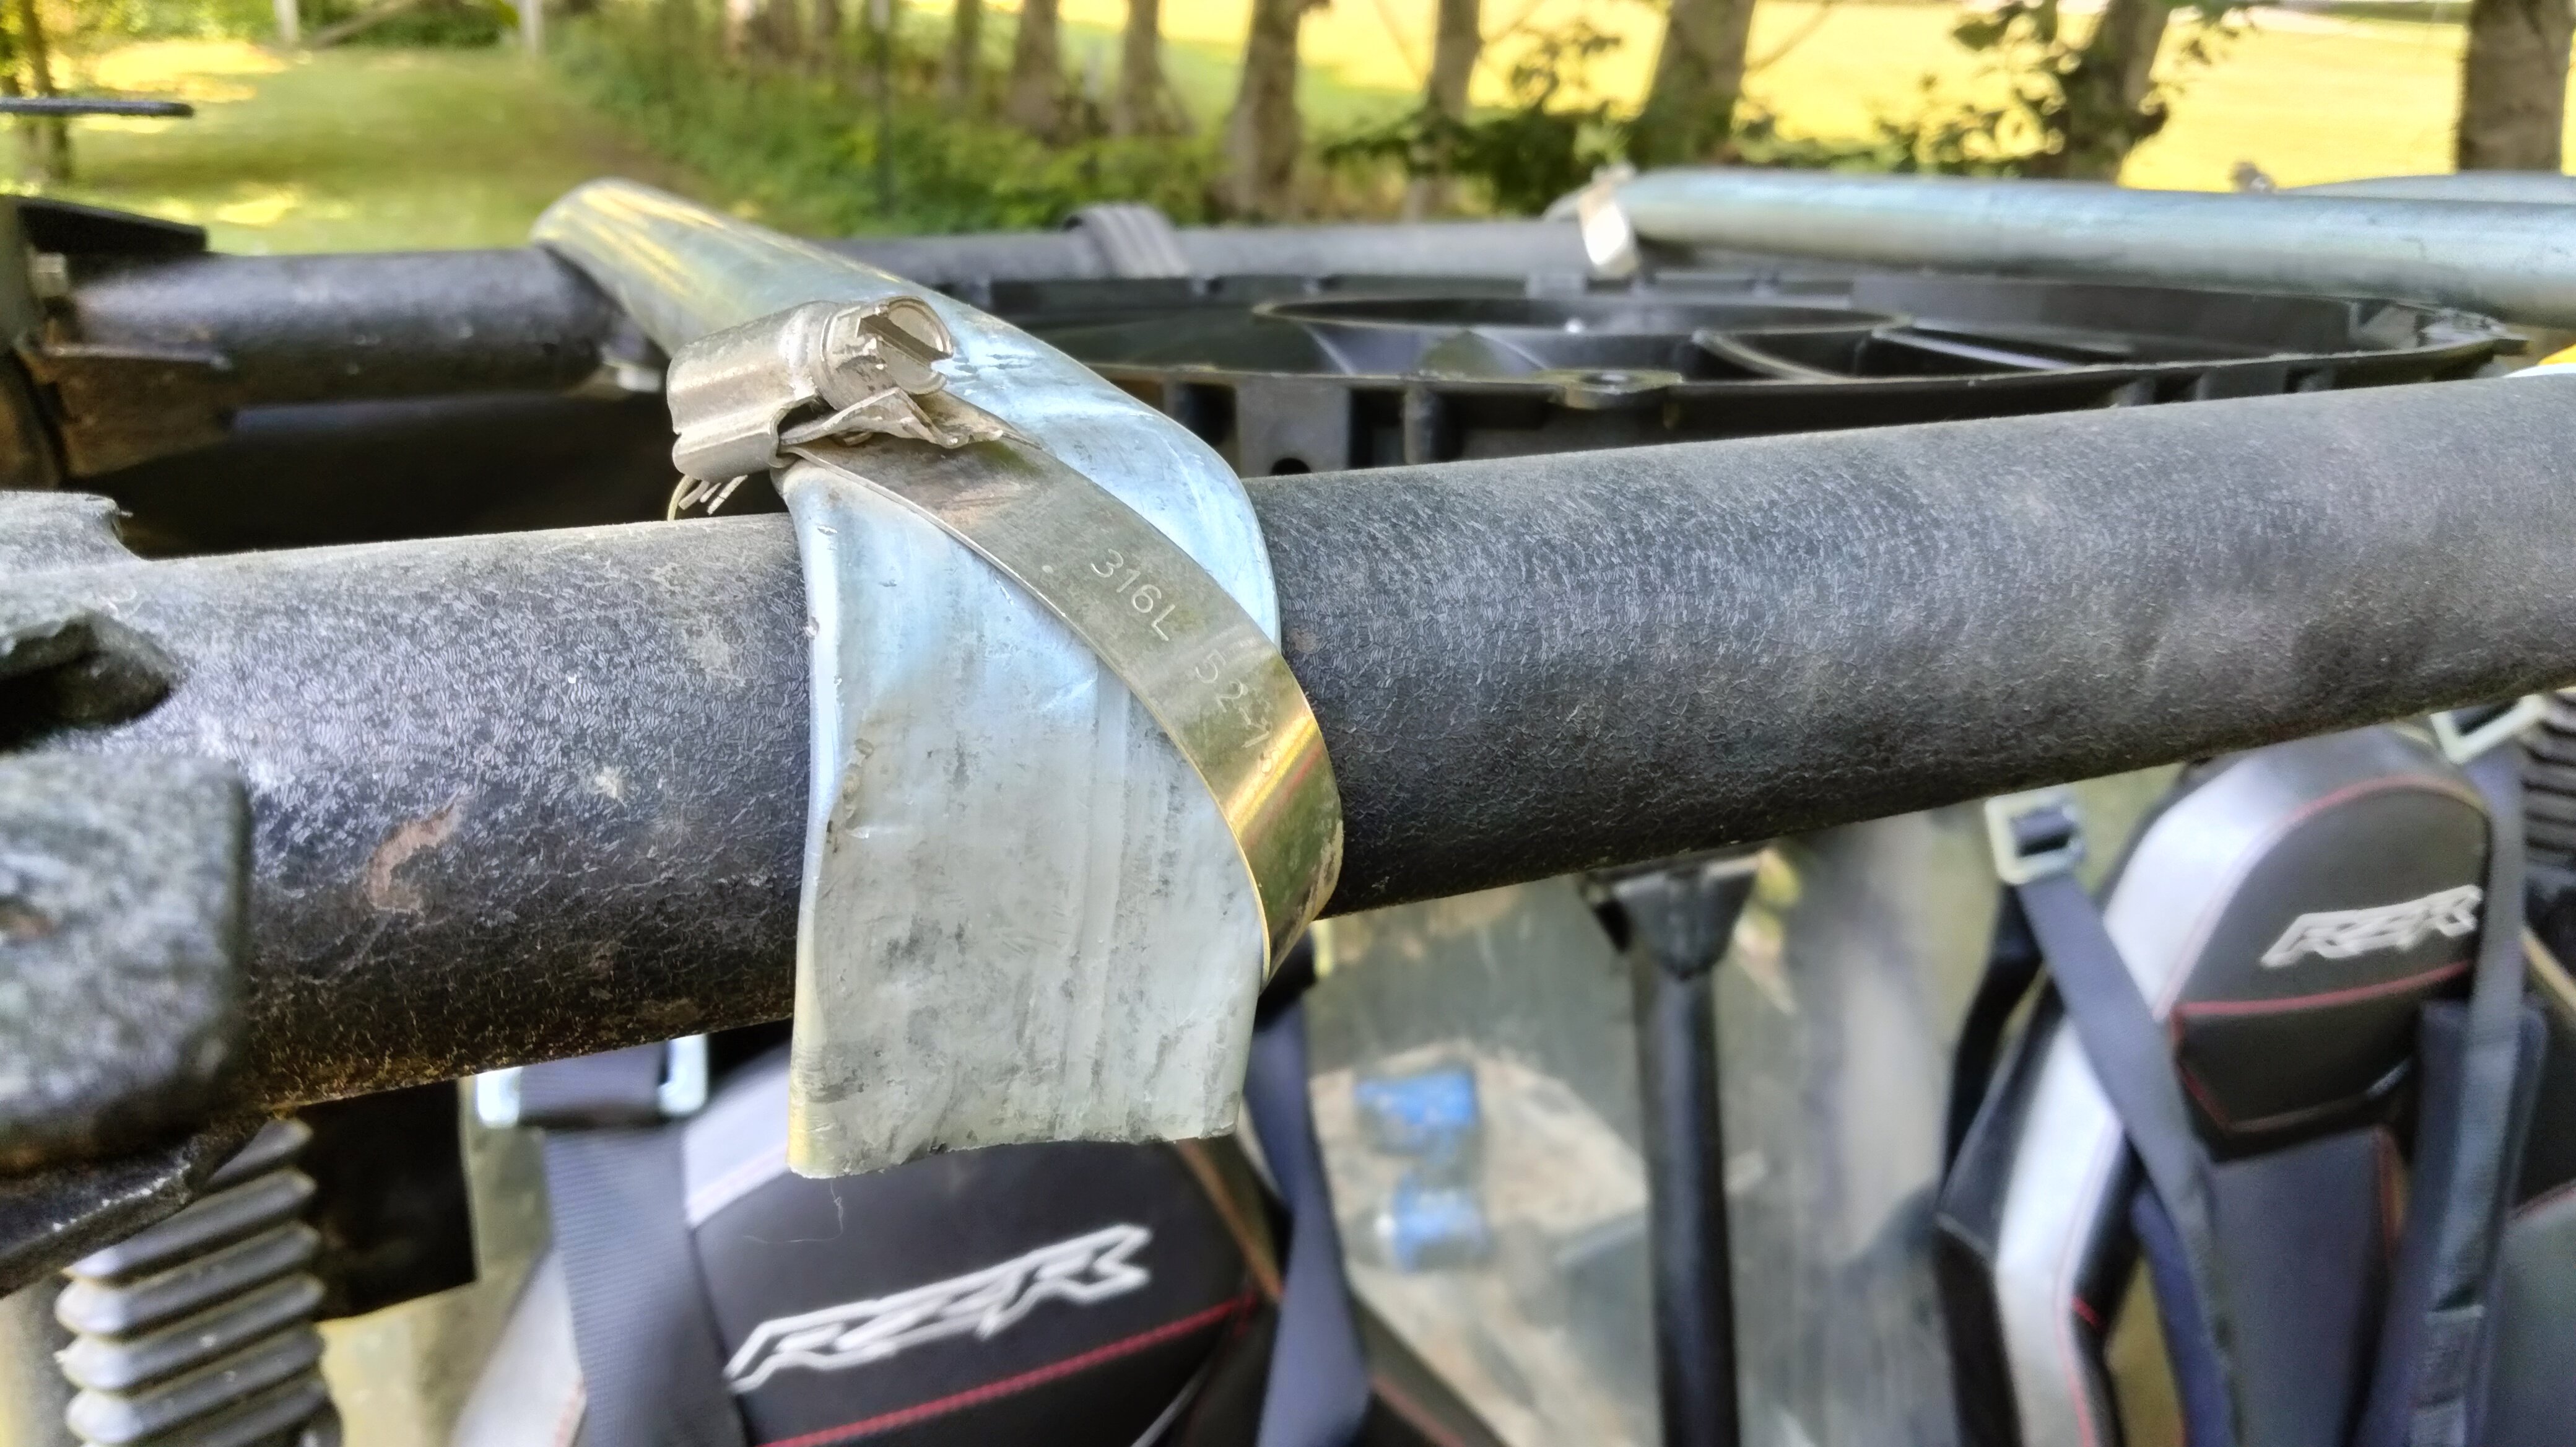
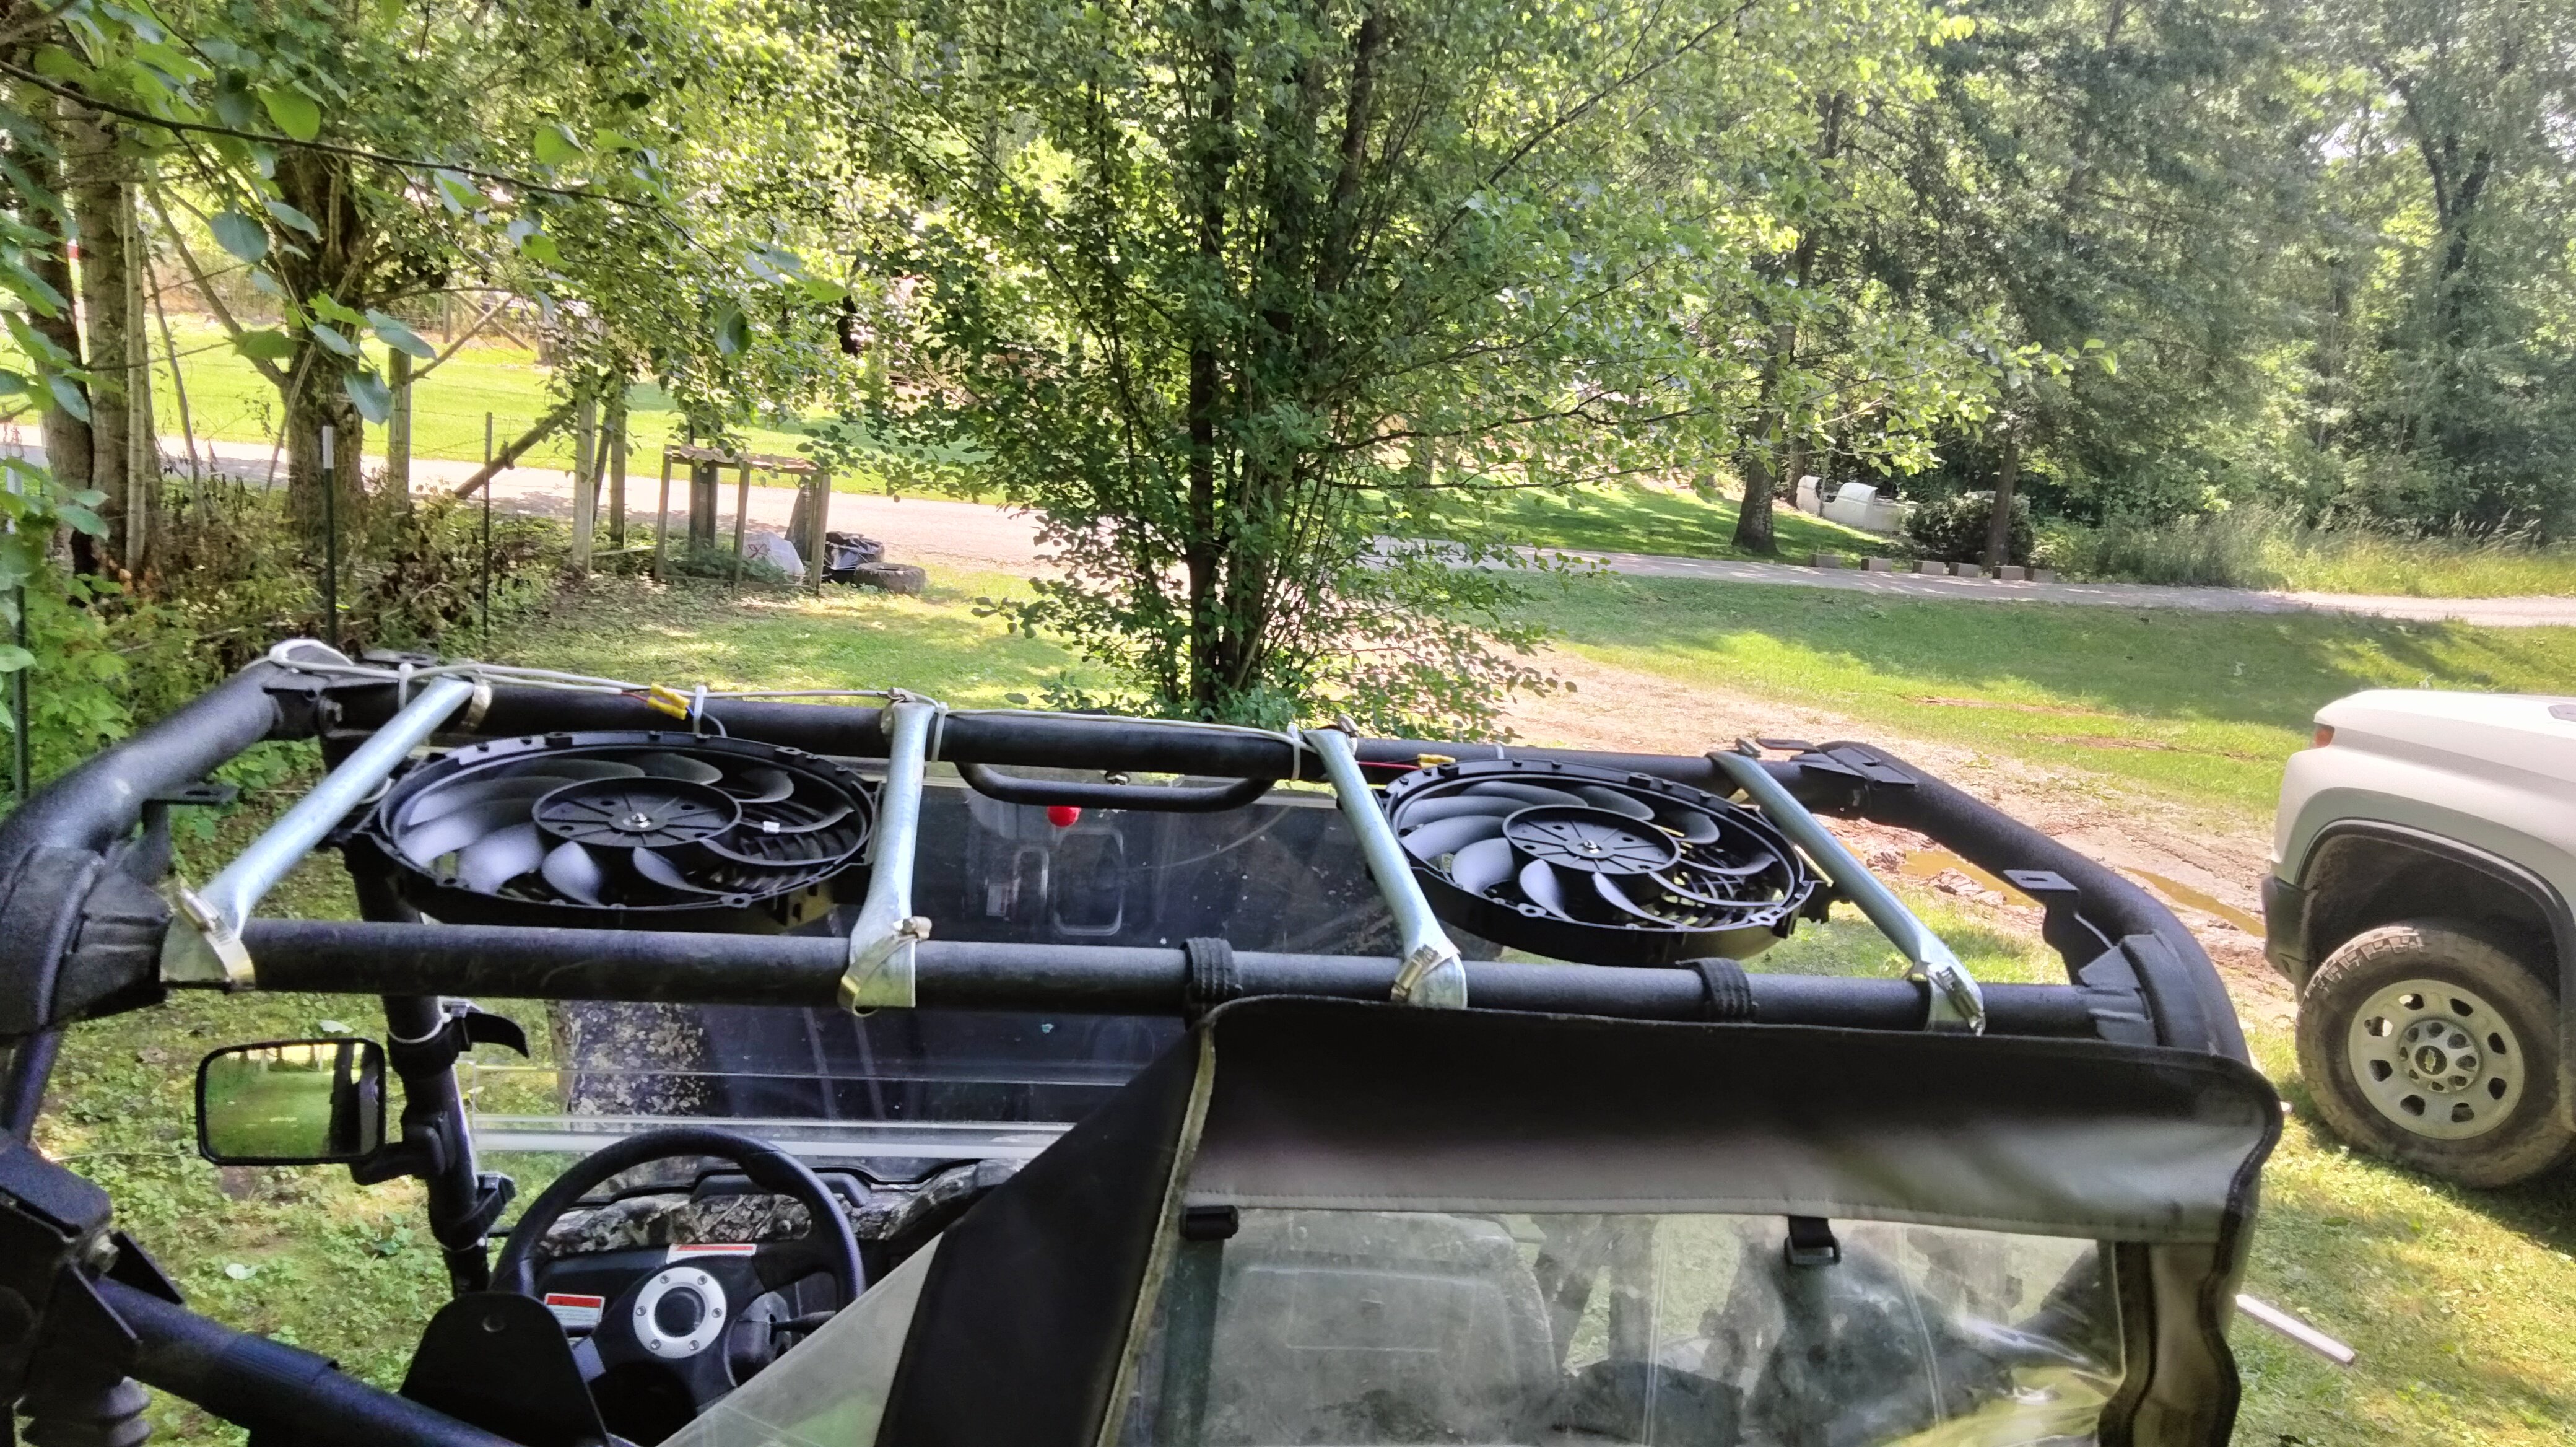
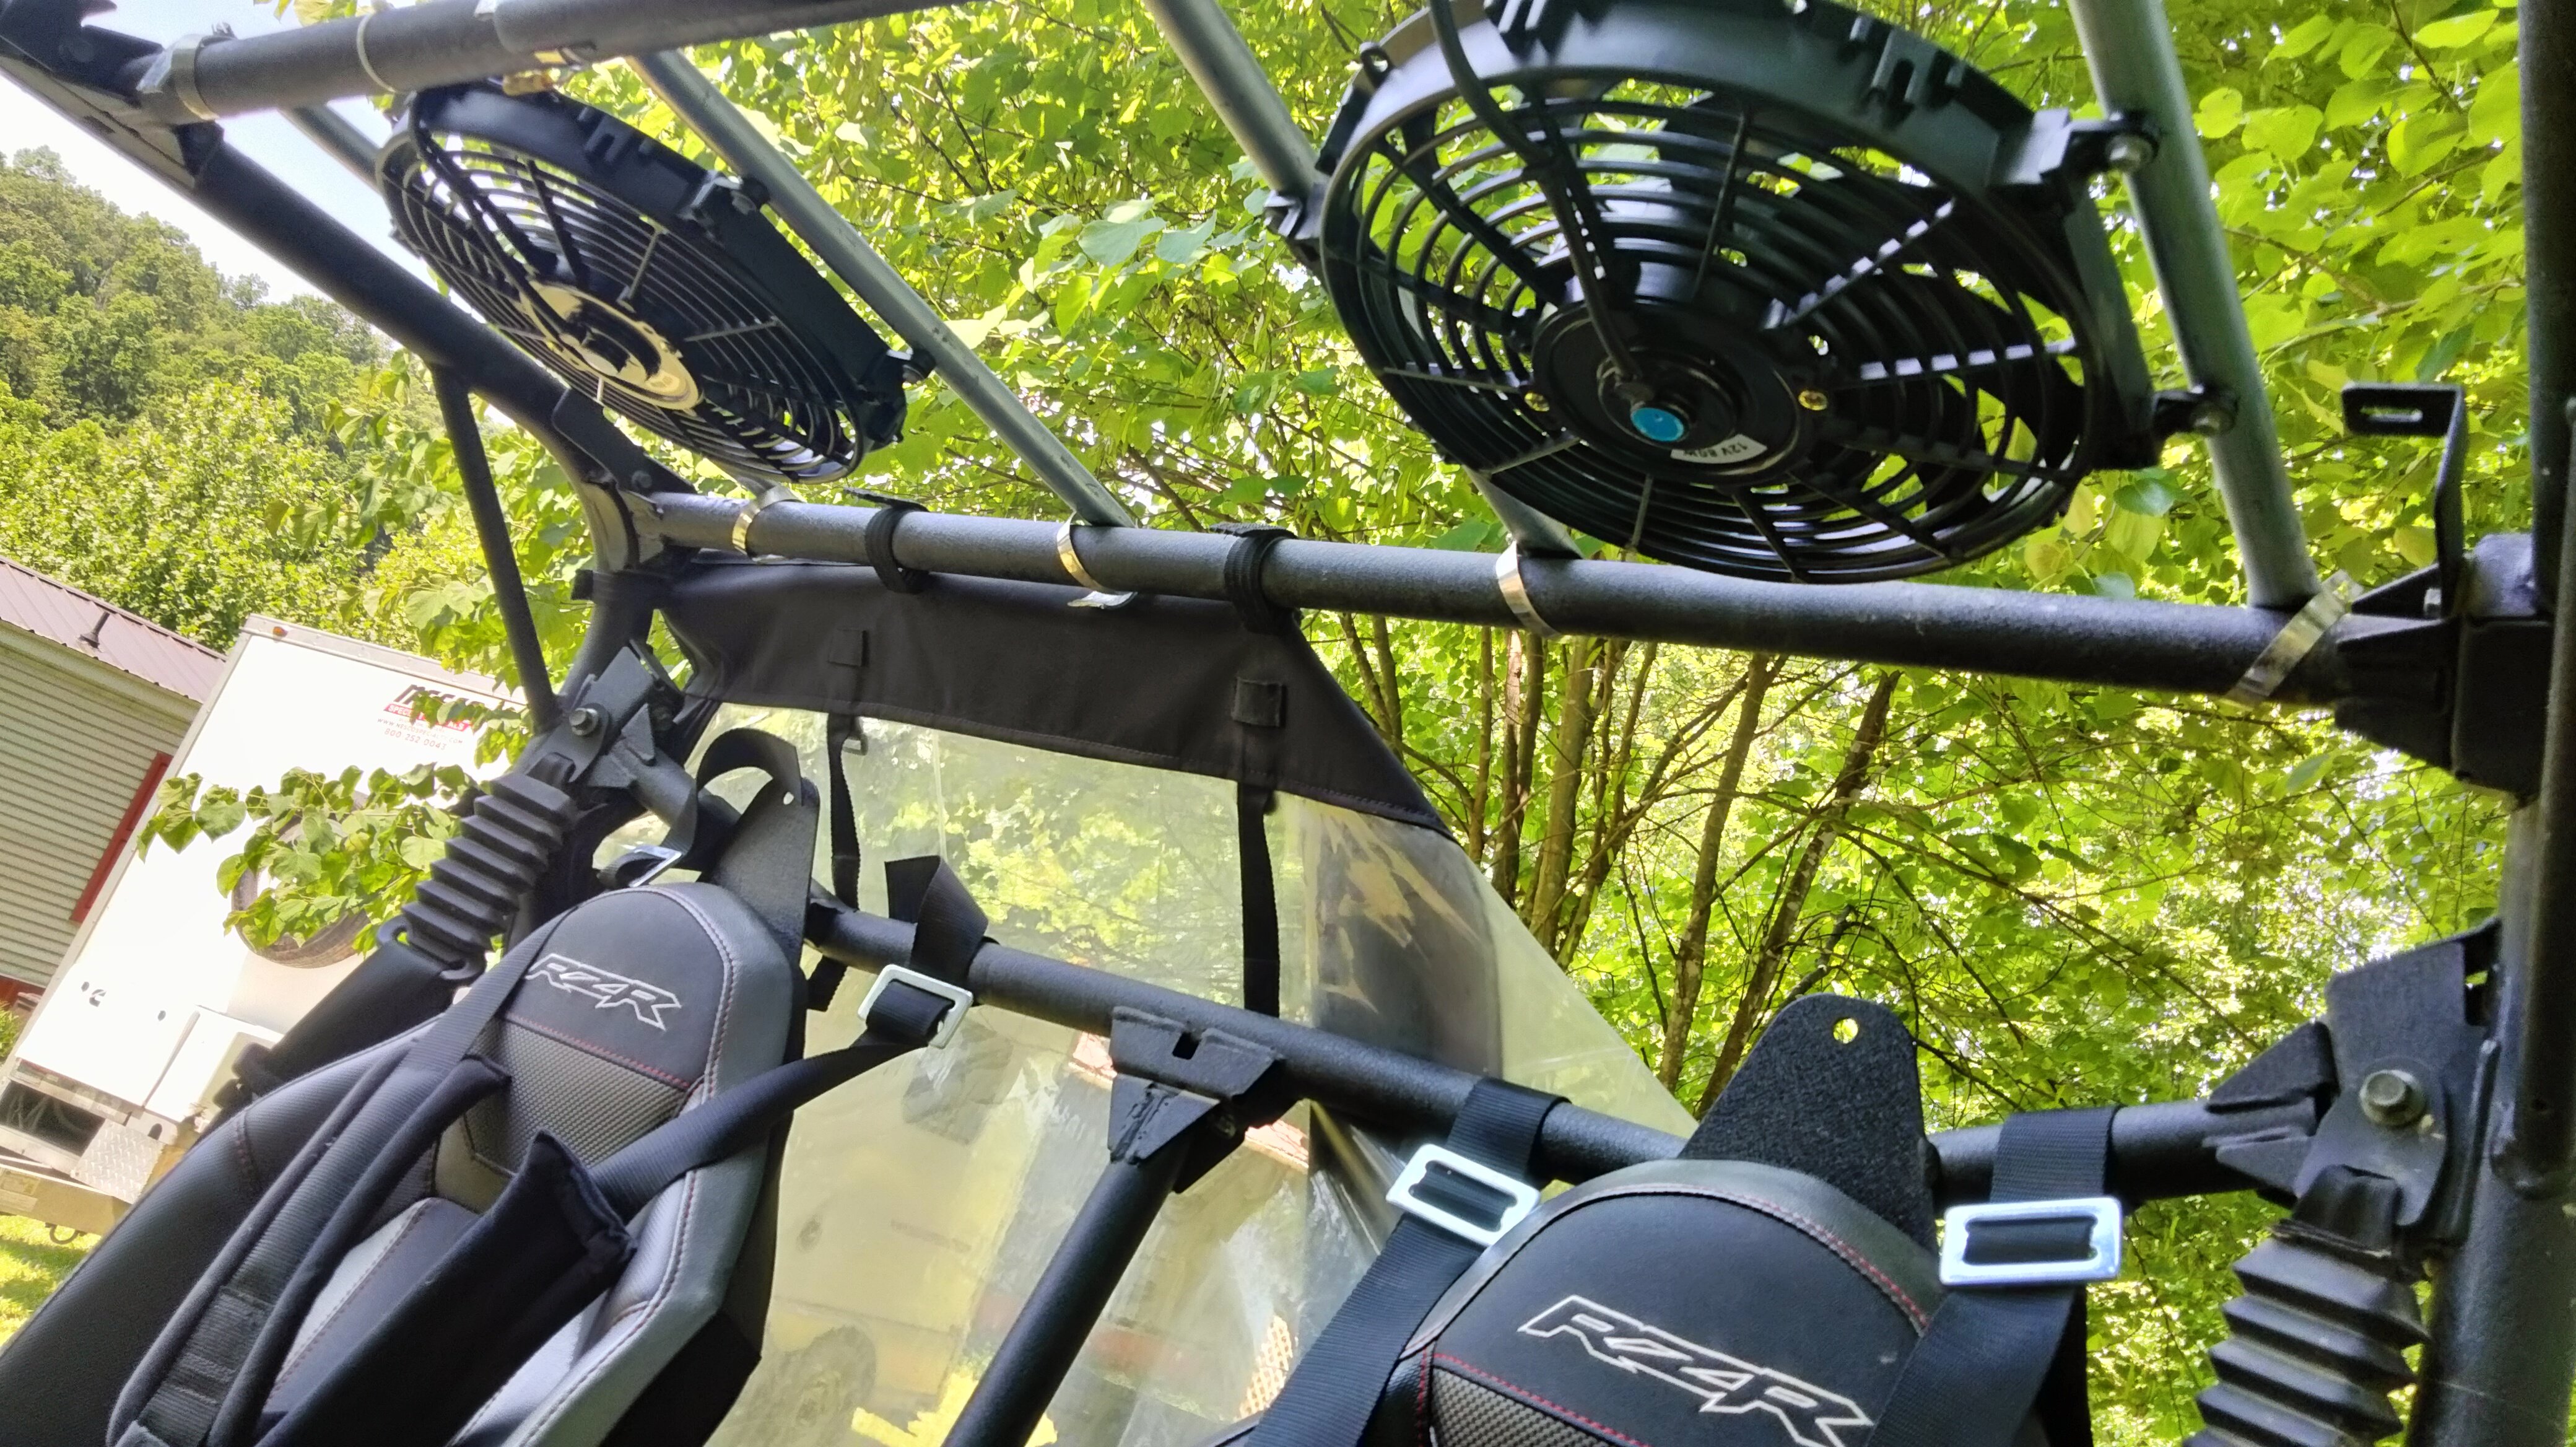
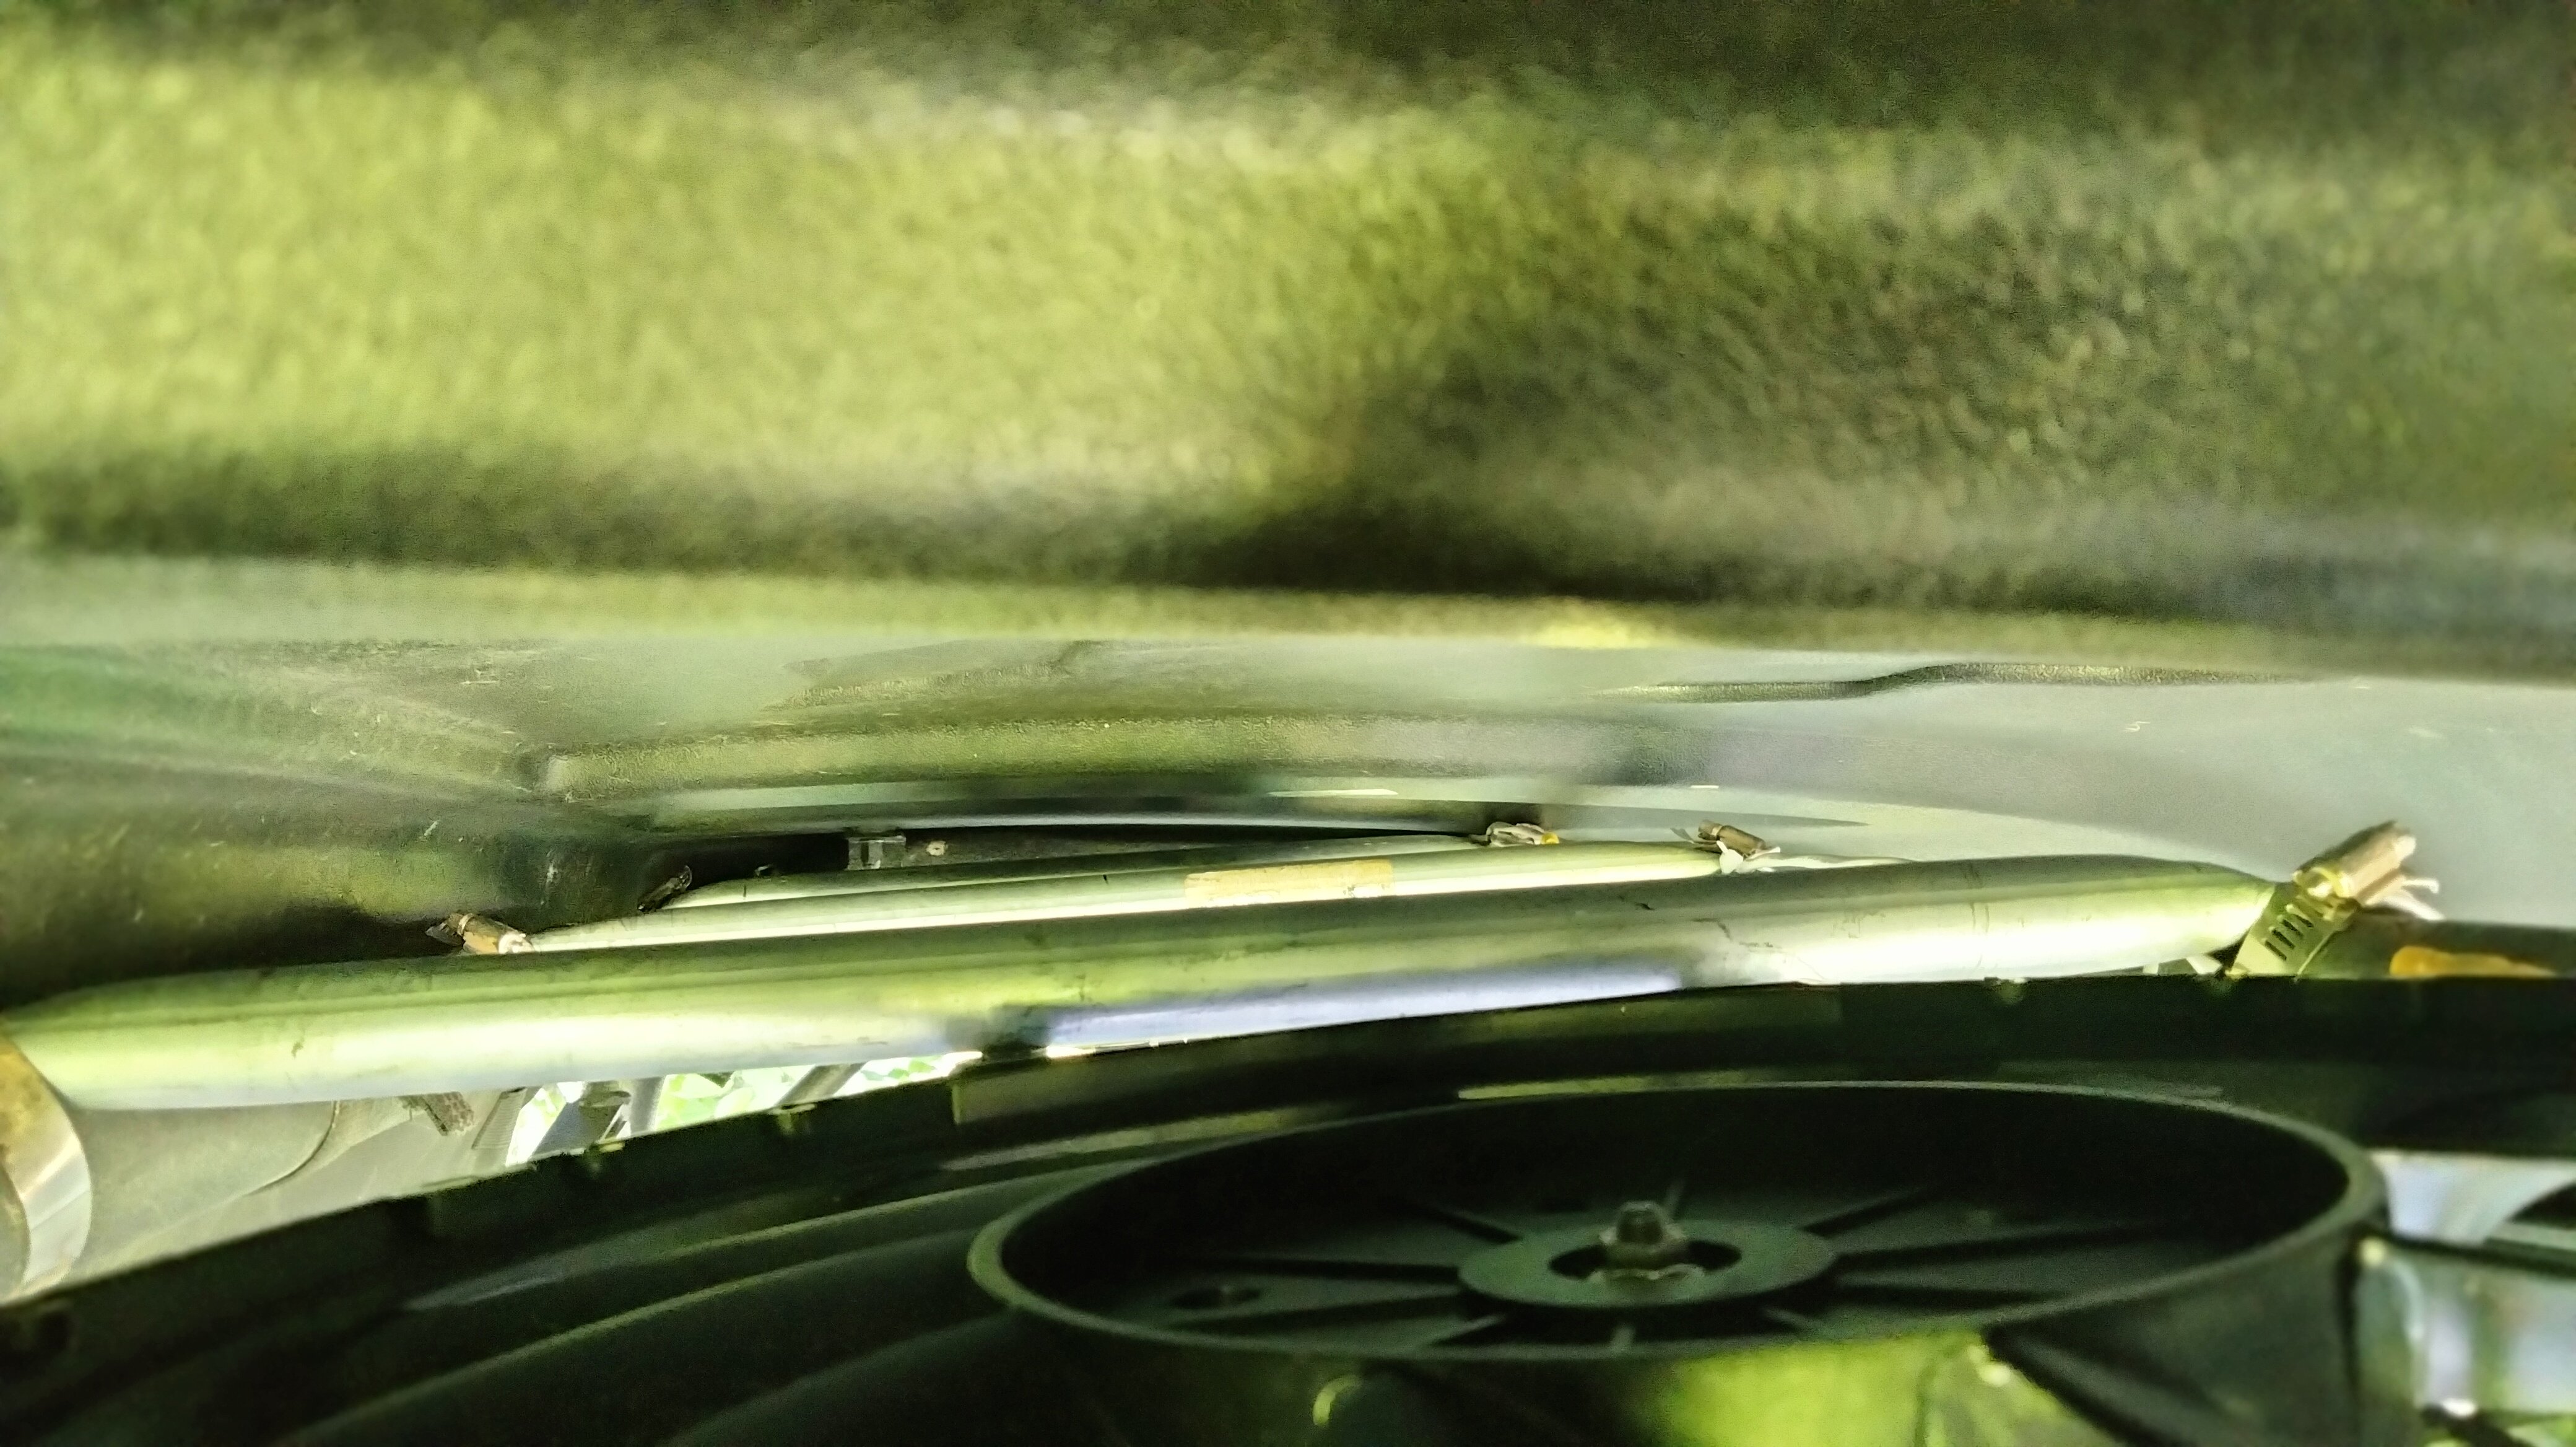
We all know summer is hot inside the cabs of our SXS. So I've rigged up a couple of fans to help cool down the cab. I didn't want to drill the fan's "support rails" into the ROPS (Roll Over Protection System), aka roll bars. So I used water clamps to hold them in place. I just need to replace the wires I ran with bigger gauge. Then finish the wiring to switches, relays, and battery. But the hardest part. The actual mounting of the fans is complete. Also just in case anyone plans on doing this. I may have to only use 1 fan in the middle instead on 2. Due the the draw on the battery. The fans are 12", 12V 80W. So I'm figured they were 6.7 amps apiece. Used the WAVe formula to get unknown values Watts=Amps*Volts then solve for unknown. I know the watts and volts from sticker on fan. So just used above formula to get amps. So a 7 amp fuse should be OK and a 10 amp fuse will be good. So pulling 14 amps from the battery all day may be too much for the charging system to keep up with. And I haven't even installed the radio yet. So I will have to test and let you know. See pics below.
-
Radiator hose ID for Hisun 500 or 700 UTV
Greg Kilgore replied to Andy Dickerson's topic in Hisun UTV SxS Forum
I sure you know this. But just in case you haven't thought of it. The manual switch should not be feed from the sensor. That would cause all sorts of issues. I'm sure your going to use a relay to supply the power to the rad fan. Then use the sensor as the trigger to turn the relay on and off. The manual switch your going to install would be fine going to the same relay. Just don't feed the manual switch from the sensor wire. Also I tapped into the power wire going to the 12v accessory plug. That is only has power when the key is on. Then I can tap off that wire to switches to use as triggers going to relays controlling other electric devices. That way when the key is off nothing is accidentally left on and drains the battery. Relays are wonderful. I installed a LED light bar on the front of my Axis. Used a relay of course. Instead of using a switch as the trigger for the relay. I used the HI beam of the headlights. That way when I meet another vehicle all I have to do is dim the high beams back to dim and automatically turn off light bar. And when Axis key is off so are the headlights. So even if I turn on the high beam headlights/LED light bar during the day. When I turned it off don't have to worry about killing the battery accidentally. Thank you for the information. I plan on installing a heater on my Axis. I was wanting to get all parts before starting and was wondering the ID of the hose in order to purchase the "T". I've looked several places and couldn't find the info. Also plan on installing a temp gauge as well. So you saved me the trouble of digging and digging trying to find the info. Also when installing I'm going to install valves inorder to by-pass the heater in the summer. -
Wetclutch? Soak in oil for 24hrs. In a clean container. Don't waste oil. After soaking pour oil in engine. Double and triple check that the one-way bearing or engine brake is installed correctly. If it has engine brake. Good luck and take your time and pics to post for a sorta how to.
-
Got my Axis 500 in June 2022. Build date shows 12/2021. So they do make them year round. BUT I don't think they change anything from one model year to the next. The Axis is the same thing as the Hisun. I've had to go to alpha-sports to get a few parts. The parts diagrams for the 500 says 2016 and up. So I don't think anything has changed on them in a while.
-
This may work. Works for my Axis which is made by hisun just like the Massimo. Begin with the machine off. Cycle the key on and off 5 times within 5 -10 seconds. Making sure the fuel pump kicks on each time. After the 5th key off. Wait 30 seconds then start. Should be reset.
-
What is a 850-5? Brand? Year?
-
installed new belt now now hard shift and lurches forward
Greg Kilgore replied to vern's topic in Polaris UTV SxS Forum
Don't know about the ranger. But when I changed the belt on my cfmoto. Once everything was back together I had to spin the secondary sheave backwards 4 or 5 turns. To tighten the belt on the sheaves. When the belt went out it shredded and bits of cord and rubber was in the primary sheave. Had to clean that out. Also use a green sos pad to scuff up the sheaves. That's all I got. Best of luck and keep us posted on the progress. -
Please help me solve this
Greg Kilgore replied to JOSEPH LAMAR's topic in AXIS Off-Road UTV SxS Forum
What scanner? Model number. Did you have to buy or make an adapter cable. There are just a few scanners that can read and reset the computer. The ECU should be a Delphi MT05. Try the procedure above. It's free, easy, at at least you can say "I told you it wouldn't work." So at 3100RPM in neutral and in Hi range (2-wheel or 4-wheel) and Lo range (2-wheel or 4-wheel) it will surges. If it does it in neutral, then it shouldn't be anything speed related. It would should be something with a sensor that controls the RPM to keep excessive from hurting the engine. Will it go above the 3100 RPM? Or cutting out at 3100 like it's hitting a Rev Limiter? -
Please help me solve this
Greg Kilgore replied to JOSEPH LAMAR's topic in AXIS Off-Road UTV SxS Forum
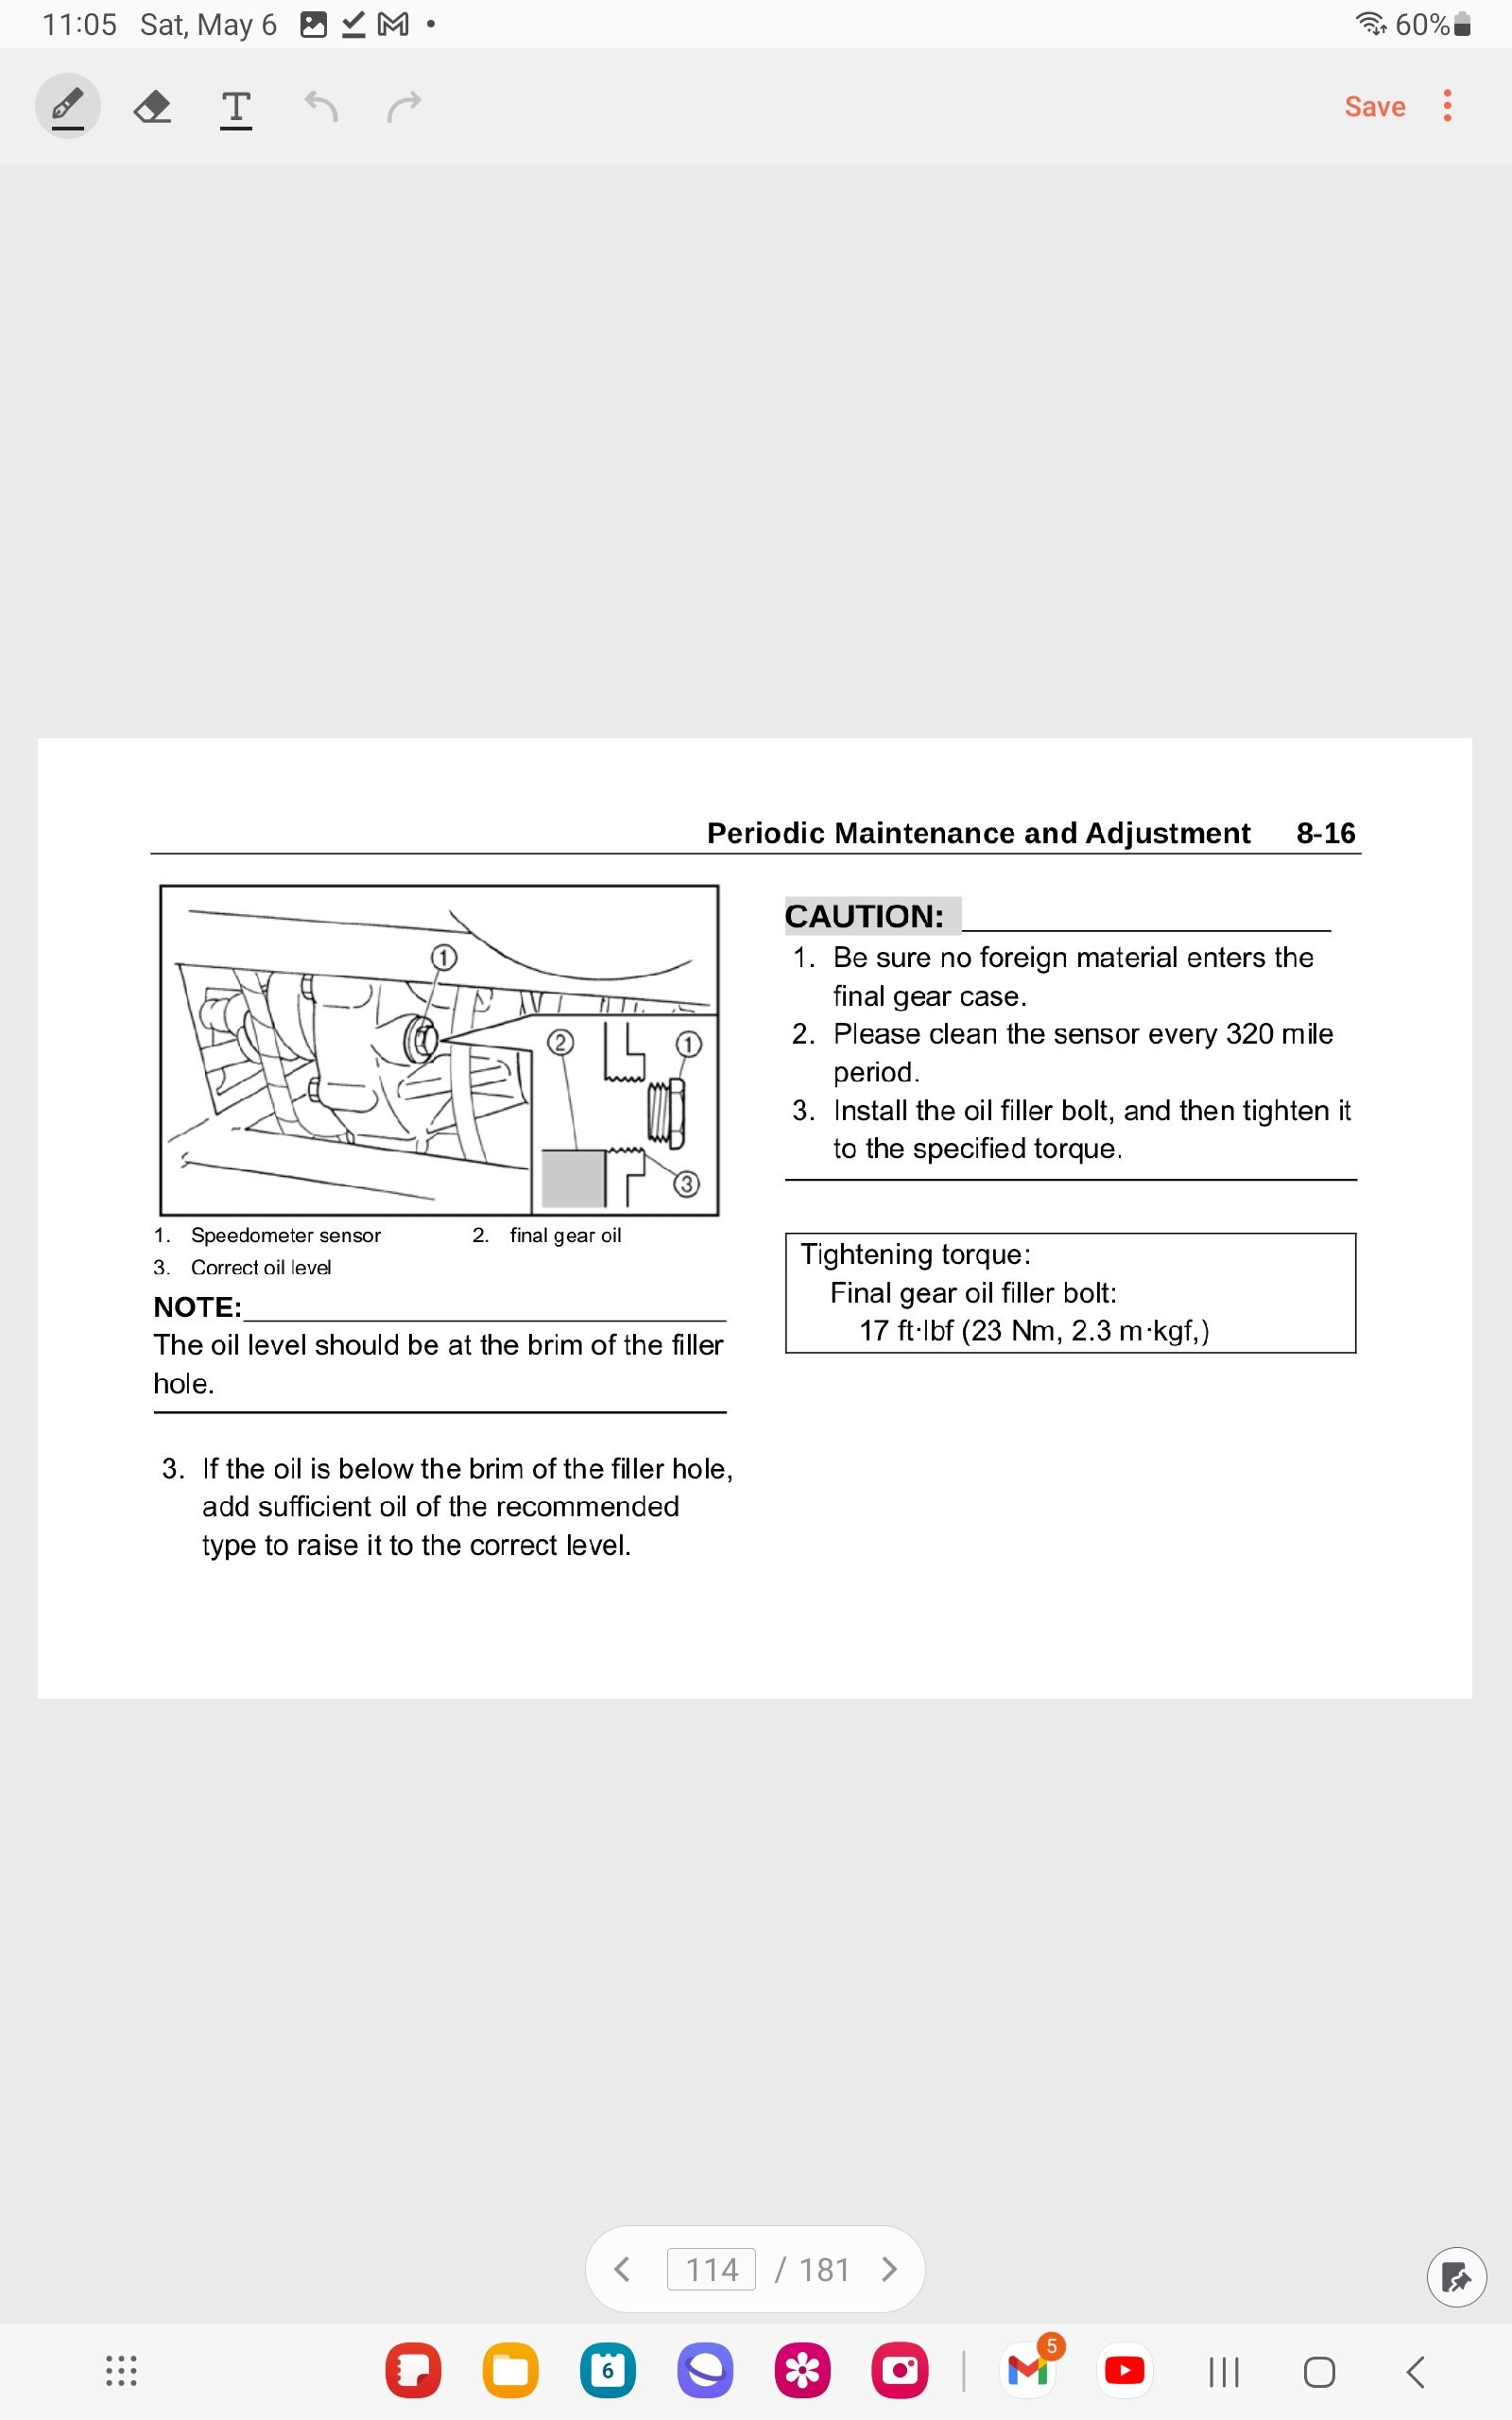
Joseph, A few questions. 1. What is the "certain" RPM? 2. What speed? 3 What range is the drive selector? Meaning "High", "Low", or "Reverse"? 4. Does it do it with drive selector in "Neutral"? 5. 2 or 4 wheel drive? Have you tested/inspected the speed sending unit on the rear differential and gear oil? See pic. Do NOT just try and remove the sensor. The wires will just twist and brake. There is a connection on the wires coming from the sensor about 5-7 inches from where is screws into the differential. Disconnect the wire and turn the sensor and wires as one unit.
-
Please help me solve this
Greg Kilgore replied to JOSEPH LAMAR's topic in AXIS Off-Road UTV SxS Forum
Did you or shop reset the computer after changing parts? Kinda simple. Look here for a lot of good information on these and other engines. https://chinariders.net/showthread.php?t=15675 Look at post #5 "Rebooting the ECU Perform the following steps to reboot the ECU. 1. Turn off the ignition for 15 seconds. 2. Turn the ignition on/off for 5 cycles. Make sure each cycle lasts about ½ second, verifying the start of the fuel pump for each cycle. If the fuel pump doesn't start during any cycle, begin the entire reboot procedure from the beginning. 3. Turn off the ignition for 15 seconds. __________________ Spud" The Motorcycle Doctor has another procedure for resetting the ECU but I think the above procedure is safer. -
Where is this speed limiter? Pic?
-
TBoss 550 died while running, then wouldn't start.
Greg Kilgore replied to TapBoss's topic in Massimo UTV SxS Forum
😂 maybe somebody put "excellence" in the tank. Ricky Bobby wasn't hunting with you was he? -
TBoss 550 died while running, then wouldn't start.
Greg Kilgore replied to TapBoss's topic in Massimo UTV SxS Forum
Started at the top and read the entire thread again. Sounds like a "buddy" didn't want competition at deer camp and knew how to mess with your mind. That's dirty. -
TBoss 550 died while running, then wouldn't start.
Greg Kilgore replied to TapBoss's topic in Massimo UTV SxS Forum
That would do it. Years, years ago. Girl friends 5 year old was playing in his sand box. Filled the tank to a kerosene heater with sand. Well at least you got to the bottom of it. -
TBoss 550 died while running, then wouldn't start.
Greg Kilgore replied to TapBoss's topic in Massimo UTV SxS Forum
Just for giggles have you changed the fuel filter. There is a screen in the injector also. Don't know if it is serviceable. So may have to change the entire injector. Had similar issues out of my Axis 500. Would not idle. Had to keep foot on gas at all times. Changed the fuel filter and that corrected the problem. Actually it looked like oem painted the inside nipples of fuel filter and it started flaking off -
2022 Axis same as HS500 seat adjustment
Greg Kilgore replied to Greg Kilgore's topic in AXIS Off-Road UTV SxS Forum
Unfortunately withe the seat sliders and the way the cushions is angled. I don't think it sits any lower. Even with the new flat base plate. I guess I could cut the frame of the RZR seat. Then attach the bottom cushion directly to the slide. Then use a piece of "L" bracket to attach the backrest directly to the slide. But don't want to hack up a good frame. Just sounds like too much work for little reward. -
2022 Axis same as HS500 seat adjustment
Greg Kilgore replied to Greg Kilgore's topic in AXIS Off-Road UTV SxS Forum
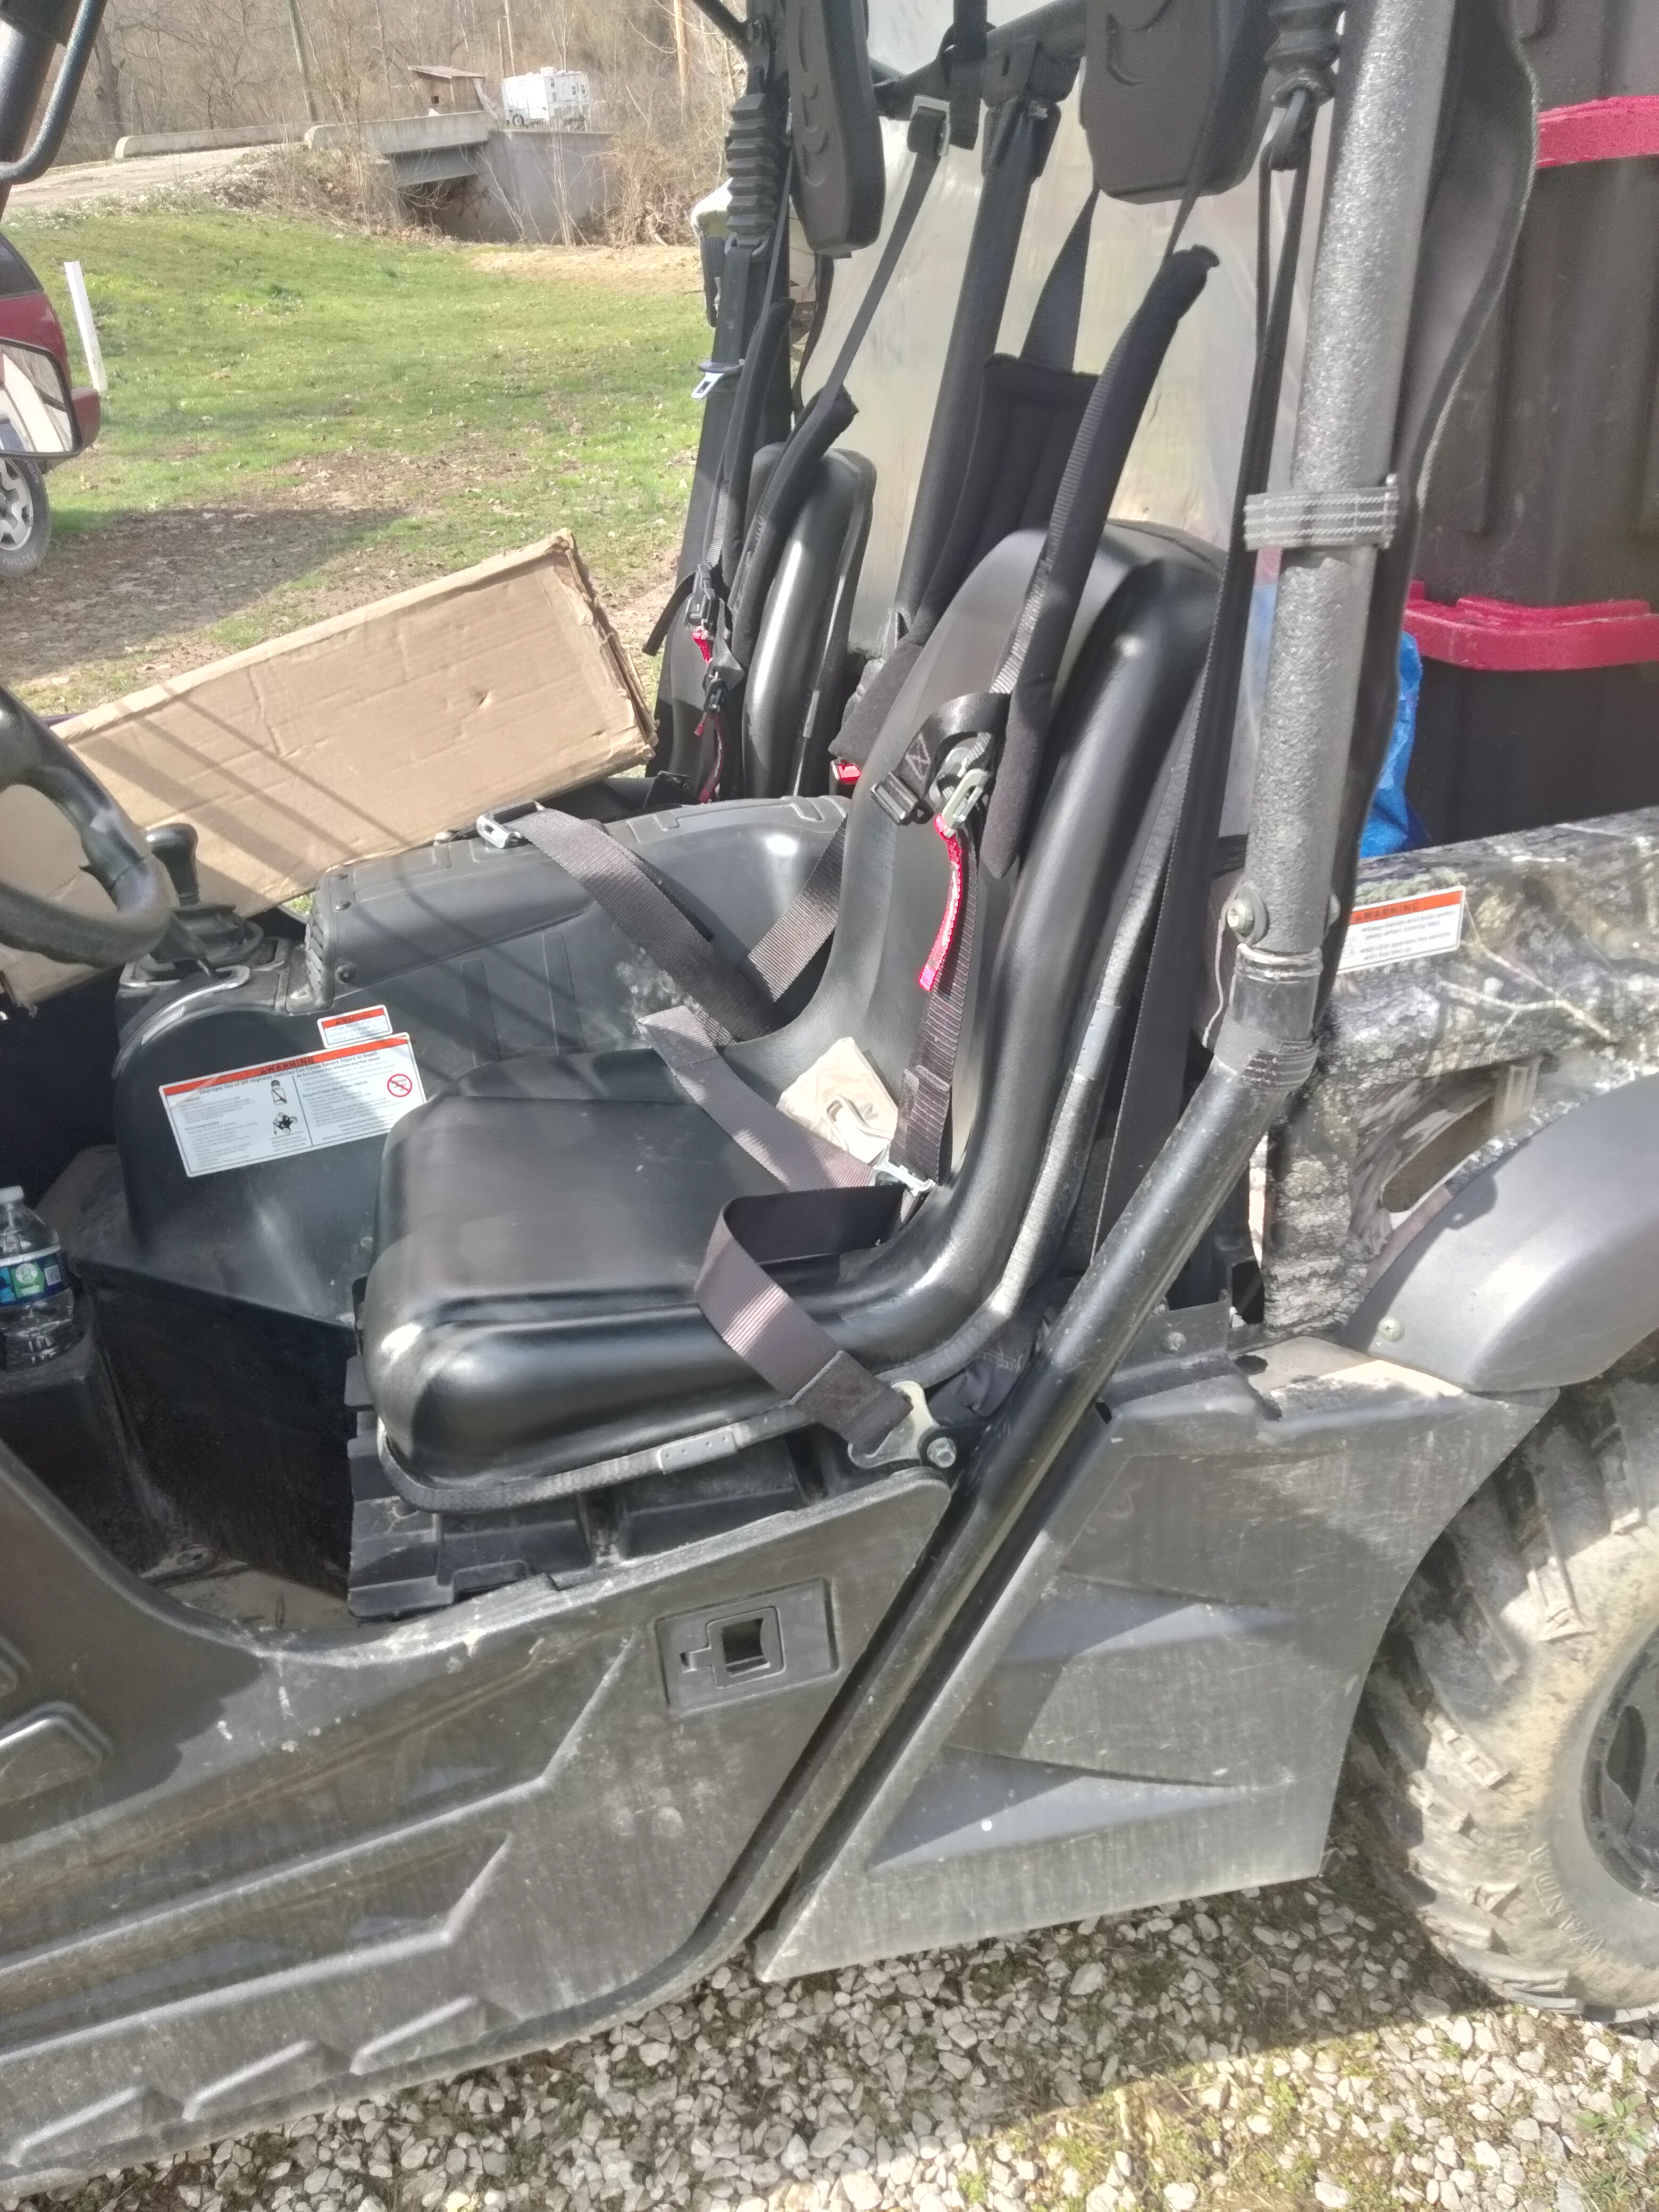
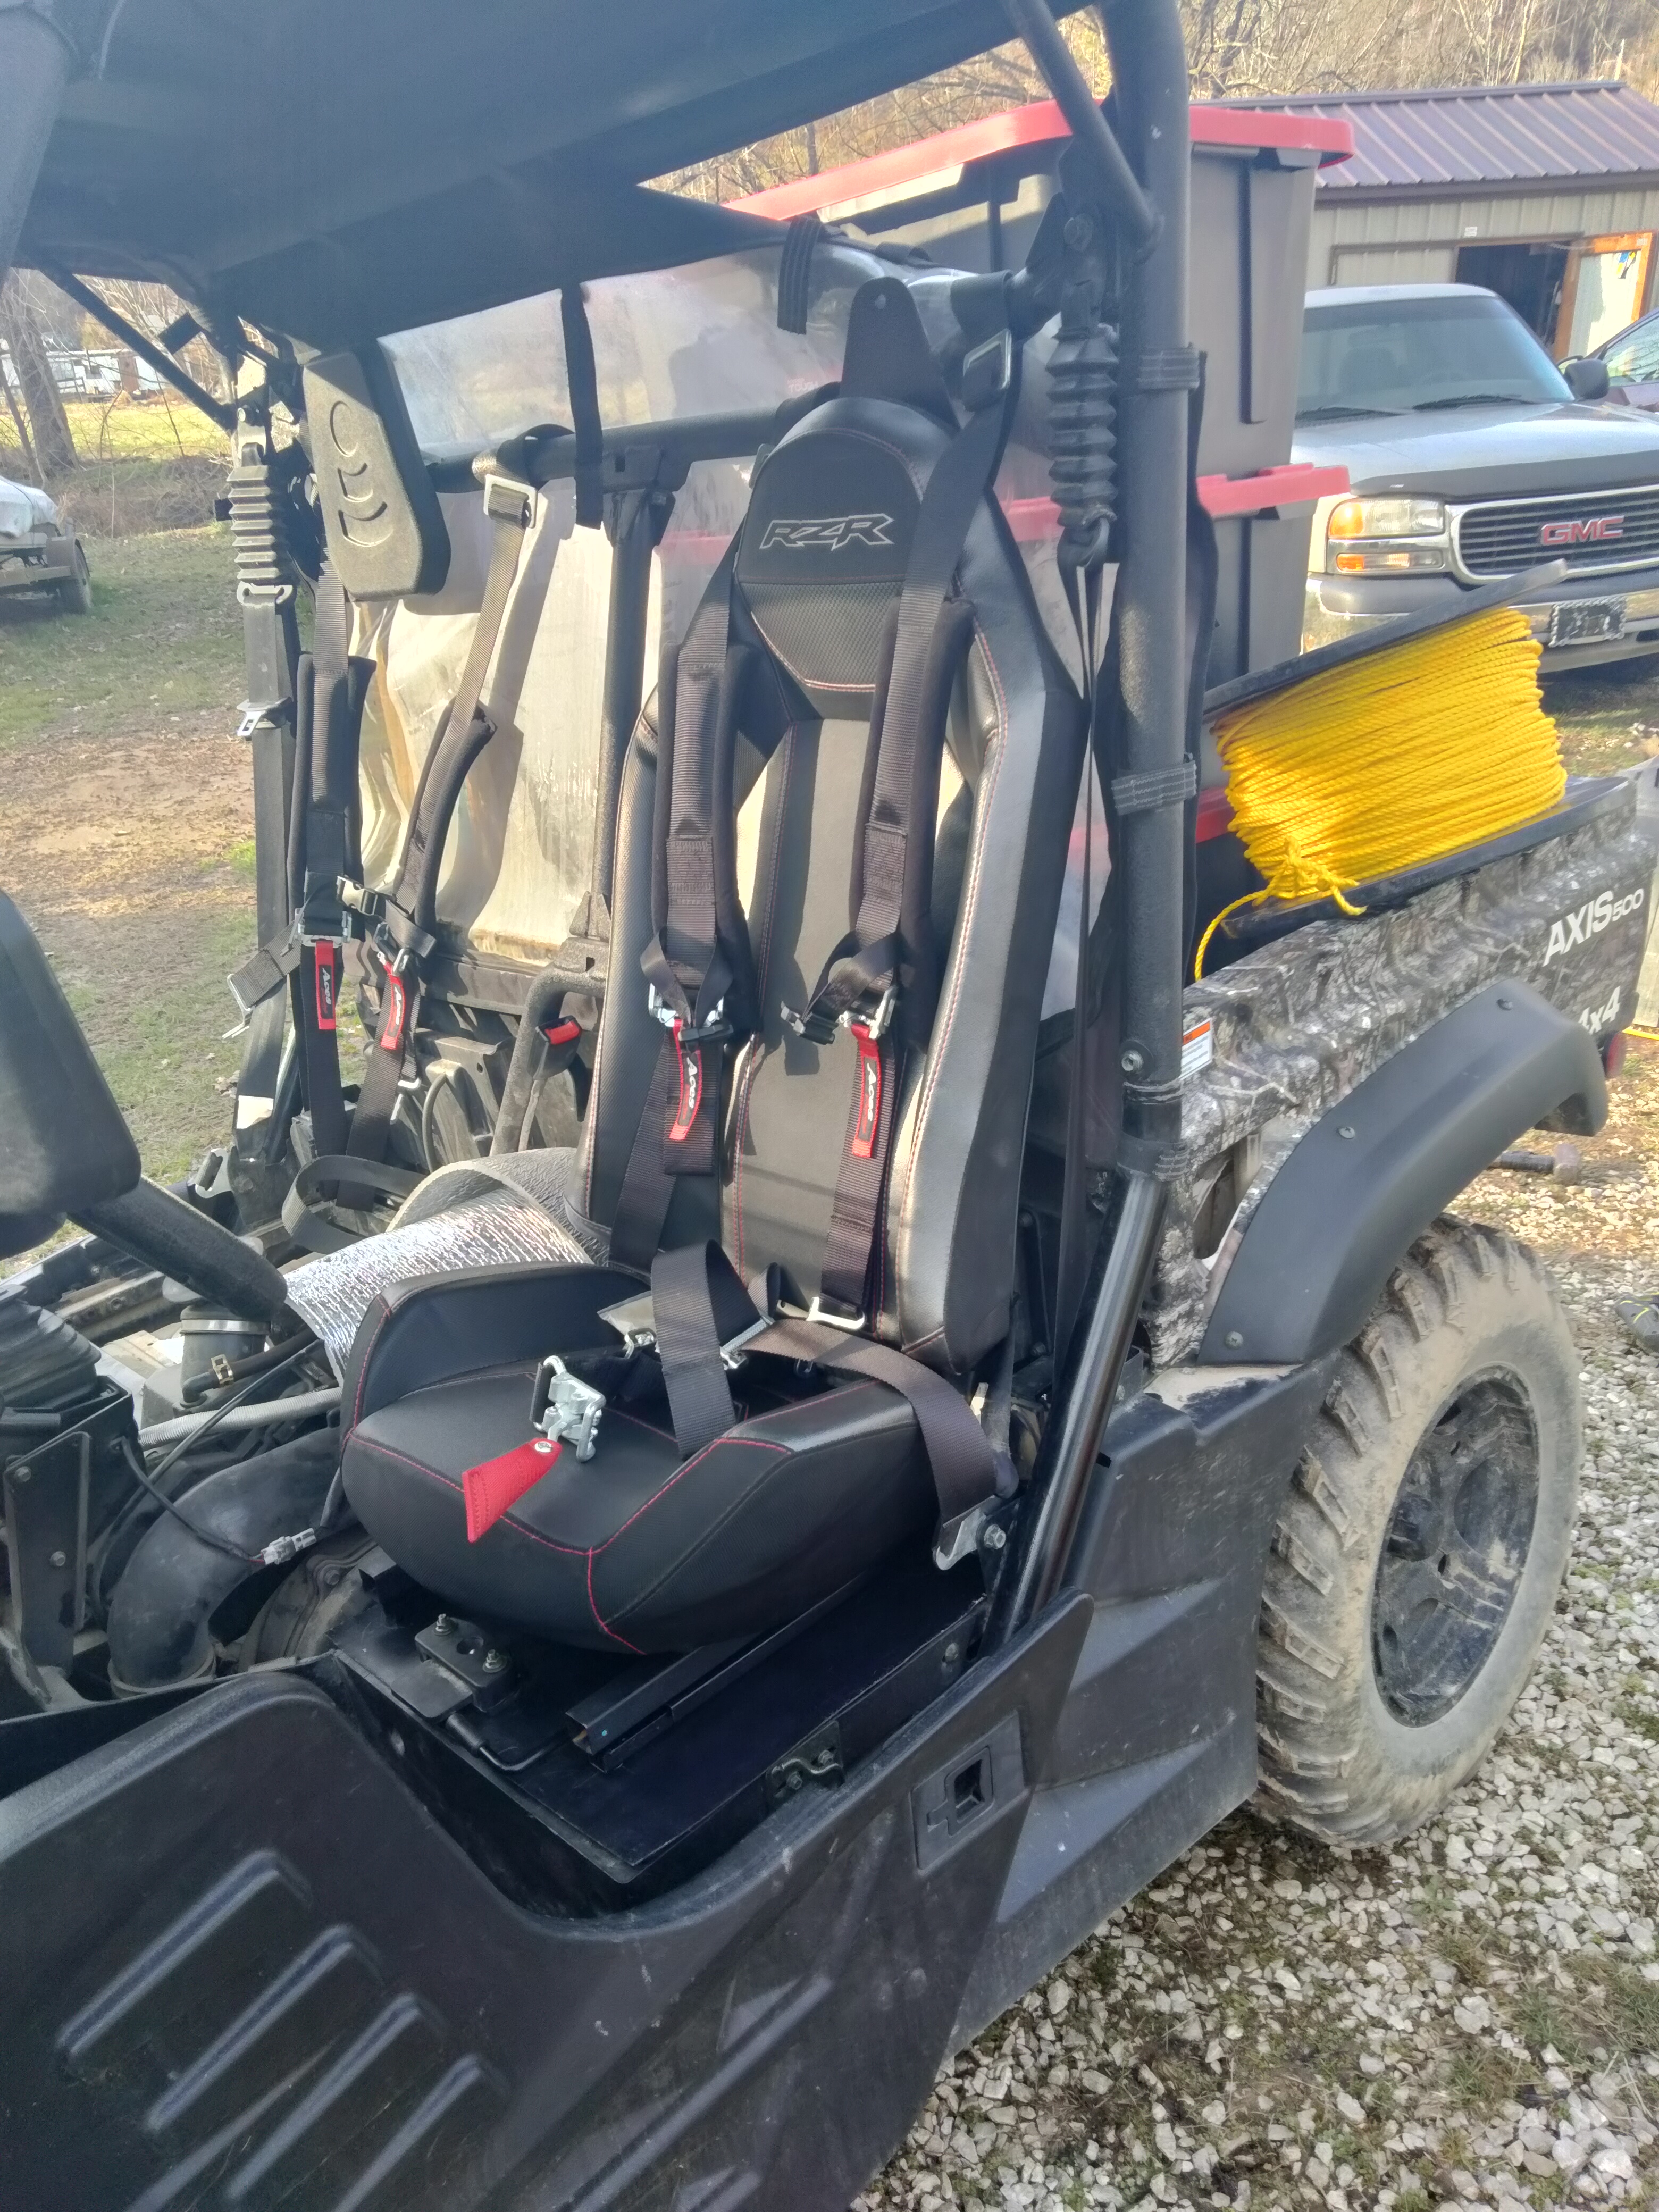
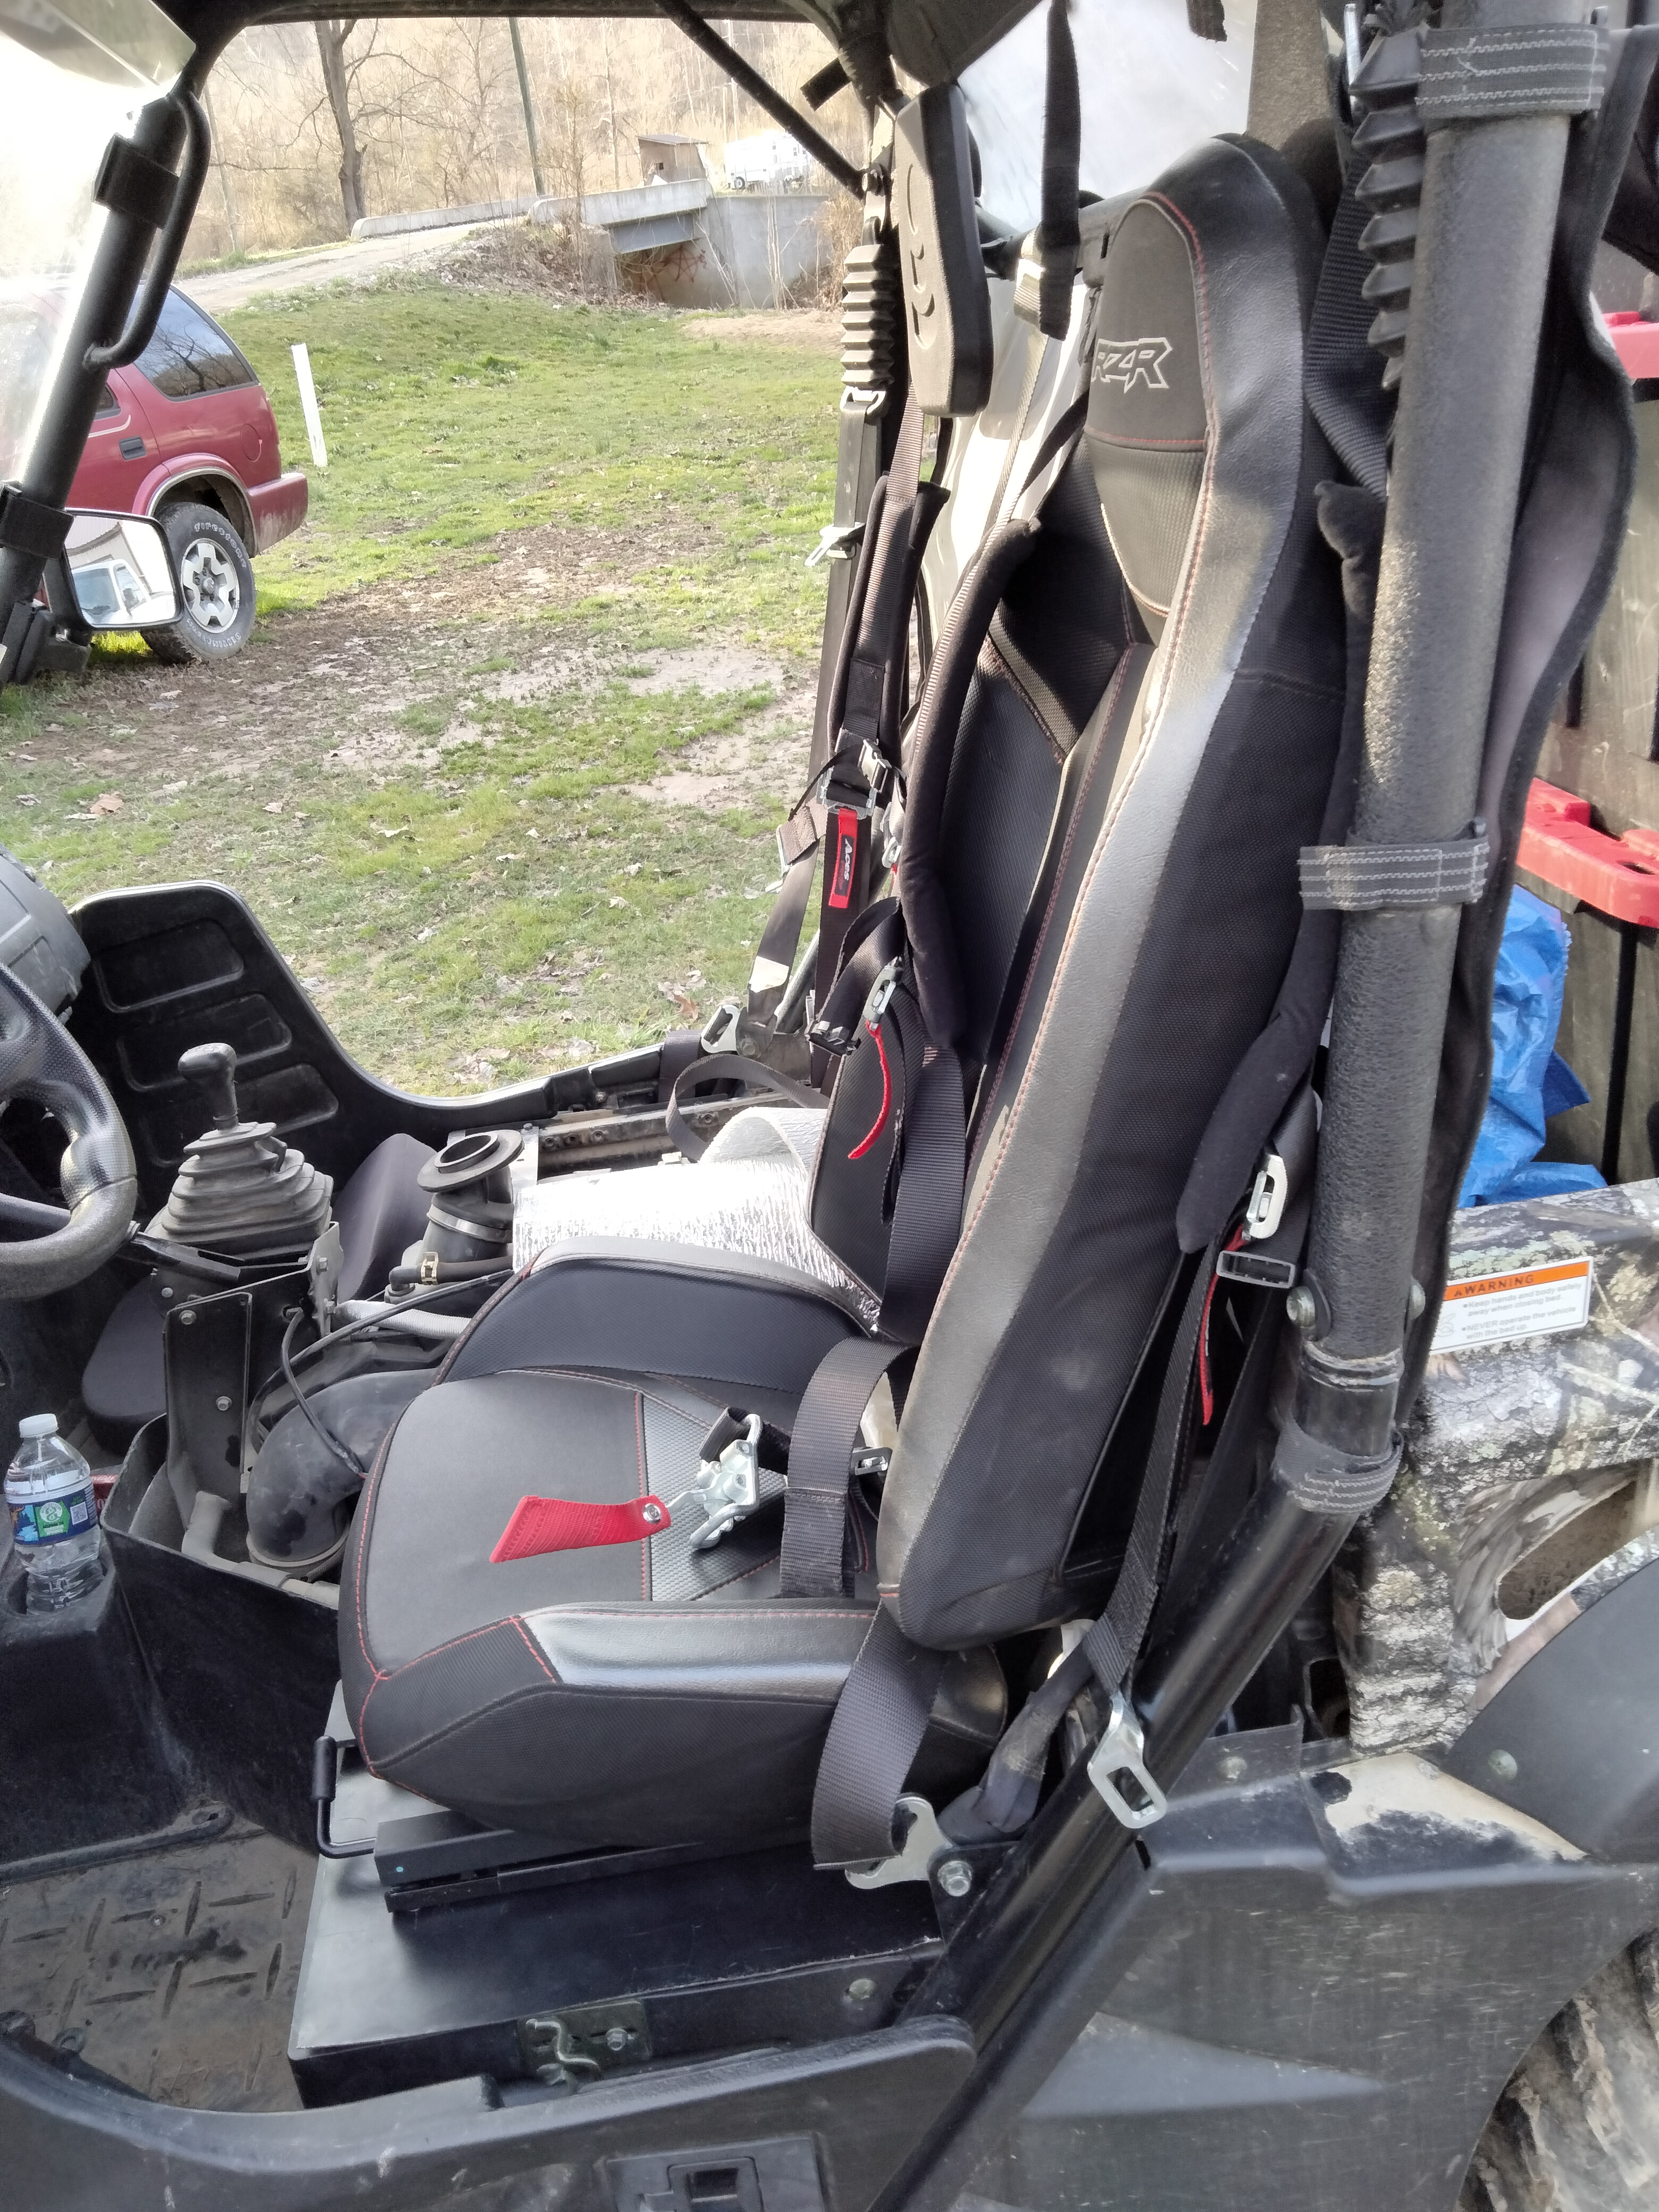
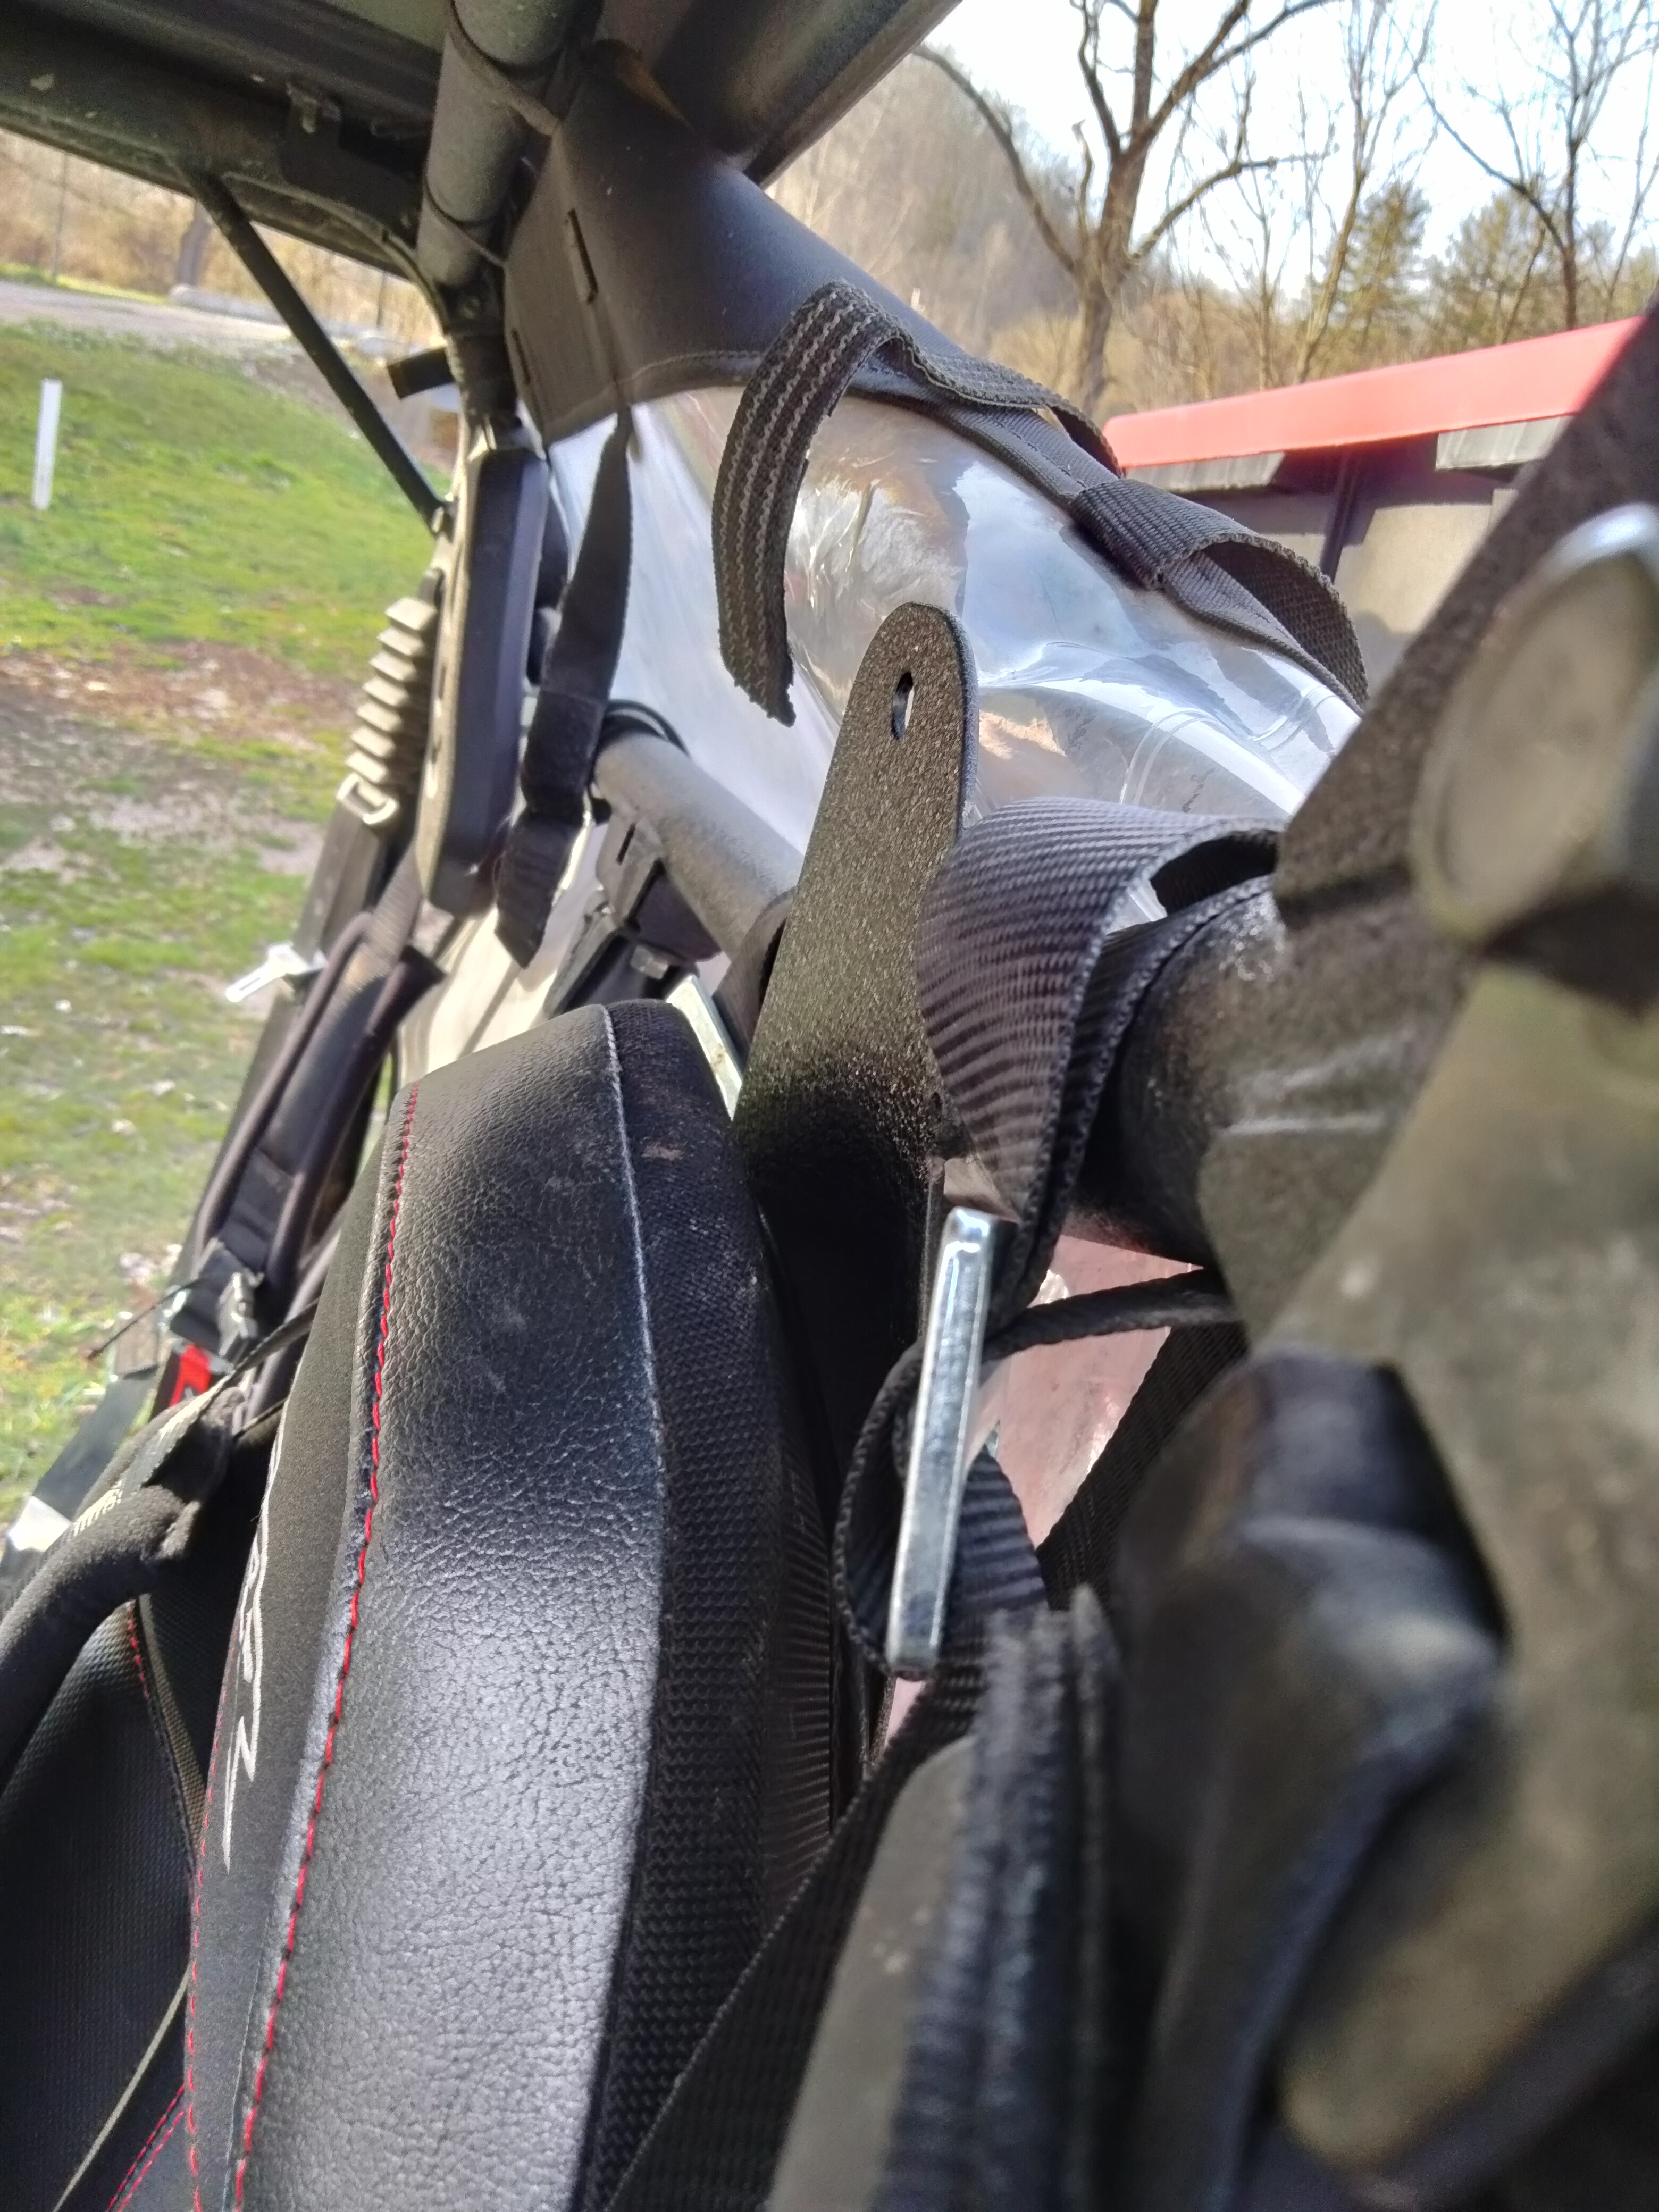
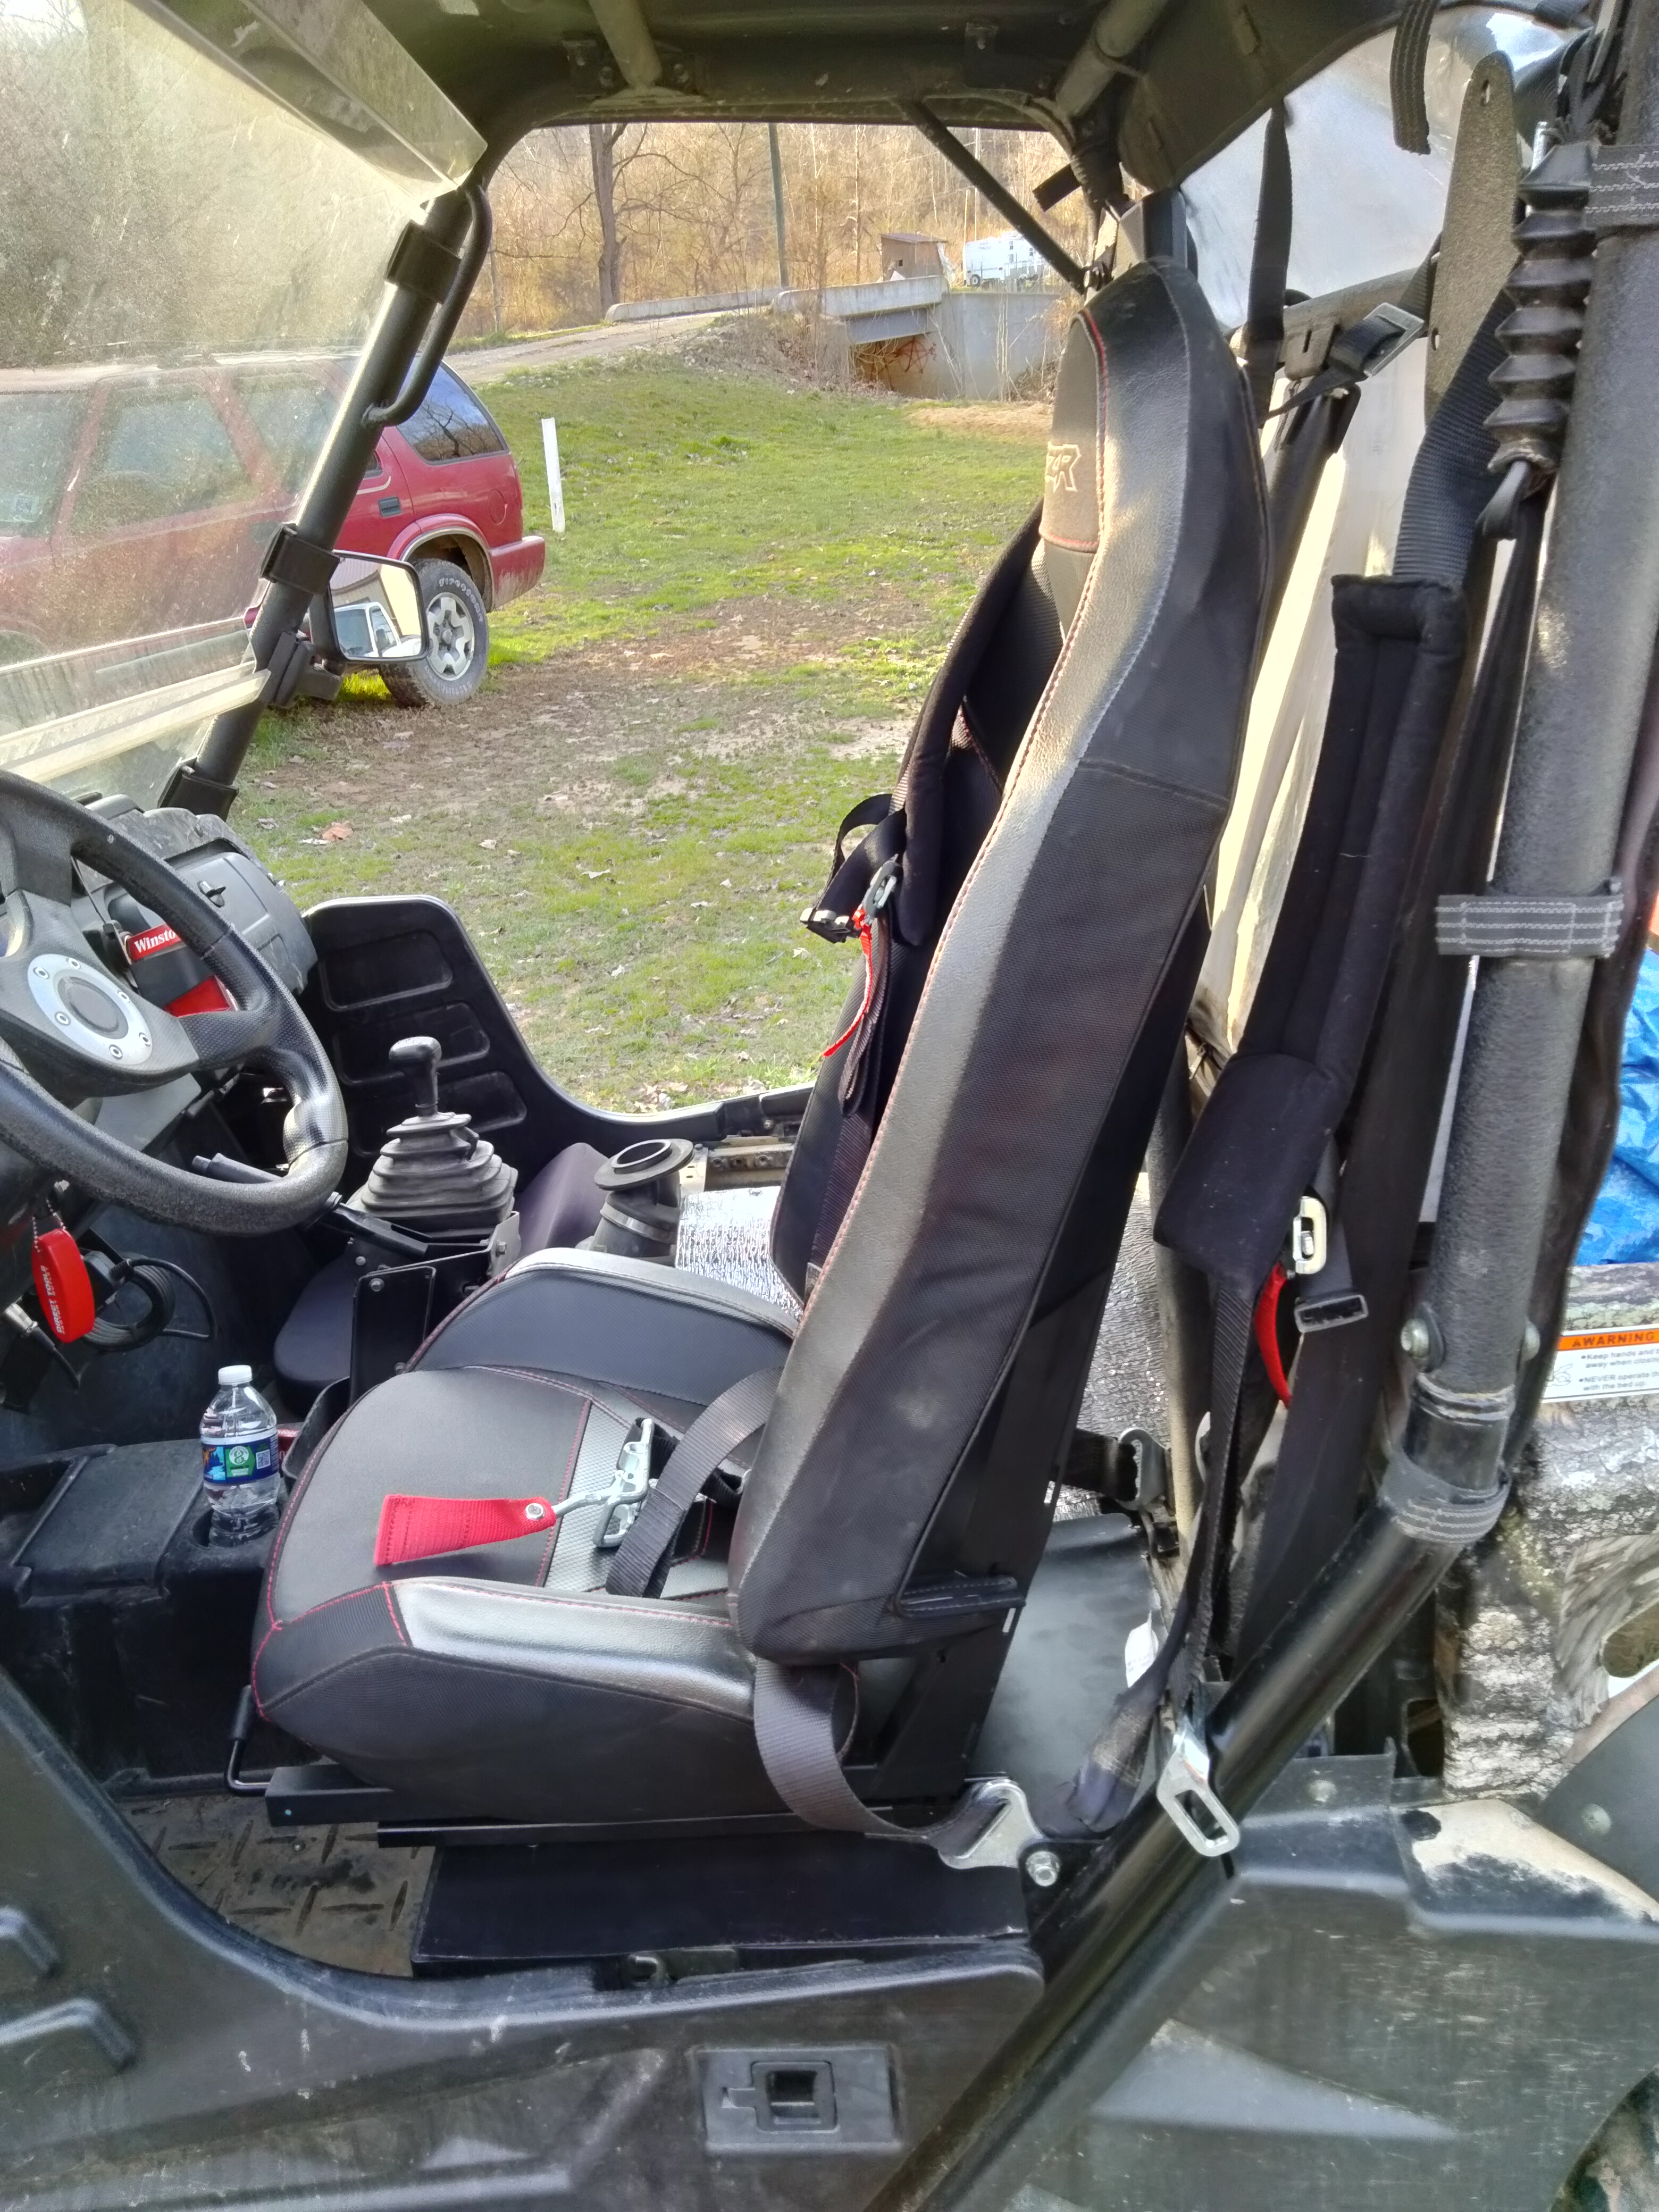
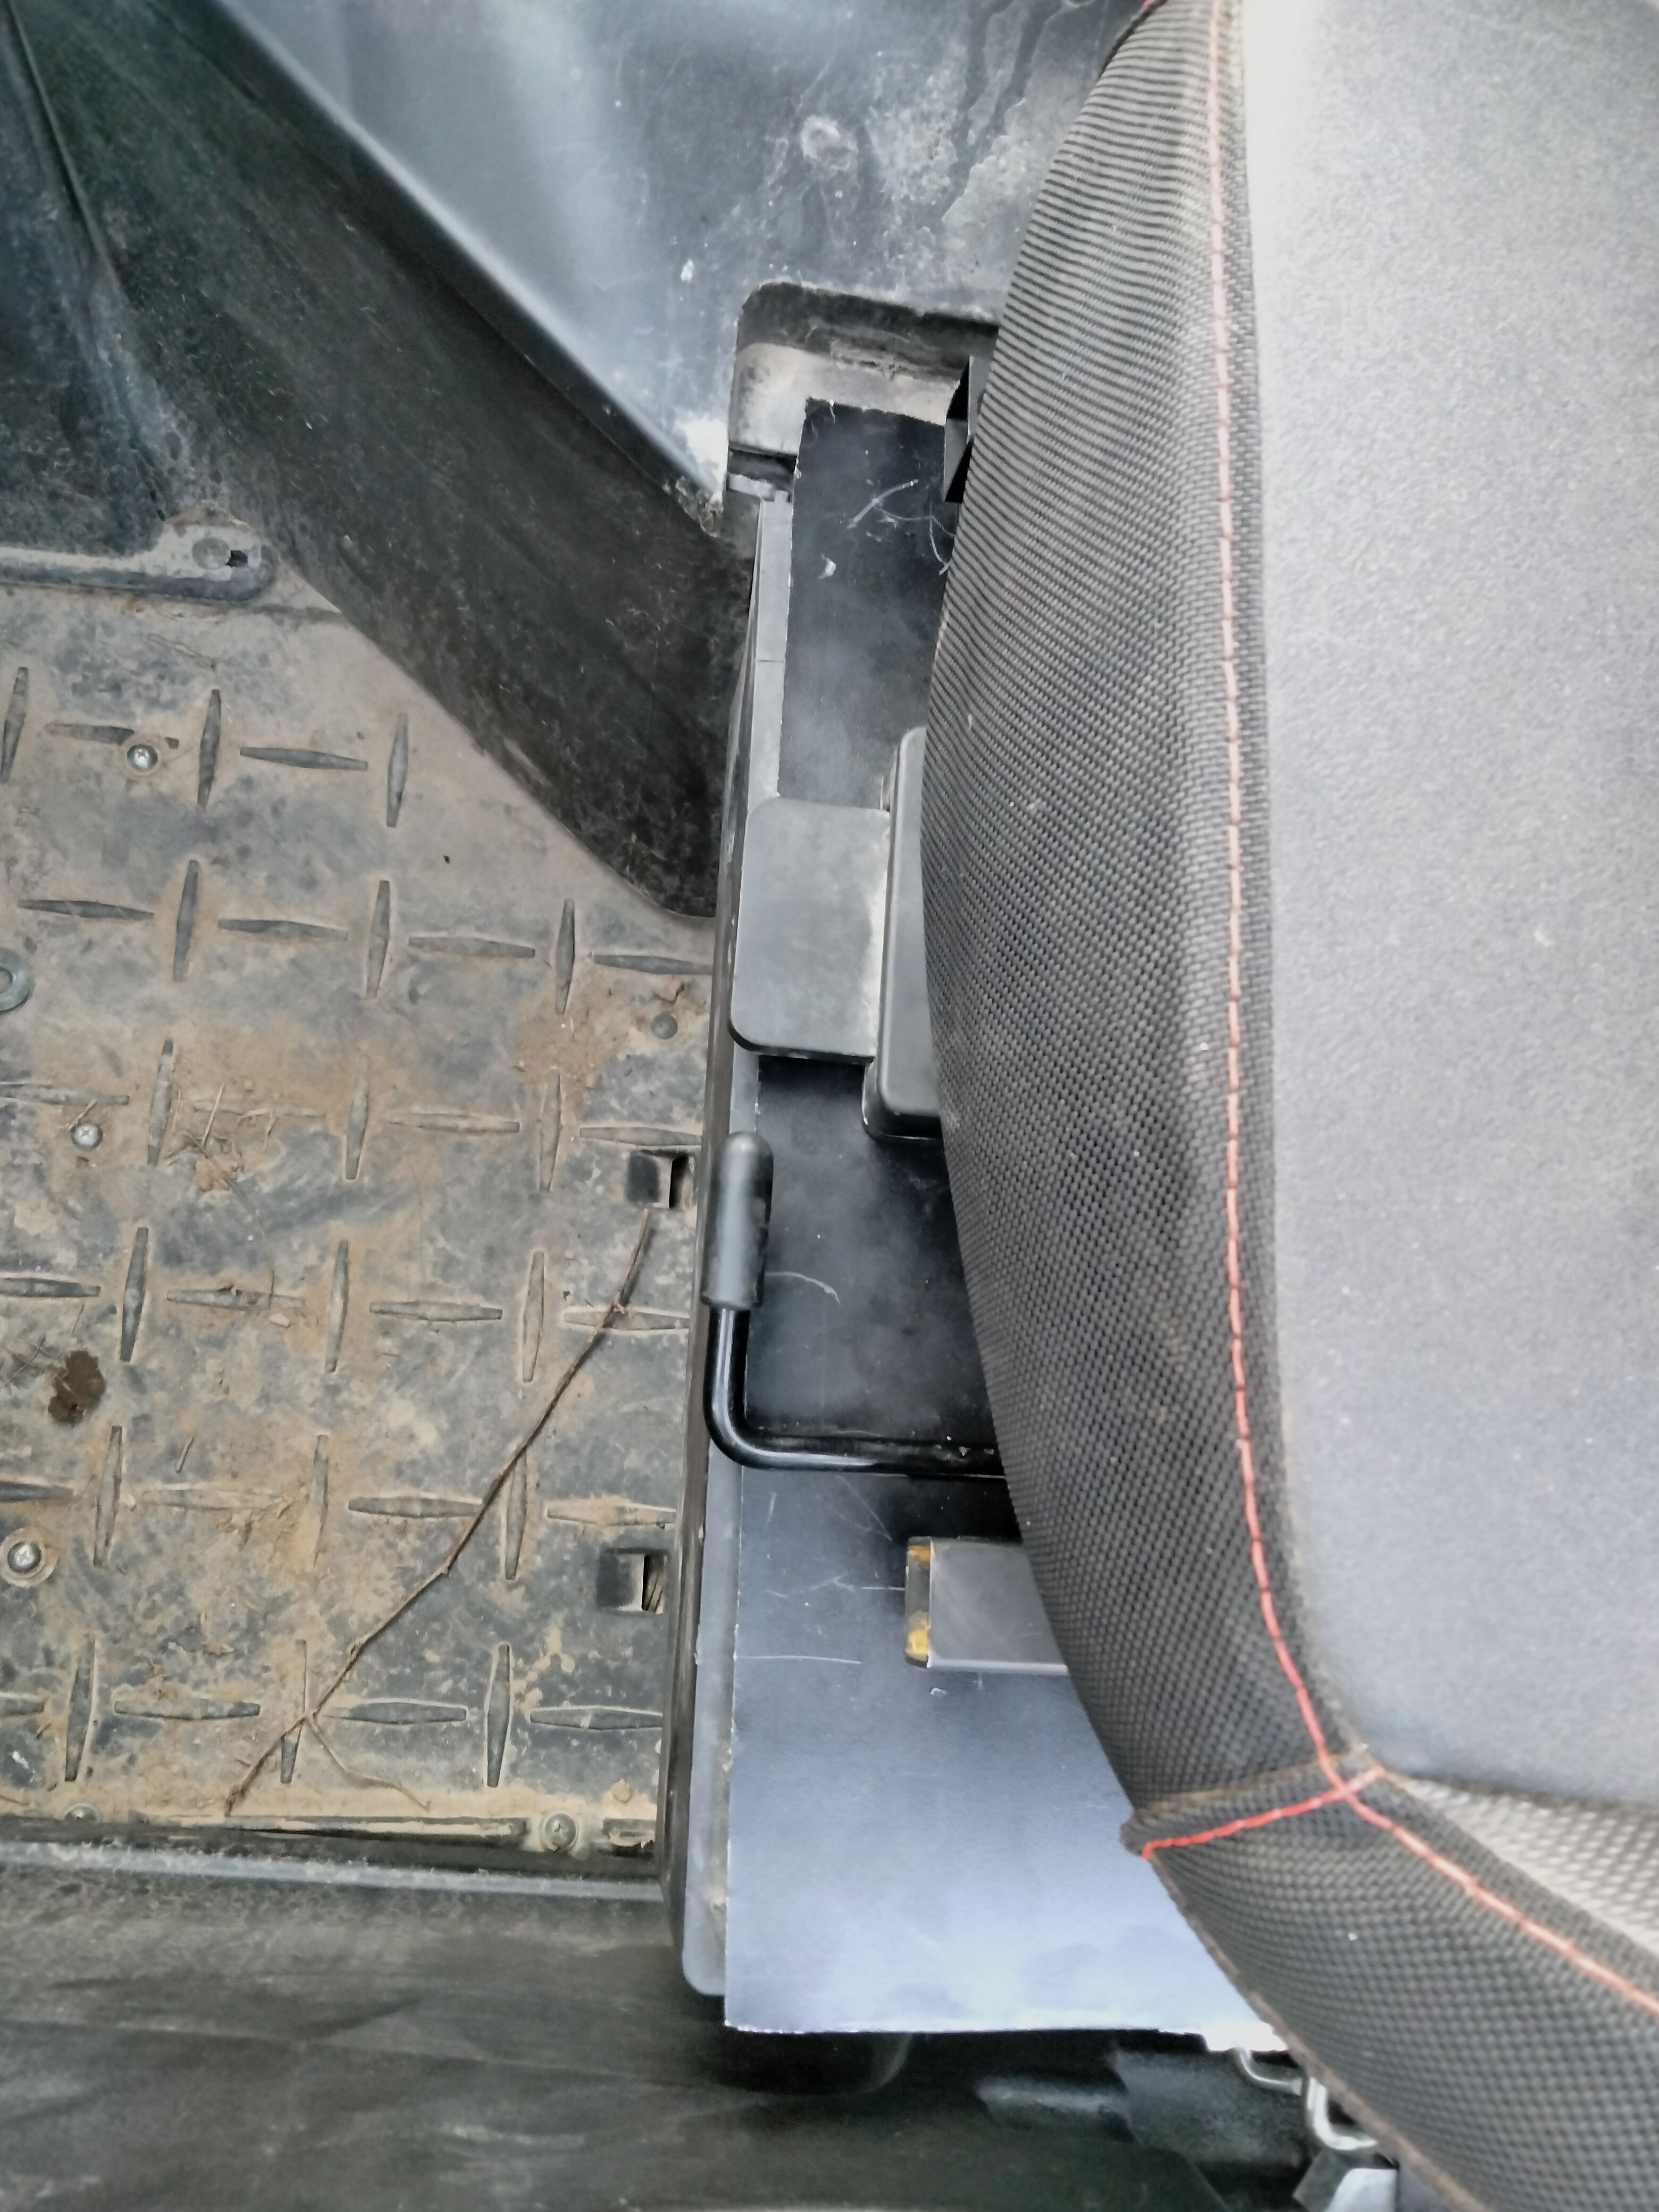
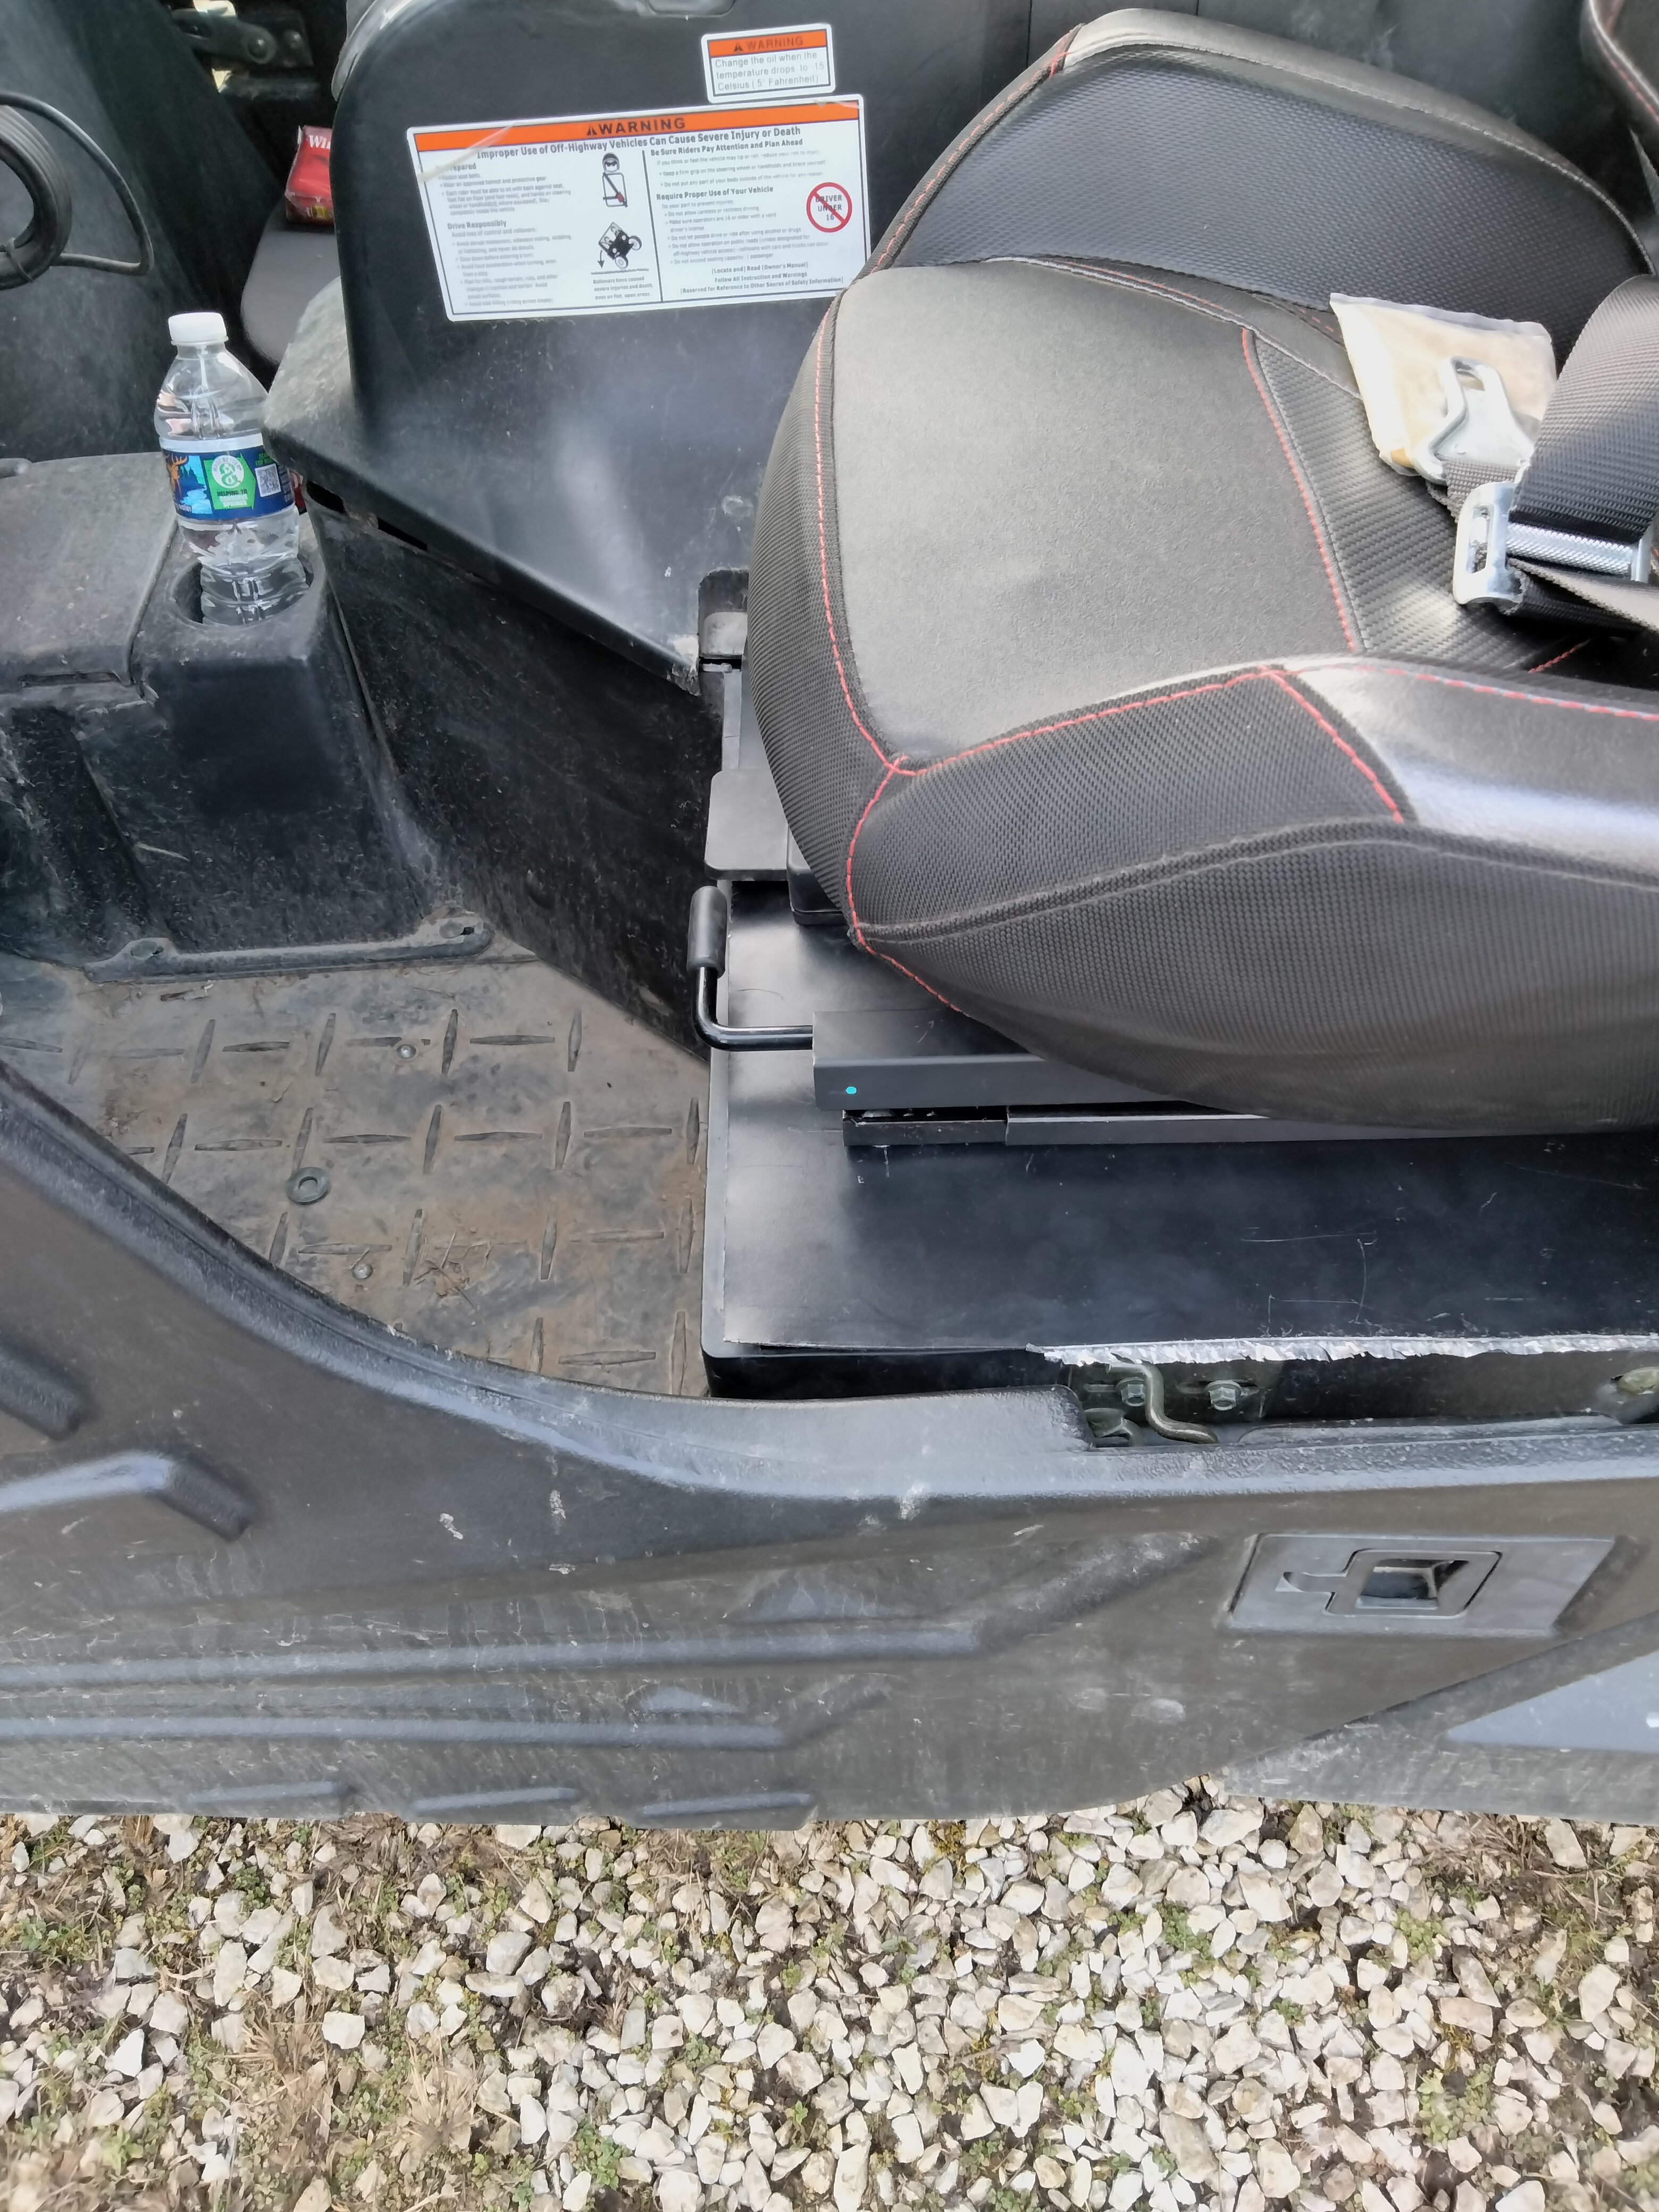
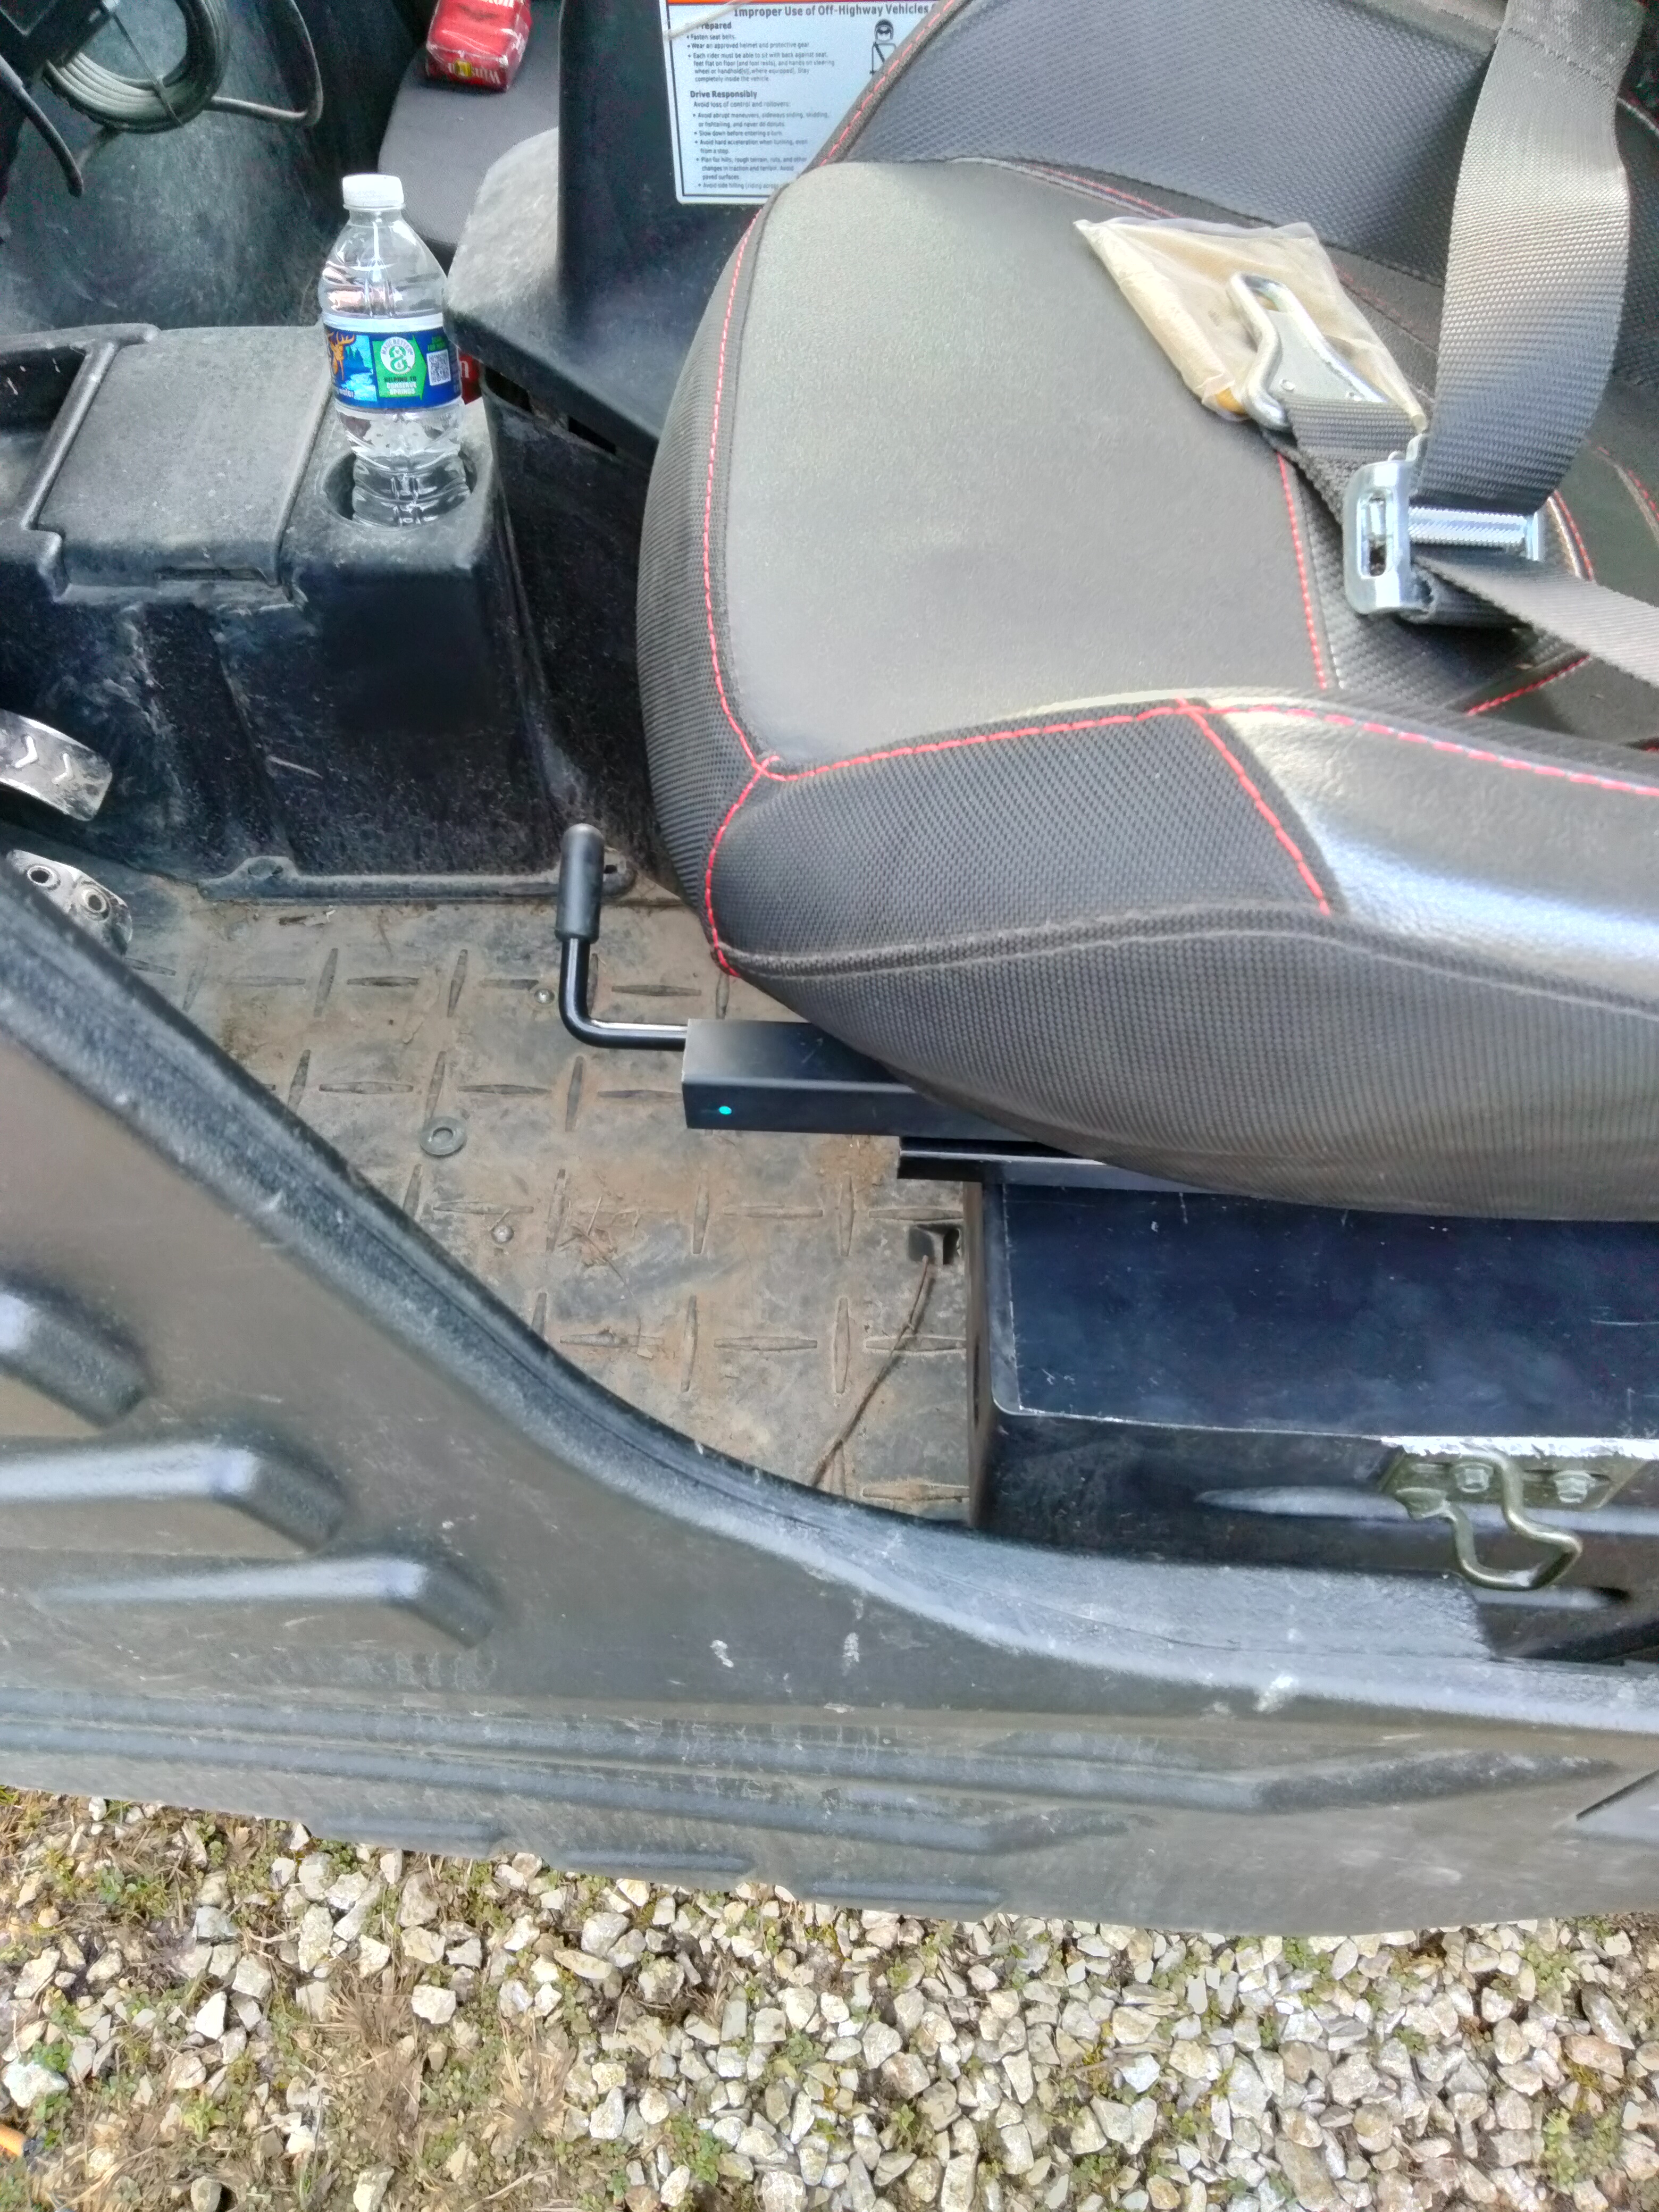
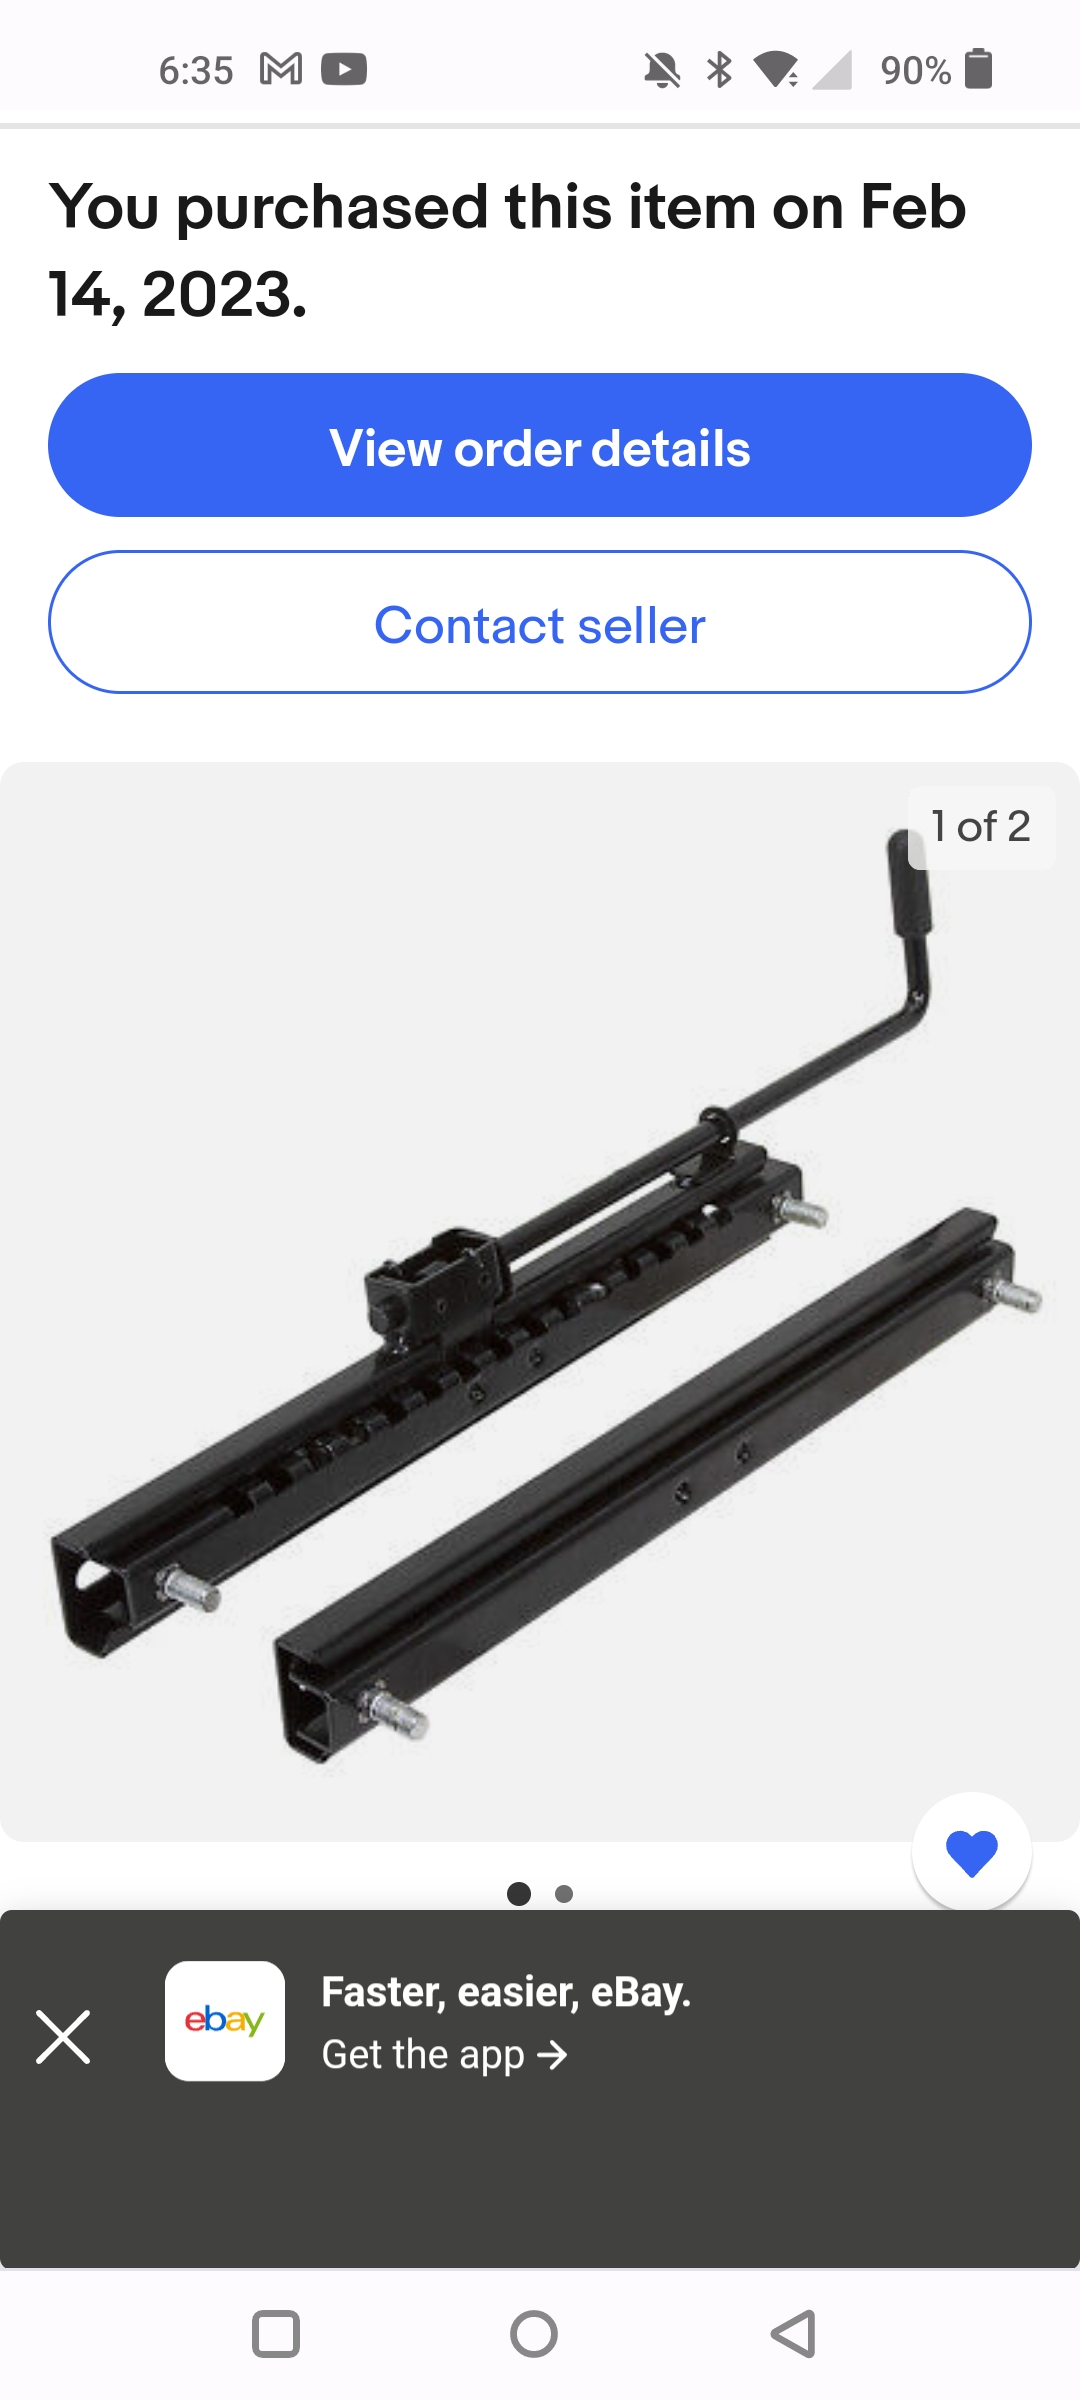
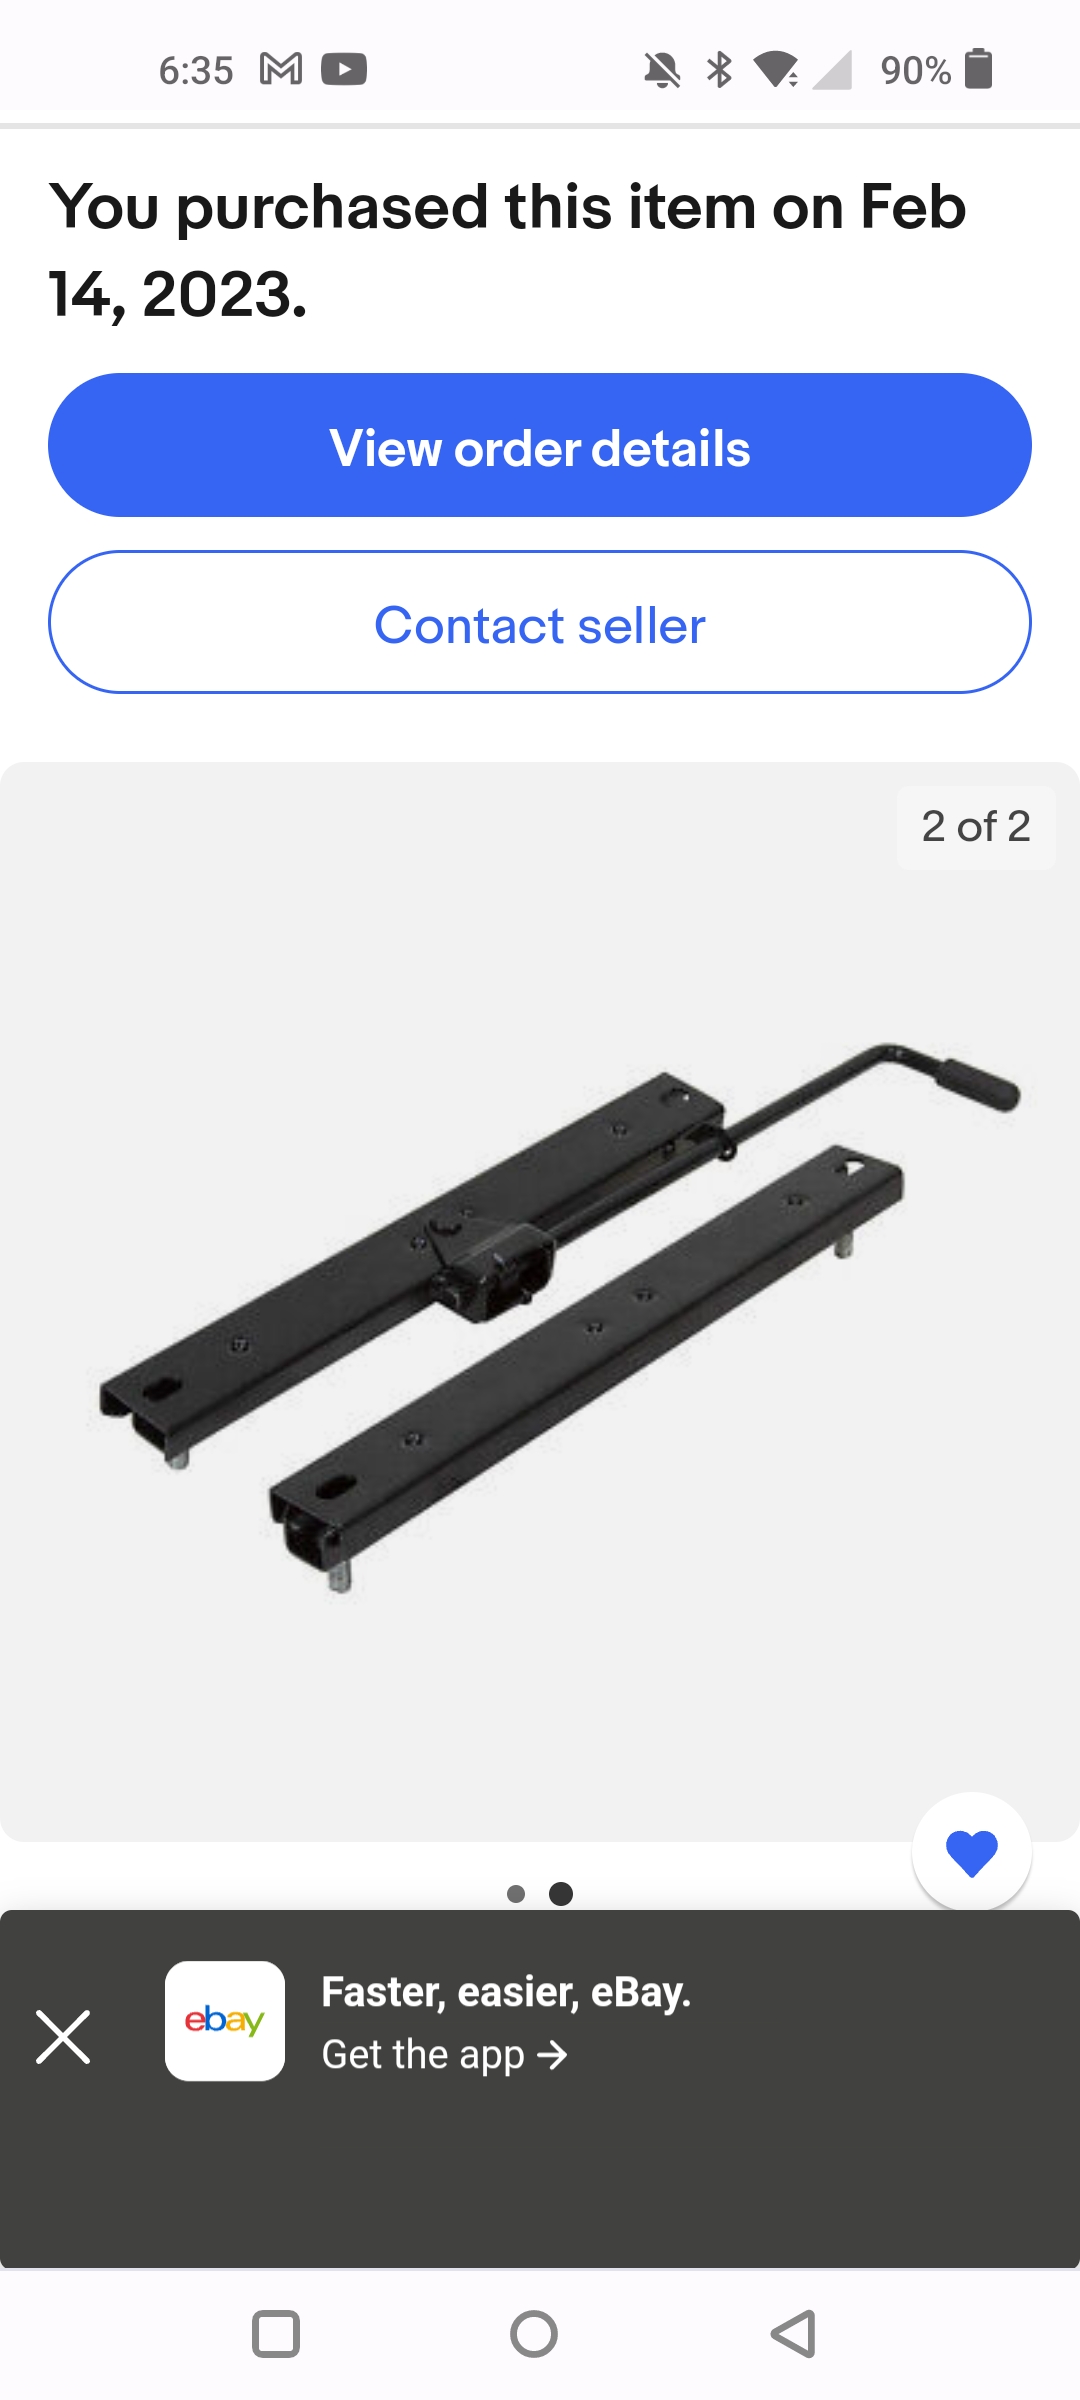
Well finally got the driver's side seat so wife will be able to slide seat forward. Couldn't find my jigsaw metal blades, so had to use the wood blade I had installed in jigsaw. Wasted a lot of time looking for metal blades. Was only able to get the driver's side done. But I have the seat to put in passenger side. I got a new-to-me set of RZR seats off eBay. Then a set of seat sliders off eBay. I used the existing seat base and made a new one out of a piece of 1/16 metal I had laying around. (Old data cabinet side panel) then took the latch off the old seat base and put on new metal base. The only issue is I need to make the rear "fingers" a little thicker. The rear of the base has a little play when seat is empty. But not enough to cause any issue when riding. Also may need a few washers between the base plate and latch. When the seat is installed. The latch keeps the plate from setting all the way down. But I just pull up on the latch and let it side down a little lower on the locking post. Not to mention the harness will keep you in the seat. Got the harnesses off Amazon. Below are pics. Before. After. New seat all the way back. The slide slid all the way forward. Pic of lock Here is the seat sliders.