

Greg Kilgore
-
Posts
282 -
Joined
-
Last visited
-
Days Won
25
Content Type
Profiles
Events
Forums
Gallery
Downloads
Community Map
Everything posted by Greg Kilgore
-

HOWTO- Code Scanner & Read Engine Parameters
Greg Kilgore replied to aefron88's topic in Coleman UTV SxS Forum
I did buy the cable and downloaded the program. I just haven't had time tinker with it. It's running fine. Got the thing paid off last month. Have over 2500 miles on it. Kinda acts like the CVT belt needs a little love. (When it gets a little warmer outside). Other than the rear drive shaft issue I had last year and the fuel filter. Have done nothing except change oil and added fuel. I did add a few things that I just wanted to. LED lightbar, temp gauge, volt gauge, dual overhead cab fans (going to downsize to just one). Have some things left to add/make/move. Like doors, heater to install(got it just need to find time), oil pressure gauge(got it just need find time) upgrade the charging system, move air intake to under hood, sound deadening under center console. Windshield wipers got one but it's a POS manual. Going to add a power one. Sound system. Whip lights. I'm tired just listing and thinking about it. 😂 Then maybe a shim to get a little more power and then the computer thing. By them will probably need tires. 😂 Sorry to ramble. But if I do mess with the computer I'll post and ask a ton of questions. Y'all be careful and have fun. -
Help needed for wiring UTV Led Lights
Greg Kilgore replied to Haskellz's topic in UTV General Discussion
It's not hard to wire them up yourself. How do you want to turn them on. I have a single light bar on front bumper. When I turn on main headlight switch AND bright, aka high beams, led lightbar is on. Dim lightbar is off. I don't have a individual switch just for the led light bar. Easy to do. Just need a little wire, a relay, some crimp connectors, few zip ties. If you want an individual switch to control the lightbar. Need the above plus a switch. -
My Axis 500 has a remote oil cooler attached to radiator. Metal oil lines from engine, up to top of radiator, then rubber hose from there into the oil cooler. If the Massimo is similar guess you could add a remote oil filter from those hoses.
-
2014 Msu 500 coolant circulation
Greg Kilgore replied to Working hard to hardly work's topic in Massimo UTV SxS Forum
Other than what Ben1098 posted, you could try to take both radiator hoses disconnected from radiator. With front of machine raised. Pour antifreeze into one hose until it comes out the other. OR with front raised, Disconnect the top hose. Leave bottom hose connected to radiator. Pour antifreeze into radiator until it comes out the top hose. Then reconnect the top hose. -
2022 Axis 700 Stalls after cranking
Greg Kilgore replied to Grizz's topic in AXIS Off-Road UTV SxS Forum
Try resetting the computer. Turn key on/off 5 times within 30 seconds. Making sure you hear the fuel pump kick on each time. After the 5th time, leave off at least 30 seconds. See how that works for ya. Could try changing fuel filter. My OEM filter had paint chips inside it. Could try replacing the fuel injector. ( I still need to do that) Try cleaning the air filter. -
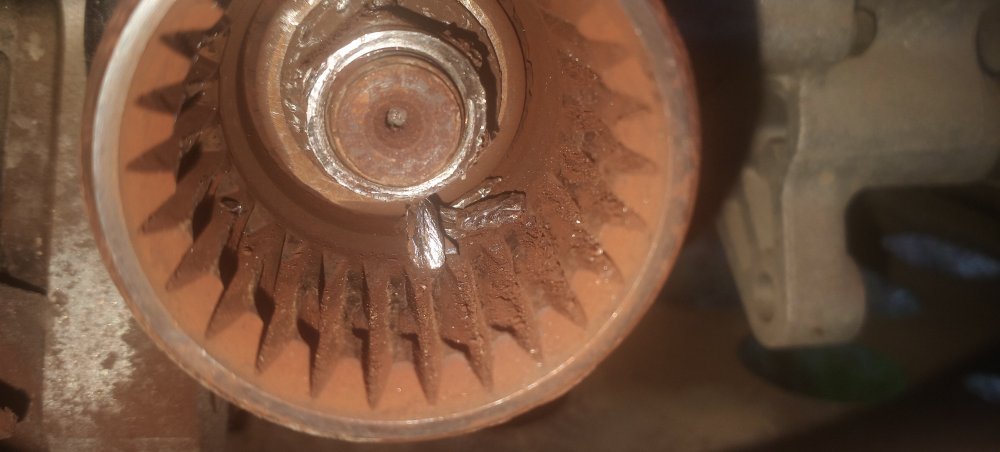
99% sure the belt would not make a grinding sound. Were you in 4-wheel or 2-wheel drive? Kinda sounds like the rear drive shaft. Kinda sounds like "the cup" and "drive shaft" have stripped teeth. Look at the pics on a post I made about the drive line on my Axis 500 to see what I'm referring to. https://www.utvboard.com/topic/10540-axis-500-driveshaft-out-of-transmission/?do=findComment&comment=46068
-
HOWTO- Code Scanner & Read Engine Parameters
Greg Kilgore replied to aefron88's topic in Coleman UTV SxS Forum
Rainman, Every now and then my Axis 500 has to have gas pedal pressed a little to start. When that happens. I let it run for 30 seconds or so. Then shut it down. Wait 1 minutes. Turn key from "off" to "on" but not attempting to start. Just until I hear the fuel pump kick on. Then I shut it back off. Repeat this cycle 5 times within 30 seconds. After the 5th cycle. Leave it off for 30 seconds. This resets the ECU. After that the machine starts and run fine. Maybe have to do this once every 3 months. Hope this helps -
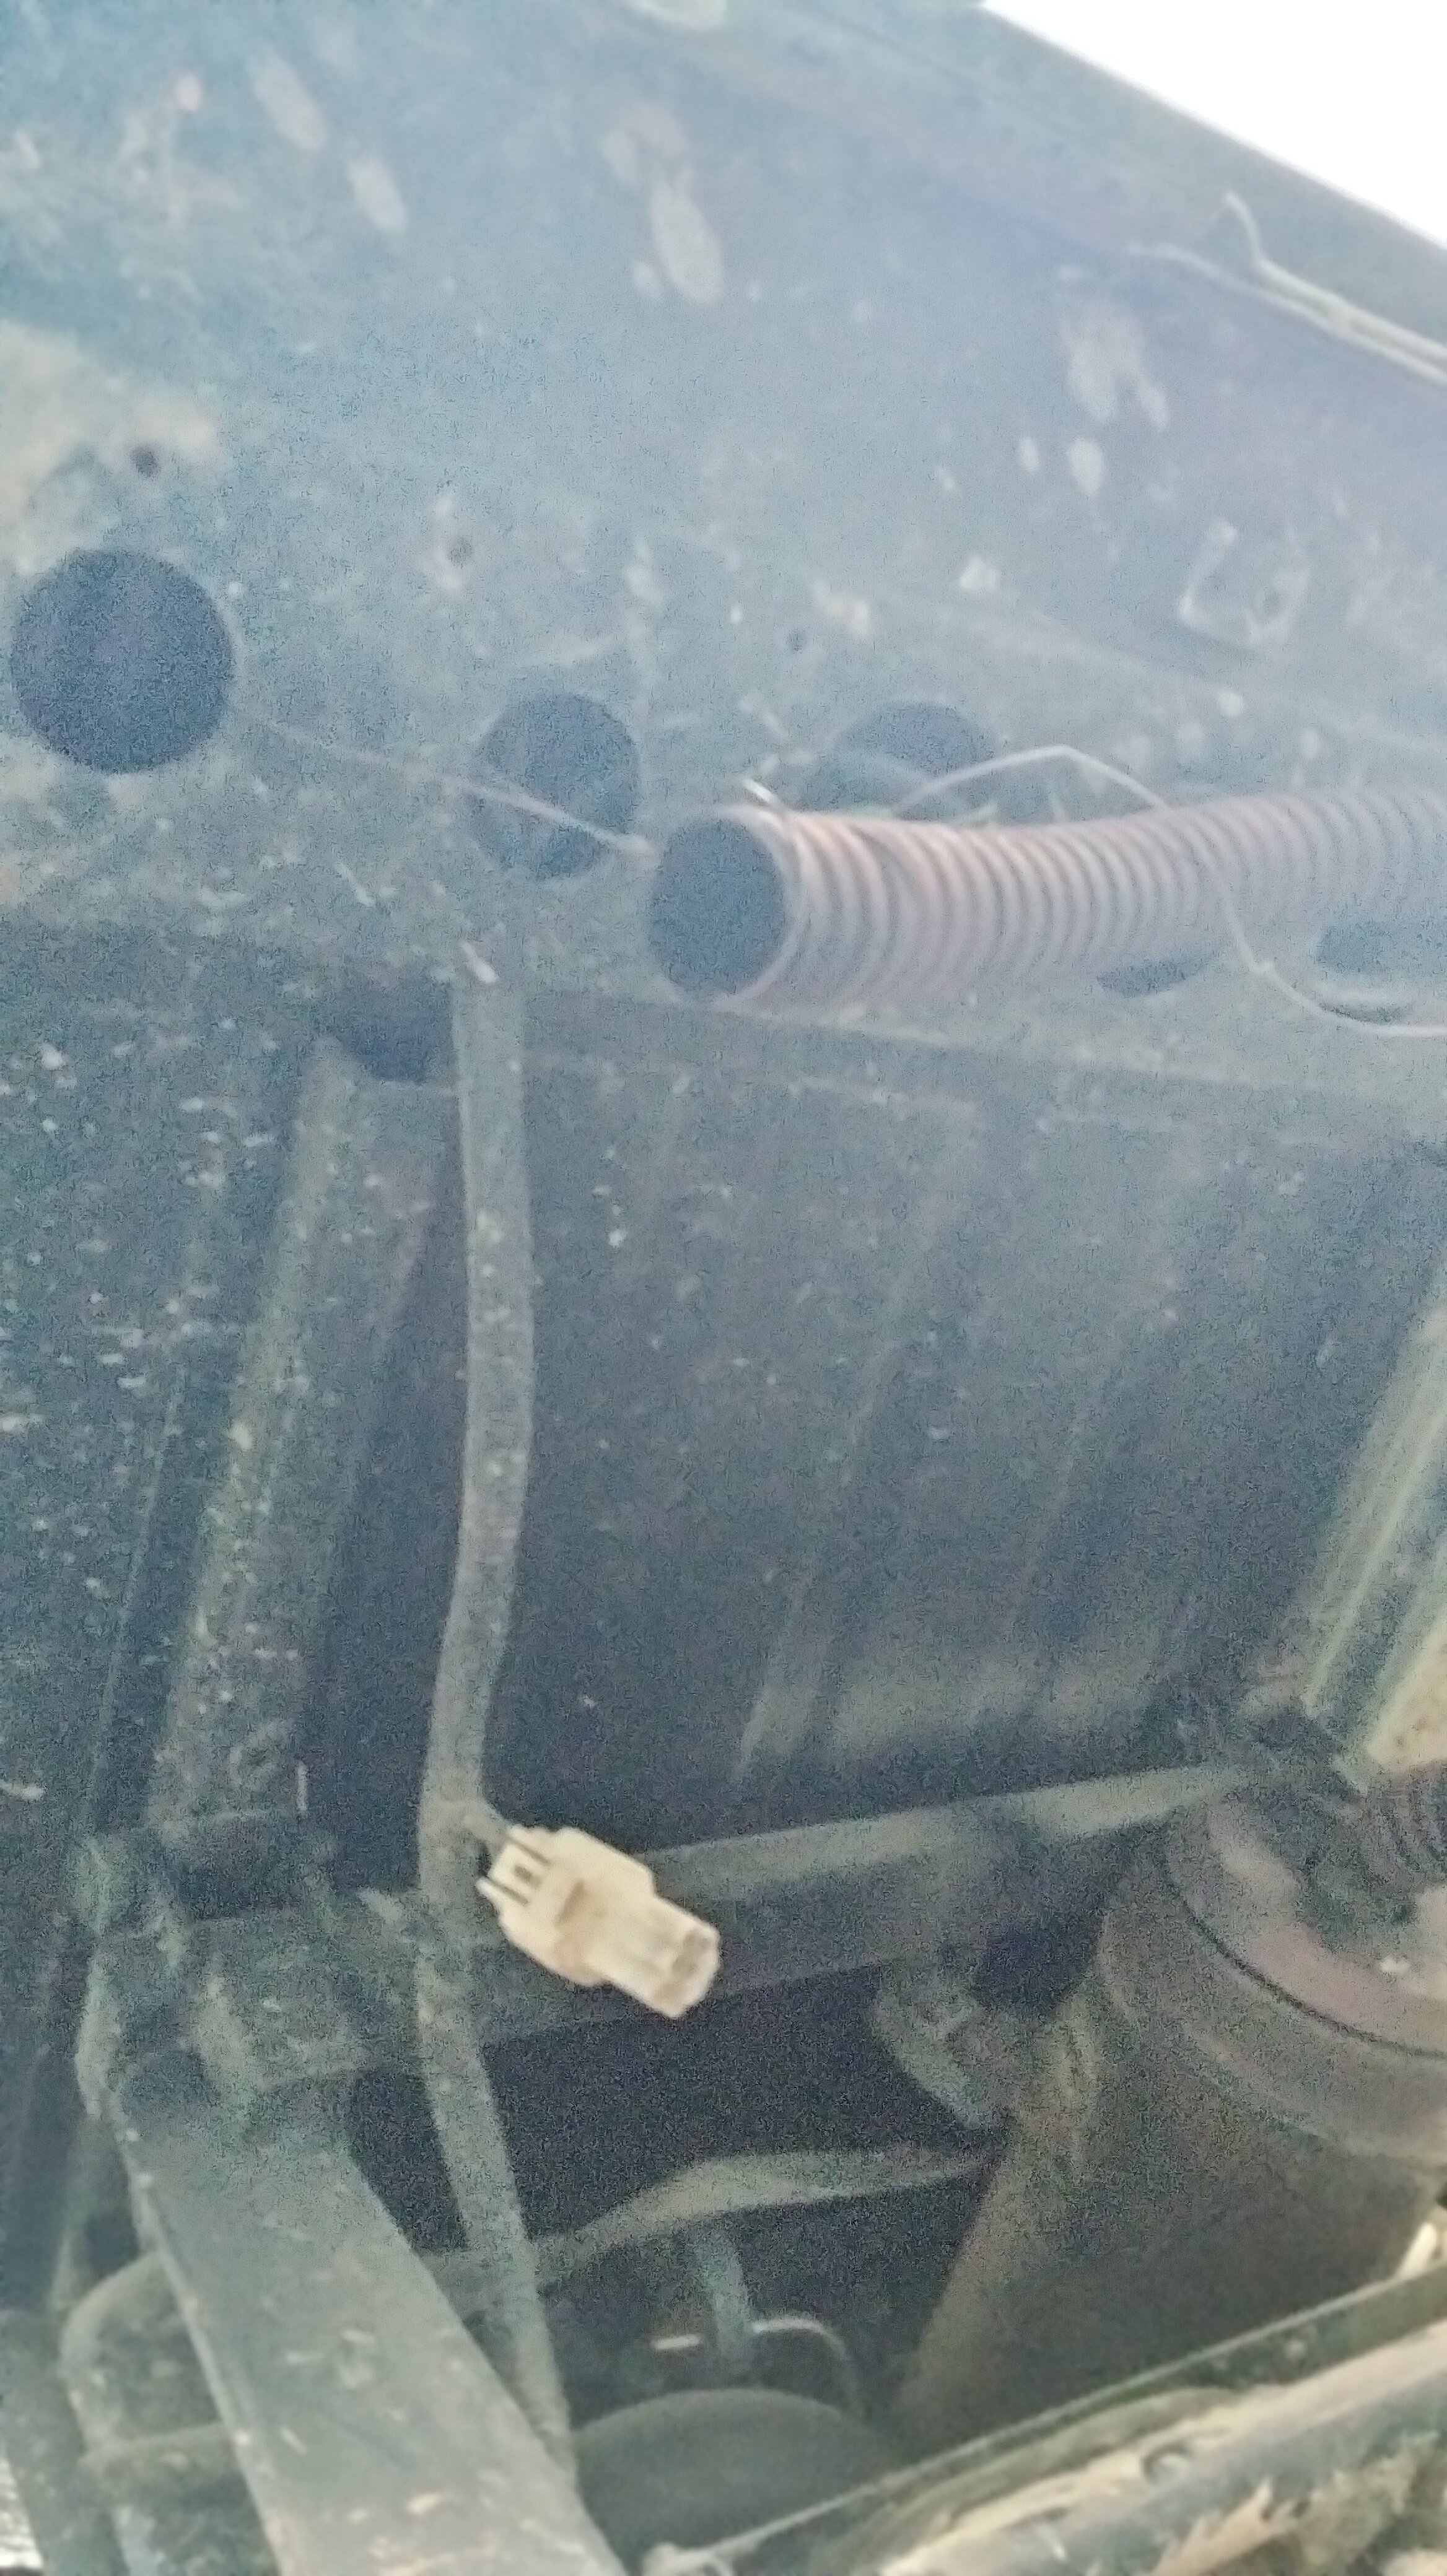
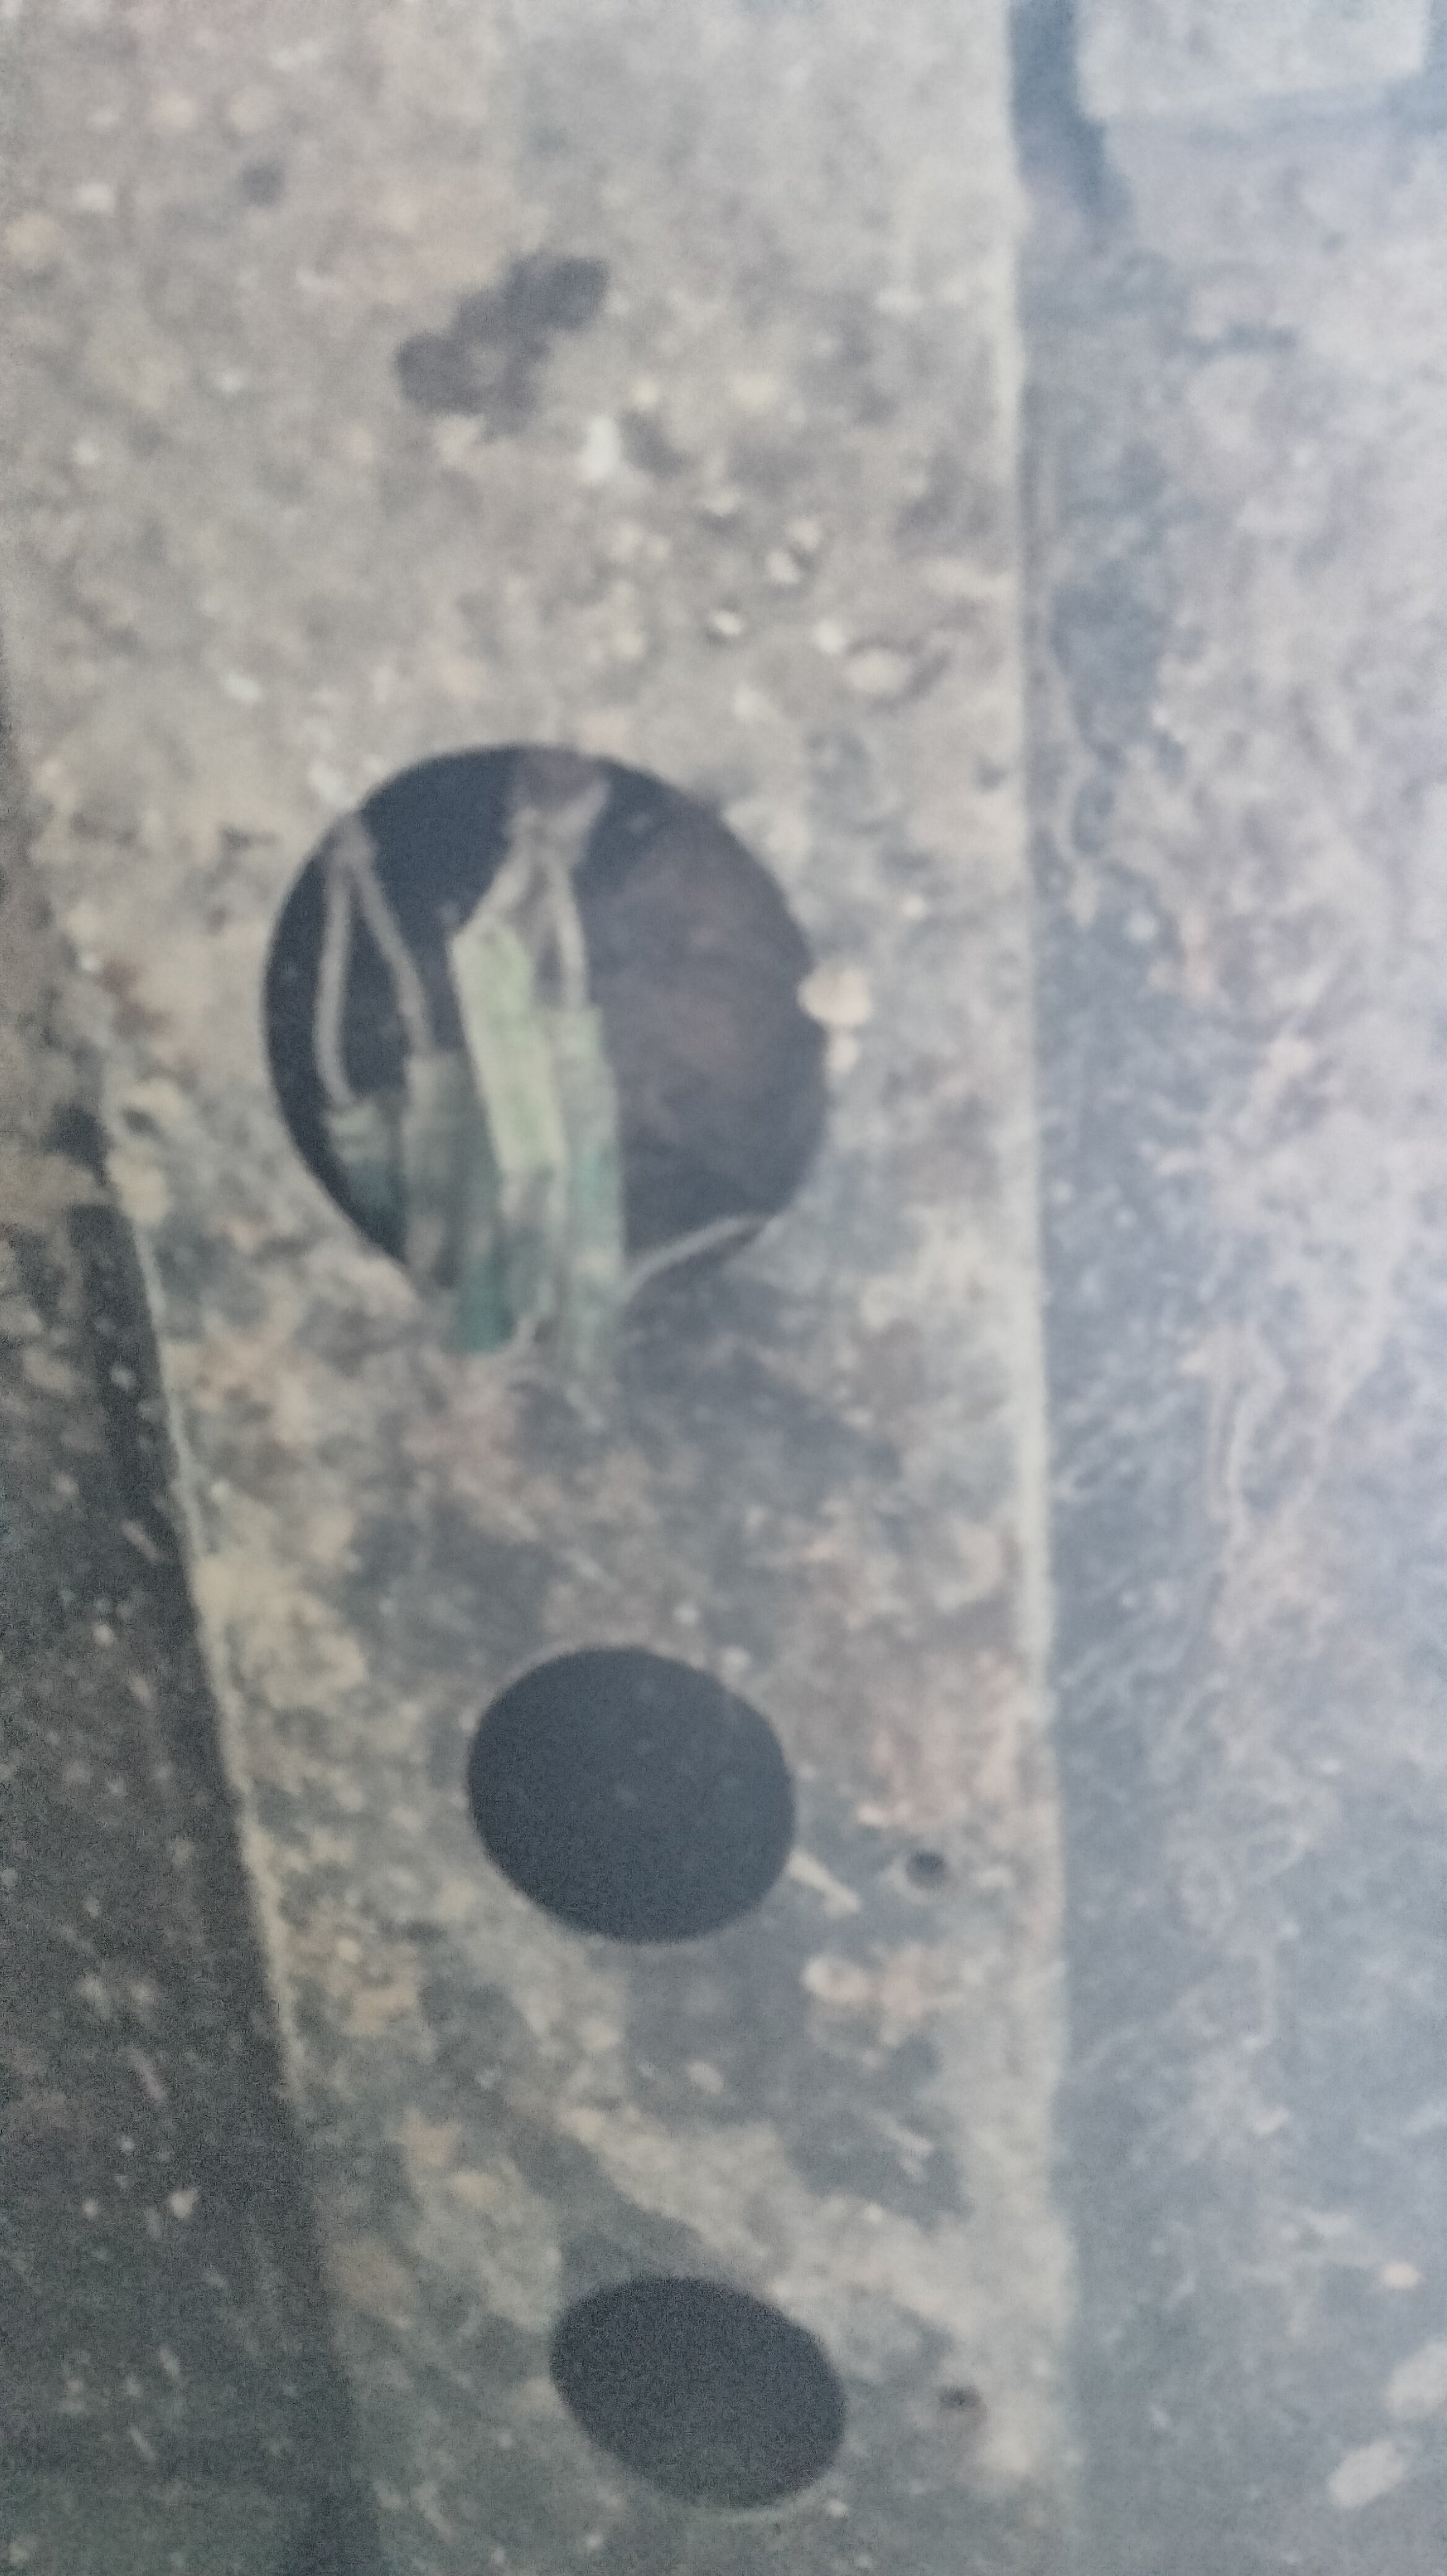
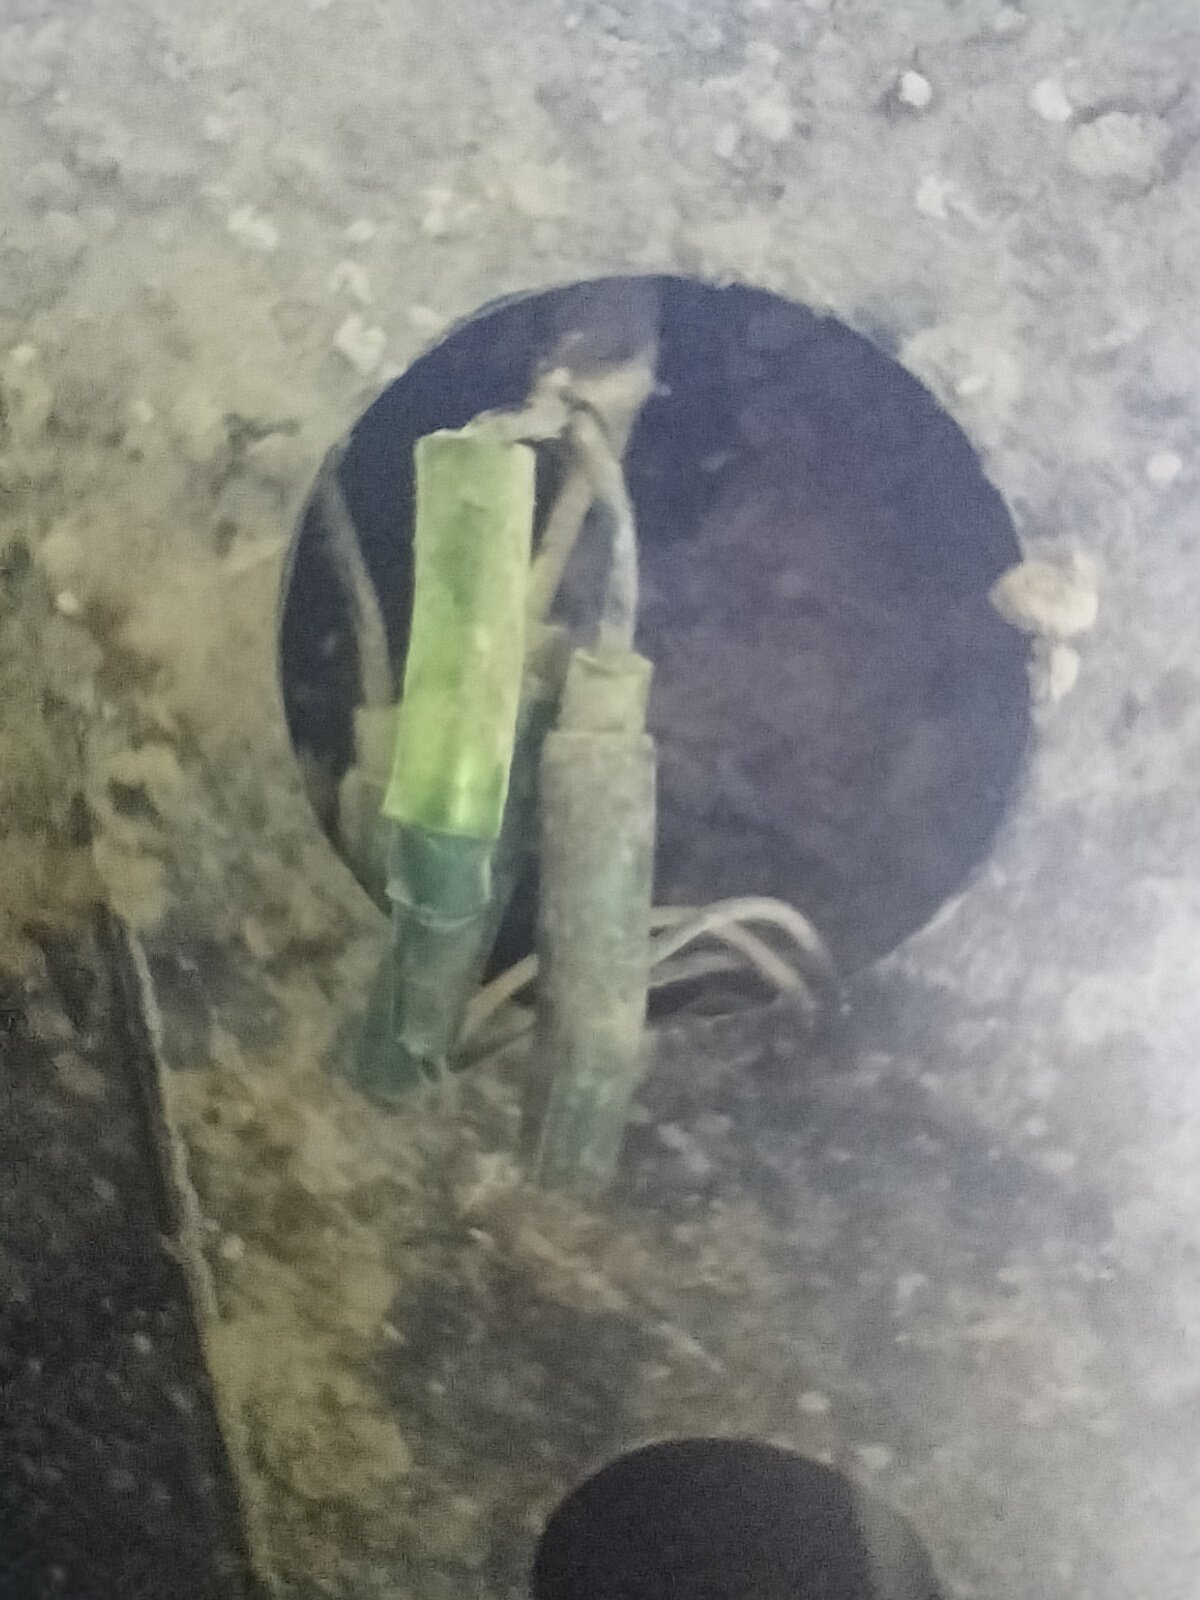
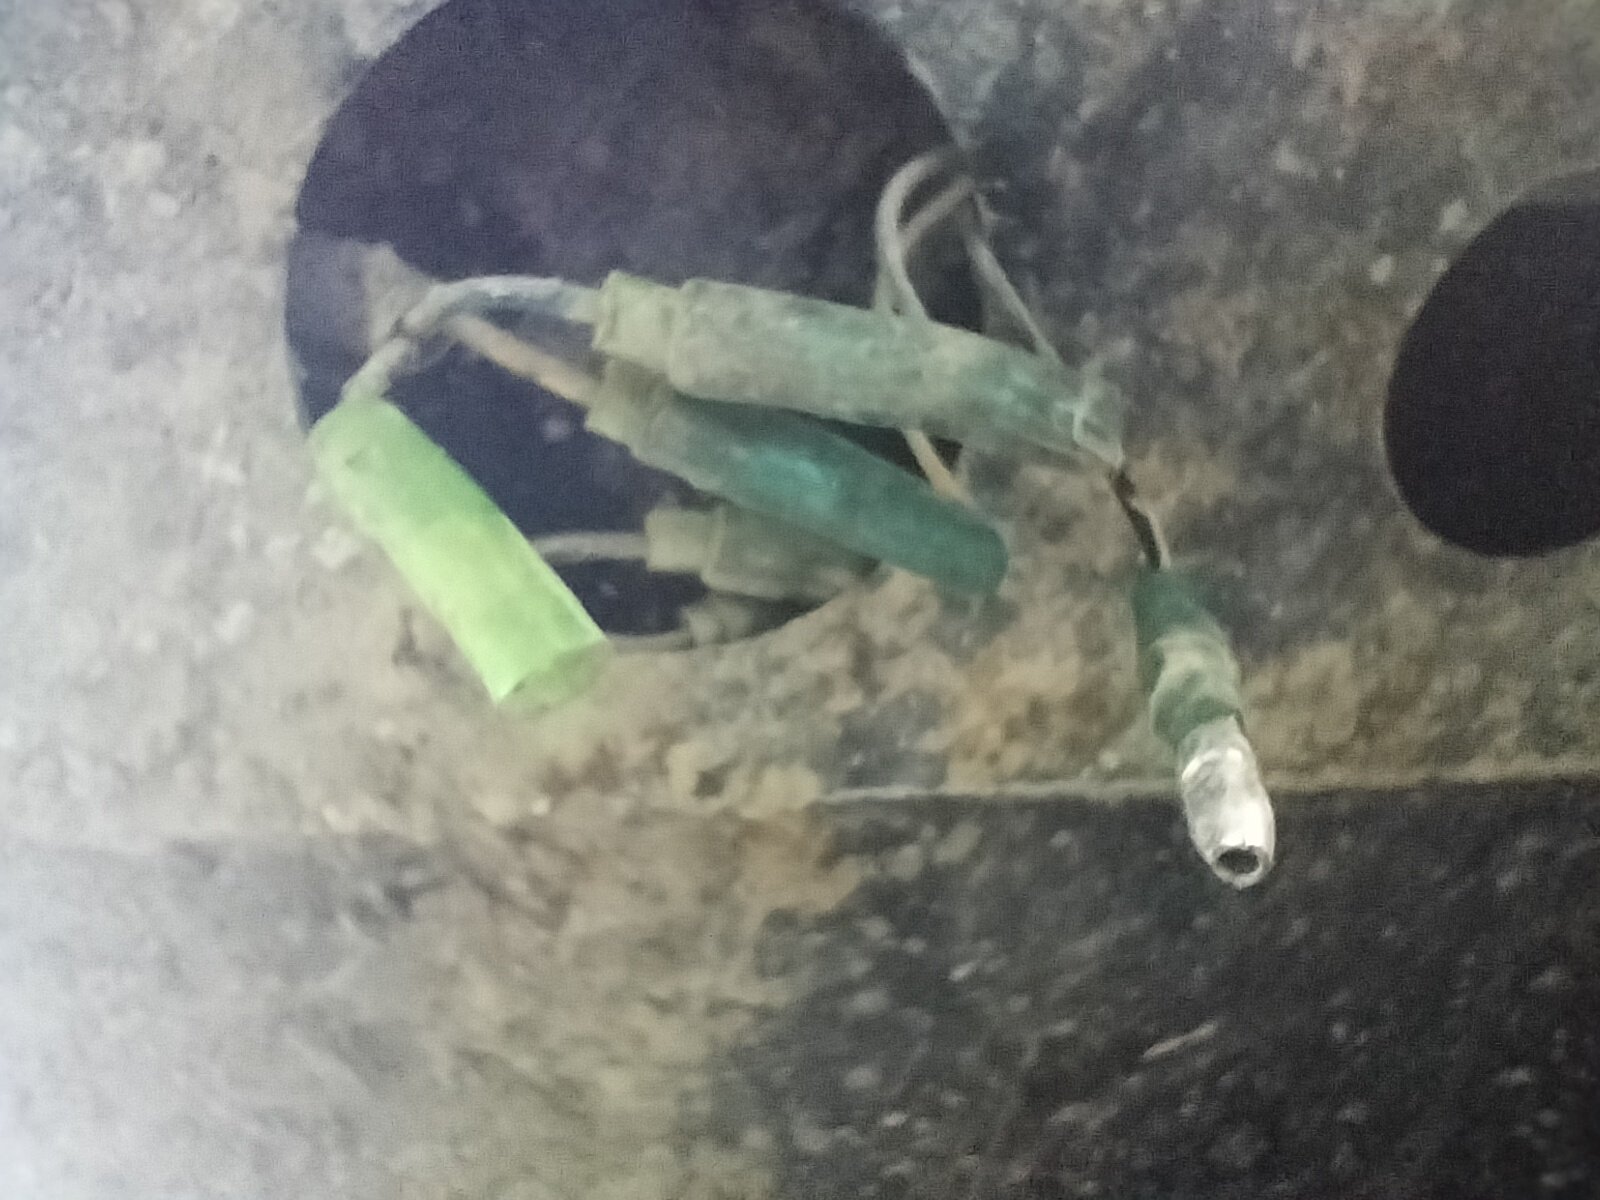
Here are some pics from my Axis 500 of the light connections under the bed.

-
I'm going to GUESS the connections for the lights at the back of the dump bed are not connected. There are clip connections there for the light on either side of the bed. When I had to remove my bed, I had to undo the connections. If you are not comfortable messing with the connections. Then I recommend waiting on the mobile tech. After all the machine is under warranty. Or you may want to look there. They are up in a kinda hard to reach place. It's just starting to get daylight outside. I'll see if I can get some pics of where and what to look for. The schematics that Andy mentioned will help troubleshoot.
-
2021 Hisun/Axis 700 Big Clunk Sound, No No-go, except in 4WD
Greg Kilgore replied to RickinMT's topic in Hisun UTV SxS Forum
Rtb1028, Are you talking about the nut that holds the cup on the engine/transmission. I sprayed PB Blaster for a couple of days then used impact. If I remember correctly it is reversed threaded. But not 100% sure. Maybe a propane torch to heat the nut. If your worried about the seal melting. Wrap the outside of the cup with a wet rag. Just heat the nut. Recommend changing the seal also. To help get new seal IN. Place in freezer overnight. Goog luck
-
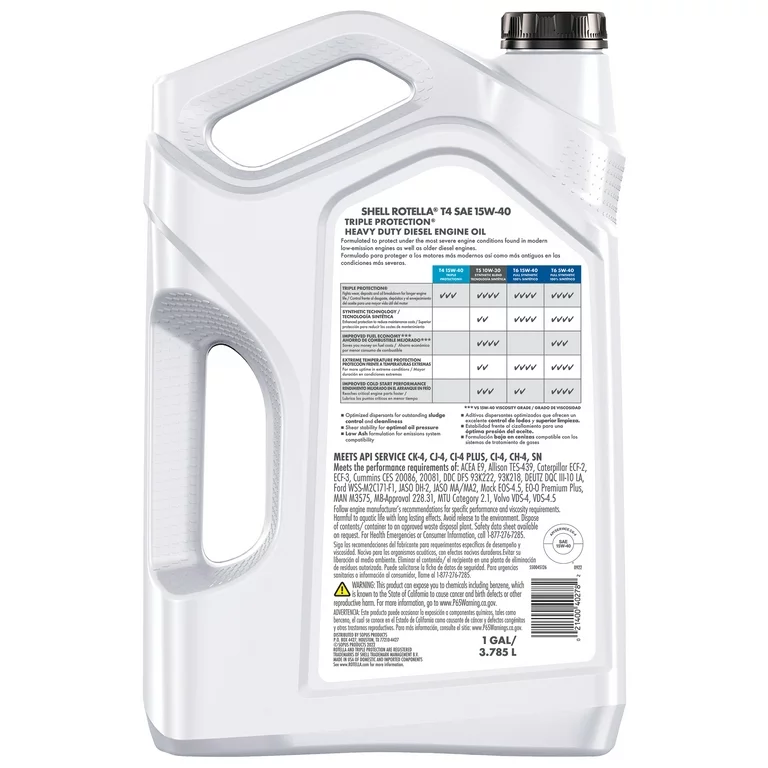
Regular car oil doesn't have the stuff needed to keep wet clutch lubed like it needs Just make sure the oil rated "JASO MA" or "MA2". Synthetic or conventional is up to you. I read somewhere that the "MA2" rating is for engine exhaust with a cat and O2 sensor. And I think the synthetic lets the clutch slip more than conventional. If there is a lot of miles on the clutch with conventional oil. Then switched to synthetic. The clutch is more likely to slip.
-
See if there is a part number stamped somewhere on it. Then goggle the part number. May get lucky.
-
Possibly the one-way bearing is slipping or warn. That is what hold the machine back.
-
There should be a rubber O-ring around the fuel pump. Between the fuel pump and tank. Put a little grease around the O-ring. That will help the ring turn to lock. Yes it should be a little hard to turn since you have to compress that O-ring. Once you get the ring started in the locking tabs. Get a brass hammer or solid rubber hammer. If needed you can use a brass punch against the ring. And tap with the brass or rubber hammer. Reason for rubber or brass is those material don't cause sparks. You don't want sparks around the fuel pump or fuel tank. Let us know how it goes for you. Send pics. Greg
-
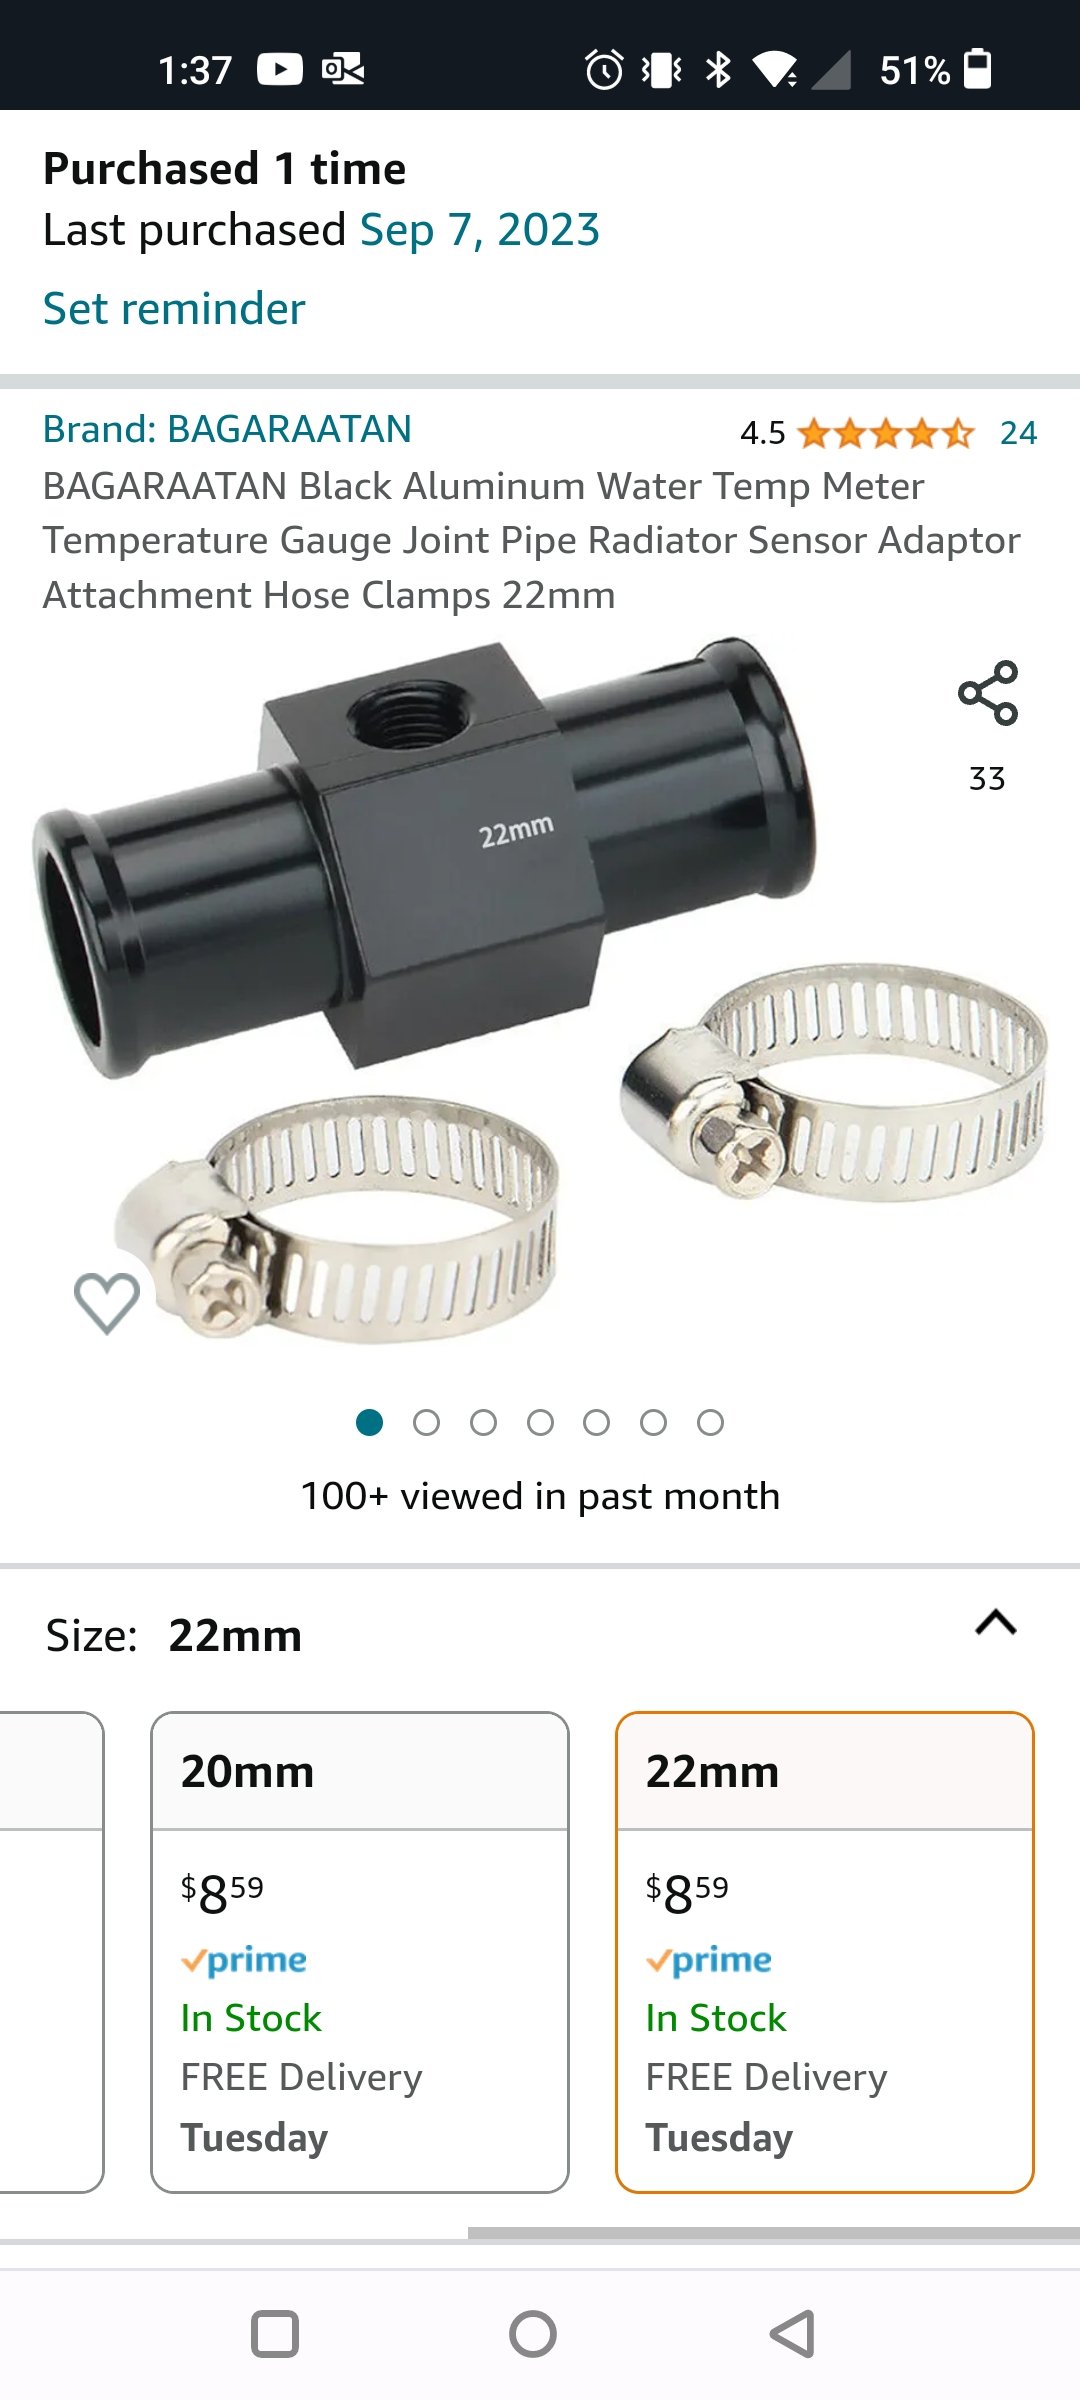
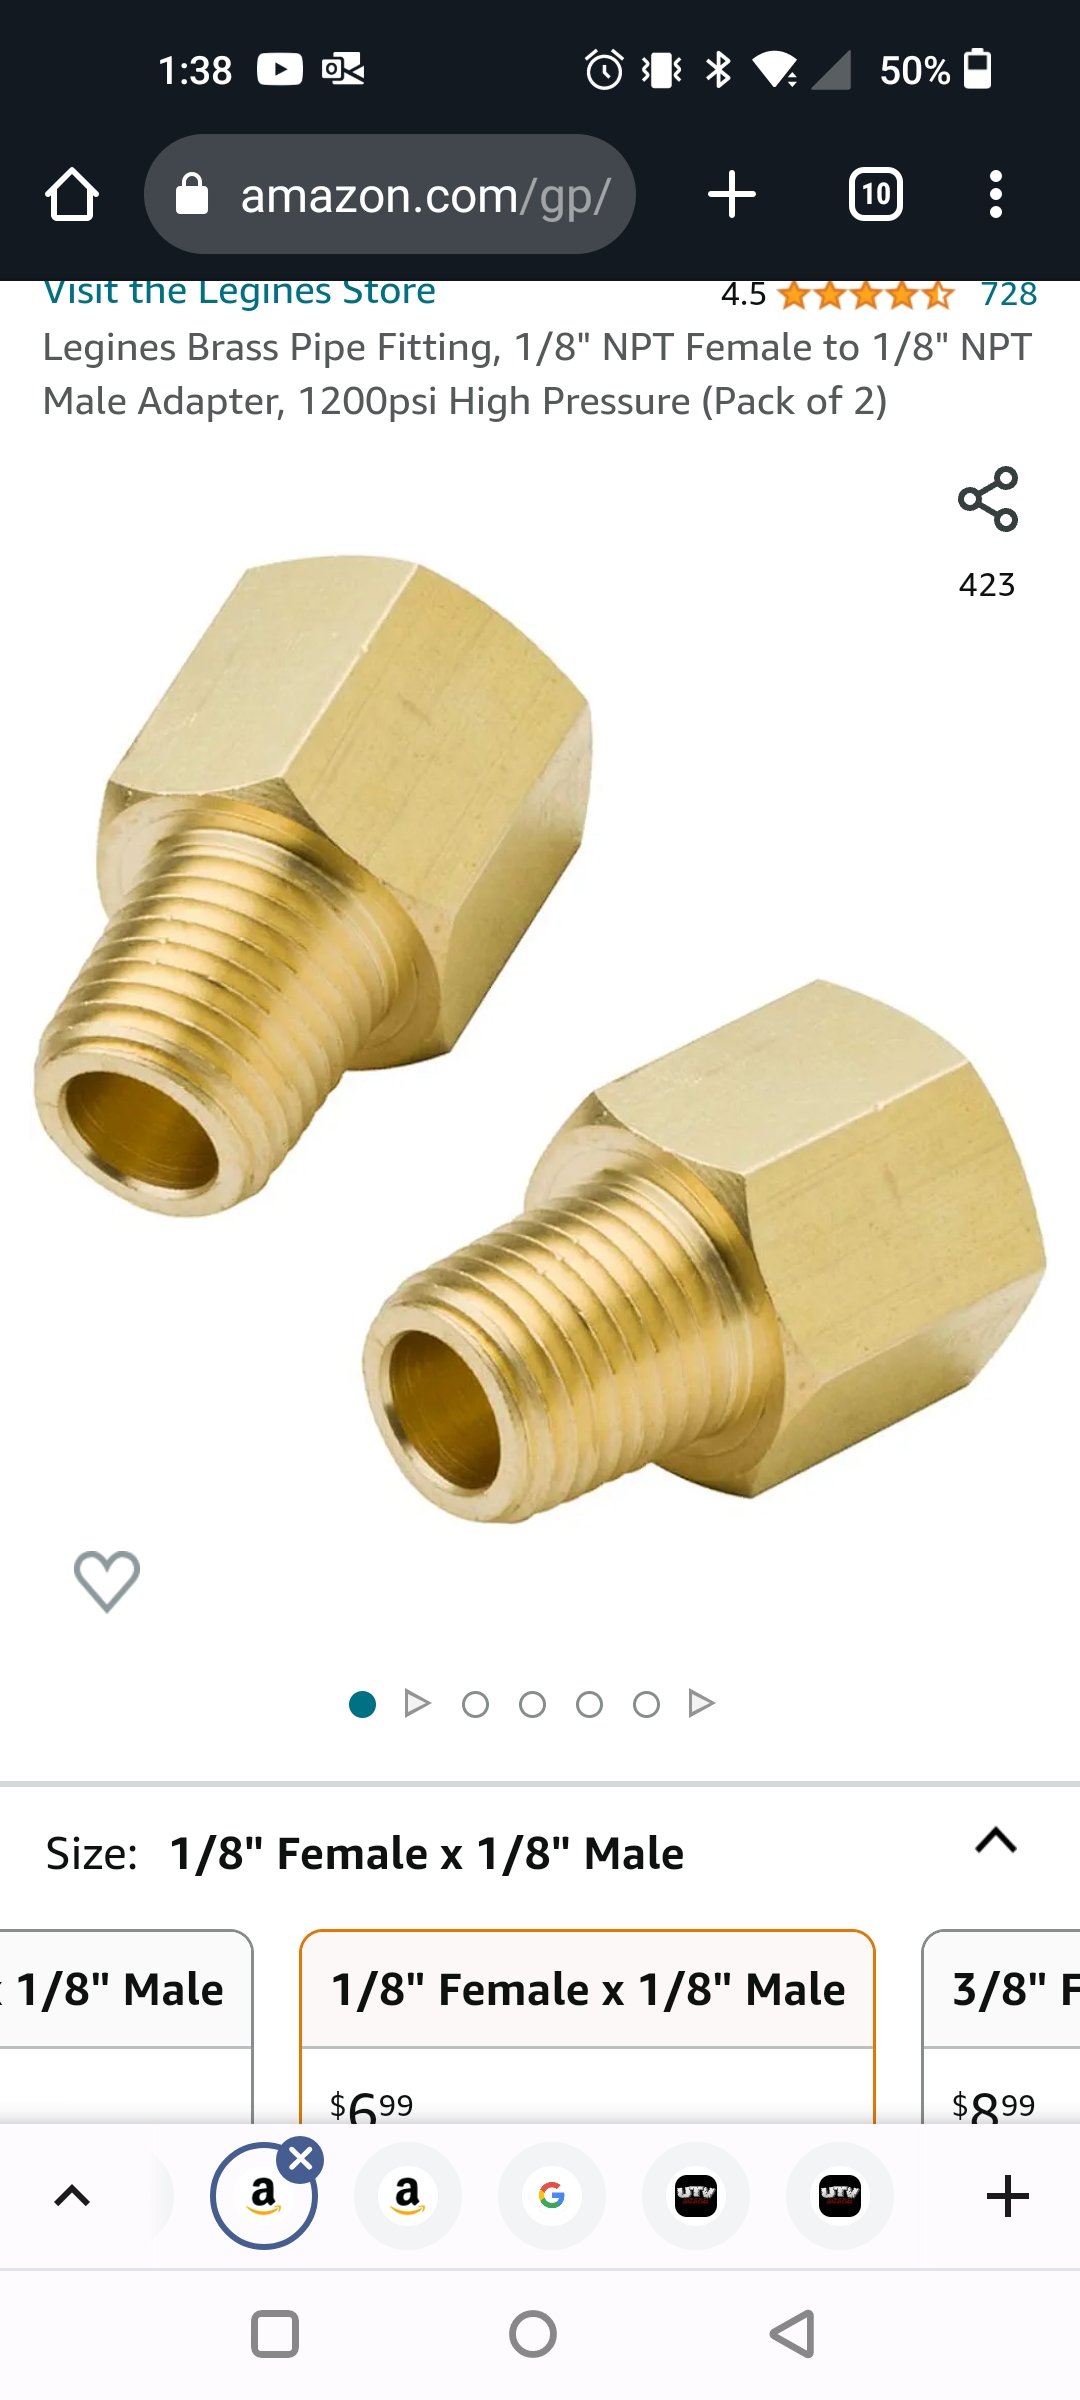
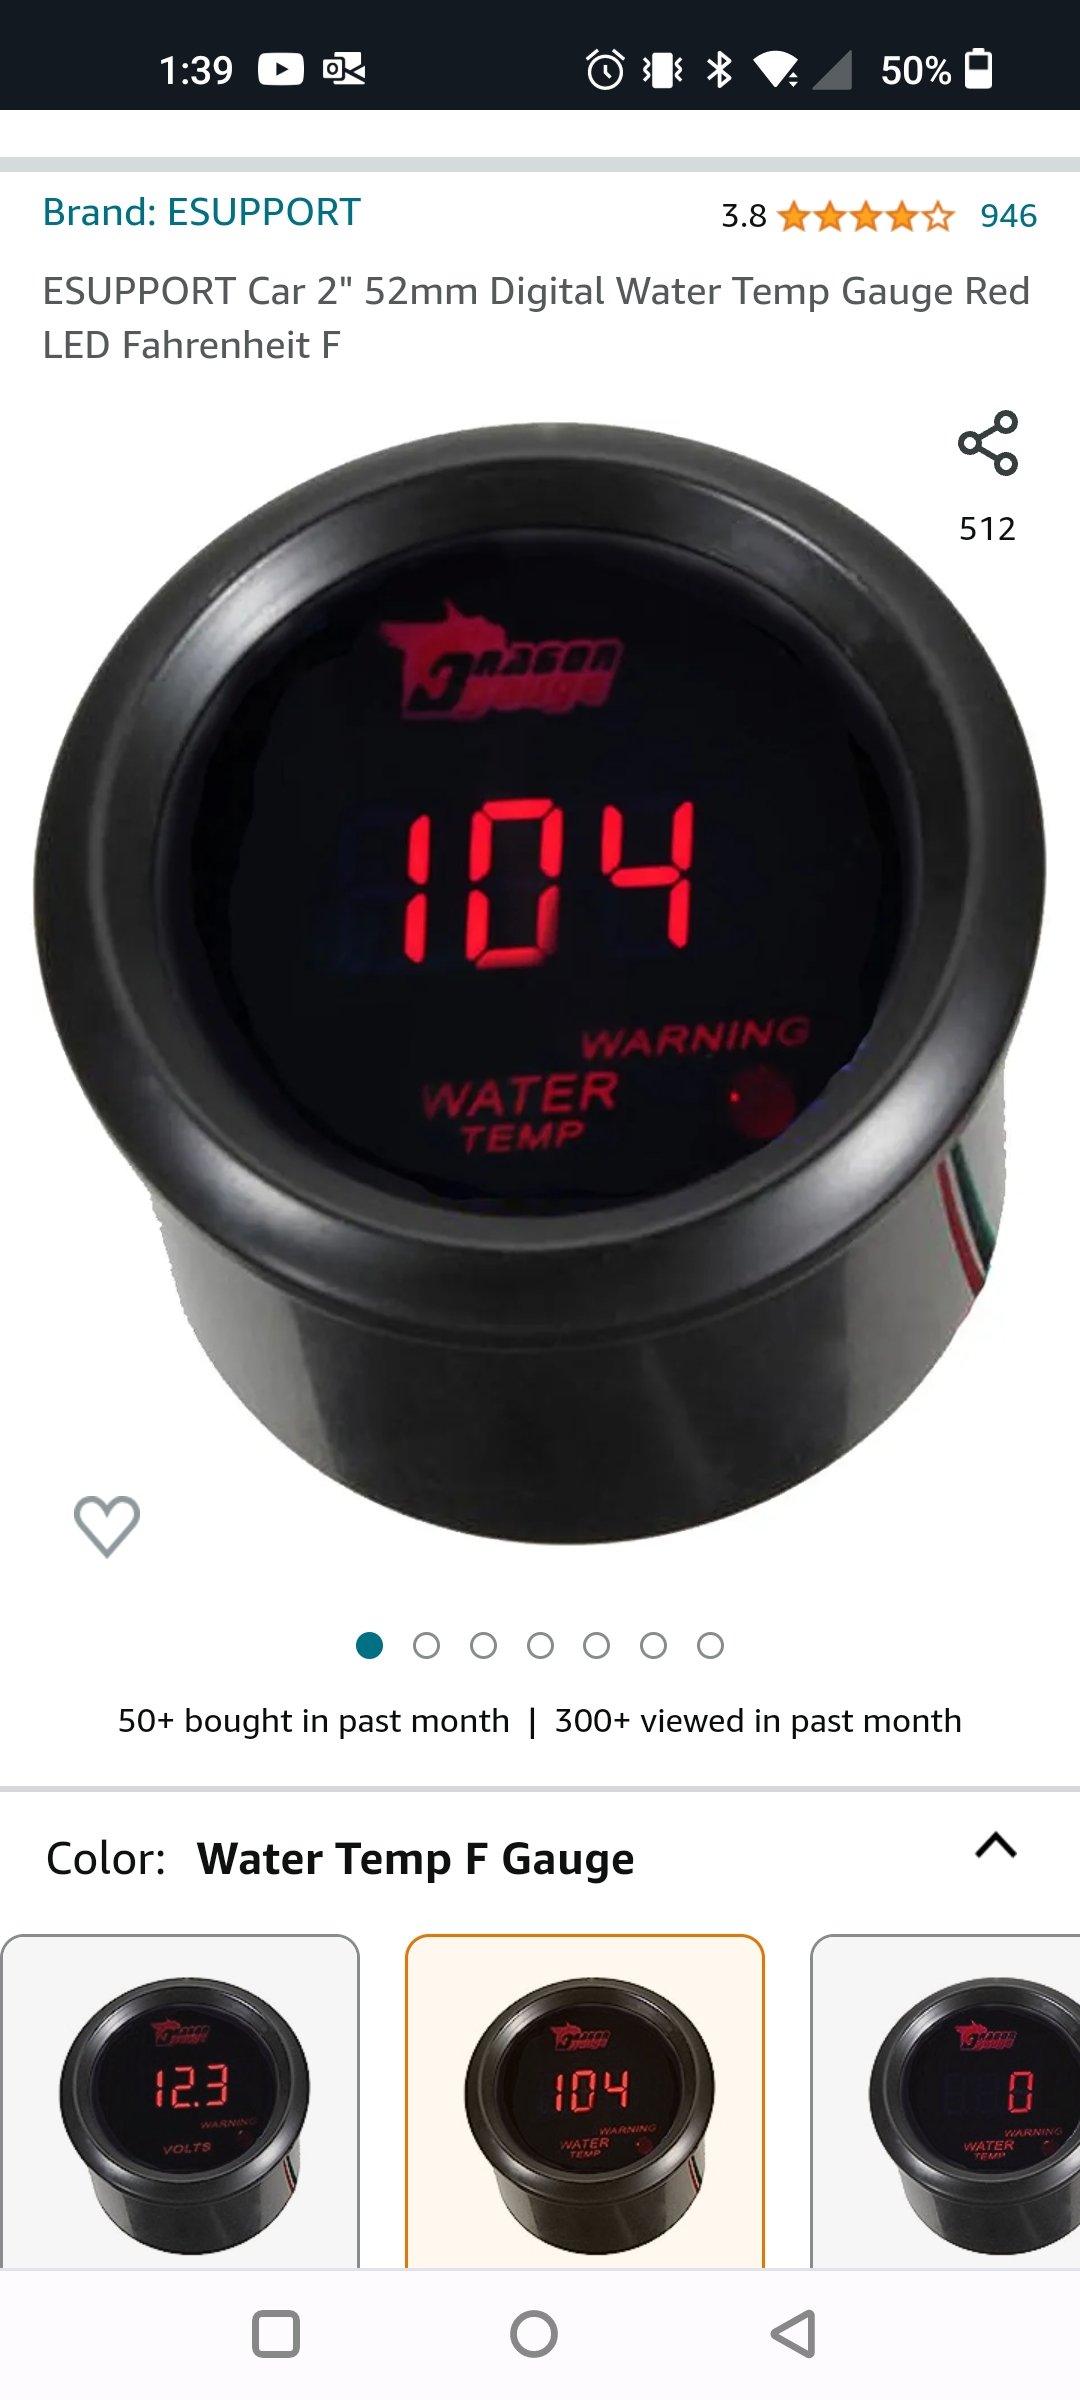
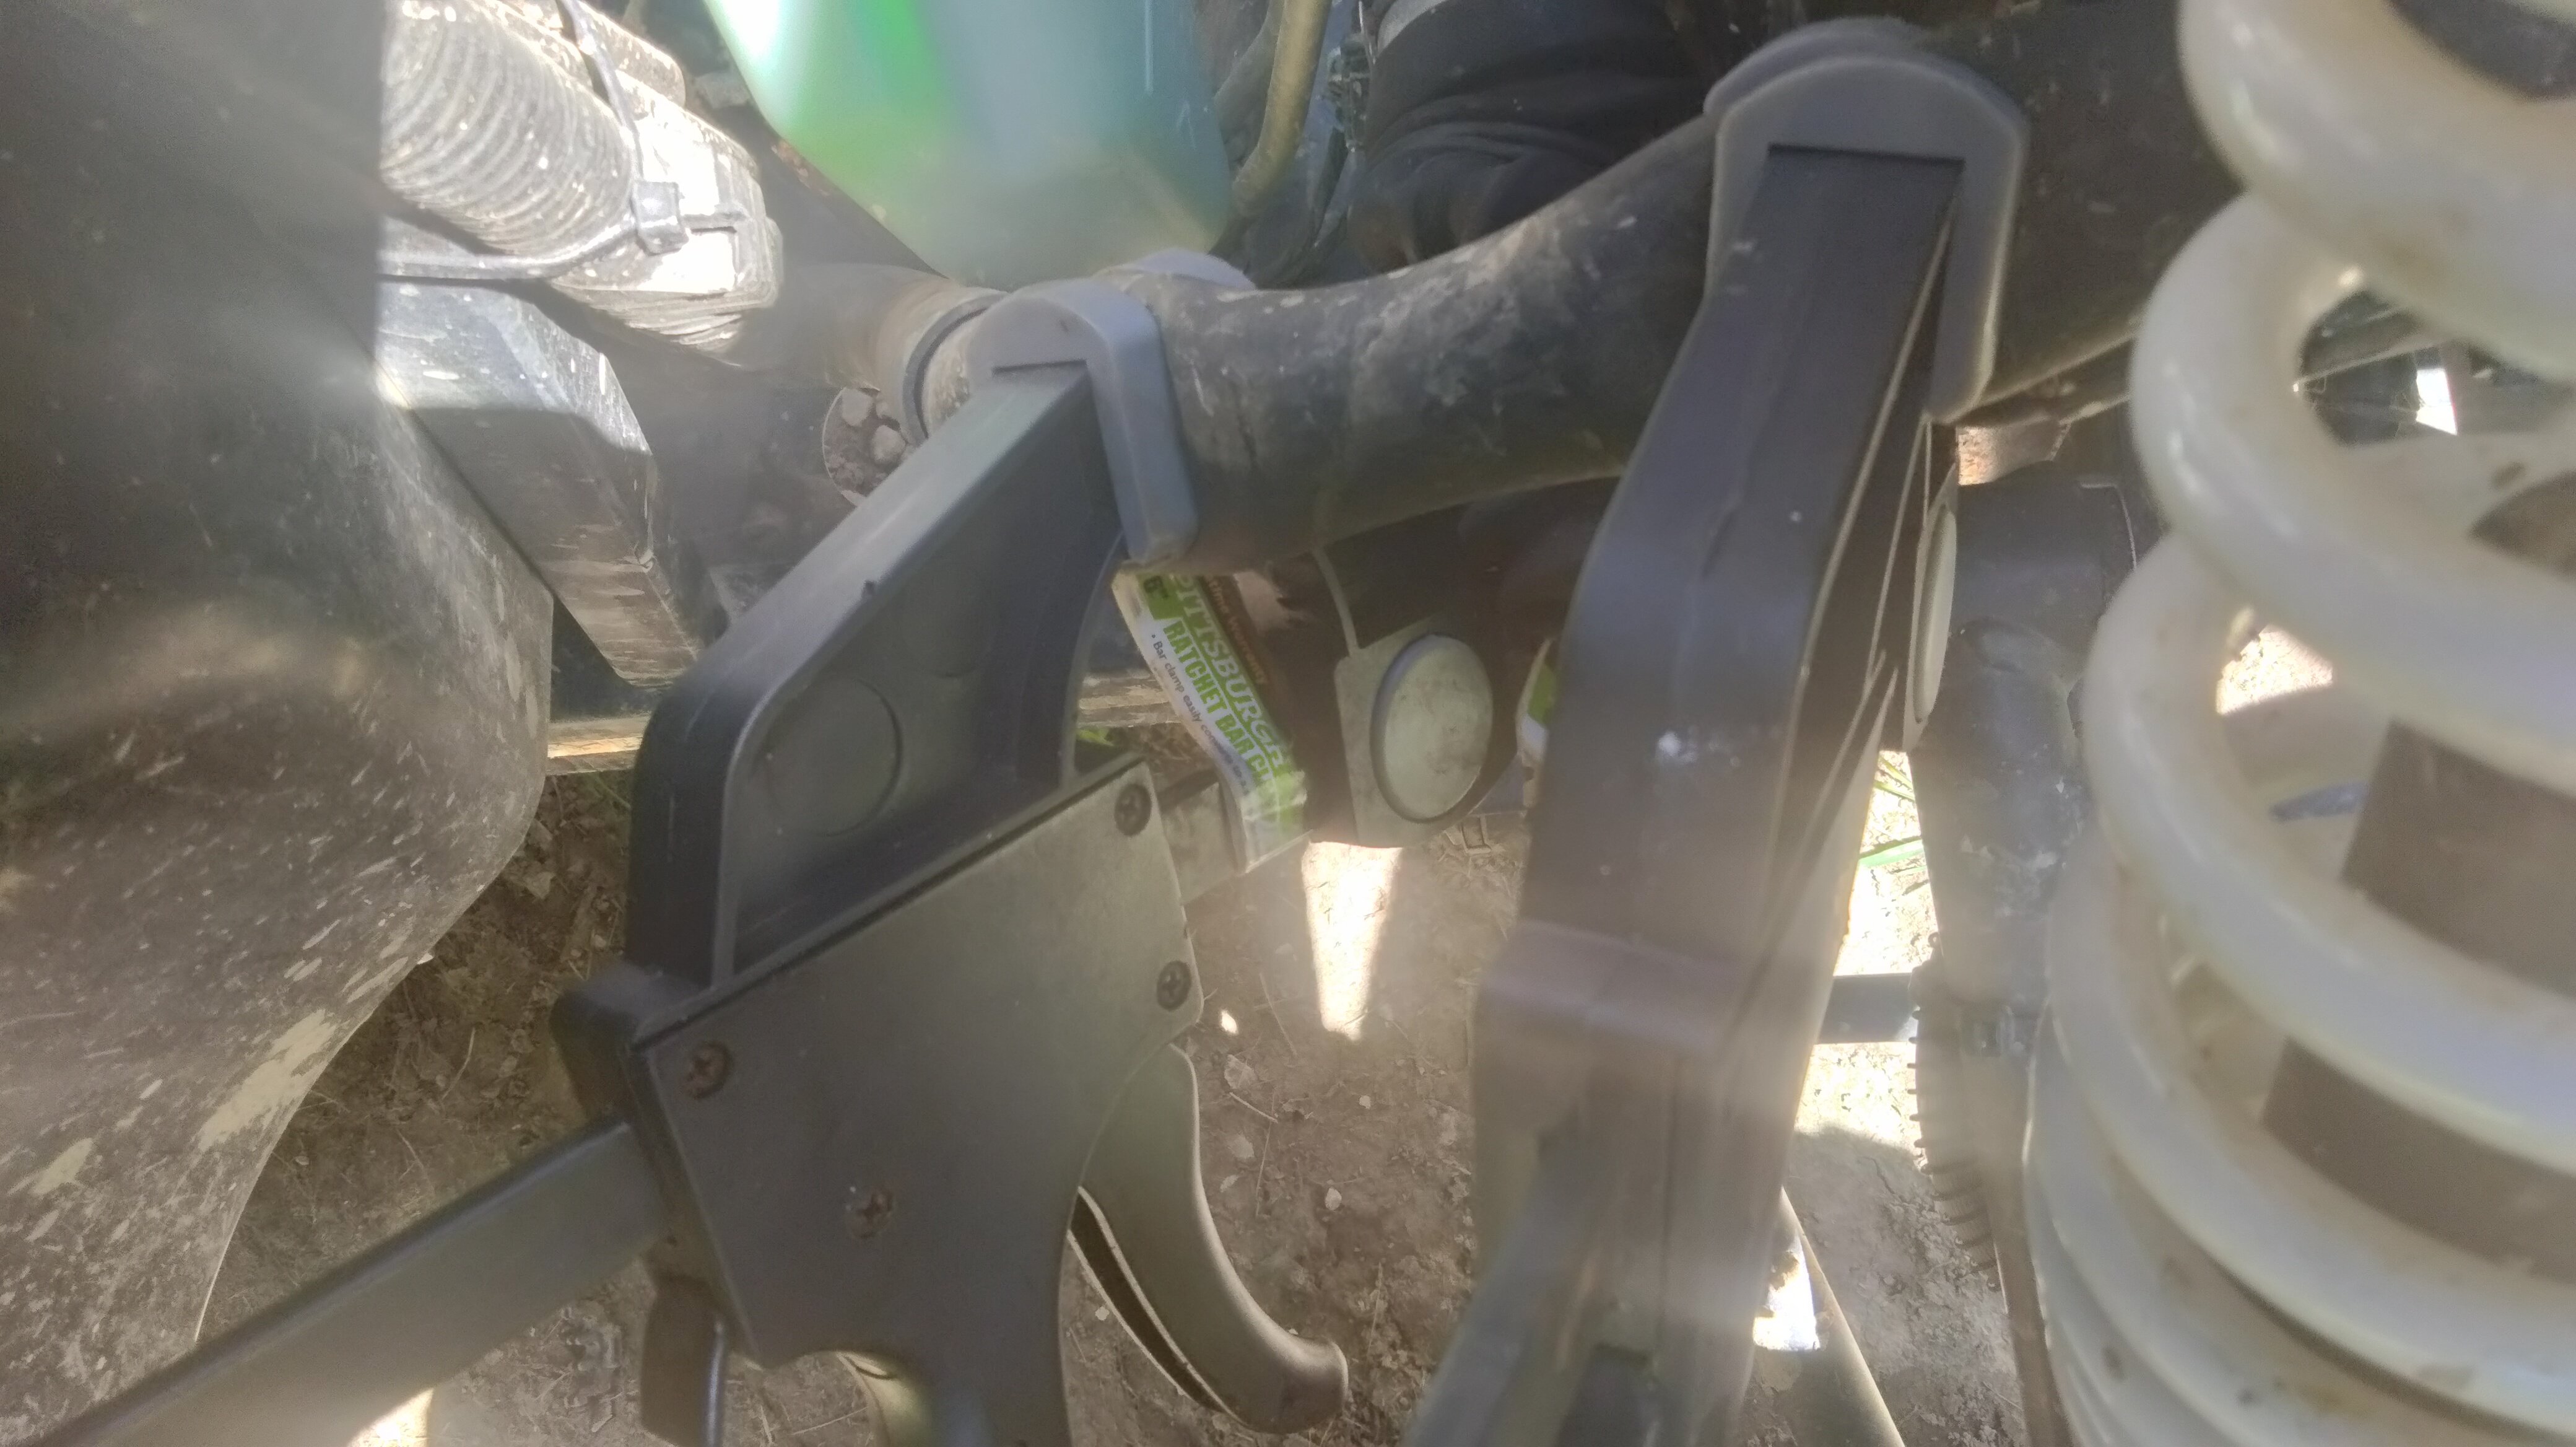
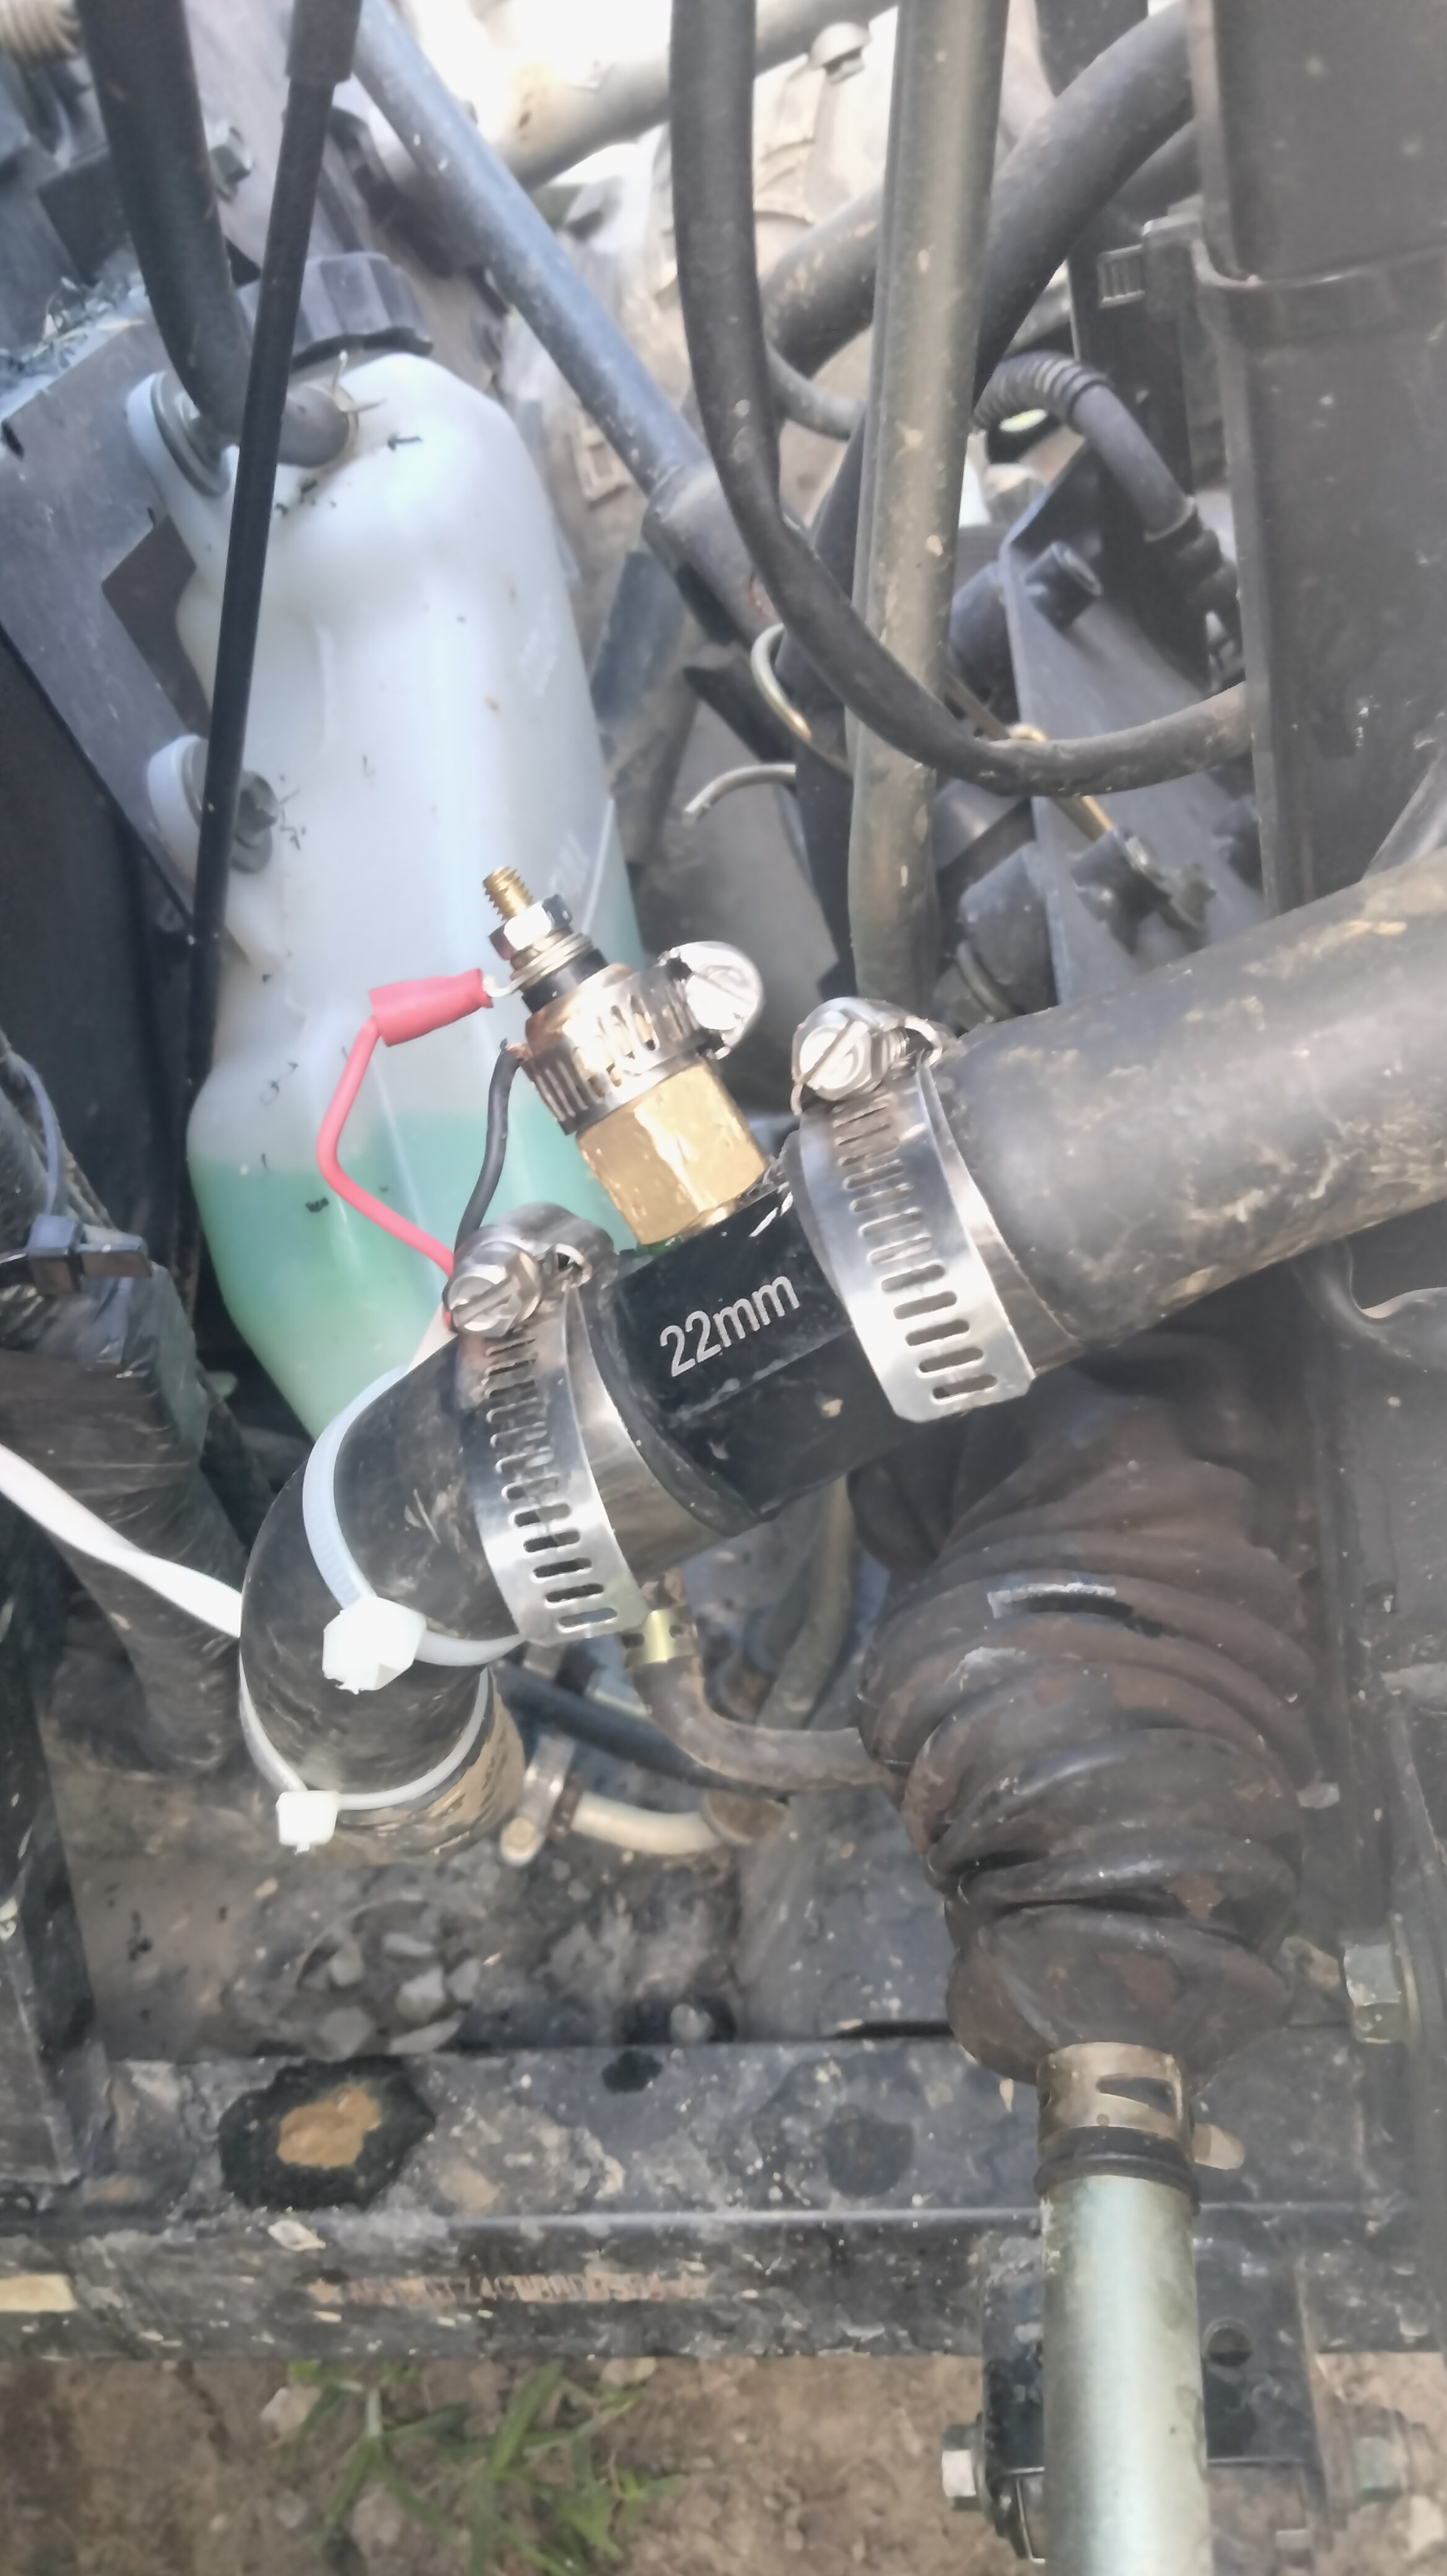
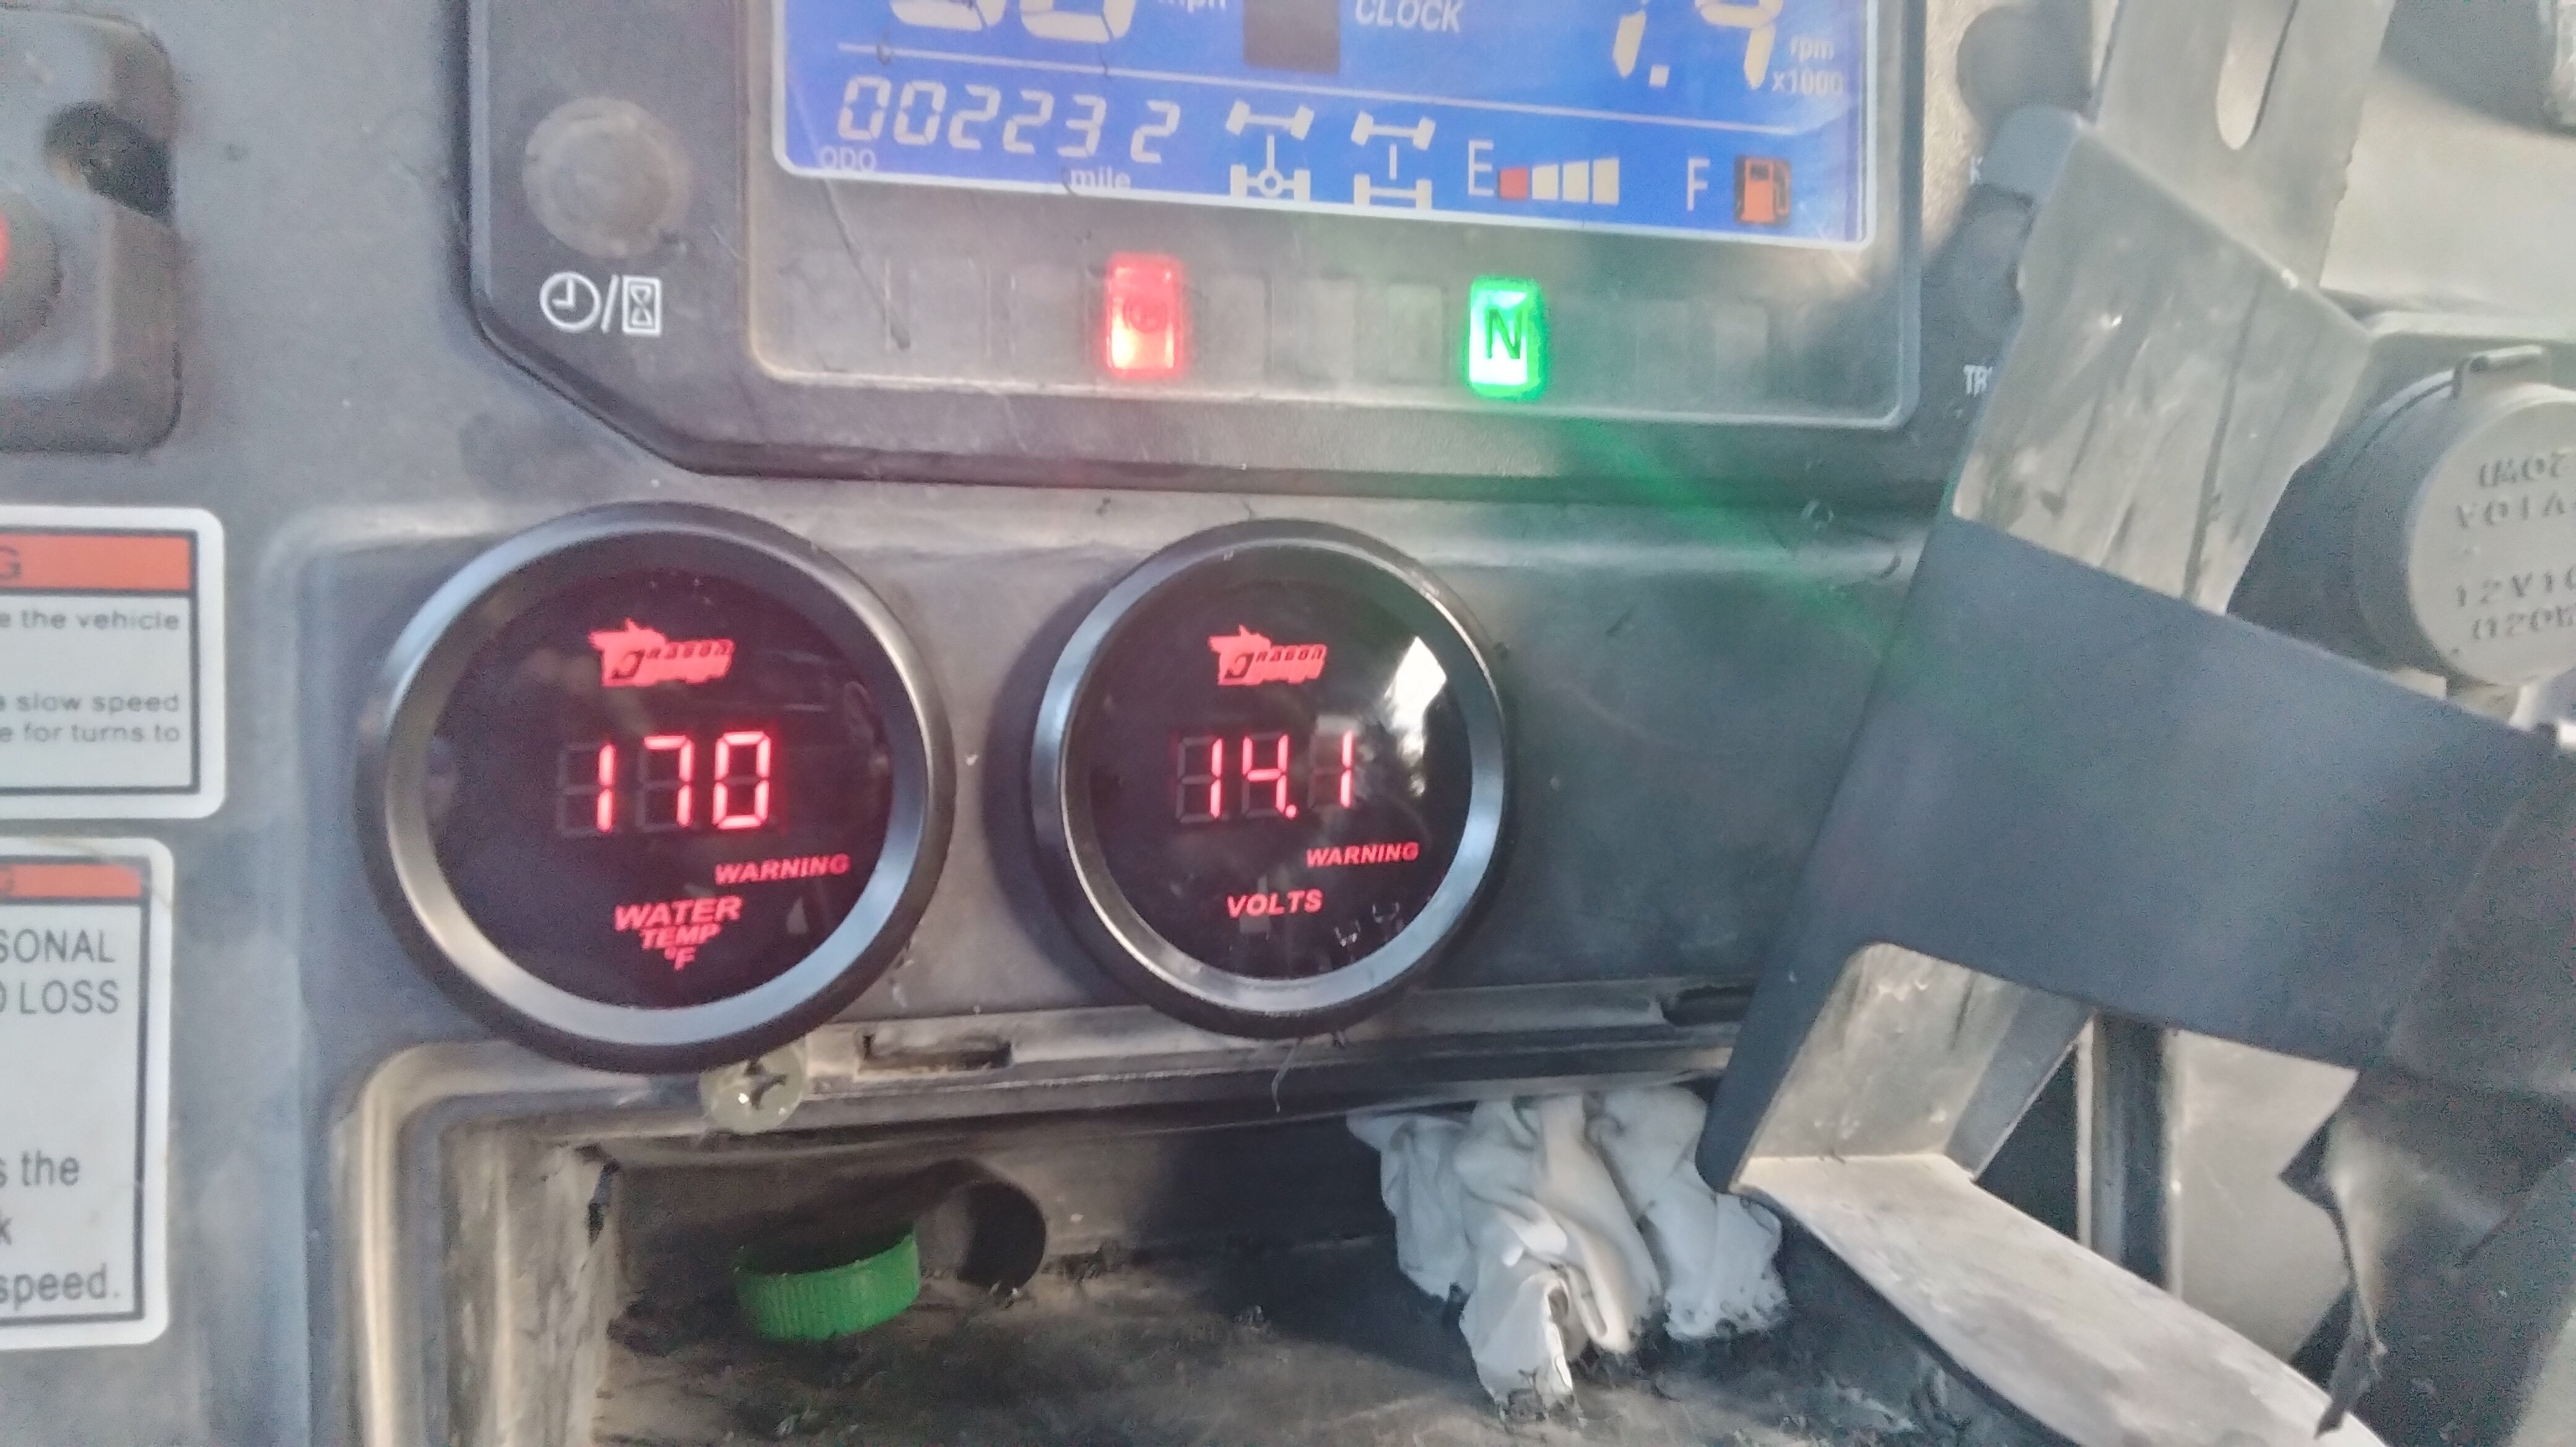
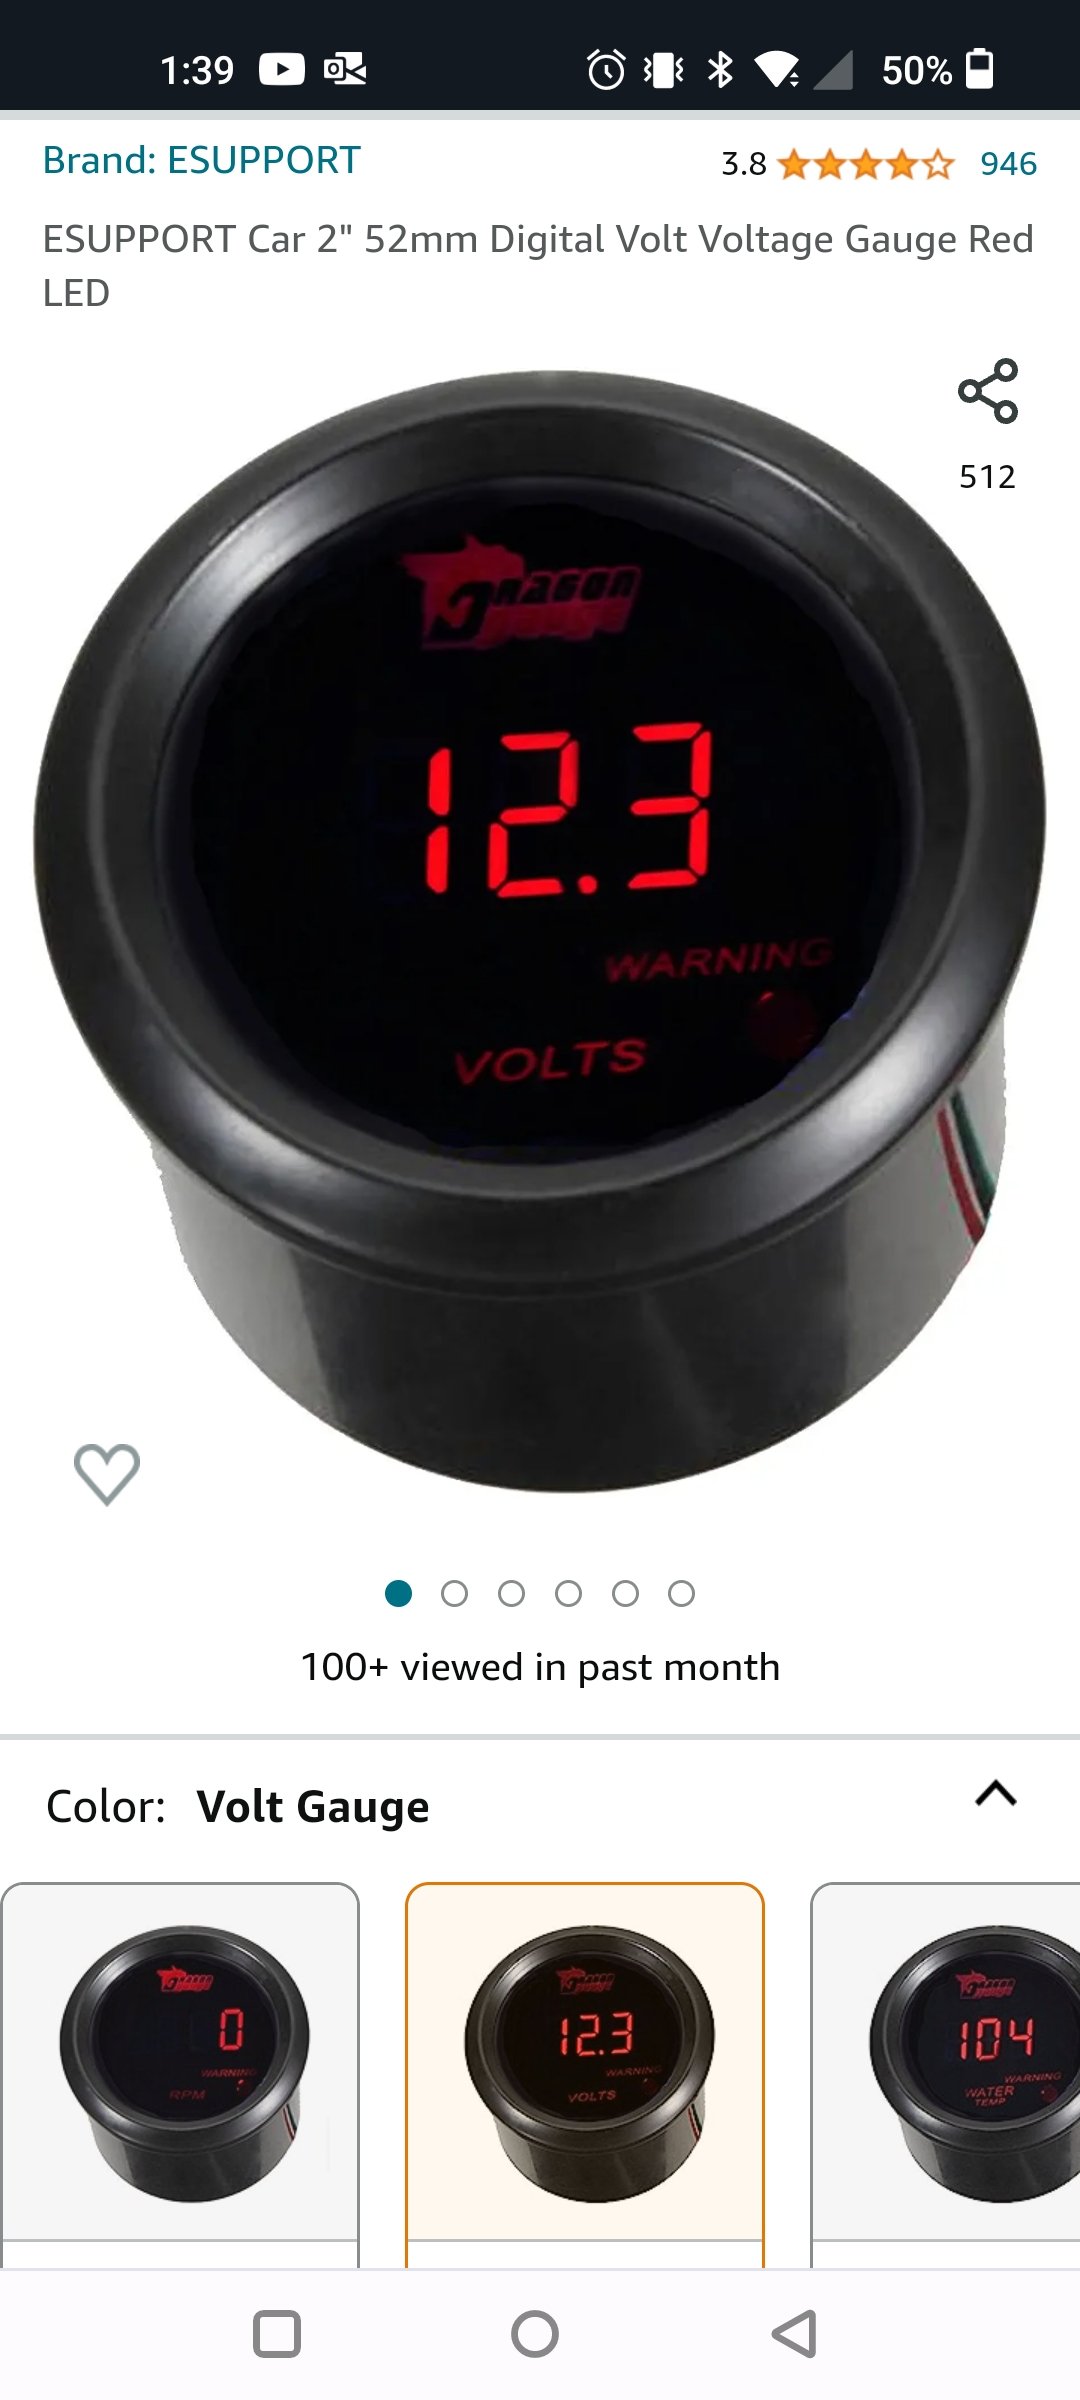
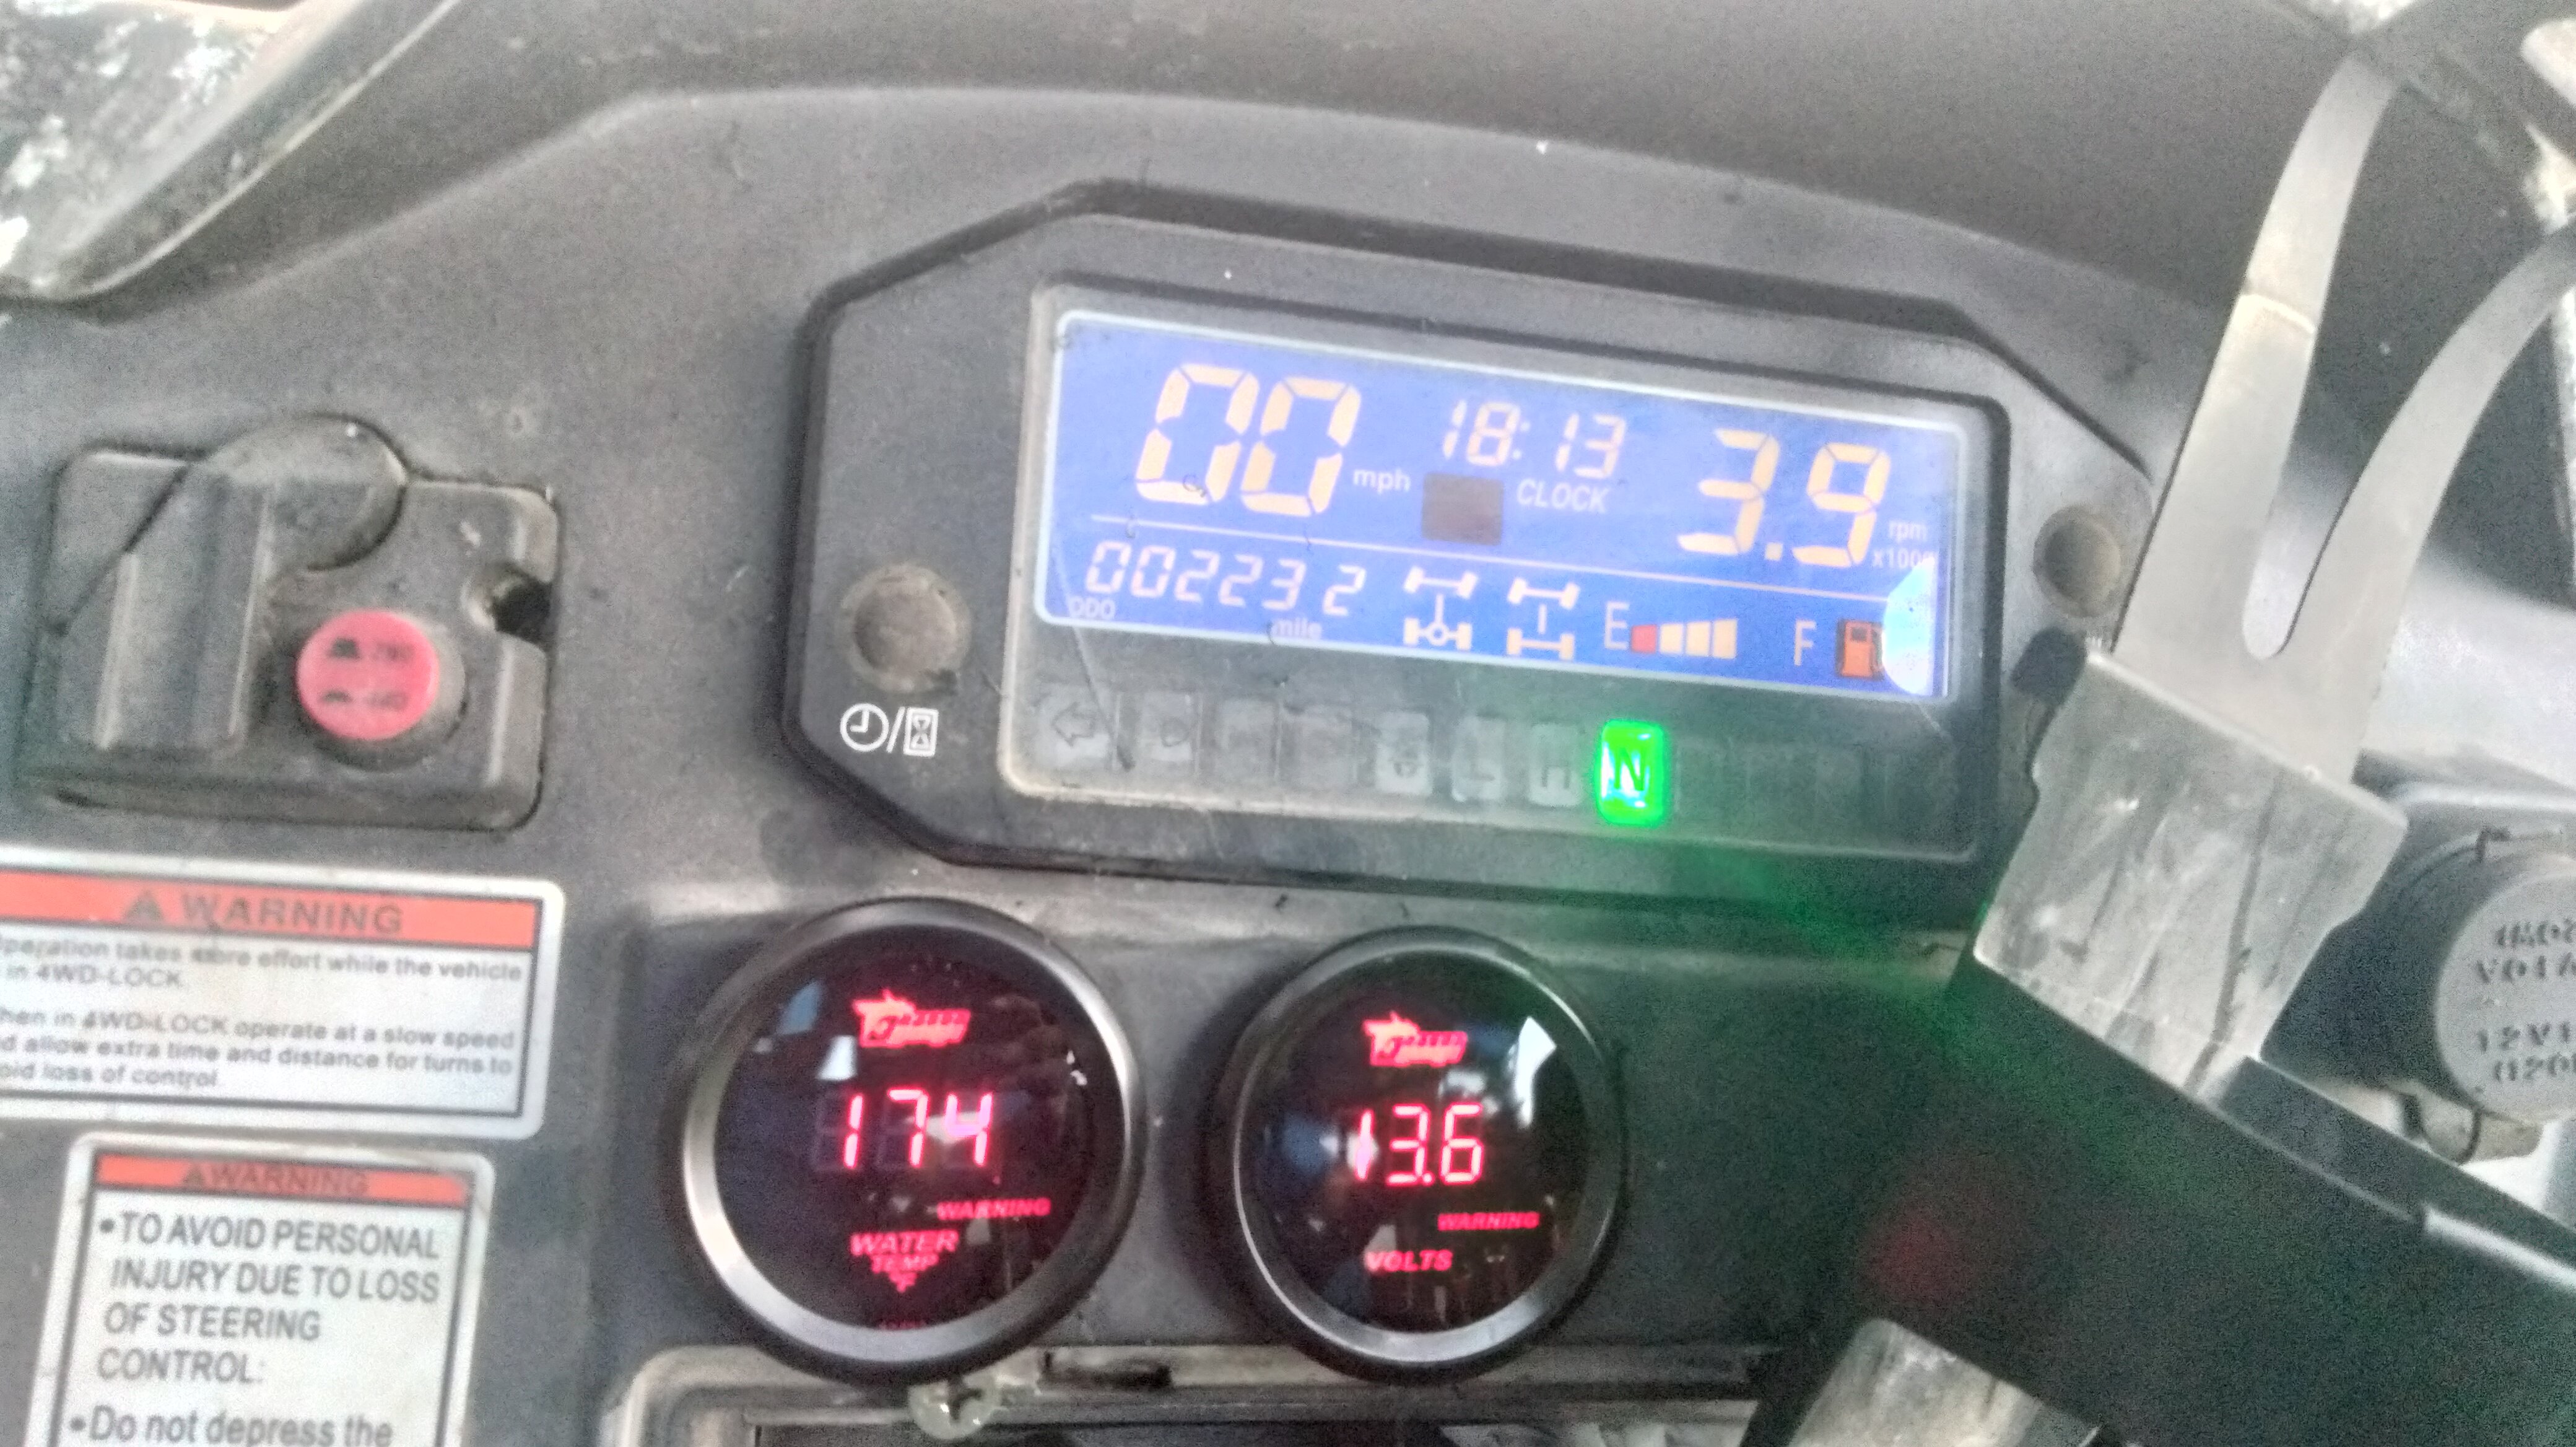
I installed an electric coolant temp gauge and volt gauge today. The oil pressure gauge I ordered had a bad sending unit. So once the replacement arrives. I'll add that install to the post. The I used a 22mm temp radiator adapter. 1/8 " NTP x 1/8 NTP adapter. And an electric temp gauge. Had to take a drill and drill bit to enlarge the 1/8 NTP adapter to allow the temp sending unit to pass thru. Another user on the forum enlarged the 1/8 NTP hole in the 22mm radiator to 1/4 NTP and used a 1/4 NTP x 1/8 NTP reducer. Either way would work. Both has it challenges. And both accomplished the same thing. To get the sending unit just barely in the coolant. If you just put the sending unit in. IMO it just blocks too much of the coolant flow. I didn't get a pic of how far the sending unit protrudes into the rad adapter. But it wasn't a lot. And also since it an electric gauge the sending unit needed to be grounded. But since there wasn't a place on the temp radiator adapter. I used a clamp to secure a ground/negative wires to the temp sending unit. The gauge wiring was simple. The gauge's wiring harness had a red, green, and black wire. Red goes to a positive. Black to a negative. Green to the sending unit. Since I had some 18 AGW speaker wire. I used that to run to the sending unit. Red to green, black to black. Then another piece of the speaker wire from the gauge to power source. I tapped into the 12V power outlet on the dash. (Just as I did for the overhead fan.) Then used a 2" hole saw to cut into the plastic above what I'd call the radio door. The gauge goes to about 174° F then the radiator fan kicks on. Cools down to about 150° F and kicks off. Now the lowest the temp gauge will read is 104° when you first start the machine. That is the nature of the gauge. Even says so on the web page. So I'll just have to live with it. The voltage gauge . Was simple to install. Just a positive and negative wire to connect. Tapped into the 12V power outlet on the dash.
-
I installed an electric coolant temp gauge and volt gauge today. The oil pressure gauge I ordered had a bad sending unit. So once the replacement arrives. I'll add that install to the post. The I used a 22mm temp radiator adapter. 1/8 " NTP x 1/8 NTP adapter. And an electric temp gauge. Had to take a drill and drill bit to enlarge the 1/8 NTP adapter to allow the temp sending unit to pass thru. Another user on the forum enlarged the 1/8 NTP hole in the 22mm radiator to 1/4 NTP and used a 1/4 NTP x 1/8 NTP reducer. Either way would work. Both has it challenges. And both accomplished the same thing. To get the sending unit just barely in the coolant. If you just put the sending unit in. IMO it just blocks too much of the coolant flow. I didn't get a pic of how far the sending unit protrudes into the rad adapter. But it wasn't a lot. And also since it an electric gauge the sending unit needed to be grounded. But since there wasn't a place on the temp radiator adapter. I used a clamp to secure a ground/negative wires to the temp sending unit. The gauge wiring was simple. The gauge's wiring harness had a red, green, and black wire. Red goes to a positive. Black to a negative. Green to the sending unit. Since I had some 18 AGW speaker wire. I used that to run to the sending unit. Red to green, black to black. Then another piece of the speaker wire from the gauge to power source. I tapped into the 12V power outlet on the dash. (Just as I did for the overhead fan.) Then used a 2" hole saw to cut into the plastic above what I'd call the radio door. The gauge goes to about 174° F then the radiator fan kicks on. Cools down to about 150° F and kicks off. Now the lowest the temp gauge will read is 104° when you first start the machine. That is the nature of the gauge. Even says so on the web page. So I'll just have to live with it. The voltage gauge . Was simple to install. Just a positive and negative wire to connect. Tapped into the 12V power outlet on the dash.
-
Cooling fan. Not just for radiators.
Greg Kilgore replied to Greg Kilgore's topic in AXIS Off-Road UTV SxS Forum
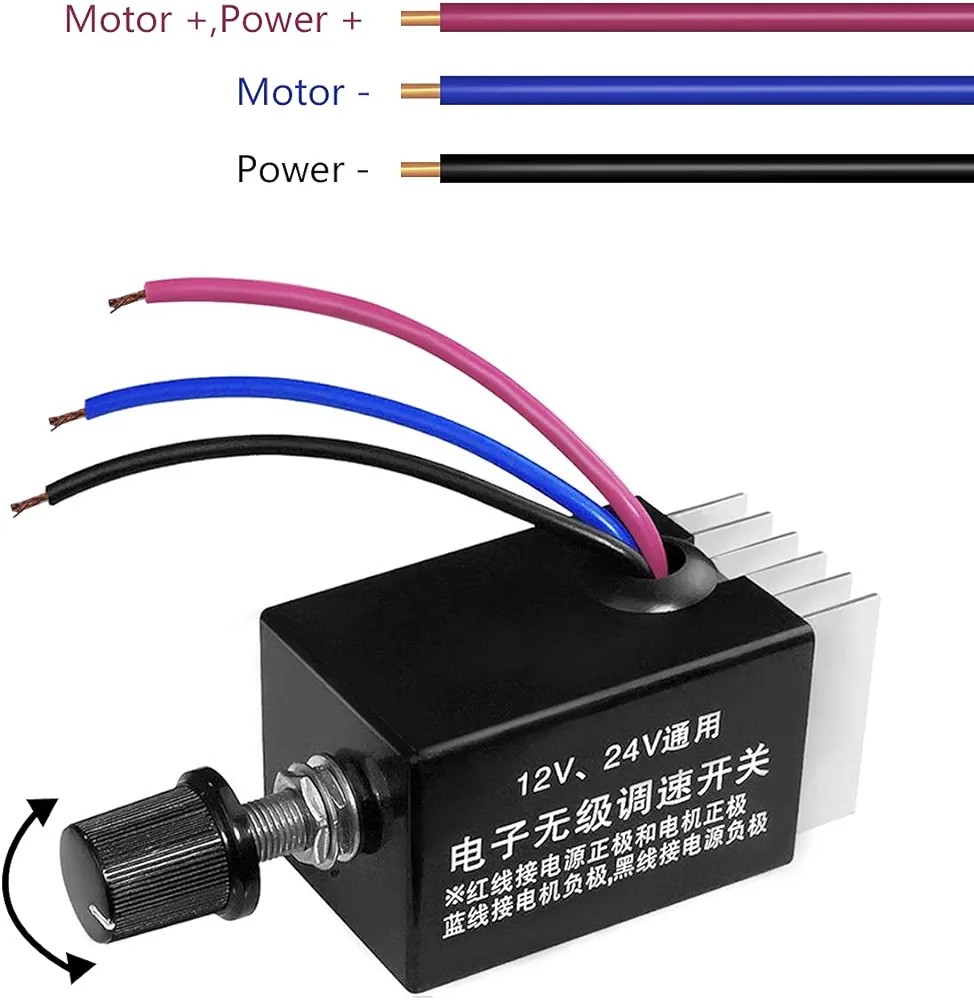
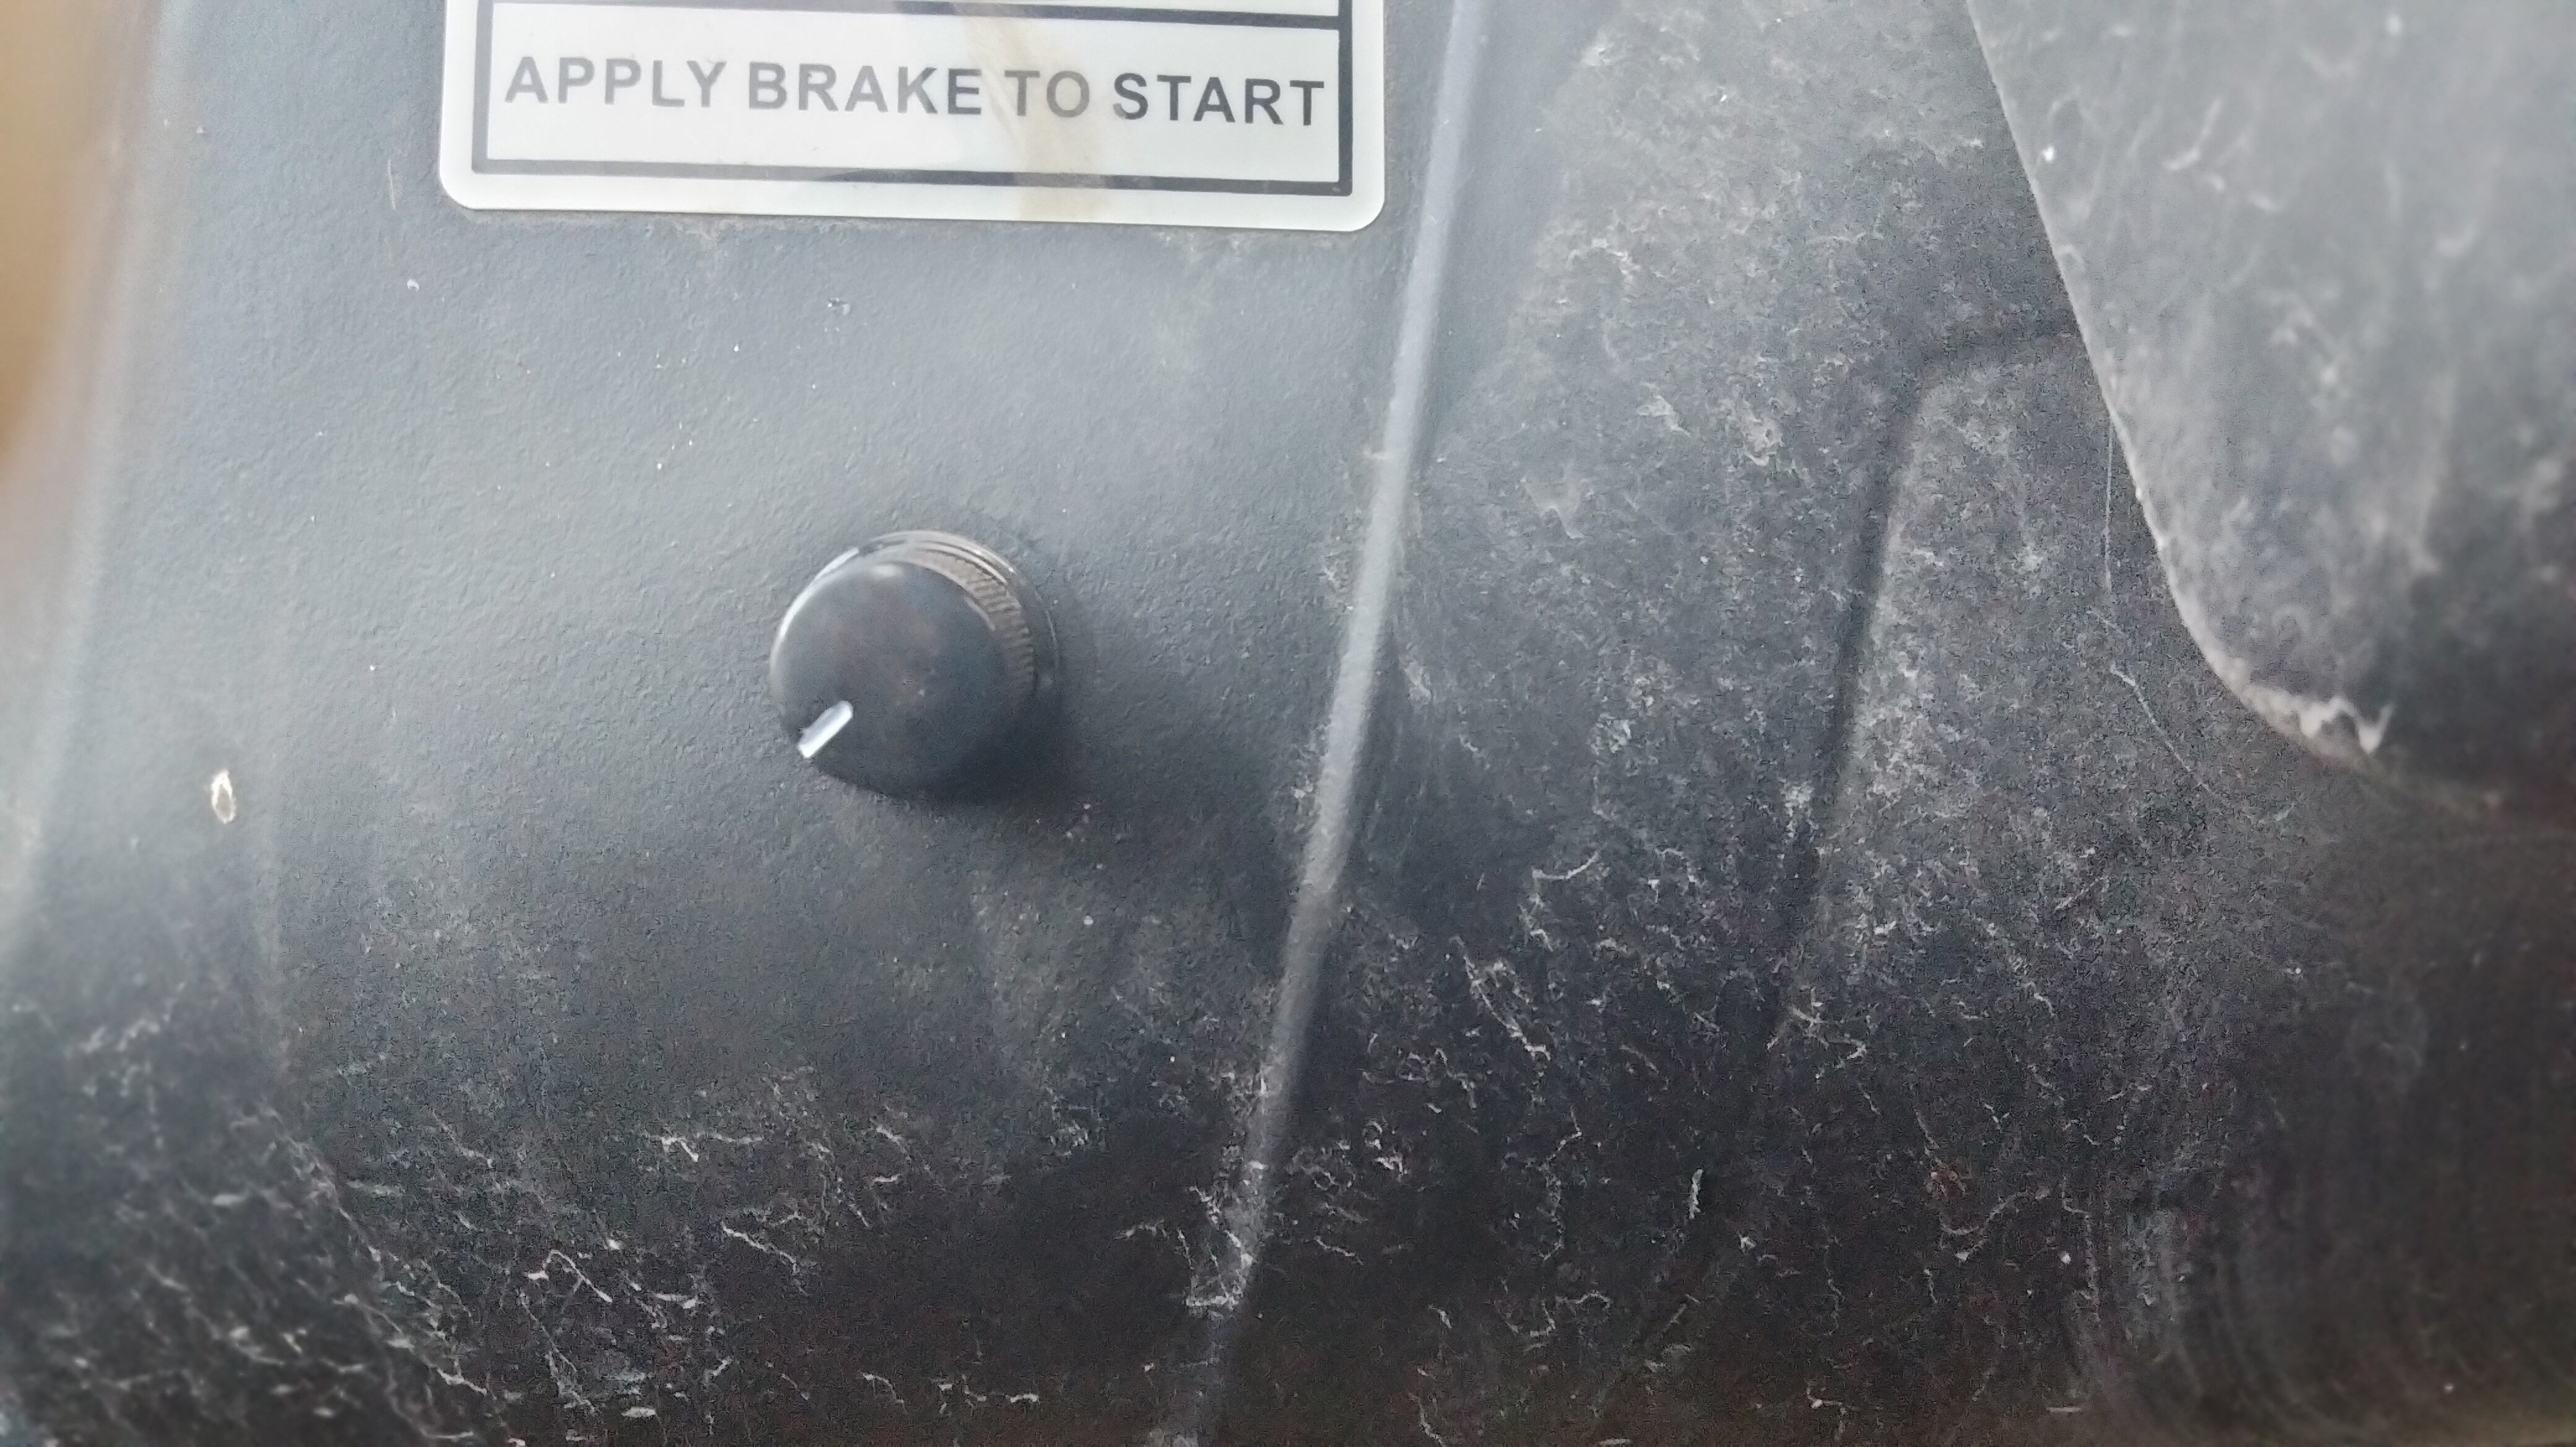
Well I installed this variable speed switch to control one fan. It has a hard off position and variable stages of on. I don't think the Axis charge system can handle the power needs of 2 of the fans that I installed. Without some sort of upgrade to the charging system. I tapped into the positive and negative wires that feed the 12v power port on the dash. That way I'd be sure not to accidentally leave the fan on when the machine is off . The switch is installed to the left of the steering wheel. Think I'm going to modify the dual fan and just have one fan in the center OR upgrade the the charge system. But it's getting cooler now and "Winter is coming". So a cab enclosure/doors and the heater is next on the list. And finishing the fans will be a spring project.
-
Here is a post I made about the cfmoto over on their forum. Can see what could happen if the cvt belt gets wrapped around the sheaves https://cfmoto-forum.com/uforce-600/2013-uforce-transmission-locked-up/
-
Clean the sheaves with soap and water. Then lightly scuff the sides with a brillo pad. Watch a few YouTube videos on replacing the cvt belt. Doesn't have to be same model or same machine. You are just wanting a general look at how to clean up the sheaves. Replaced the clutch 2 times on a cfmoto 600 uforce. Once just ofter I purchased the used machine. Then 8 months later after a catastrophic cvt belt failure flipped me and the wife on its side do8ng about 30mph down the highway. The belt came apart in pieces and chunks and wrapped around the sheaves. Locking the transmission/rear wheels. Then we went sliding down the blacktop. I turned the steering wheel to ease off the highway onto a grass area. Then we flipped on the driver side. Just some bruises and a few scratches. Nothing serious. After getting machine back on its wheels was able to put in neutral and push around. Then called brother-in-law to bring a trailer and load. Repaired the machine and sold at wife's request. Then got a Axis 500. Same cvt belt setup. But in her mind it hadn't tried to kill us. Lol Look at a diy tool for the secondary sheave for a cfmoto. There's a lot of guys that a tool for adjusting the clocking to remove the HD spring. I'm not familiar with your setup. But most are similar. There is a lot of force under that spring. Becareful that spring can seriously hurt or kill you. Also when I got the new Axis I put on a 5-point harness simply because the cfmoto flipped us and the lap belt wasn't enough to keep the wife from getting hurt.
-
The after market 2nd muffler is $$$. If you don't mind dumpster diving. Run by a new construction site. I'm sure you could find a piece of flex in the dumpster the sparkies threw out. That's what I did.
-
2011 Hisun 700 Primary Sheave Not Closing Completely
Greg Kilgore replied to djl's topic in Hisun UTV SxS Forum
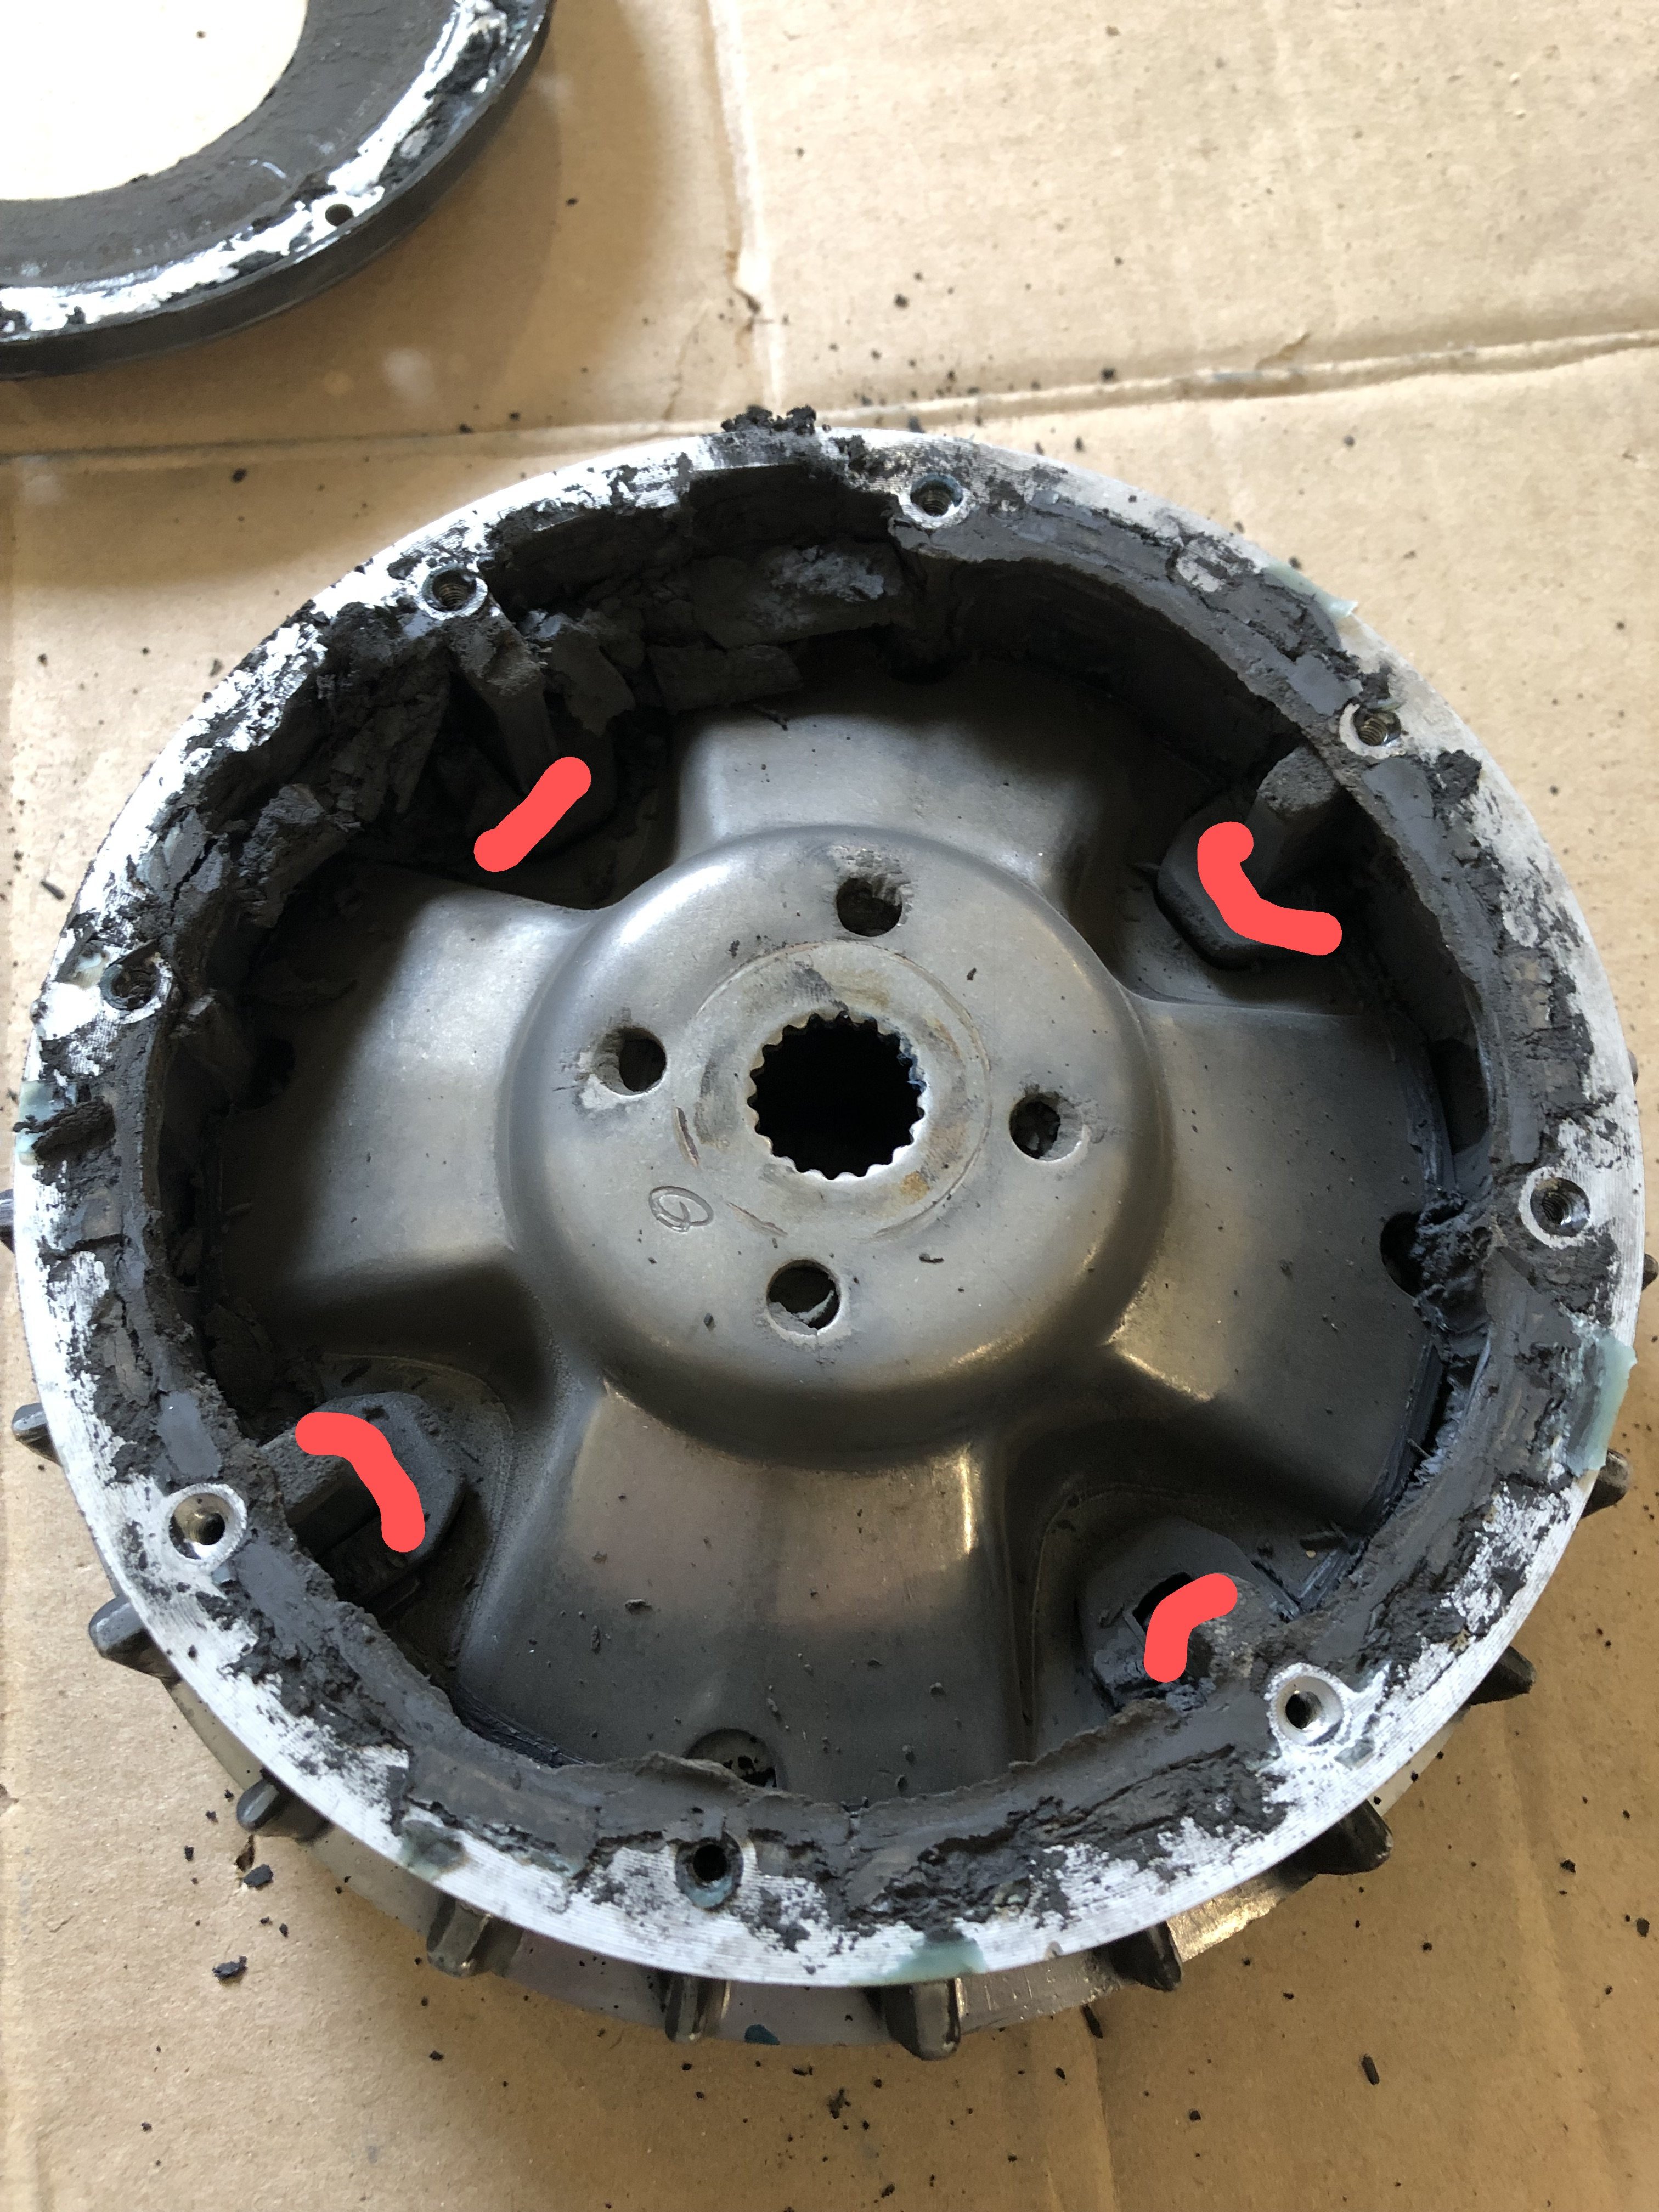
I'm no expert by any means. But I'm 99.9% sure that there should be no where near that much grease inside the Primary sheave area. From what I've seen. There should only be grease on the plastic pieces that fit over the opening on the roller plate. Where the plastic pieces meet the wall of the sheave. Where the red is in your pic below. Reason for only minimum grease. That gets belt gets HOT. If a lot of grease then it could liquify and get all over the belt. That would cause the belt to slip. Even water will cause the belt to slip. As you know the rollers are weights. The weights roll to the outside. Making the outer part of sheave move in. Making the belt ride higher. From reading other sites. A gram of weight per roller makes a big difference. Motor cycle dr should have replacement parts for that machine. Or ever upgraded slider setups. But on the good side. People buy shims to put between the sheave and sheave nut. To make the belt ride a little lower. It does subtract from the top end. But puts a little more pulling power to the rear wheels. Hope your ride goes well. And be careful with the cvt belts. Had a cvt belt had a catastrophic failure on me and the wife. Belt wrapped around the main and secondary sheaves. Locked the rear end. We sent sliding down the blacktop. We landed on the driverside on edge of road. Got very lucky. Belt was barely a year old. The threads just came lose from the rubber. It wasn't a Hisun product but a 2013 CFmoto Uforce. But still same basic setup.
-
Just a FYI while we're talking about the exhaust. I had to replace the rear driveshaft on my Axis. Removed the exhaust completely, in sections. When I put everything back together. It was quieter than before. Then I took a 3ft scrap piece of 1" metal flex conduit from the job site. Stuck it on the end of the muffler. Just used bailing wire to secure under the bed toward the tailgate. Then a long the underside of tail gate until I ran out of flex conduit. Made a big difference in noise out the back. Even helped some in the cab. Don't use the weather tight flex. It WILL MELT. The metal flex will act as a baffle. And I don't think it adds any back pressure. If it does, it couldn't be much.
-
Coleman UT 550X Outfitter not starting
Greg Kilgore replied to Raider Rich's topic in Coleman UTV SxS Forum
Try reseting the computer. 1. Begin with the key in the off position. 2. Cycle the key to run and then the off position 5 times within 30 seconds. But do not start the engine. Make sure the fuel pump start. Before turning back off. 3. After the 5th on. Turn the key off and leave off at least 30 seconds. That will reset the computer. I have had to do this to my Axis every now and then. I probably need to install a new injector and clean the MAF sensor. I have changed the fuel filter already. The OEM filter was clogged with paint chips from the factory. -
Could have tried to loosen the exhaust. Then adjust the exhaust up and out of the way. You may want to look at the drive shaft bearings or something of that nature. That could cause the rotor to move up into the exhaust. Just a thought.
-
Cooling fan. Not just for radiators.
Greg Kilgore replied to Greg Kilgore's topic in AXIS Off-Road UTV SxS Forum
Somebody ripped off my ideal about the fan mounted overhead. The link for their product is in the video description and it $500. Mine might not be as pretty but it was less than $50. Looks like they used the same 12V 80 watt fans also. I knew I should have mass produced and patented the ideal. My millions gone. Just like the hair on the top of my head. 😂